
PaintTool SAI is a lightweight, easy-to-use digital drawing program that has been popular for over a decade. With its ability to create vibrant, anti-aliased drawings, it meets the needs of artists including illustrators, sequential artists, character designers, and more.
With all of its helpful features, getting started with PaintTool SAI can seem intimidating if you have no experience creating digital art. This guide is written for beginners and will help you learn the basic functions and tools for using the program.
I’m Elianna, an Illustrator, Art Director, and Cartoonist with more than seven years of experience using PaintTool SAI. My first love of drawing software, I have used it to make almost my entire portfolio of art in my academic and professional career. I know everything there is to know about the program.
This post will serve as an in-depth beginner guide to navigating PaintTool SAI. I will go over all of the basic tools and functions of the program, as well as give you tips and tricks to further optimize your drawing experience.
Let’s get into it!
Table of Contents
- Chapter 1: Is PaintTool SAI the Right Program for You?
- Chapter 2: PaintTool SAI at a Glance
- Chapter 3: Creating a New Canvas
- Chapter 4: Brushes and Stabilization
- Chapter 5: Layer Options
- Chapter 6: Using Rulers
- Chapter 7: Selection Tools
- Chapter 8: Linework Layers
- Chapter 9: Coloring and Additional Features
- Chapter 10: Troubleshooting
- Final Thoughts
Chapter 1: Is PaintTool SAI the Right Program for You?

Before going to the SYSTEMAX website and buying PaintTool SAI, you should investigate if it is the right program for you. While PaintTool SAI has a variety of useful features, it doesn’t meet the needs of all artists. You should first ask yourself these questions.
- What type of art do I want to make with PaintTool SAI?
- Is PaintTool SAI the best program to learn for my time investment?
- What features do I want out of my drawing software?
PaintTool SAI is a great program for illustrators, but if your creative goals lean towards graphic design, it may not be the best fit because PaintTool SAI is not industry-standard software and it has limited features for professional graphic design.
If you wish to create webcomics or want the ability to animate your work, programs like Krita or Clip Studio Paint may be a better investment of your time to learn.
This is not to discourage you from purchasing PaintTool SAI. It is simply a reminder to do your research and make sure that your time is spent wisely.
Furthermore, it is important to note if your operating system is compatible with PaintTool SAI. PaintTool SAI is only offered for Windows and is not compatible with Mac. If you do own a Mac, there are plenty of alternative software to choose from.
PaintTool SAI is intended to be used with a drawing tablet. While there are options to toggle a “mouse-only” mode, you will find that you will not have access to many of PaintTool SAI’s features if you use it this way. Therefore, invest in a tablet before investing your time and money in PaintTool SAI.
Thankfully PaintTool SAI does have a 31-day free trial, so you can experiment with the program to see if it’s a good fit.
Chapter 2: PaintTool SAI at a Glance
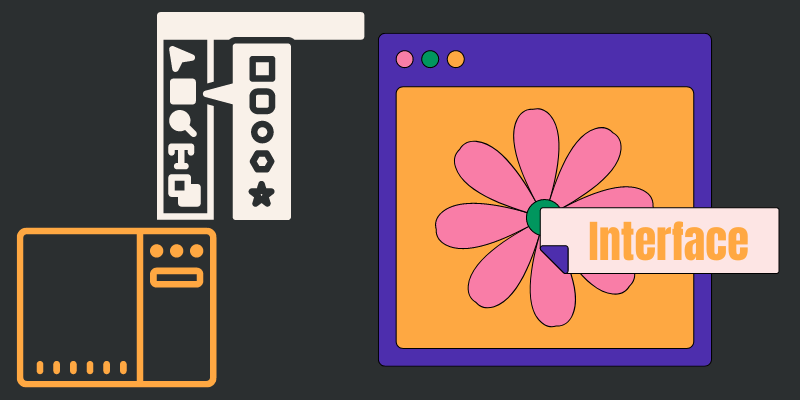
The first step to learning PaintTool SAI is getting familiar with the layout of the program. Thankfully, PaintTool SAI has one of the easiest and most intuitive user interfaces to navigate, making this process a breeze.
Almost all essential functions can be done on this screen, without the need to locate settings under additional menus. This design is what makes PaintTool SAI a great introductory program with a low learning curve. Within one hour you can easily discover all of PaintTool SAI’s tools.
For example, you can easily locate the layer menu, tool menu, and color wheel on the left side of the screen. On the top bar, the file, edit, canvas, layer, selection, ruler, view, window, and help menus are located.

If you wish to change the default view and toolbars in PaintTool SAI to customize the user interface to your preferences you can do so by clicking Window.
There you can show/hide panels, separate them, change their scale, and flip the orientation of the user interface so panels will be located on the right side of the screen. You can find the option to enter full-screen mode here, which can also be toggled with the keyboard shortcut F11 + Shift + Tab.
Furthermore, there are a host of keyboard shortcuts you can use to access functions in PaintTool SAI. Memorize the most useful keyboard shortcuts to speed up your workflow. You can also input your own shortcuts for tools if desired.
Chapter 3: Creating a New Canvas
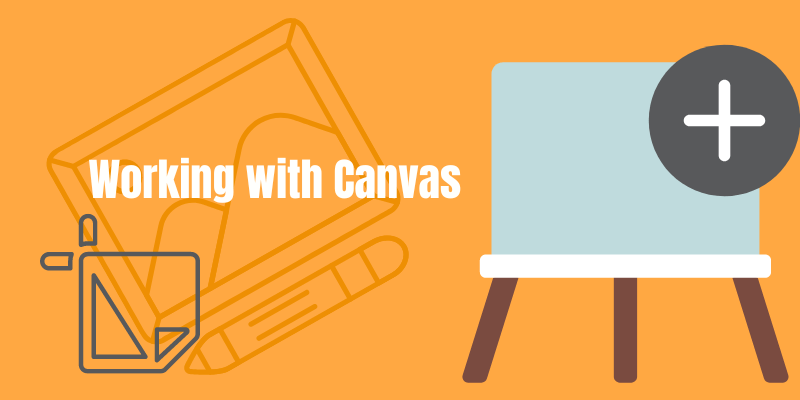
You can create a new canvas in PaintTool SAI by clicking File > New or using the shortcut Ctrl + N which will prompt the New Canvas Dialog. You can manually input values to create your canvas or select from a list of presets.
As PaintTool SAI was originally released in Japan, it features ISO 216 presets using A and B paper sizes. However, you can create your own custom presets to fit which standard you use in your home country, or to make customized canvases.

After inputting or selecting your values and hitting OK your canvas will show up in the main workspace. While white is the default background color, you can change it, or make it transparent in the Canvas panel.
Furthermore, if your PaintTool SAI crashed while you were creating a piece, you can also use File > Recover Work to recover your file. This option is invaluable to saving your time, energy, and a whole lot of frustration.
Note that PaintTool SAI only supports RGB as a color mode, so if you primarily create work for print, you might want to consider another software because you will need third-party software to convert your PaintTool SAI files to CMYK mode.
Chapter 4: Brushes and Stabilization
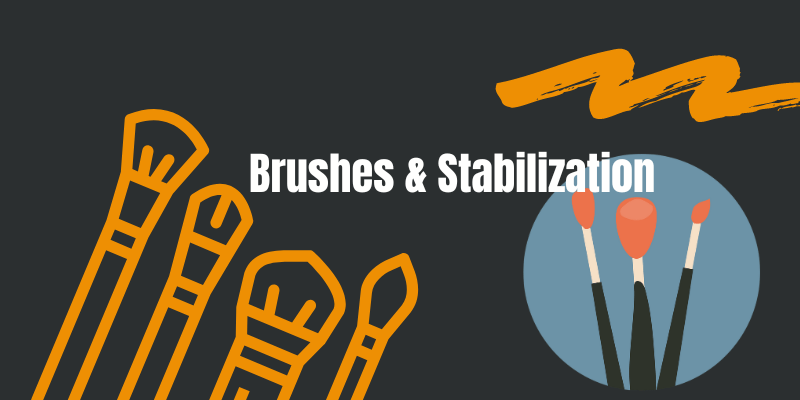
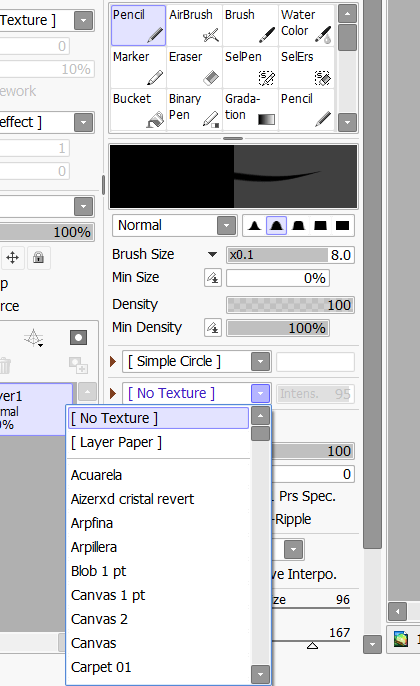
PaintTool SAI features a variety of brush engines including the pencil, brush, airbrush, watercolor brush, marker, and eraser. These brushes can be customized in a variety of ways to suit your needs, including size, pressure, and tip.
You can also use textures to further customize your brushes, as well as install brushes and paper textures directly into the program.
Drawing with these brushes is further made easy by tools to make straight and smooth lines like the stabilizer and straight-line drawing mode. You can also blend and shade to easily color objects such as skin, clouds, grass, hair, water, and more.
Using advanced brush settings, you can also toggle the pressure sensitivity of each and every one of your brushes to your preferences.
Chapter 5: Layer Options
Working with layers is an essential part of digital art as the Layer panel allows you to create, select, move, and merge layers. You can create clipping groups, layer masks, pin layers together, and group layers into folders for easy organization.
You can also use blending modes to further edit your work. My favorite blending mode is multiply, and I often use it to make transparent backgrounds.
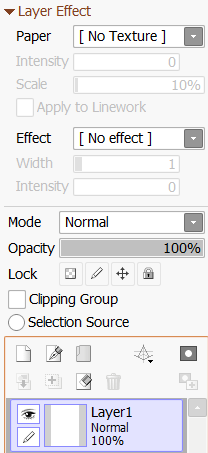
Another thing you can do is to apply paper textures to your layers at the top of the layer panel, using native SAI presets or by installing custom user-created ones online. Paper textures can add an organic and traditional feel to your digital work, and are well worth experimenting with.
Lastly, you can find the perspective ruler menu within the layer panel, allowing you to create one-point, two-point, and three-point perspective grids and rulers, as well as a ruler to create symmetrical drawings. Not only are these rulers useful for creating proportional and accurate background drawings, but they can also be used to make comic panels.
Chapter 6: Using Rulers

In addition to perspective rulers, Paint Tool SAI also features another set of rulers located in the Ruler menu toolbar. These rulers include the straight, parallel line, ellipse, concentric ellipse, and vanishing point (one-point perspective) ruler.
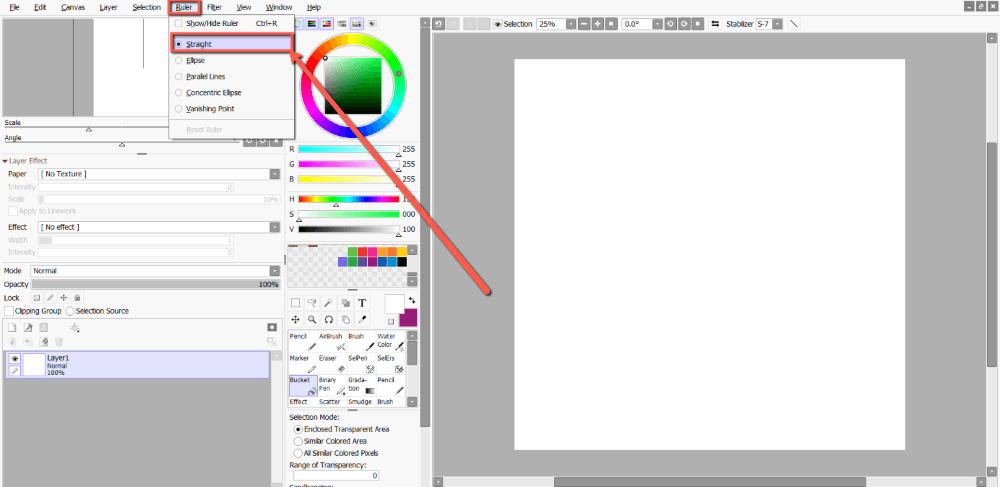
These rulers can be used to create straight lines, perfect circles, and lining artwork a breeze. They can also be edited, and have a variety of stroke effects applied to them.
The only thing that PaintTool SAI does not include in its suite of rulers are guides that can snap to the canvas or indicators of measurement. If your workflow requires the use of precise measurements, PaintTool SAI’s ruler system may not meet all of your needs.
Note that these rulers can only be accessed in the Ruler menu, and do not have an icon in the main workspace. However, you can easily toggle the view of your rulers with the helpful keyboard shortcut Ctrl + R.
Chapter 7: Selection Tools
PaintTool SAI includes the Selection tool, Lasso Tool, Magic Wand, Selection Pen, and Deselection Pen. Learning how to efficiently use selection tools will not only speed up your workflow but give you additional strategies to create your art.
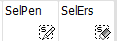
The Selection, Lasso, and Magic Wand are located above the tool menu, with the Selection Pen and Selection Eraser located within it. You can toggle between multiple tools to create dynamic selections, with each featuring its own set of options to further customize the experience.

You can further transform your selection with the Move tool, use Ctrl + T to flip and rotate your selections, or copy and paste.
One important function to note about PaintTool SAI is that the Invert Selection option is located within the Selection dropdown menu. For convenient access, Its shortcut is Ctrl + I.
The Selection Pen and Selection Eraser exist as unique tools native to PaintTool SAI, allowing users to create selections as if they were drawing with a pen. These tools are useful for cleaning up parts of selections that aren’t caught by other tools and allow for a freehand experience.
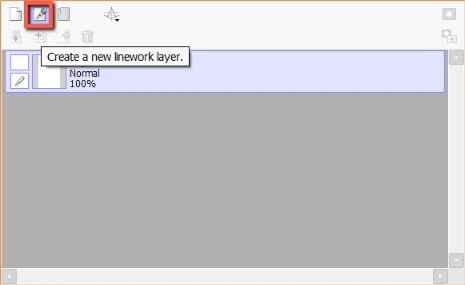
Chapter 8: Linework Layers
PaintTool SAI features its own native vector-based linework system called Linework Layers. Linework layers can add an enhanced linework experience, with the ability to resize and rescale artwork without losing the quality. You can also modify linework weight, stroke, color, etc.
While some features of Linework layers can seem similar to Adobe Illustrator, the features are not one-to-one. It is important to experiment to understand the full features of this function and its intricacies with control and anchor points.
My favorite tool in the Linework layer menu is the Curve tool. It allows you to control smooth lines easily. Combined with the Pressure tool, you can create dynamic and fluid lines in seconds.
It is important to note that linework layers do not retain their vector properties when they are merged with normal layers. Similarly, when exported they cannot create smart objects or other types of vector-based files that can be created in other software like Adobe Illustrator.
If you are looking to create vector-based drawings, PaintTool SAI is not the right tool. It simply uses a vector-based function for the chief goal of creating linework and linework only.
Chapter 9: Coloring and Additional Features
After creating your layers, sketch, and linework, coloring in PaintTool SAI is a breeze. Using the multiple selection tools mentioned previously in this post, you can create custom color palettes and block out colors with the paint bucket for a fast and efficient process.
There are some additional ways to further edit your work in PaintTool SAI by adding blur, changing the hue and saturation, adding text, and more. You can further crop and resize your piece to change your composition, and export for post-production edits.
Chapter 10: Troubleshooting
Although PaintTool SAI is lightweight and fairly uncomplicated, you are bound to experience problems at some point. Some of these errors can be easily fixed, while others require more in-depth solutions.
For most errors, a simple reset of PaintTool SAI, your laptop/computer, or a drawing tablet will be the solution. Just make sure to save your canvas before attempting it, although there is a good chance that recover work will save it. Errors that can be easily solved with this method include issues with pressure sensitivity and the stabilizer.
For problems with a drawing tablet, multiple monitors, and canvasses failing to save, troubleshooting may require additional steps. Remember to always keep your tablet drivers up-to-date, and replace faulty or damaged power supplies and cables.
Furthermore, be cognizant of the amount of memory and space left on your device when using PaintTool SAI. While PaintTool SAI is lightweight, it can stop working if your computer runs out of space. Thankfully, PaintTool SAI includes a counter at the bottom right of the screen to indicate memory and space usage.
Final Thoughts
Now that you’ve read through this guide to using PaintTool SAI you should be ready to create your next masterpiece. Remember that learning a new program takes more than a day, so take your time to understand the fundamentals and which tools are most important for you.
Do you have other tips, tricks, suggestions, or advice for beginners on using PaintTool SAI? Did you find learning the software easy? Let me know in the comments below.