
Making a symmetrical design in PaintTool Sai is easy! Using the Symmetric Ruler you can create symmetric drawings within two clicks. You can also copy and paste, and use the reflect transformation options to achieve the same effect.
My name is Elianna. I have a Bachelor of Fine Arts in Illustration and have been using PaintTool SAI for over seven years. I know everything there is to know about PaintTool SAI, and soon, so will you.
In this post, I will show you how to use PaintTool SAI’s Symmetric ruler and the Reflect transformation options to create your symmetrical drawing, without the headache.
Let’s get into it!
Table of Contents
Key Takeaways
- PaintTool SAI’s Symmetric Ruler allows you to create symmetric drawings in one click.
- Hold down Ctrl and Alt to edit your symmetric ruler.
- Use the transform options to create symmetric drawings by reflecting your design horizontally or vertically.
- Use the keyboard shortcut Ctrl + R to show/hide your ruler. Alternatively, use Ruler > Show/Hide Ruler in the top menu bar.
- Use the keyboard shortcut Ctrl + A to Select All.
- Use the keyboard shortcut Ctrl + T to Transform. Alternatively, use the Move tool.
- Use the keyboard shortcut Ctrl + D to Deselect. Alternatively use Selection > Deselect.
- Use the keyboard shortcut Ctrl + C to Copy a selection. Alternatively, use Edit > Copy.
- Use the keyboard shortcut Ctrl + V to Paste a selection. Alternatively, use Edit > Paste.
Create Symmetrical Drawings Using the Symmetric Ruler
The easiest way to create a symmetrical drawing in PaintTool SAI is by using the Symmetric Ruler. PaintTool SAI’s Symmetry Ruler was introduced in Ver 2 of the software. Located in the Layer menu, It allows users to make symmetrical drawings along an editable axis.
Here’s how to use the Symmetric Ruler in PaintTool SAI:
Step 1: Open a new document in PaintTool SAI.
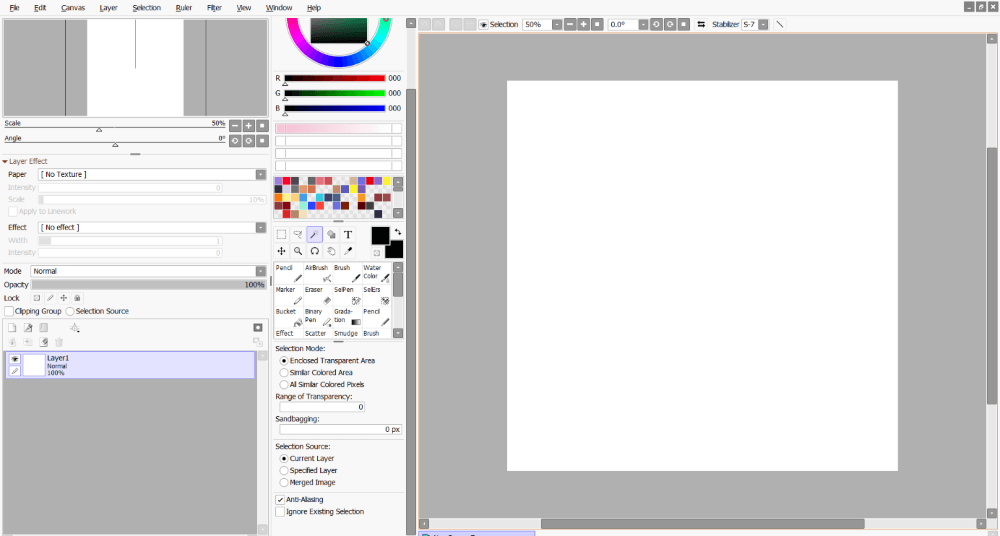
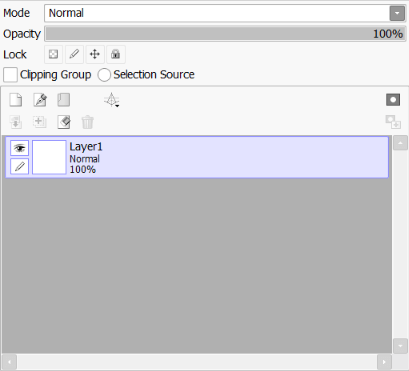
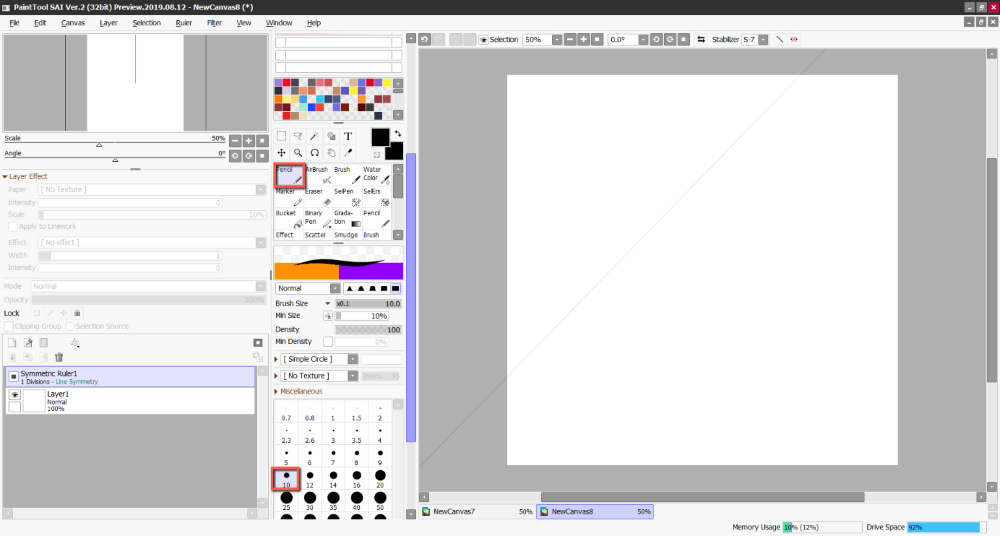
Step 2: Locate the Layer menu.
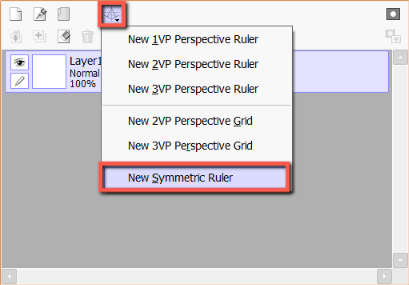
Step 3: Click on the Perspective Rulers icon and select New Symmetric Ruler.
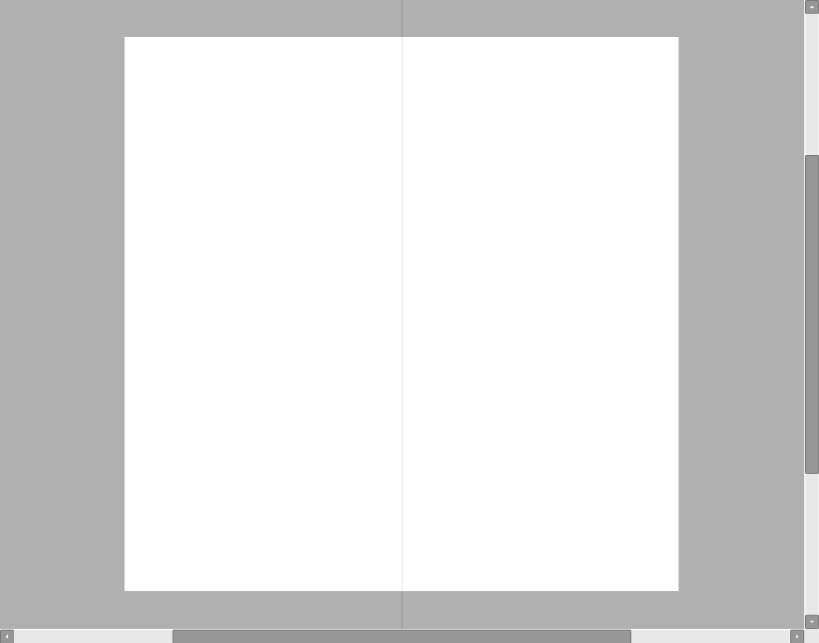
You will now see a vertical line appear on your canvas. This will be the axis on which your symmetric drawing will reflect. To edit this ruler, follow the steps below:
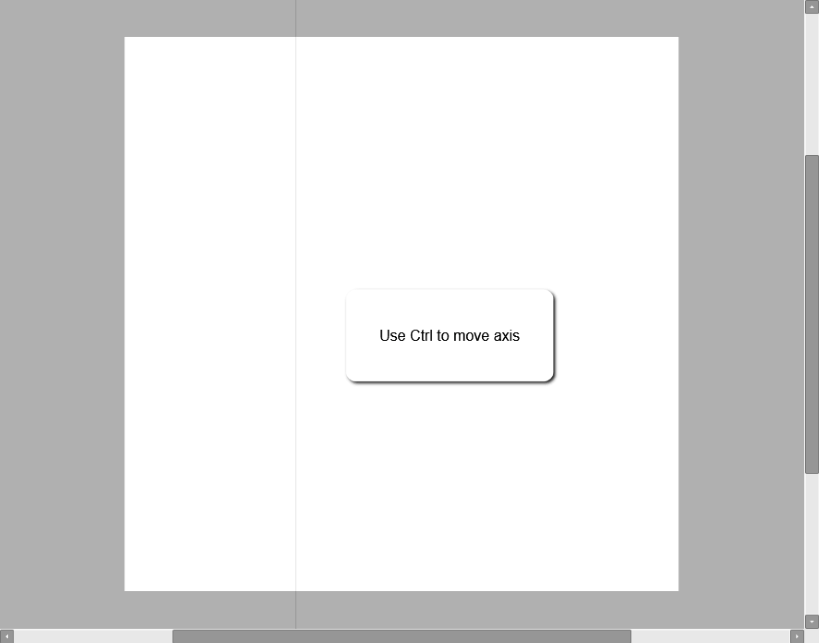
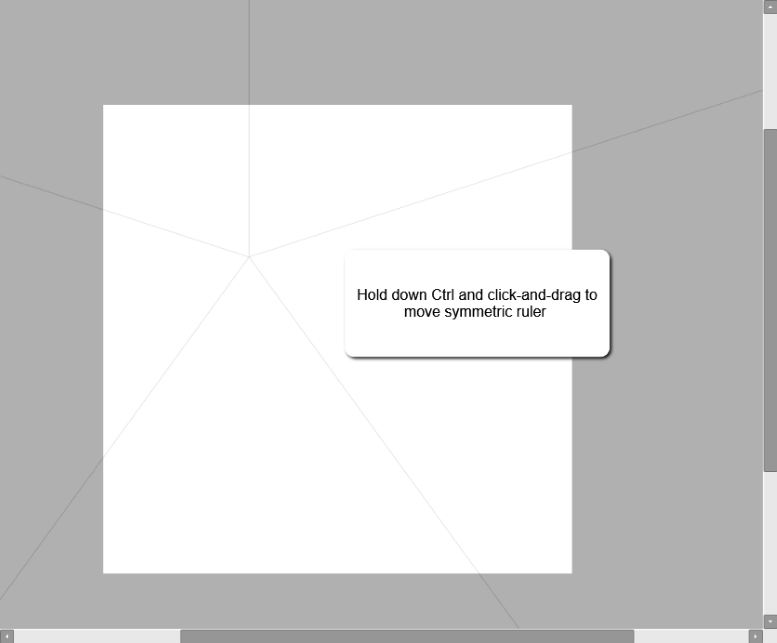
Step 4: Hold Ctrl on your keyboard to move your symmetric ruler around the canvas.
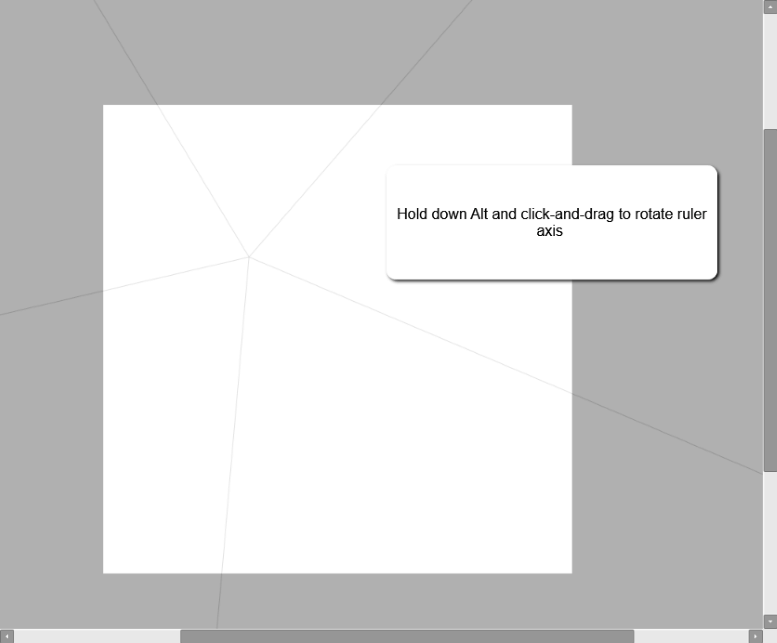
Step 5: Hold Alt on your keyboard to click and drag to change the angle of your symmetric ruler’s axis.

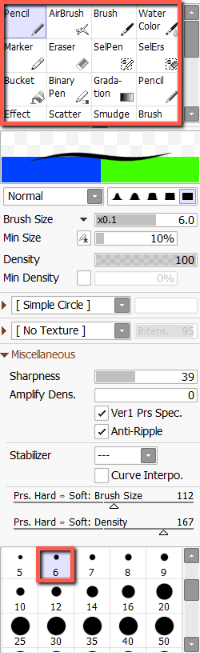
Step 6: Click on the Pencil, Brush, Marker, or another tool and select your desired stroke size and color. For this example, I am using the Pencil at 10px.
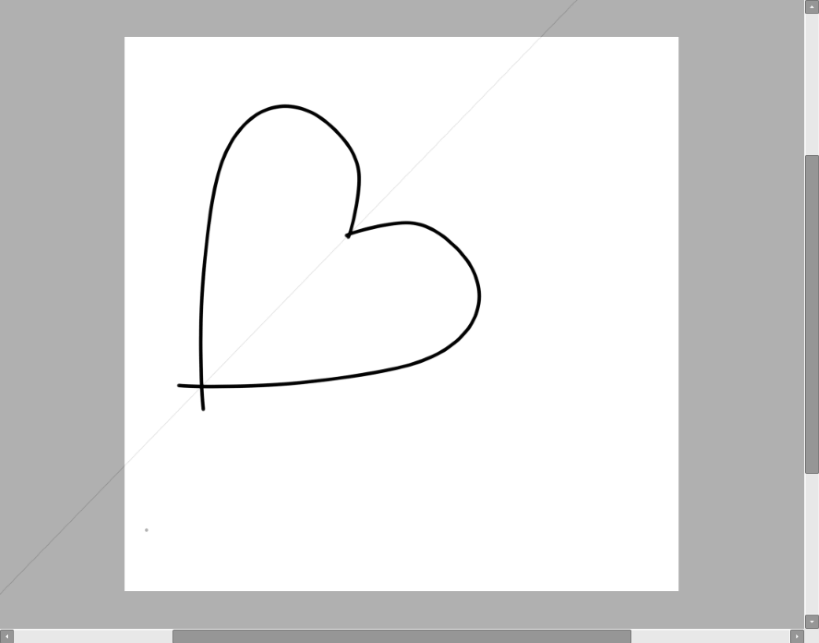
Step 7: Draw. You will see your lines reflected on the other side of your symmetric ruler.
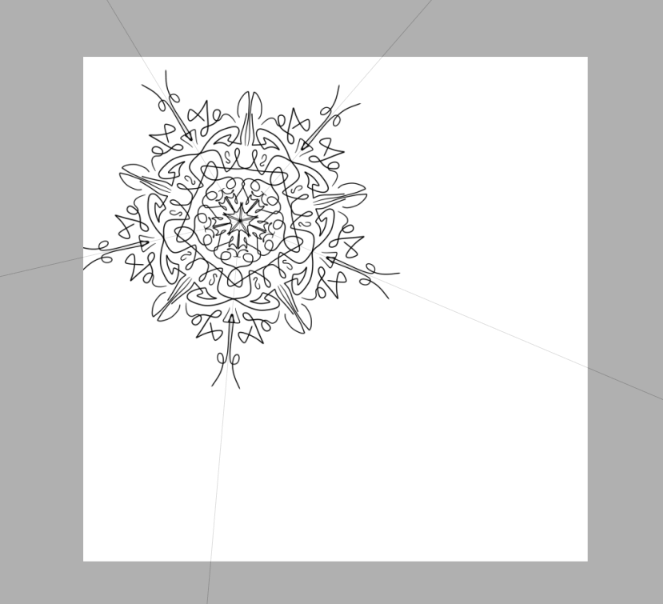
How to Edit the Symmetric Ruler in PaintTool SAI to Create Radial Symmetry
Another cool feature of the Symmetric Ruler in PaintTool SAI is the ability to create radial symmetry with multiple divisions. If you enjoy drawing mandalas, this function is perfect!
Follow the steps below to utilize radial symmetry and divisions in PaintTool SAI
Step 1: Open a new PaintTool SAI document.
Step 2: Click on the Perspective Rulers icon and select New Symmetric Ruler.
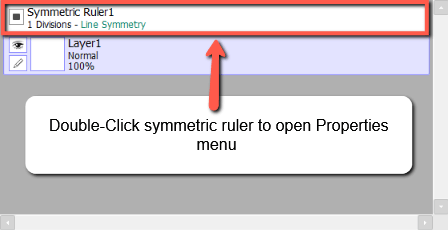
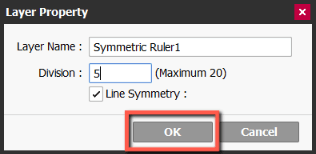
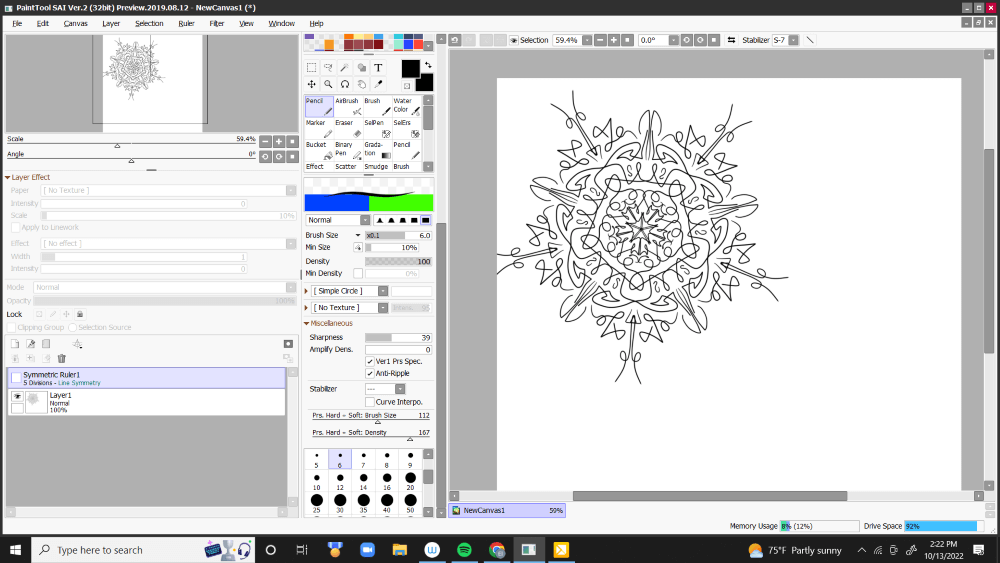
Step 3: Double-Click the Symmetric Ruler Layer in the Layer Panel. This will open the Layer Properties Dialog.
Step 4: In the Symmetric Ruler Layer Property menu you can rename your layer, as well as edit divisions. For this example, I am going to add 5 divisions. Feel free to add as many as you like, up to 20.
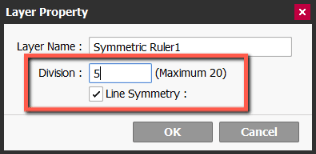
Step 5: Click OK or hit Enter on your keyboard.
You will now see your new symmetric ruler appear.

Step 6: Hold Ctrl on your keyboard to move your symmetric ruler around the canvas.
Step 7: Hold Alt on your keyboard to click and drag to change the angle of your symmetric ruler’s axis.
Step 8: Click on the Pencil, Brush, Marker, or another tool and select your desired stroke size and color. For this example, I am using the Brush at 6px.
Last step: Draw!
How to Use Transform to Create a Symmetric Drawing in PaintTool SAI
You can also use Transform and Reflect to create a symmetrical drawing effect in PaintTool SAI. Here’s how.
Step 1: Open a new document in PaintTool SAI.
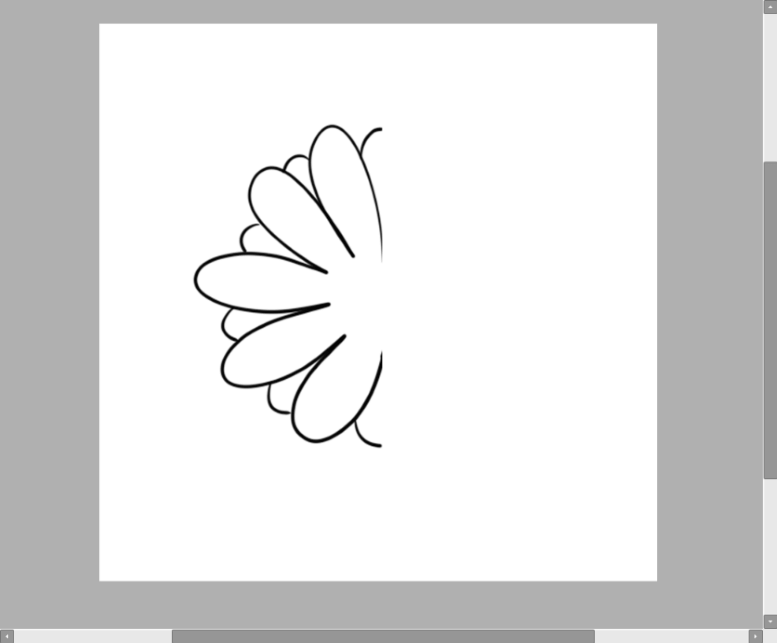
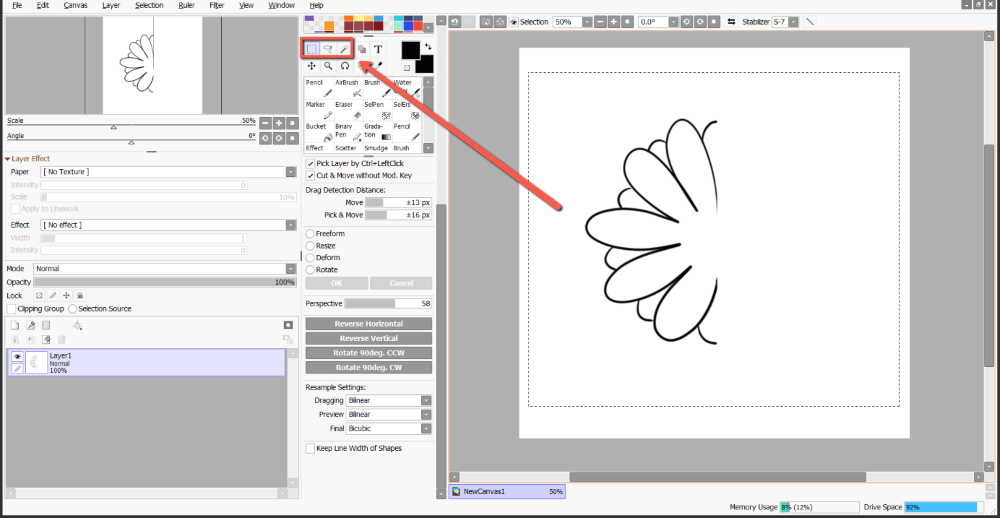
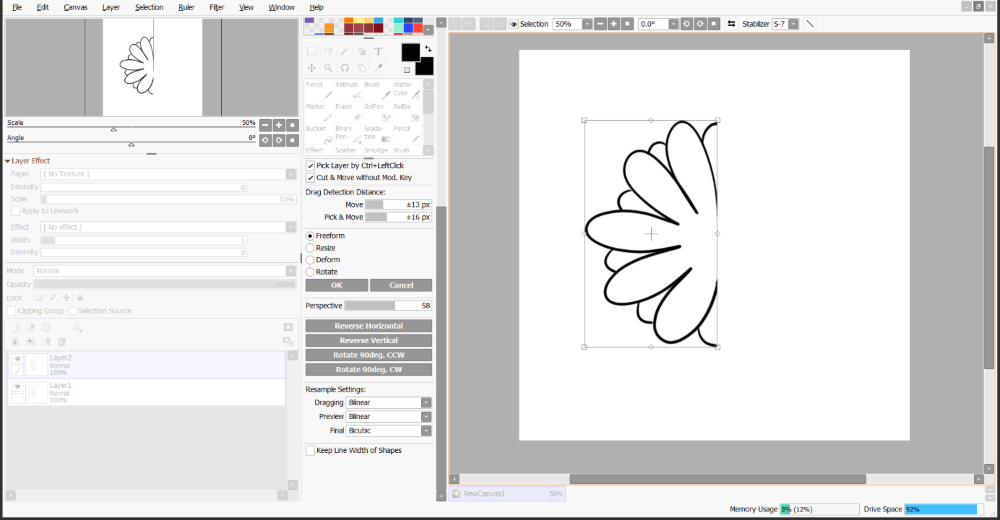
Step 2: Draw the first half of the drawing you would like to be reflected. In this case, I am drawing a flower.
Step 3: Select your drawing using the Select tool, or the keyboard shortcut for “Select All” Ctrl + A.
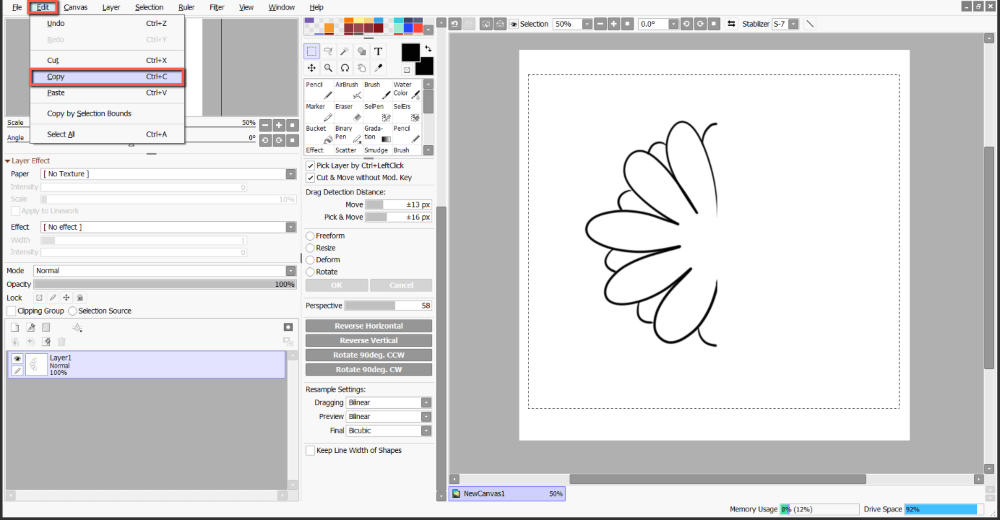
Step 4: Copy your selection using the keyboard shortcut Ctrl + C, or alternatively use Edit > Copy.
Step 5: Paste your selection using the keyboard shortcut Ctrl + V, or alternatively use Edit > Paste.
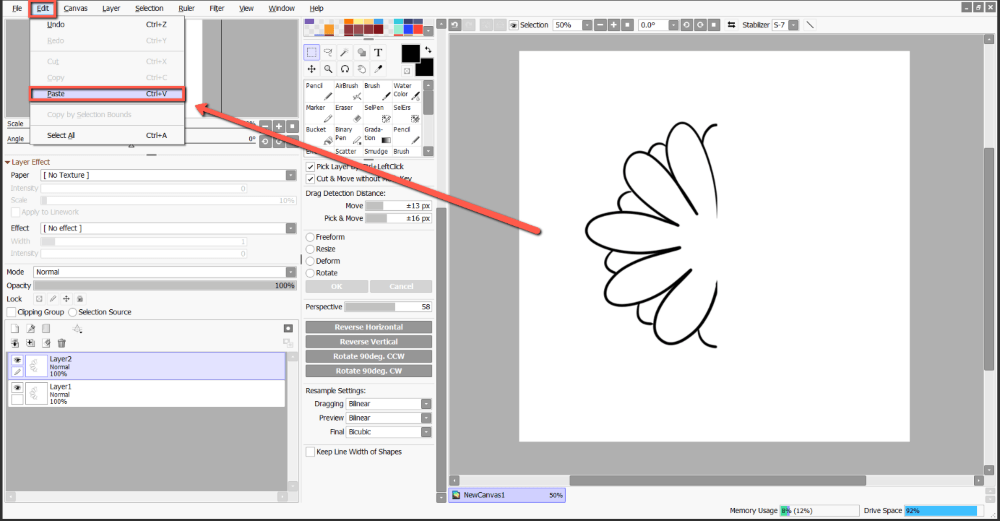
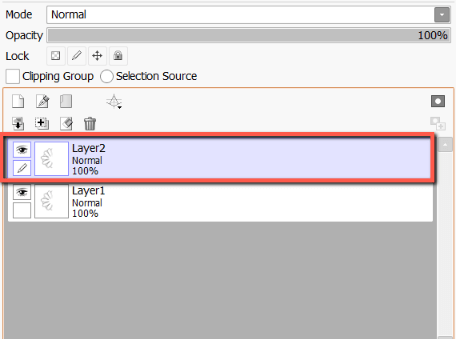
Your selection will now paste into a new layer.
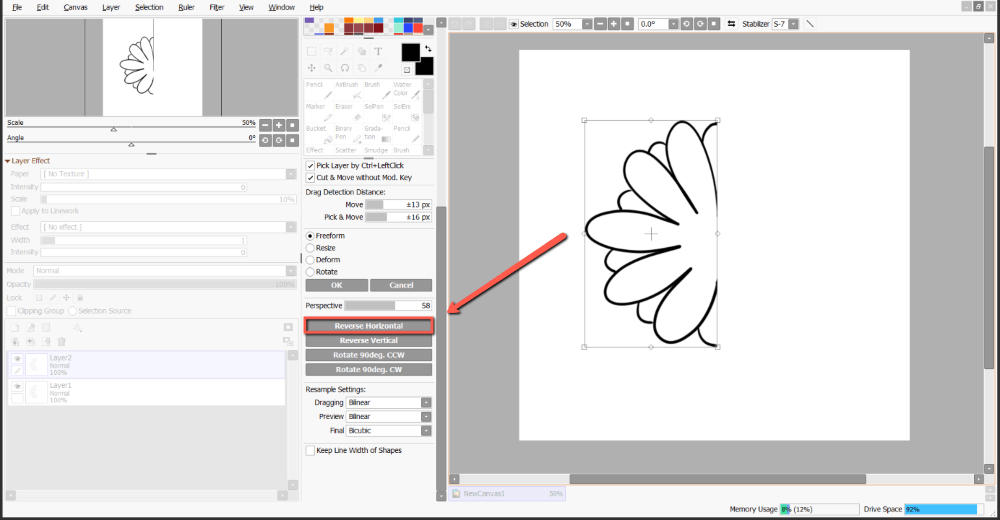
Step 6: Use the keyboard shortcut for Transform Ctrl + T to open the Transform menu.
Step 7: Click on Reverse Horizontal, or Reverse Vertical to flip your selection.
Step 8: Reposition your selection until you achieve a cohesive symmetrical design.
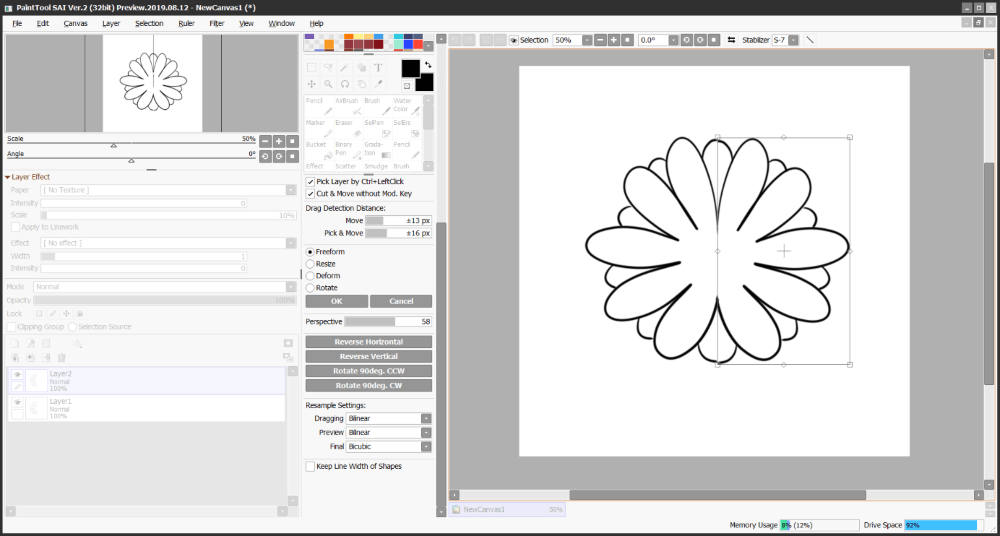
Enjoy!

Final Thoughts
Creating symmetrical drawings in PaintTool SAI is as easy as 2 clicks with the Symmetric Ruler. You can also use the Transform options with Reverse Vertical and Reverse Horizontal to achieve a similar effect.
You can also play with the symmetrical ruler options to create radial symmetry with multiple divisions. Just remember to uncheck the Line Symmetry box.
Which Ruler in PaintTool SAI is your favorite? Which one do you use the most? Let me know in the comments below!