
Are you overwhelmed with the task of coloring a piece? Looking for an easy way to edit a photo? With PaintTool SAI layer masks, you can create non-destructive edits in a flash.
My name is Elianna. I have a Bachelor of Fine Arts in Illustration and have been using PaintTool SAI for over seven years. I’ve used layer masks to create a variety of effects in my work with relative ease.
In this post, I will show you how to use layer masks in PaintTool SAI to make non-destructive edits to your drawings and images.
Let’s get into it!
Table of Contents
Key Takeaways
- Layer masks allow for non-destructive edits.
- Black and white colors are used to control layer masks. Black areas will not appear on the layer a mask is applied to, while white will show.
What Are Layer Masks?
Layer masks are a fundamental tool for creating non-destructive edits (edits that do not change an original file, photo, or drawing) and allow you to modify the opacity (transparency) of the layer they are applied to, without changing the original layer’s properties.
This flexibility can allow for a variety of interesting photo manipulation techniques, as well as aiding in the coloring process.
Layer masks are controlled through the use of black and white color. On a layer mask, areas colored white will be applied to the original layer, while areas colored black will not show. Furthermore, layer masks can have blending modes applied to them, increasing the options for layer effects you can achieve.
While coloring, layer masks can give you the ability for a fast and intuitive process, with the option for easy future editing.
How to Make a Layer Mask in PaintTool SAI
There is one way to create a layer mask in PaintTool SAI. Here’s how:
Step 1: Open PaintTool SAI and create a new layer.
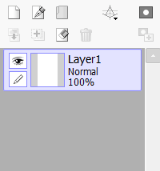
Step 2: Fill the layer with any color of your choice. As layer masks affect the layer they are masked on, filling the layer with color will help visualize how it works.
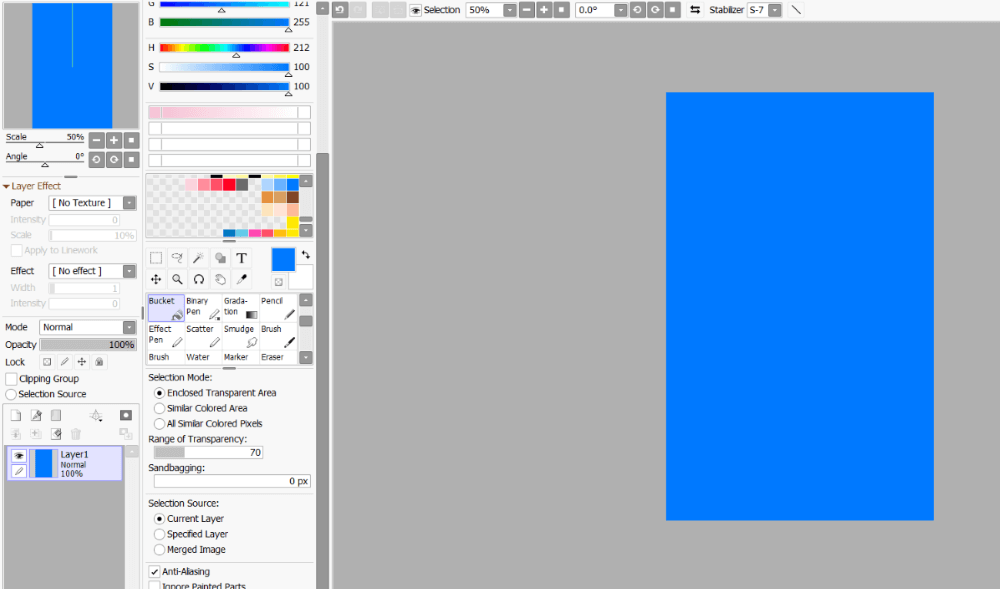
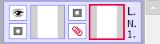
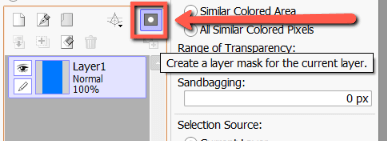
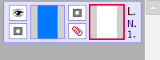
Step 3: Click on the Layer Mask icon. This will apply a layer mask to the layer.
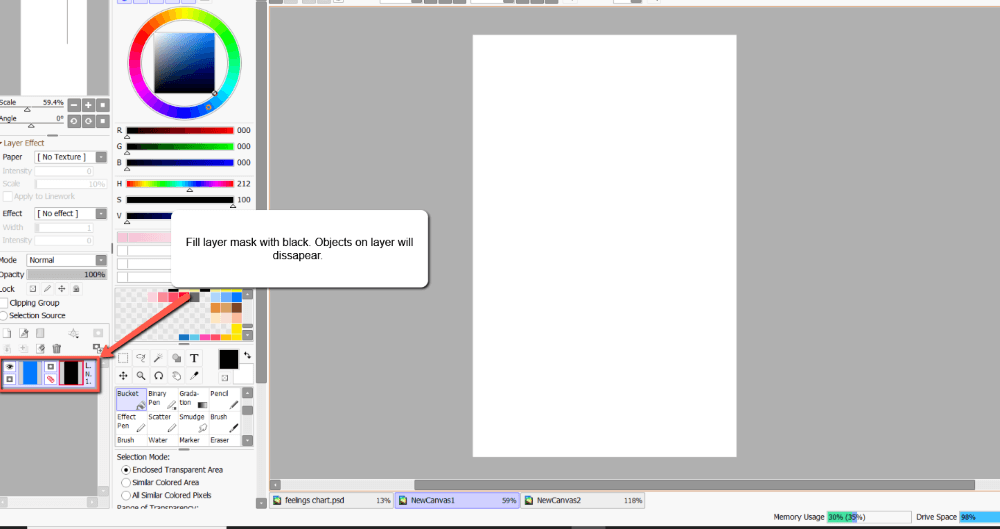
Step 4: Using the Paint Bucket, fill the layer mask with Black. This will make your original layer disappear from view.
Step 5: Pick white on the color picker.
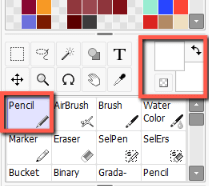
Step 6: Using the Pencil, Airbrush, Brush, Watercolor brush, or Marker draw on the layer mask. Whatever you draw in white will show on your original layer.
Step 7: To hide the layer mask from view, click the Hide Layer Mask icon.
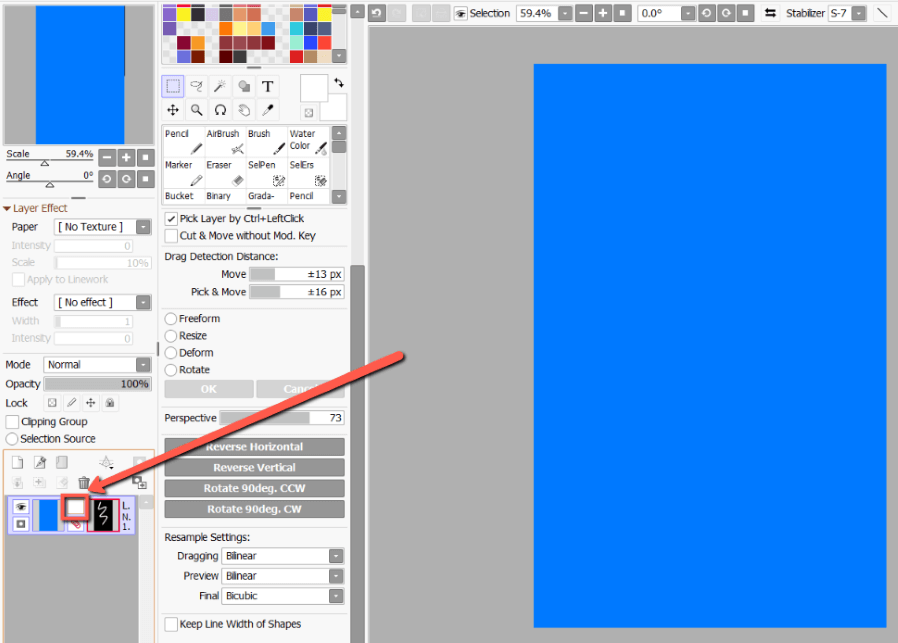
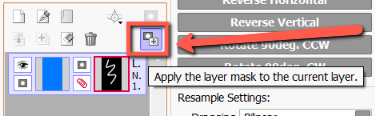
To apply the layer mask to the original layer, click the apply the layer mask to the current layer button.
How to use Layer Masks to Color In PaintTool SAI
Now that you know the basic fundamental functions of layer masks, here is how you can use them to optimize your color workflow:
Step 1: Open the document you wish to color.
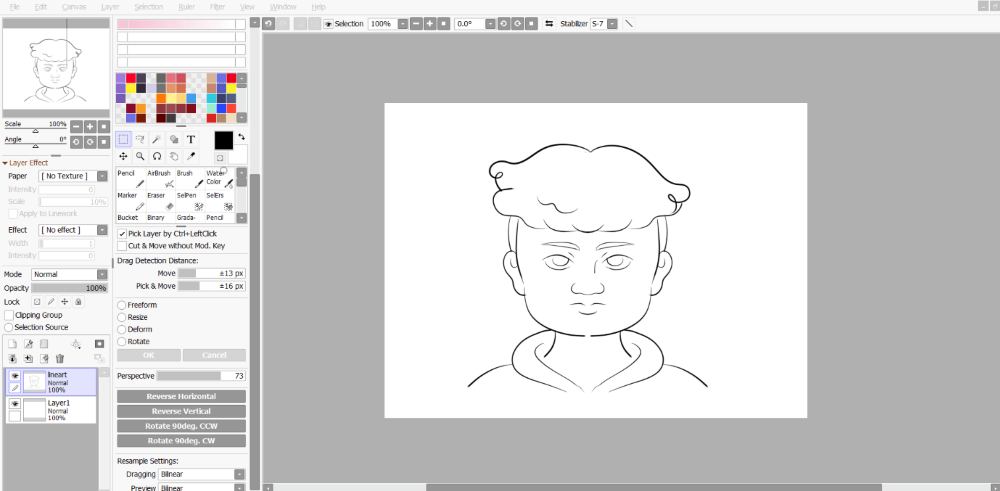
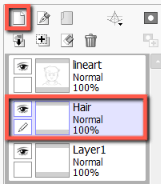
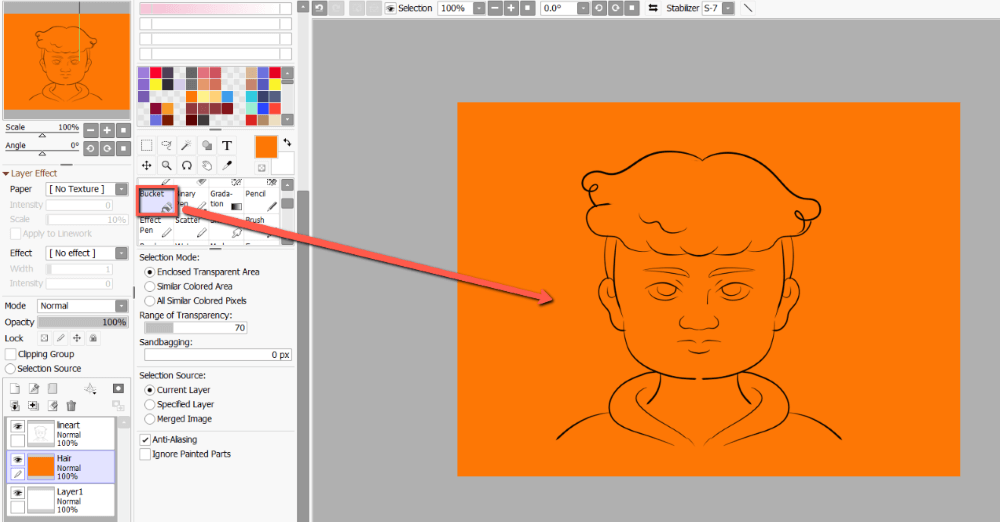
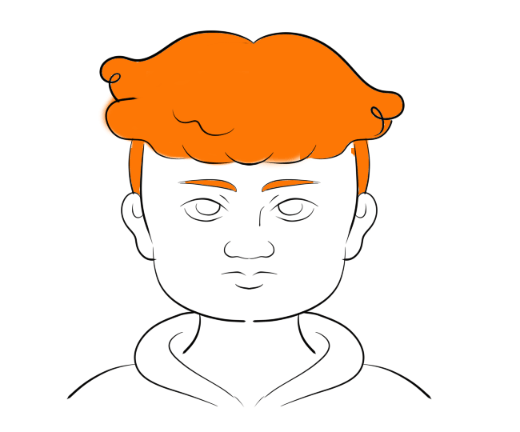
Step 2: Create a new layer under your linework to color. For this example I will be coloring the hair on my character, so I will name it “Hair.”
Step 3: Using the Paint Bucket, fill the layer with your color of choice. As I want this character to be a ginger, I will fill it with Orange.
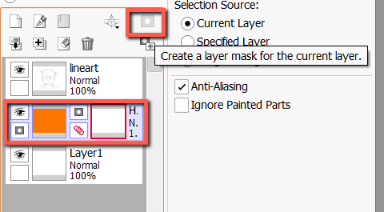
Step 4: Create a layer mask on the Hair layer.
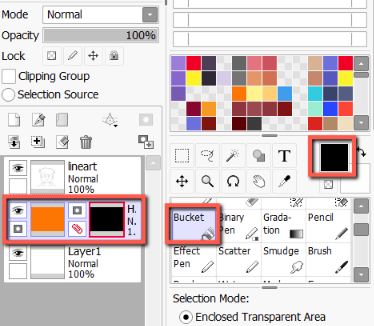
Step 5: Using the method explained in Steps 3 and 4 in the section above, fill the layer mask with black.
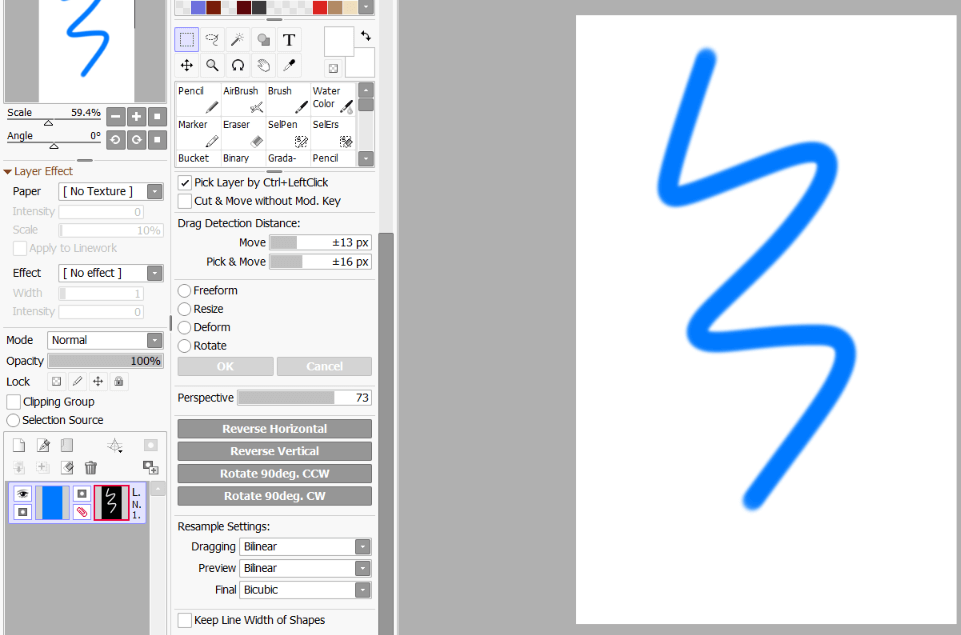
Step 6: Using white, draw the area you would like to color in the layer mask. It will show up on your canvas. I am using the pencil at 10px.
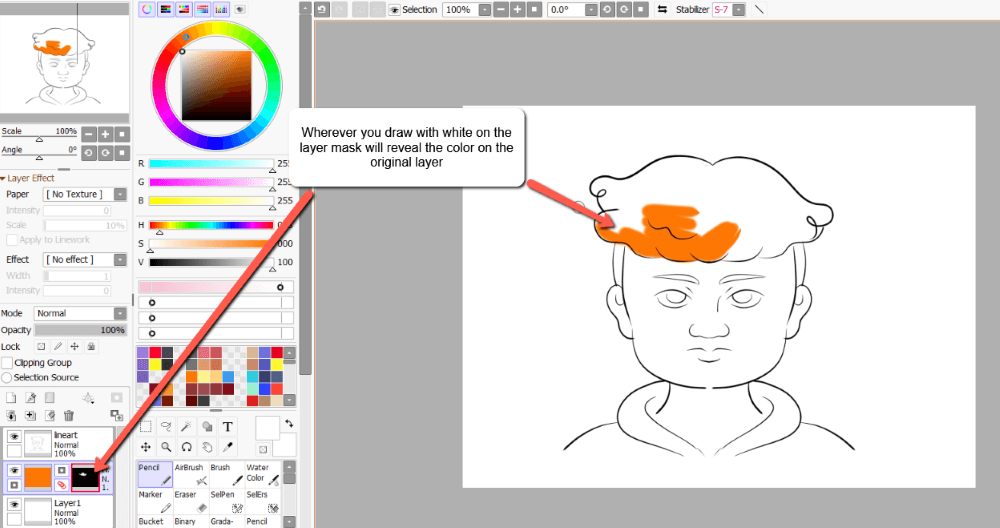
Keep drawing to fill the hair with color.
Final Thoughts
Creating and using layer masks in PaintTool SAI is an easy way to make non-destructive edits to your design. Using layer masks with black and white, you can easily apply and remove textures, patterns, and a variety of effects to your canvas. Experiment for best results.
Do you use Layer masks to color in PaintTool SAI did you like most? Let me know in the comments below!