
There are many tools you can use to color hair in PaintTool SAI. Whether you want to finish a new character design, portrait, or new piece of concept art.
My name is Elianna. I have a Bachelor of Fine Arts in Illustration and have been using PaintTool SAI for over seven years. As a freelance character designer, I use PaintTool SAI to create my pieces and have explored various techniques to bring them to life.
In this post, I will show you a few methods to color hair in PaintTool SAI in various styles such as realistic and anime, using the Pencil, PaintBrush, Select Pen, Airbrush, and custom brush textures.
Let’s get into it!
Table of Contents
Blending Brushes in PaintTool SAI
There are four primary blending brushes in PaintTool SAI 2. They include the Brush, Watercolor Brush, Marker, and Smudge tool. Here is how they perform.
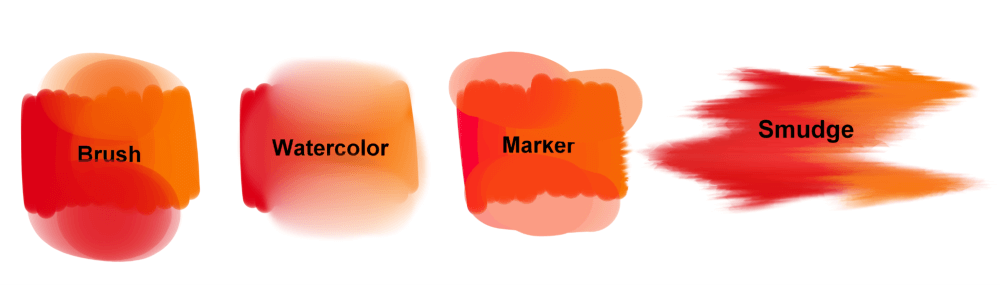
The Brush is the default blending brush. Watercolor has a much “smoother” finish, while the marker blends but can show distinct differing levels of opacity. Smudge is the most unique blending brush on this list, but I cannot say I’ve used it much or seen it used in other artists’ workflows.
PaintTool SAI Ver 1. Includes additional brushes such as Crayon, Acrylic, and Oil. Additionally, the Blur tool was not available in earlier versions of PaintTool SAI 2, but I have heard that it has been added back.
How to Blend with Brushes in PaintTool SAI
Now that we have discussed the various brushes that exist in PaintTool SAI, we can learn how to use them to blend. Blending with brushes in PaintTool SAI is similar to other drawing programs, and painting in real life. However, it does take some getting used to.
Do not be discouraged if blending in PaintTool SAI does not come naturally to you. Digital painting, while amazing, requires different hand-eye coordination and intuitive thinking skills. It may take your brain and hand some time to adjust to this mechanism of drawing if it is new to you.
Practice and you will be a pro in no time.
Let’s dive in.
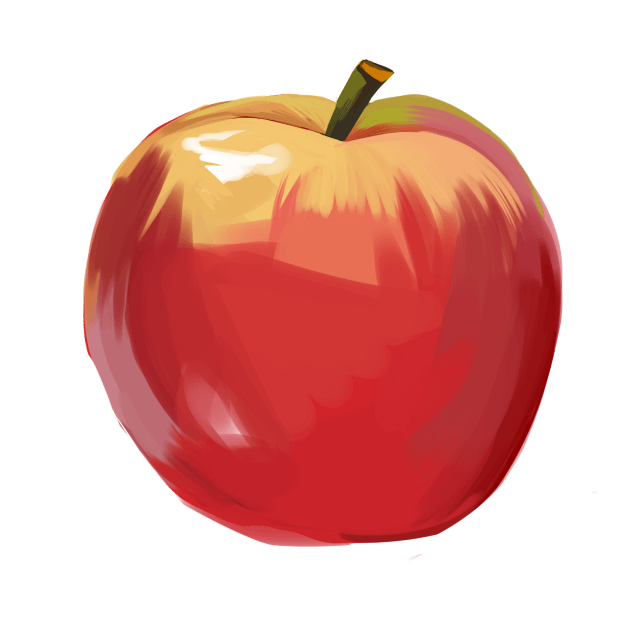
Step 1: Open your file in PaintTool SAI with your sketch. For this example, I am coloring an Apple.
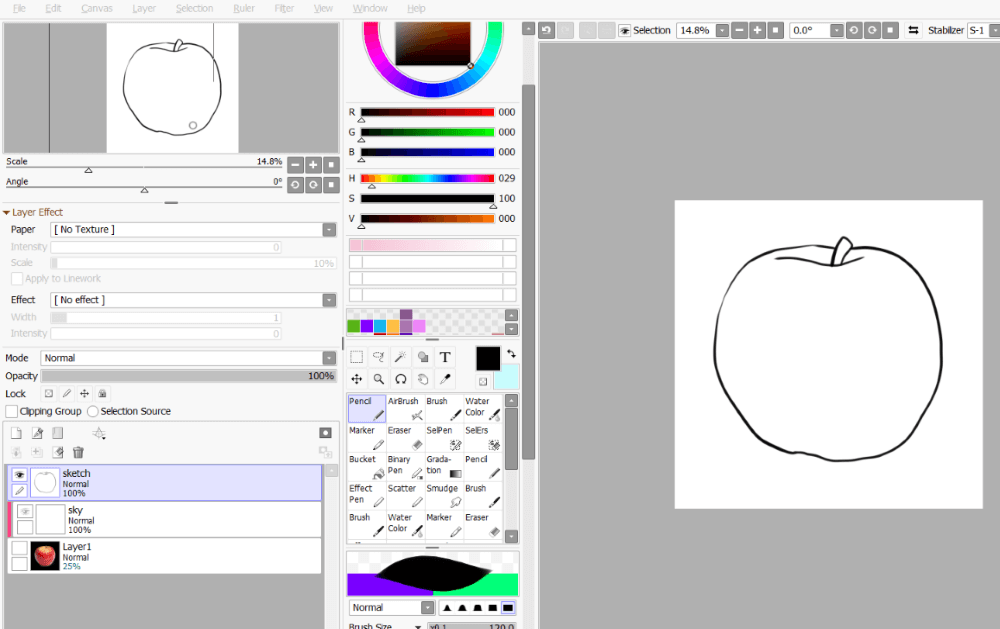
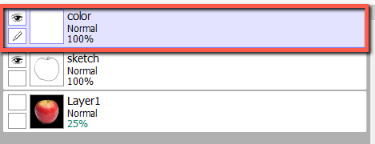
Step 2: Create a new layer and name it color.
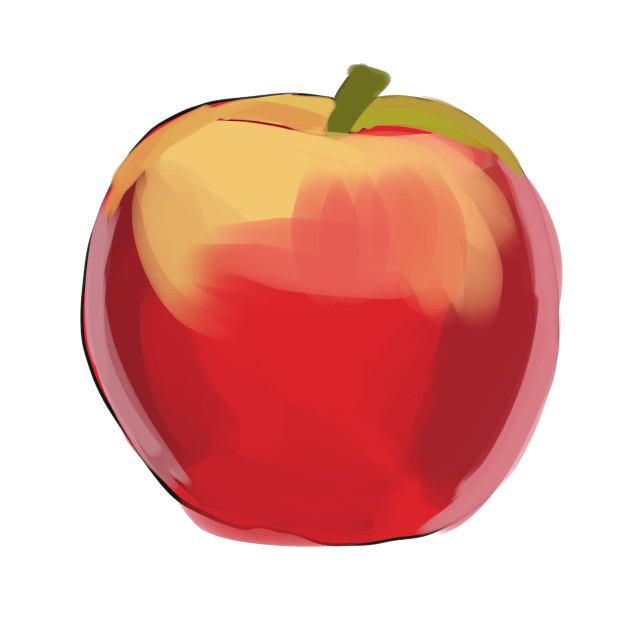
Step 3: Fill in your color layer with your color flats. Block out the main areas of color you see in your image.
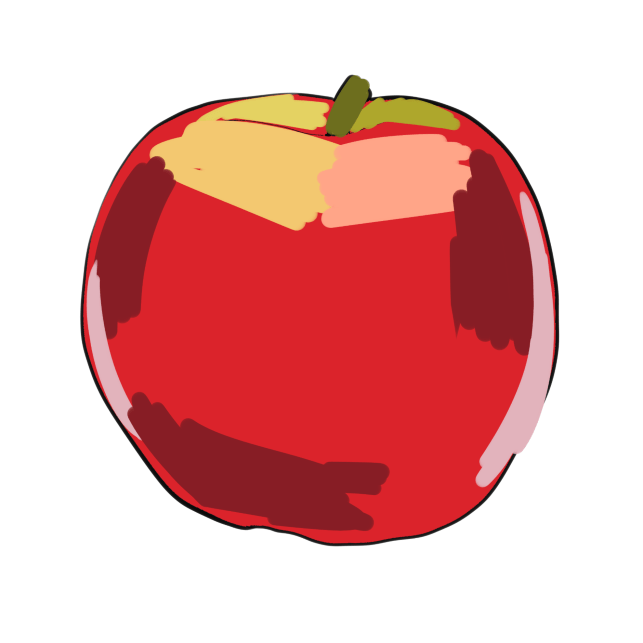
Step 4: Use the Brush tool to blend the colors together. Brush size will depend on the size of your canvas, but for this example, I am using a brush at 50px. You can also experiment with brush density but in my workflow, I keep the default 100% settings.
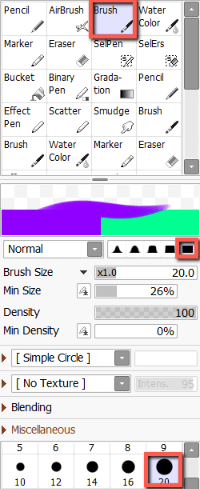
Step 5: Use a smaller brush size to continue blending.This will help to refine the smaller details in the piece. I am using 20px brush.
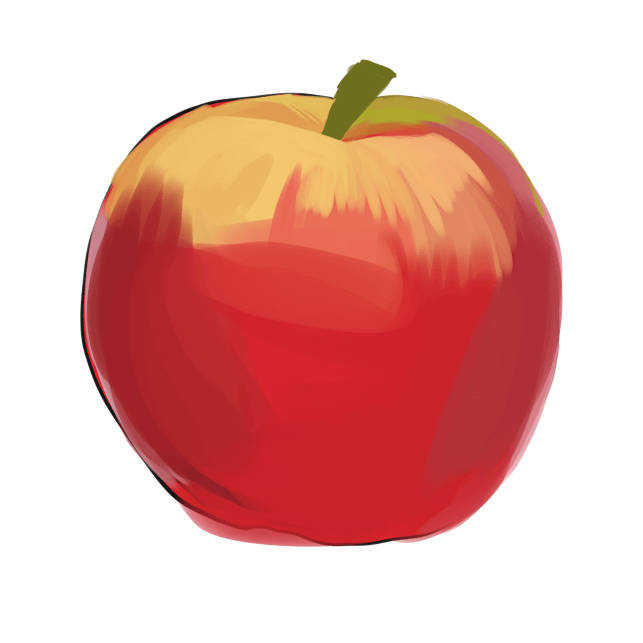
Step 6: Place flat colors that were blended away in the previous steps. This can include highlights that were lost and shadow areas that were blended together in the previous steps.
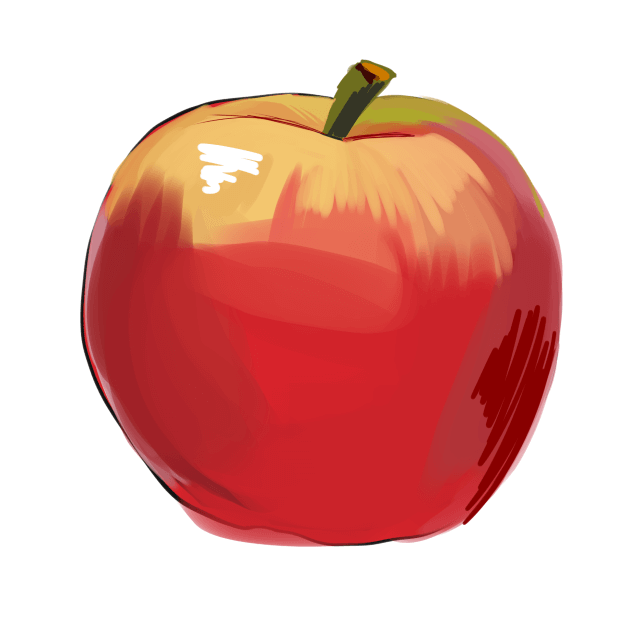
Step 7: Using a smaller brush size again, continue blending and refining until you get your desired look.
Final Thoughts
The ability to blend colors is a foundational skill of digital art. Thankfully in PaintTool SAI, this is easy with the brush, watercolor brush, marker, and more.
Don’t get discouraged if blending colors do not come naturally. Digital art and traditional art are not the same and there is always an adjustment period. Simply practice and you will see improvement.
How did your painting turn out? Let me know in the comments below!