
Photolemur
Summary
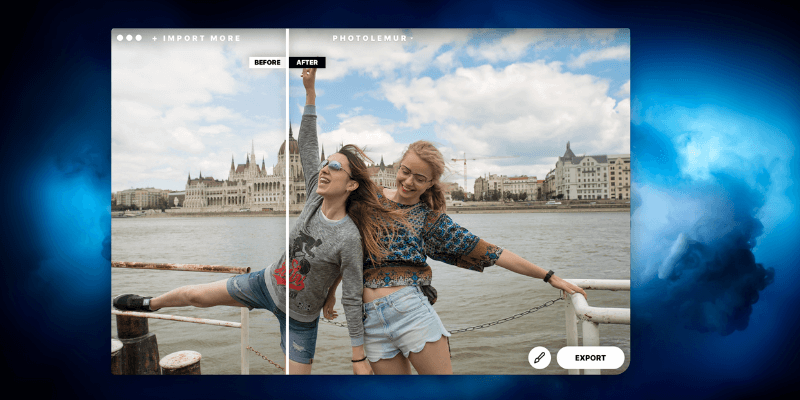
If you don’t like monkeying around with your photos in order to get the best shot, then the aptly named Photolemur aims to do the job for you with just a few clicks of the mouse.
It’s available for Mac and Windows. The program boasts advanced artificial intelligence that will adjust your photos automatically to the best settings and create professional shots from your amateur pursuits.
This program is not meant for professional photo editors/photographers and is actually quite limited in regards to user-generated image adjustments. However, it’s a great choice for quick and easy editing, especially if you want to publish to social media or just increase the quality of your images.
What I Like: Very simple app, can be quickly mastered. Batch uploader seems to work effectively and quickly. Sleek interface that’s easy to use.
What I Don’t Like: Very little control over your photo edits. Email response from the support team was less than enlightening.
Quick Update: Photolemur has merged with the latest version of Luminar and certain features and pricing have changed. We may update the article in the near future.
What is Photolemur?
It is an AI-powered photo editing tool that can edit all your photos in just a few clicks so you get the best shots.
Is Photolemur safe?
Yes, Photolemur is completely safe to use. It’s owned by the Photolemur LLC, which itself is owned by Skylum, the same company that makes the well-reputed Luminar and Aurora HDR products.
Photo apps from Skylum have received many awards, and the company has a great reputation. Their sites use an HTTPS connection to keep your data safe, and the Photolemur product is not known to contain any malware.
Is Photolemur free?
No, Photolemur is not free software. You can purchase it for either Mac or Windows from their website. If you aren’t sure about purchasing Photolemur, you can also try it out using the free version available here.
Photolemur vs Luminar: what’s the difference?
Both Photolemur and Luminar are actually owned by the same company, but they’re directed at very different audiences.
- Designed to be quick and simple
- Makes simple edits to multiple photos at once
- Basic export options
- Meant to be used by regular people who just want their photos to look a little better
- Full suite of editing tools for your images including color adjustment, channels, curves, layers, and other features
- Makes professional edits to a single photo at once
- Exports your final images in several different ways
- Meant to be used by photographers and other photo professionals
Both Photolemur and Luminar can be used as plugins with Adobe Products. Additionally, Luminar can be used with Aperture.
Since Luminar is a more full-featured program, you can also install plugins such as Snapheal or Aurora HDR. In this way, it can both function as a standalone program and as a plugin.
Table of Contents
Why Trust Me for This Review
My name is Nicole. I enjoy trying out new tech and figuring out exactly what’s going on with the latest programs, software, and applications. Just like you, I’m a consumer who wants to know more about what’s available before I purchase anything.
My review of Photolemur is completely unbiased and is not sponsored by the developer. Additionally, all my insights come directly from using the program. Every screenshot comes from my own testing, and every line of text is written based on my own experiences. Because of this, you can trust that the information here is accurate, and is designed with your best interests in mind, not a developer’s.
Detailed Review of Photolemur
How It Works
Photolemur is packed with features, so let’s break down exactly what the program offers. Once you install the program (either by official download or through Setapp) and launch it for the first time you will see this screen:
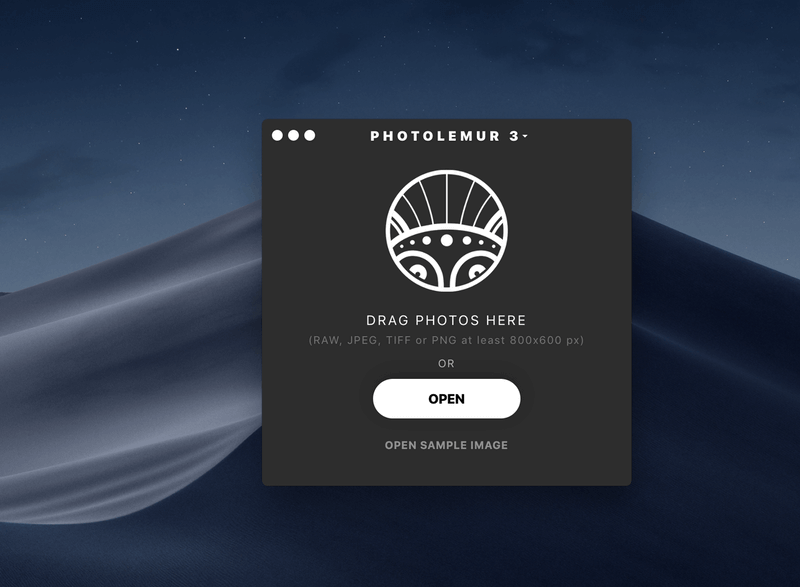
It’s designed to be simple to use right from the start, and the uploader is no exception. Once you’ve dropped in an image, you’ll see a brief loading screen while Photolemur creates the initial edit.
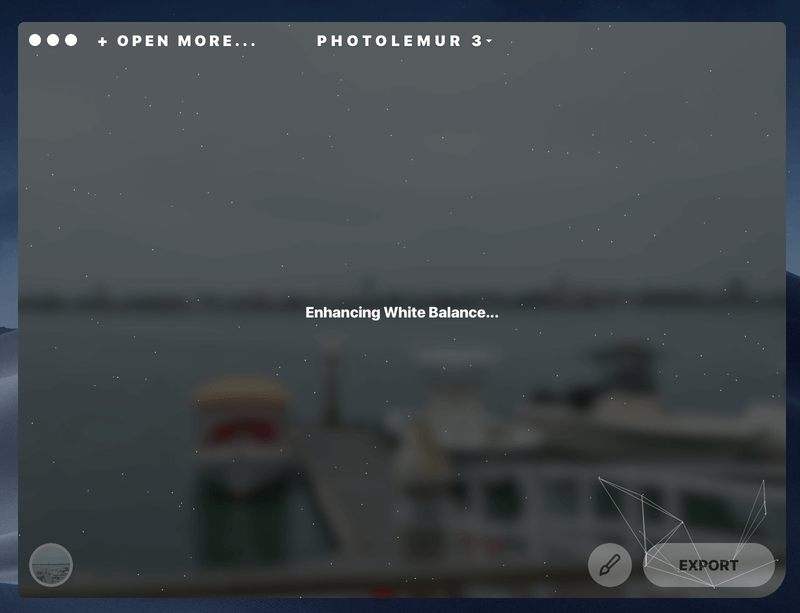
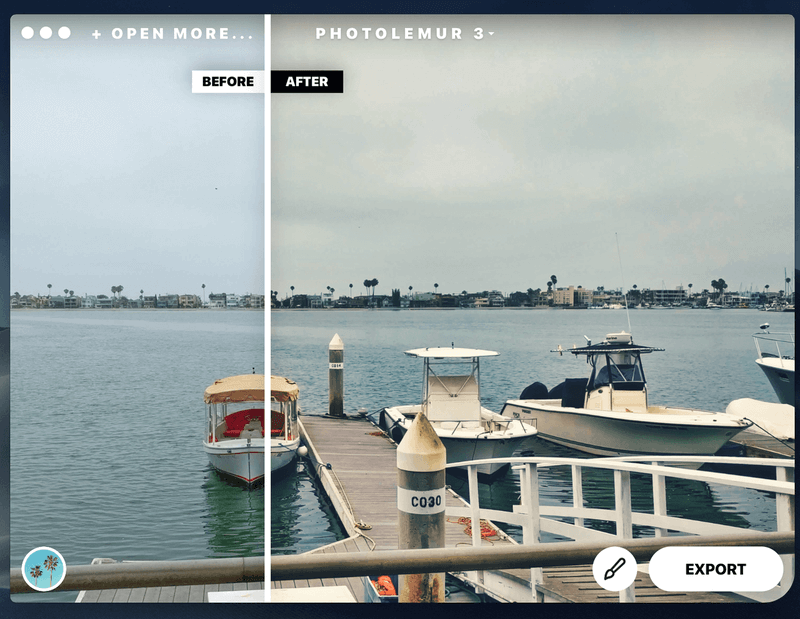
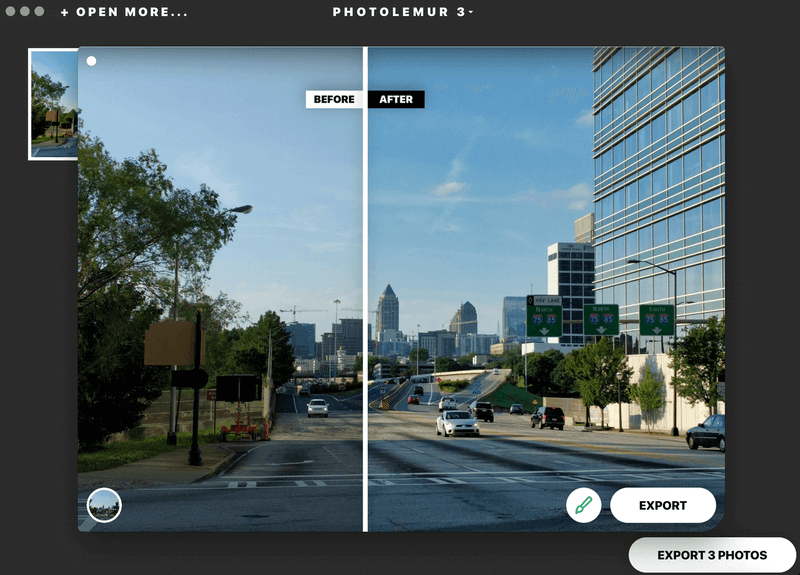
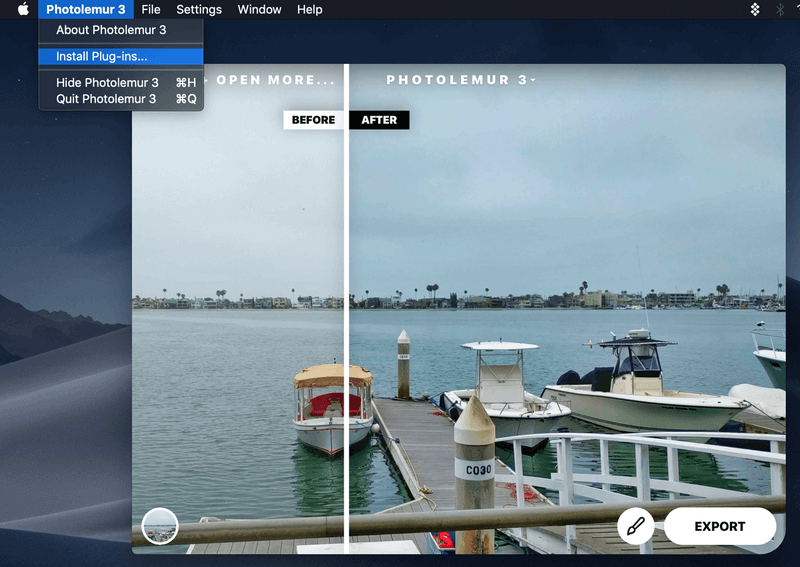
This seems to take about 1 to 5 seconds per image. Once this is done, you’ll see the default edit of your image. In this case, I’ve uploaded an image of mine taken at a marina I visited. The original is a bit dull, but Photolemur has created an enhanced version with more vibrant colors.
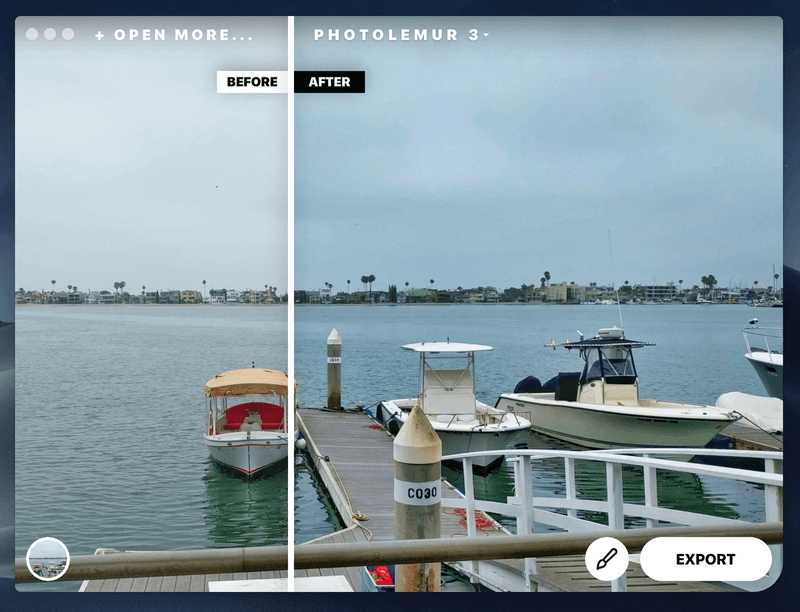
The white line in the middle can be dragged across the image so you can see changes in different sections, or pulled all the way to one side in order to see the complete image.
You can change the strength of the edits on your image, although you can’t change much about the edit specifics. To do this, click the paintbrush icon in the bottom-right corner.

Then, move the green dot to the left to see less of an effect on your image or to the right for a stronger effect. The small smiling face icon refers to the setting for Face Enhancement. If you click this icon, Photolemur will search for faces in your image and attempt to enhance any it finds. This will also activate a second setting, “Eye Enlargement”.

This is the full extent of adjustments available for altering the edits to your image.
Styles
At the bottom-left corner of every image, you’ll notice a small circle icon. Click this once to bring up the styles menu.

By default, there are 7 styles: “No Style”, “Apollo”, “Fall”, “Noble”, “Spirited”, “Mono”, and “Evolve”. These style buttons function essentially as filters. If you press one, Photolemur will take 1 to 5 seconds to load a new version of your image with the new style applied.
For example, here I applied the “Evolve” style to my image:
This gave it a much more retro or aged look than the original image.
You may notice that the style bar has a small “+” icon on the right side. This is the “Get New Style” button. It can be used to install additional styles from the web… at least in theory. At the time of writing, this button actually redirects you to the following web page:
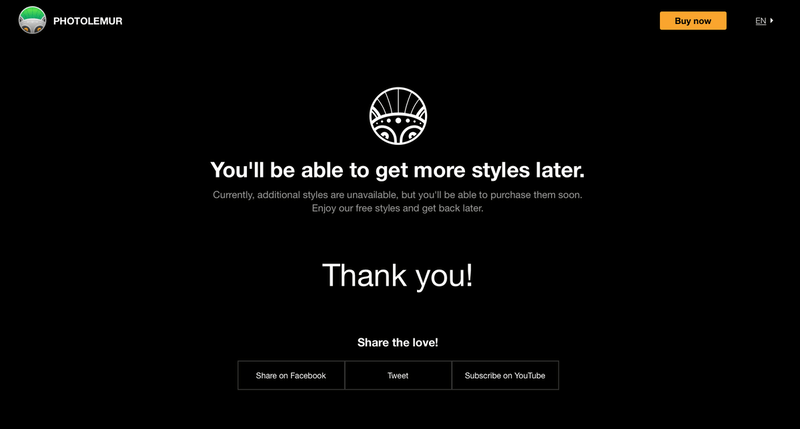
However, I do think it is important to note that this page says you will be able to purchase additional styles. I reached out to Photolemur about this to get a little bit more info.
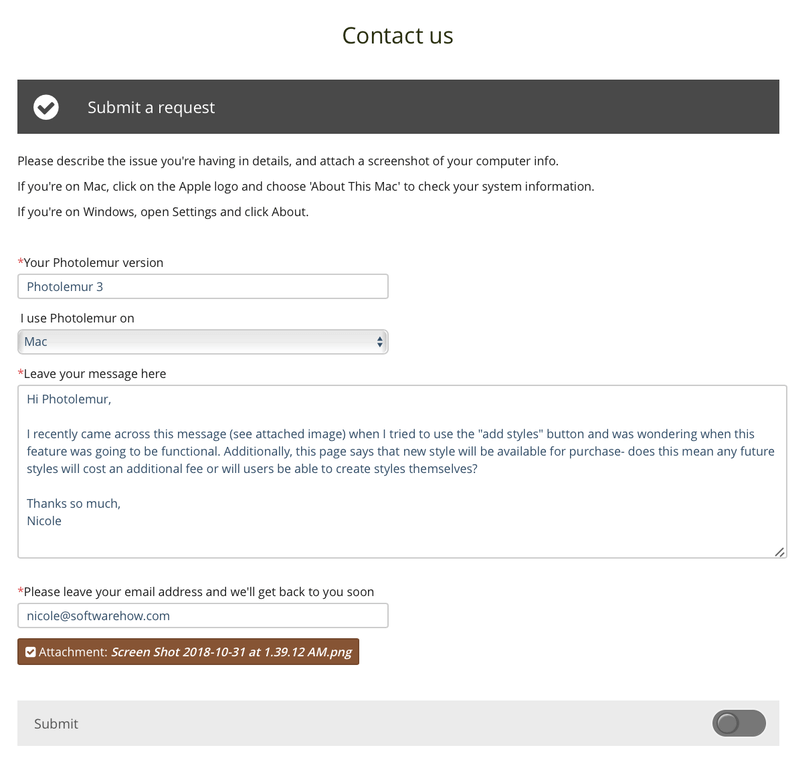
Photolemur sent me the following reply:
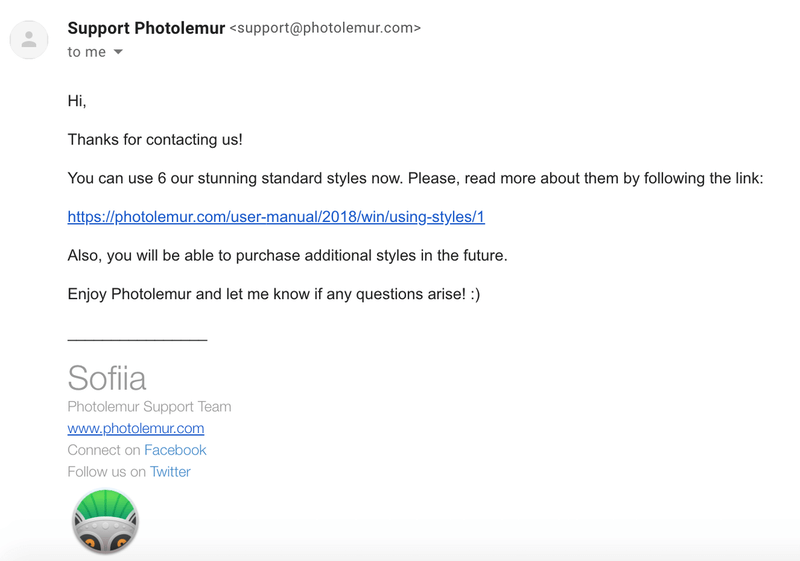
Unfortunately, I found this answer less than enlightening. After all, I had asked them when the style would be available and if they would all be paid — I already knew that it was even in the works and had attached a screenshot showing as much. Their email didn’t really say anything new, so it looks like users will be in the dark on this one until it’s actually released.
Batch Uploads
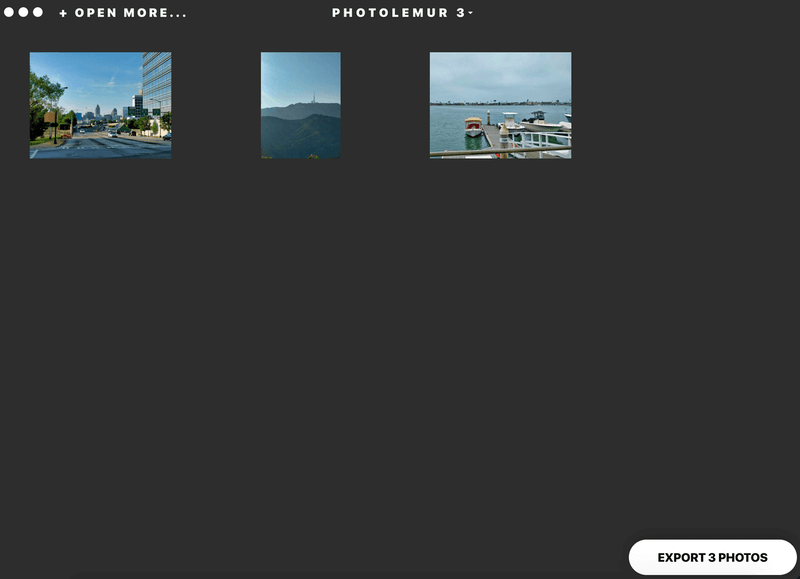
When opening Photolemur, you have the option to choose multiple images at once instead of just a single shot. Just press SHIFT+ Left Click, and then choose “Open”.

Here, I’ve selected three images of mine. At first, when these images are uploaded, they look the same as the original file. However, after a few seconds, they were transformed into much more vibrant images.
Clicking on any particular image will bring up the editor in a sub-window where you can make adjustments to just that shot.
You cannot make edits en masse to all the photos you have uploaded.
The batch uploader seems to work effectively. It quickly edits your shots and applies the default “No Style” effect to all your images. It also makes it easy to immediately export your altered images.
However, if you want to make adjustments to photos individually, or even as a group, you’re going to find it tedious to manually adjust each photo from the batch. The batch upload is best used when you’re satisfied with what the default settings are able to achieve with your images.
Export
When you’re done editing and ready to send your picture back out of the program, there are several options.
If you’re exporting multiple images at once, your only options are saving to the disk or emailing. However, if you export a single image you can also link to a SmugMug account.
If you select “Disk,” you’ll see a small window pop up where you can rename the file and choose the type you would like to save as. You can choose JEPG, PNG, TIFF, JPEG-2000, Photoshop (PSD), and PDF.
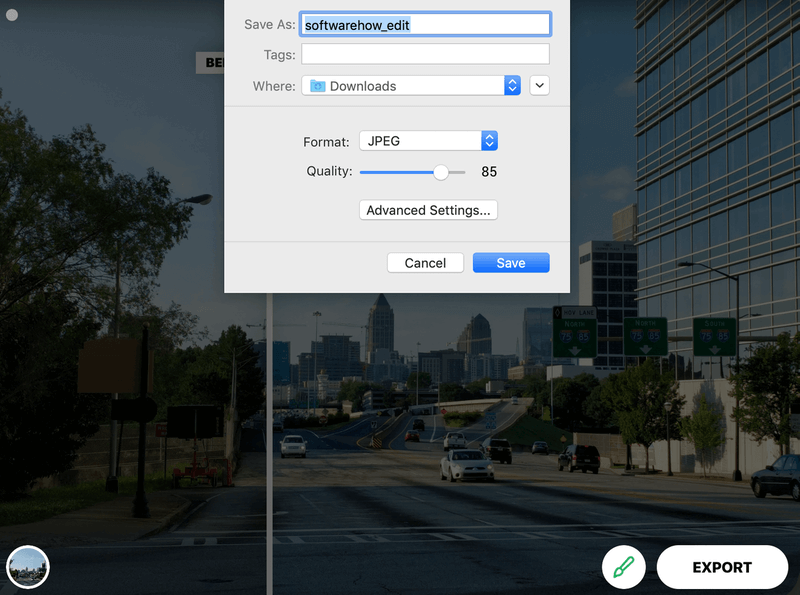
Beneath each type, you’ll also see a small button that says “Advanced Settings”. If you click this, you’ll be redirected to a more in-depth export screen.
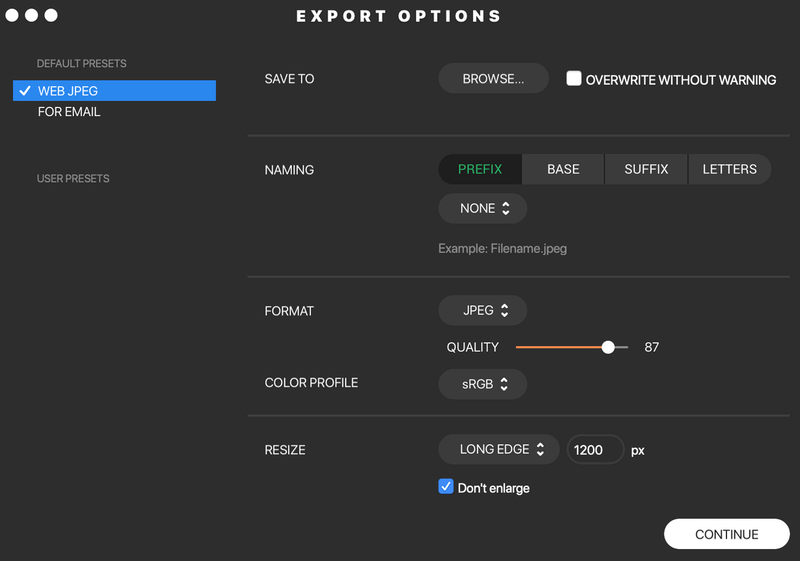
Here, you can alter the color settings and other special file features that are normally set to defaults.
If you choose “Email” to export your image, you’ll see the following screen:
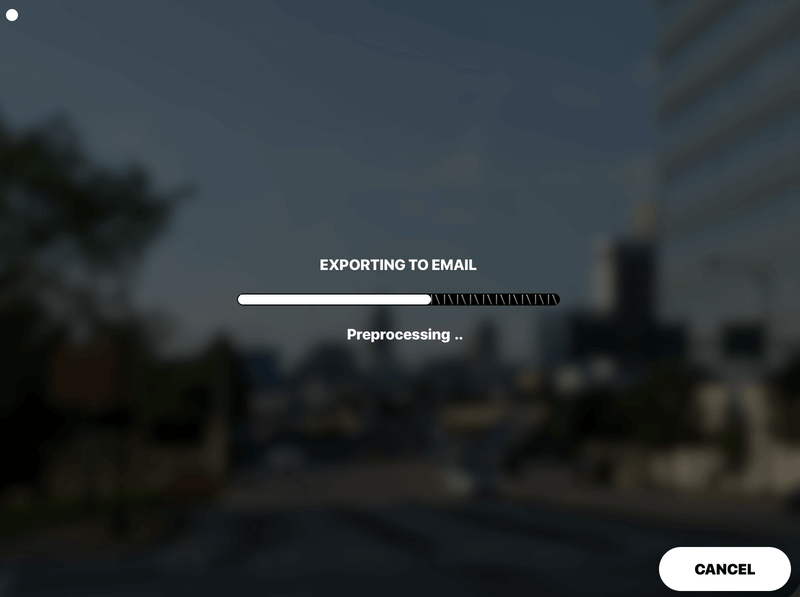
Once the export is complete, Photolemur will auto-launch your default email client and attach the finished photo to an email draft.
Plugin
Like many photo editing programs, Photolemur includes the ability to function as a plugin for a more robust option such as Adobe Photoshop rather than work as a standalone app.
In order to install Photolemur as a plugin, you’ll need to Adobe CS5 or higher. After that, open Photolemur. On the app menu, go to Photolemur 3 > Install Plug-ins.
Once you do this, you’ll be prompted to link Photolemur with your Adobe application of choice, as seen here:
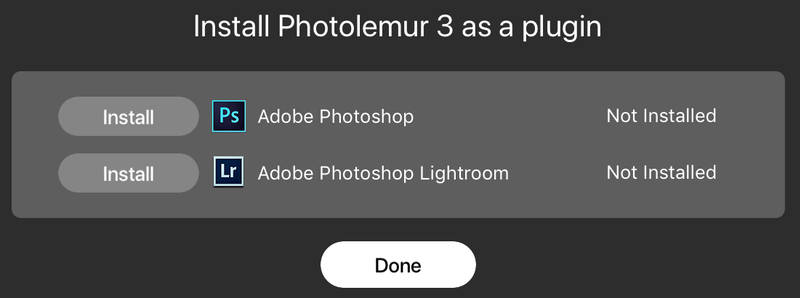
Once installed, it should be available just like any other plugins you may have installed on Photoshop or Lightroom.
Reasons Behind My Ratings
Effectiveness: 3.5/5
If you’re always and immediately satisfied with one-click editing, then maybe Photolemur is for you. To its credit, it does get the job done quickly and with minimal effort on the user end. However, photo adjustment isn’t a one-size-fits-all scenario. While Photolemur can do a great job on some pictures, on others it definitely falls short. Additionally, the lack of tools for the user means you can’t compensate for the software when it doesn’t meet expectations. On the other hand, some nifty features., such as batch editing and exporting, do help give it a little bit more credibility. Photolemur is effective for casual or occasional use, but definitely not anything more strenuous than that.
Price: 3/5
If you already have the $10/month Setapp subscription, then Photolemur is accessible and fairly priced, especially since you also get dozens of other apps for your money. But as a standalone app, Photolemur is definitely on the pricey side. Especially consider the limitations on editing your photos: the application only allows you to use built-in styles and auto-adjusting, and there are no special sliders for the user to take advantage of. Compared to more robust and cheaper alternatives, Photolemur falls a bit short.
Ease of Use: 5/5
Photolemur’s simplicity is one of its biggest selling points and best features. It’s clean and intuitive, producing near-instant results. You don’t need any manuals or guides to learn how to use it — everything is self-explanatory from the moment you open the app. While the simplicity might not be what a pro photographer needs, it makes amateur editing a breeze.
Support: 3.5/5
As far as technical support goes, Photolemur does just enough to get by. However, you should keep in mind that the app is so simple that users will rarely need assistance. There’s an official set of FAQ and tutorial pages available on the program website. While email support is technically available, you’ll need to do a bit of digging through the “What Can We Help You With” section to find it. Even so, I found the email support lackluster. When I attempted to reach out with a question about custom styles, I received a reply containing only information already available on the site. Overall, support is available but it’s not extensive.
Photolemur Alternatives
Adobe Photoshop
If you really want to get into photo editing, then Photoshop is the way to go. It does come with a hefty subscription-based price tag, but it’s simply the reality when you’re working with software that’s an industry gold standard. Where Photolemur has no learning curve at all, Photoshop’s is extremely steep. However, you’ll have access to a much larger array of tools for manipulating images. Read our full Photoshop review for more.
iPhoto/Photos
Your computer’s default photo viewer and editor is a lot more capable than you give it credit for, and it’s entirely free. For Mac users, iPhoto offers tons of editing options that have only grown over the years. You can read about editing with Photos here. For Windows users, the freshly styled Photos application will also be able to support your editing adventures, and you can check out how here. Both apps offer a full suite of filters, sliders, and adjustment tools.
Snapseed
Available for both iOS and Android users, Snapseed is a great free alternative to Photolemur. Although it doesn’t include as robust an auto-tuning feature, it does add many sliders and tuning options that you can use by hand. It’s more advanced than using your default photo editor (or Photolemur), and it’s regularly updated as well. However, it does not offer batch editing and is meant more for small scale edits.
You can also read our roundup review of the best photo editor for Windows and Mac here.
Conclusion
For the occasional quick and simple edit, Photolemur gets the job done. It boasts an AI that automatically adjusts your image; the processing time is mere seconds per photo.
I would recommend Photolemur to anyone who wants to quickly edit photos without learning a lot about the process behind it. The software is meant to be quick and easy, so it makes sense for regular people who just want to spice up a few photos.
On the other hand, if you really want to delve into photo editing, this is not the app for you.