
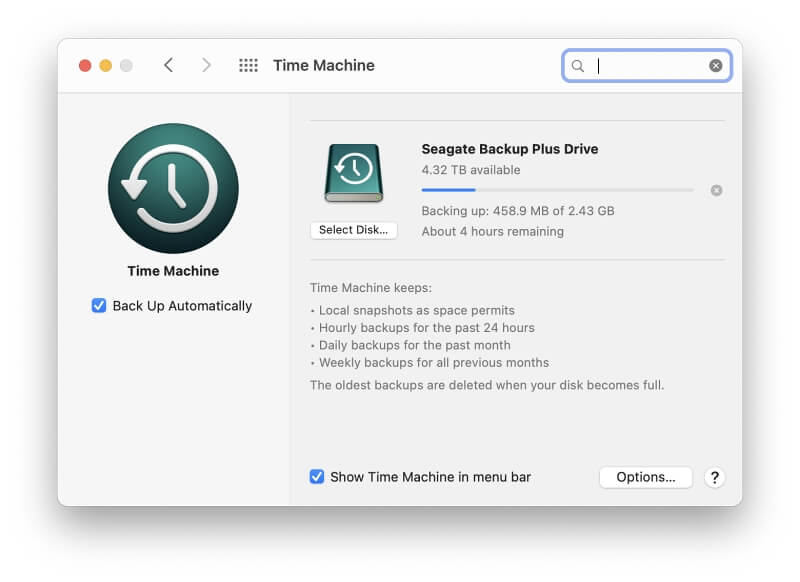
Time Machine is Apple’s computer backup system. It’s built into every Mac. The app’s purpose is to make backup easy: you set it up, and then it works without you thinking about it. After the initial backup, Time Machine only has to deal with the files you created and edited. It’s designed to work quietly in the background; you’ll probably never notice that it’s working.
The app keeps your files safe, allows you to restore them one at a time or in bulk, and can be used to set up a new computer. It works well. I use it to back up my iMac to an external hard drive. After the initial backup was finished, I never noticed when the incremental backups were performed again every hour.
However, there are times when you will want to minimize the time required by a backup.
For example, you may need to perform your first backup before taking it to be looked at by an Apple Genius. You were instructed to back up your data first. You were surprised to learn that your initial backup can take many hours, and you haven’t got enough time to get it done before your Genius appointment.
Fortunately, there are various ways to speed up a Time Machine backup. We outline them for you below.
Spoiler: Our final tip promises the most significant speed boost—but in my tests, I didn’t see the speed gains it promised.
Table of Contents
1. Make the Backup Smaller
The more data you need to back up, the longer it will take. You can halve that time by halving the amount of data to be backed up. You don’t want to miss anything important, so exercise care.
Delete Anything You Don’t Need Before the Backup
Do you have any applications installed that you never use? Consider removing them before you back up your Mac. The same goes for data: if you’ve copied or downloaded anything onto your hard drive you don’t need, you might trash it.
To find out how much space my Applications folder is using, open it, then open the Get Info pane. You can do this by selecting File > Get Info from the menu or pressing the keyboard shortcut Command-I.
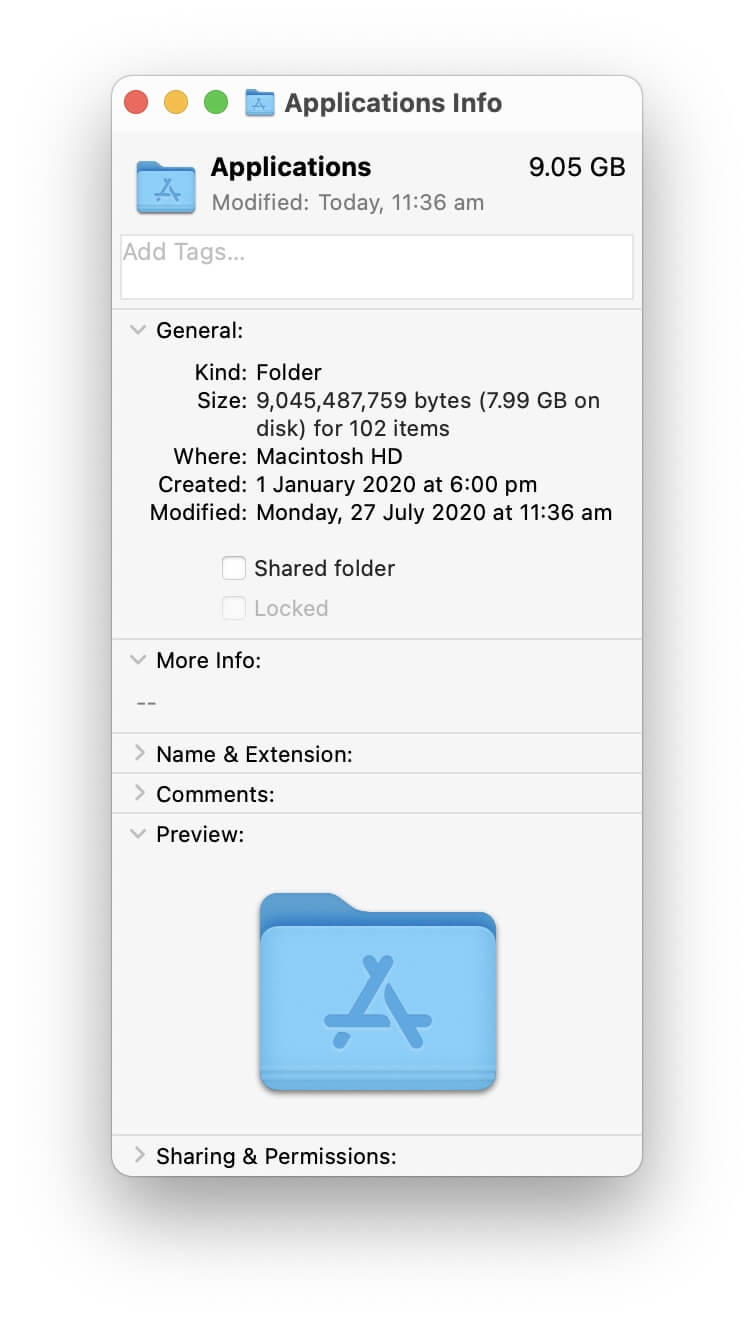
I remove unneeded applications from my Mac fairly regularly. But in the example screenshot below, you can see the applications folder still uses quite a lot of disk space: 9.05 GB. To discover which applications use the most space, change to List view and click on the heading “Size” to sort the list.
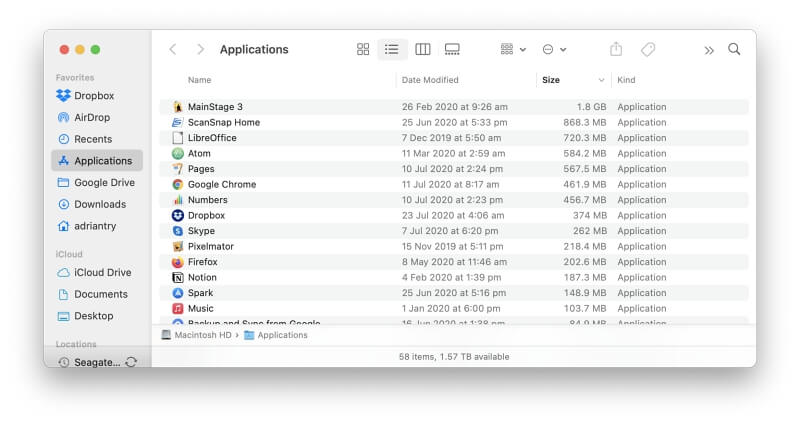
Once you’re there, you can see which apps use the most space. Delete any that you have no use for, especially those near the top of the list.
Exclude Files and Folders that Don’t Need to Be Backed Up
Instead of deleting files, you can leave them on your hard drive but exclude them from the backup. To do this, open System Preferences and double-click on Time Machine. Now click on the Options button in the bottom right.
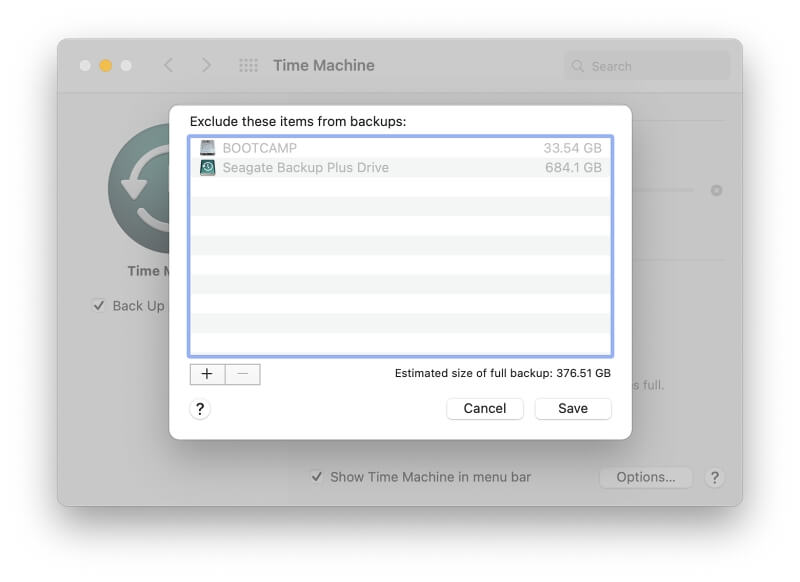
On my computer, two items were automatically excluded: the backup drive itself and the BOOTCAMP partition where I have Windows installed. You can add more items to the list by clicking the “+” (plus) button at the bottom of the list.
Obvious candidates here are large files you have stored elsewhere or large files that can be easily recreated or downloaded. Here are some examples:
- Your Downloads folder. You may want to exclude this folder if you tend to leave everything in your downloads folder. After all, everything there can be downloaded again from the internet. I currently have over 12 GB in mine.
- Virtual machines. If you use virtualization software like Parallels or VMWare Fusion, the software will create huge virtual machines within single files. These files are often gigabytes in size. Many users opt to exclude them from their time machine backups.
Clean Up Junk Files
Apple provides a list of utilities to free up disk space by deleting junk files and unwanted content. It also gives the option of storing rarely-used files in iCloud rather than on your drive.
To set that feature up, click on the Apple menu, then About This Mac. Now view the Storage tab. Here, you can see the amount of space being used on each drive.
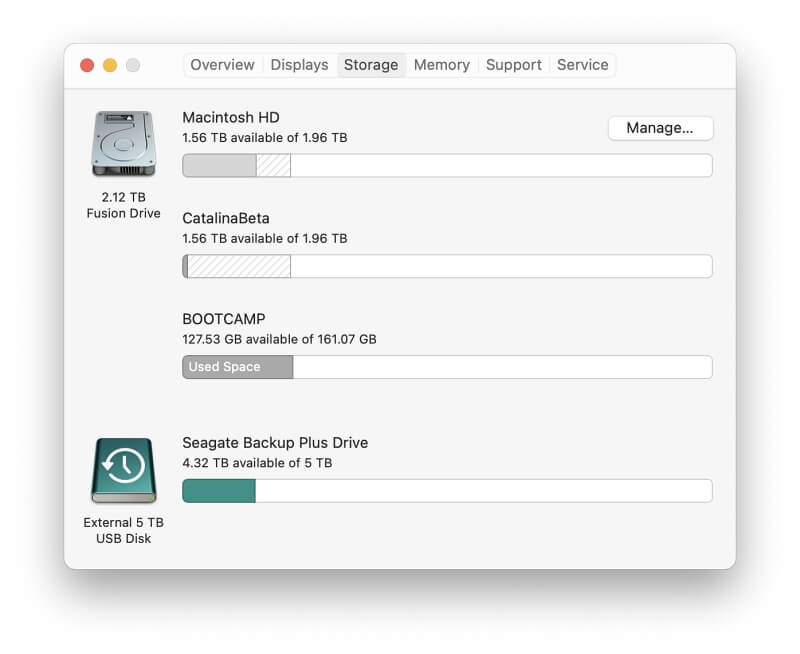
Access the utilities by clicking the Manage… button at the top right of the window.
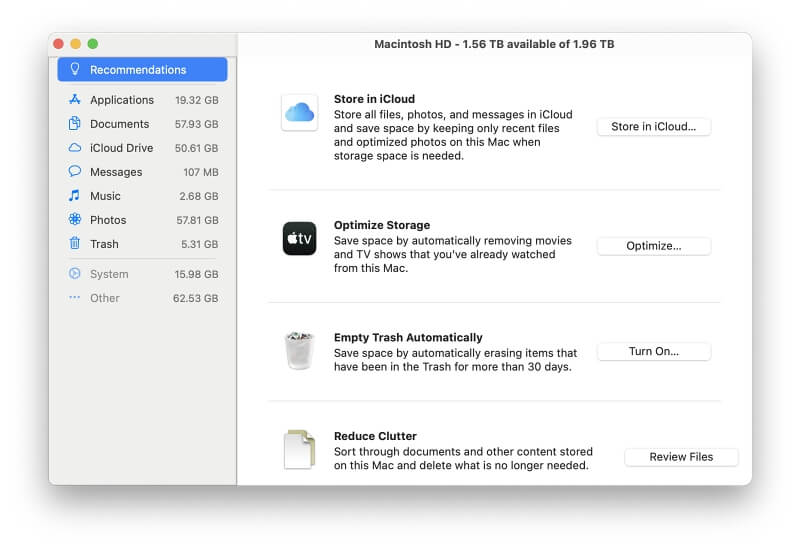
Here you can perform the following tasks:
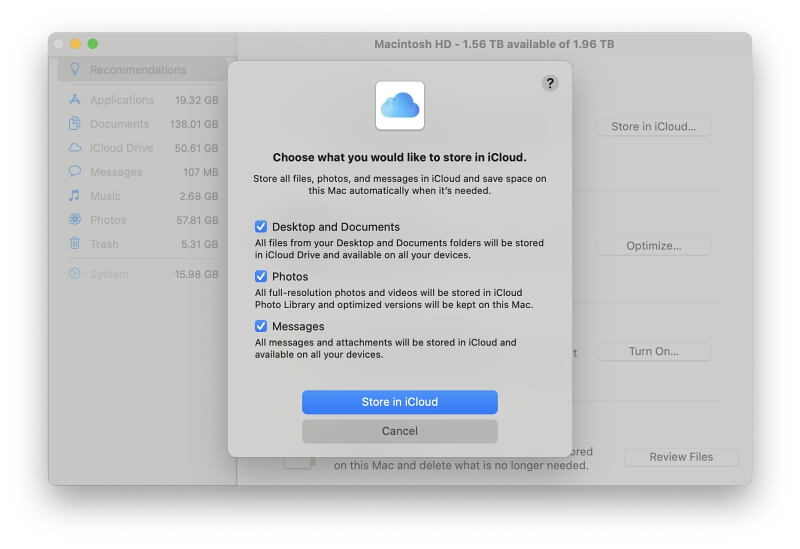
Store in iCloud allows you to decide which types of content will be stored in iCloud automatically. You’ll still see the files on your hard drive, but only the content of recently accessed files will actually be stored there.
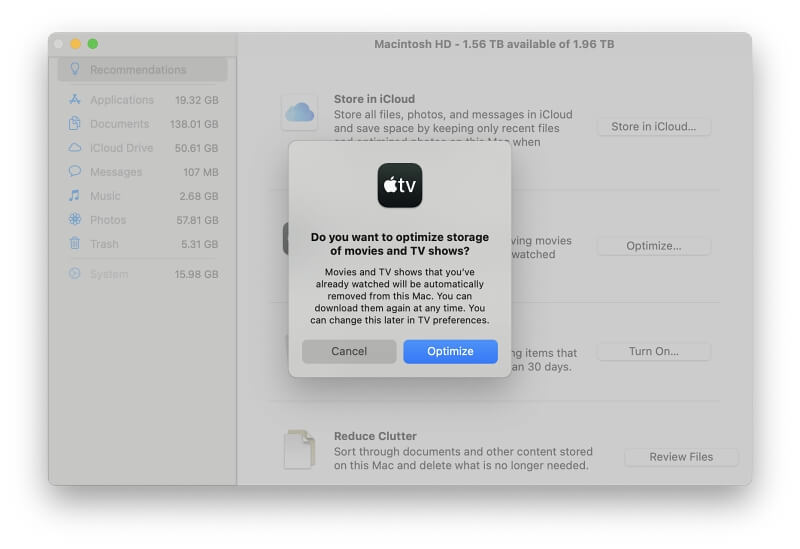
Optimize Storage will free up disk space by automatically removing video content you’ve already watched, including movies and TV shows.
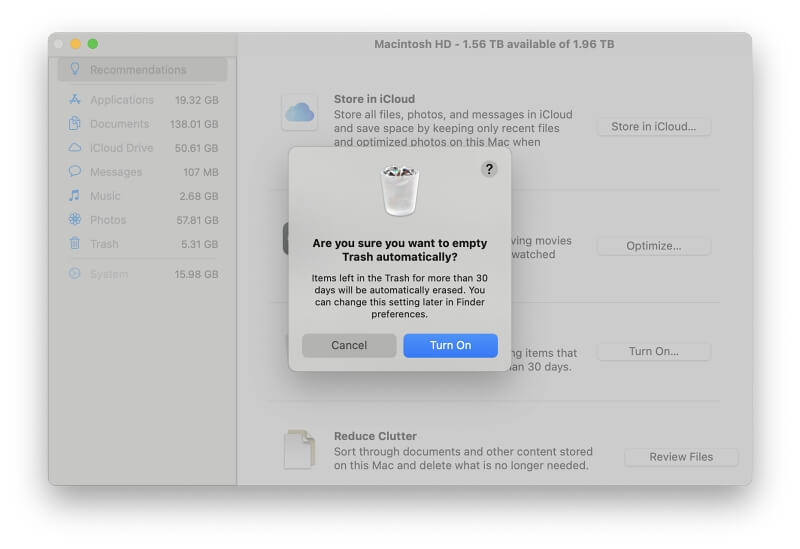
Empty Trash Automatically will permanently delete files that you moved to the Trash more than 30 days ago.
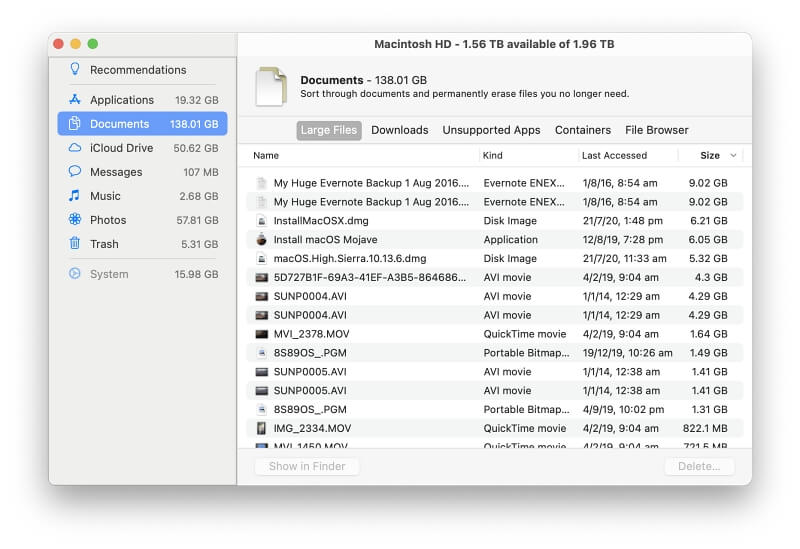
Reduce Clutter will identify junk files from your hard drive, including large files, downloads, and unsupported (32-bit) apps. You can then decide to delete those that you don’t need.
To locate and delete even more junk files, consider using a third-party cleanup app. One we recommend is CleanMyMac X. It can delete system and application junk files. Another is Gemini 2, which can find large duplicate files. We explore and review a wide range of alternatives in our roundup, Best Mac Cleaner Software.
Don’t Get Carried Away
Finally, a warning. When cleaning up junk files, take some quick wins, and then move on. The law of diminishing returns is at work here: spending more time on cleanup will free up increasingly smaller amounts of space. The scans you performed to locate junk files can be time-consuming; they can potentially take more time than to just back them up in the first place.
2. Back Up to a Faster Drive
One of the bottlenecks in a backup is the external drive you back up to. These vary quite a lot in speed. Choosing a fast drive will save you a significant amount of time—your backup may become up to four times faster!
Back up to a Faster External Hard Drive
Most external hard drives today spin at 5,400 rpm. In general, they’re suitable for backup purposes. In our roundup of the Best Backup Drive for Mac, we recommend the Seagate Backup Plus. It offers desktop and portable versions. The drives spin at 5,400 rpm and have maximum data transfer rates of 160 and 120 Mb/s, respectively.
For twice the price, you can purchase a faster drive. These spin at 7,200 rpm and should back up your Mac 33% faster.
How much time would this save? Probably hours. If the backup takes six hours on a standard drive, it will take just four hours on a 7,200 rpm drive. You just saved two hours.
Back up to an External SSD
For even bigger time-saving, choose an external SSD. You may have experienced the huge speed boost you gain when you use a solid-state drive as your main internal storage. You’ll see similar gains when using one as your external backup drive.
Most decent spinning hard drives have data transfer rates in the range of 120-200 MB/s. In our roundup, Best External SSD for Mac, the SSDs we reviewed have transfer rates between 440-560 Mb/s. In other words, they are two to four times faster. Using one will slash the amount of time required for a backup. A backup that would have taken eight hours on a platter drive may now take just two.
But, as you’d expect, there’s a price to pay. The 2 TB spinning hard drives we reviewed ranged between $70 and $120. The 2 TB external SSDs in our roundup were much more expensive, ranging between $300 and $430.
Depending on your circumstances, you may find the cost justifiable. If you need to back up huge files every day, an external SSD will save you many hours of waiting.
3. Give Time Machine More of Your Mac’s System Resources
The backup will take less time if Time Machine doesn’t have to share your Mac’s system resources with other processes. Here are a few ways to achieve that.
Don’t Use Heavy Apps During a Backup
If you want the backup to be as fast as possible, stop using your Mac until it’s finished. Don’t use other applications during the backup—especially if they’re CPU intensive.
Apple Support warns that running antivirus software during a backup can slow it down, especially if it’s checking every file as it’s copied to your external drive. They recommend that you configure the software to exclude your backup drive from being scanned.
Unthrottle Your Mac’s Resources
This tip promised to save more time than all the others put together, but I was disappointed in my tests. However, many others have seen a significant increase in backup speeds using it, and you may have more luck than I did. Perhaps they were using older versions of macOS.
Your Mac is designed to give you an excellent user experience where your computer feels responsive, and everything just works. To achieve this, macOS throttles disk access to make room for more critical tasks. Your apps will feel smoother, and your battery will last longer, but your backups will take significantly more time.
You may be willing to disable the throttling if it means your backup will be completed more quickly. There’s a terminal hack that will do just that. As a result, you would expect the backup to be much faster.
And that’s many users’ experience. Here is one blogger’s experience from 2018: the initial estimate given to him for backing up 300 GB of data was just over a day. The special terminal command reduced the time to just an hour. He concluded that this method should make your backup at least ten times faster.
Here’s how you do it. It’s a little technical, so bear with me.
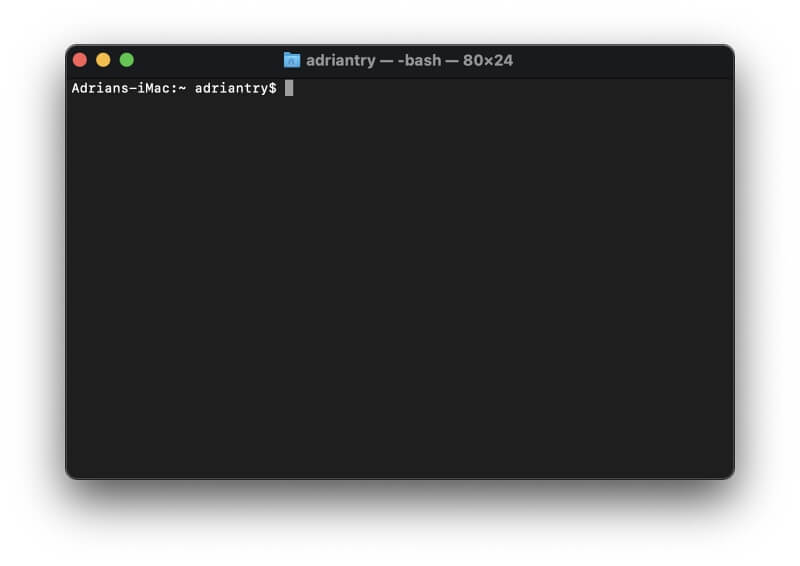
Open the Terminal app. You’ll find it in your applications’ Utilities folder. If you haven’t seen it before, it allows you to control your Mac by typing commands.
Next, you need to enter the following command into the app. Either type it carefully or copy and paste it. Then press Enter.
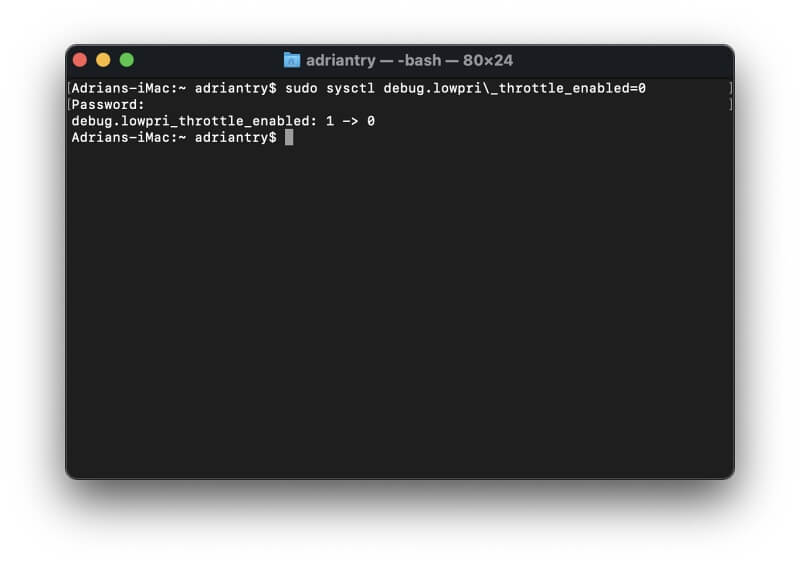
sudo sysctl debug.lowpri_throttle_enabled=0
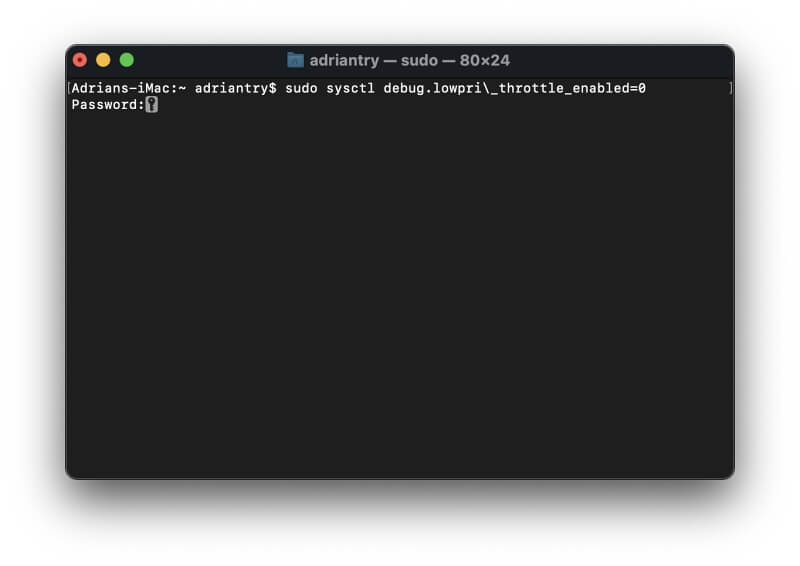
The “0” at the end of the line indicates that the throttle should be turned off. Next, you’ll be asked for the password you use when you log into your Mac. Type it, then press Enter. A slightly cryptic message will be displayed, indicating that throttling is now off.
Turning the throttle off should drastically change your user experience. Your Mac will feel sluggish when backups are performed. More power will be used, and your computer’s battery won’t last as long, but your backup should be noticeably faster.
Once the backup is complete, don’t forget to turn the throttle back on. That will happen automatically next time you restart your computer. Or you can do it manually with the Terminal. Type the same command, this time ending it with the number 1 instead of 0, which indicates you want to turn it on rather than off:
sudo sysctl debug.lowpri_throttle_enabled=1
Reality check: I wanted to see if I could confirm these results and get a sense of how much faster copying files would be on my Macs. So I copied files of various sizes on two different machines. I used a stopwatch to time each operation, then compared the throttled speed with the unthrottled. Unfortunately, I didn’t see the speed increases promised.
Sometimes the unthrottled backups were just two seconds faster; other times, they were the same speed. One result was surprising: when copying a 4.29 GB video file, the throttled result was just 1 minute 36 seconds while the unthrottled was actually slower: 6 hours 15 seconds.
I was curious and decided to keep testing. I used Time Machine to back up 128 GB of data on my MacBook Air, which took 2 hours 45 seconds. I turned off throttling and backed up once more. It was slower again, taking three hours.
It may be that something has changed on recent macOS versions so that this method no longer works. I searched for more user experiences online and found reports of this trick not working up to two years ago.
Did you see a noticeable improvement using this method? Let us know in the comments.
Yep! Works for me!
still works. Just tried it and waaaaayyy better
This change:
sudo sysctl debug.lowpri_throttle_enabled=0
Speeded up my backup by a factor of 10x-20x. From 500k/sec to 10+mb/sec.
Amazing! Thanks so much
Using the priority override I DEFINITELY saw a huge improvement, at least in the rate which was reported.
Just by toggling it on/off the Time Machine backup rate and progress % would visibly increase and change every 3-5 secs, whereas when throttling was enabled it barely crawled with a change/update within 2/3 mins.