
Preview is arguably one of the most underappreciated apps that you’ll find on your Mac. It’s a built-in part of macOS, so it comes preinstalled on every Mac, and many people don’t bother to think about it as anything other than a way to view images and documents quickly.
But the humble Preview app has a number of impressive tricks up its sleeve, as long as you know where to find them. Here are 10 of the best features for getting the most out of the Preview app on your Mac.
Table of Contents
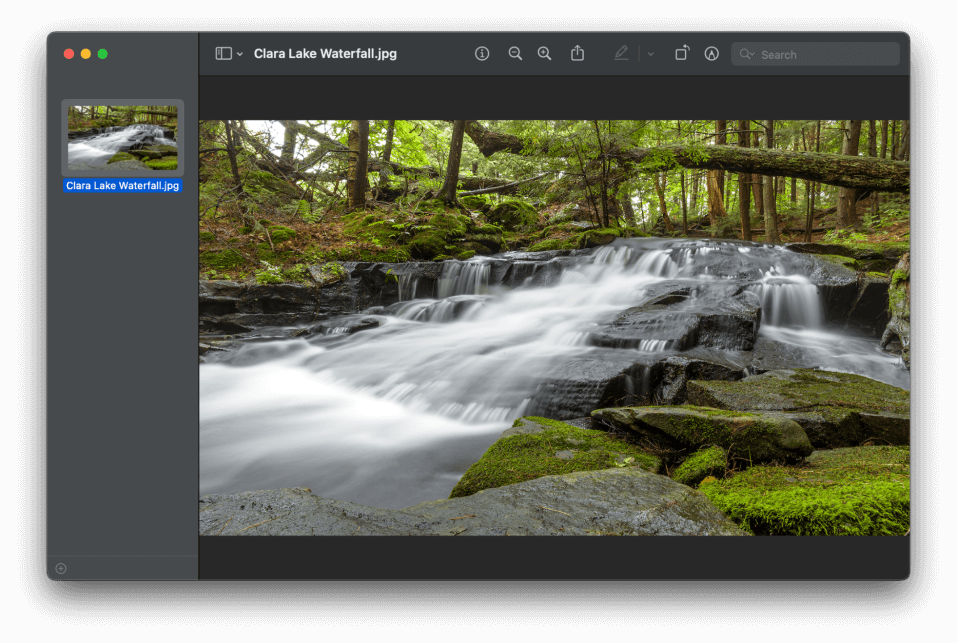
The Sidebar panel is a hidden part of the Preview app that makes it easier to view and edit multi-page documents. It also provides a handy overview of any bookmarks, notes, and annotations that are present in the document.
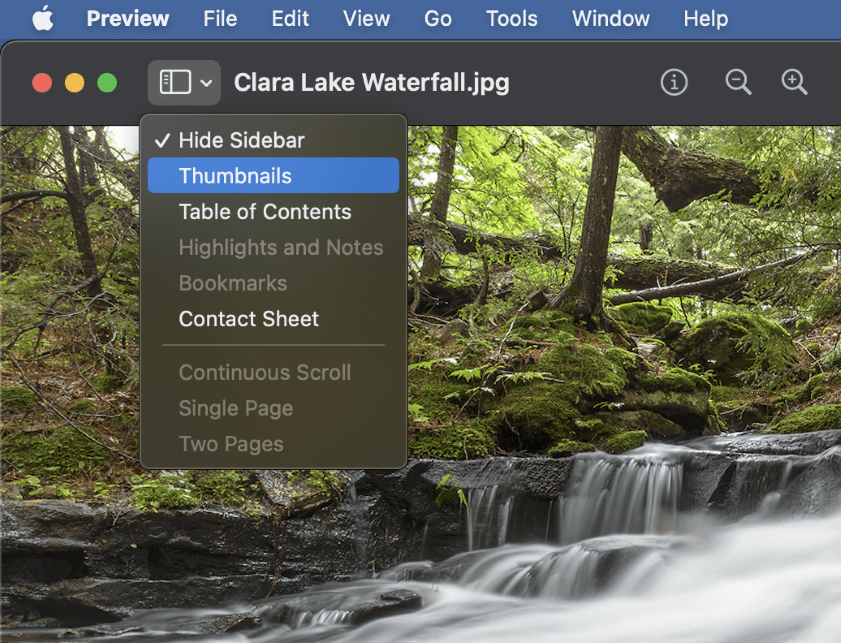
To open the Sidebar panel, click the Choose Sidebar Display button (see above), and select the content type you want it to display. You can choose between Thumbnails, Table of Contents, Highlights and Notes, Bookmarks, and Contact Sheet.
Note: If there is no relevant content for your chosen sidebar selection, the sidebar will be empty.
You can even set the Sidebar panel to Thumbnails and use it to rearrange the pages of a PDF document by just clicking and dragging the page thumbnails into a new order.
2. The Markup Toolbar
The Markup toolbar is probably my favorite feature of the Preview app, especially when I’m working with screenshots. This toolbar provides a wide range of options for working with your document, everything from simple rectangular selections to content redaction to adding handwritten notes and sketches.
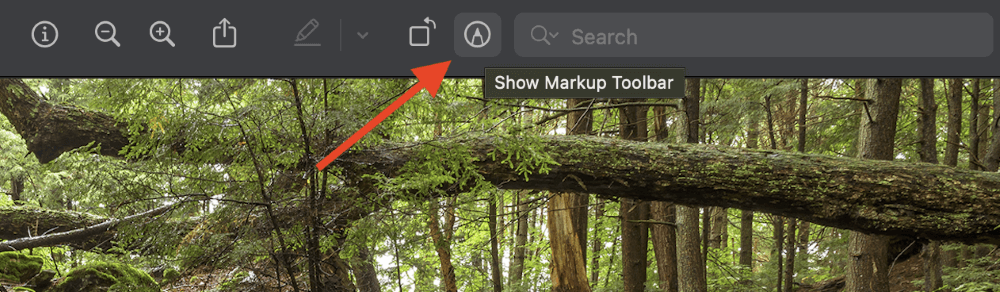
To open the Markup toolbar, click the Show Markup Toolbar button (as shown above). You can also use the keyboard shortcut Command + Shift + A, or you can open the View menu and select Show Markup Toolbar.
A whole secondary toolbar will appear below the main toolbar, giving you access to all the wonderful tools that the Markup toolbar has to offer.
You can use the Sketch tool to add handwritten notes and doodles, use the Shapes tool to add geometric shape overlays or use the Text tool to add a text overlay complete with custom formatting. You can also make notes and even add your signature!
3. Magnify Anything
While having a high-DPI screen makes it easier to see fine details in your documents and images, there are still times when it’s necessary to get a closer look at things.
You can zoom in and out easily in the Preview window, but these tools will adjust the zoom level for your whole document, and that isn’t always helpful.
Enter the Magnify tool to save the day! Magnify turns your mouse cursor into a rectangular magnifier so that you can get a closer look at a specific section of your open file. This is useful for getting a look at everything from the fine print in a document to the digital noise in an image, and it’s super-easy to toggle on and off.
Press the ` key to turn Magnify on, and press it again to turn Magnify off (that’s the key to the left of the number 1 on your keyboard, which also contains the tilde ~).
Note that if you’re in the middle of using another tool, Preview won’t be able to respond, so make sure that you’re not trying to do too many things at once!
4. Crop Images
Image cropping is one of the most common edits that you’ll need to perform over and over again, and thanks to Preview, you won’t have to open a dedicated image editor for such a basic editing job.
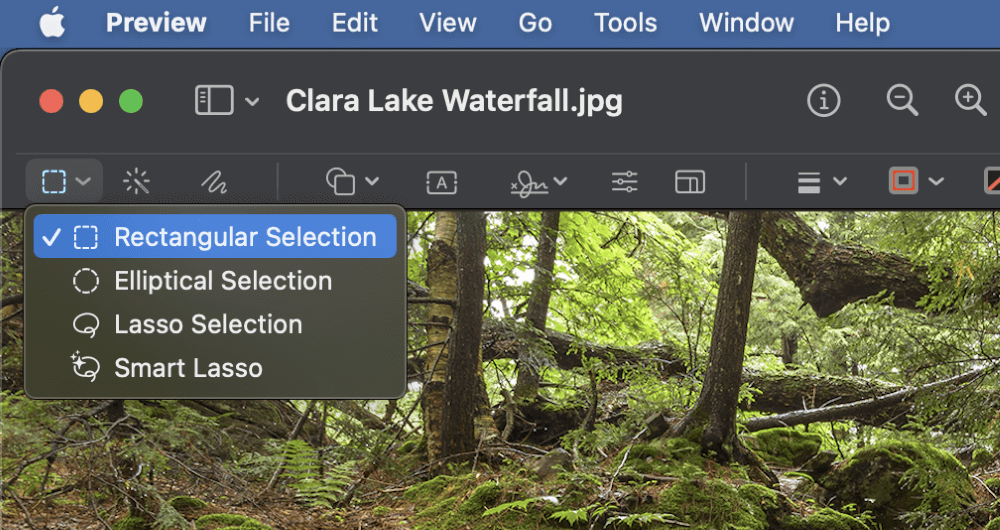
With your image open in Preview, open the Markup toolbar and click the Rectangular Selection tool. You can also open the Tools menu and click Rectangular Selection.
Once the Rectangular Selection tool is active, click and drag on your image to define the area of the image that you want to keep. Don’t worry if you don’t draw the selection perfectly on the first try because you can adjust the size and position using the blue handles at the edges of the selection.
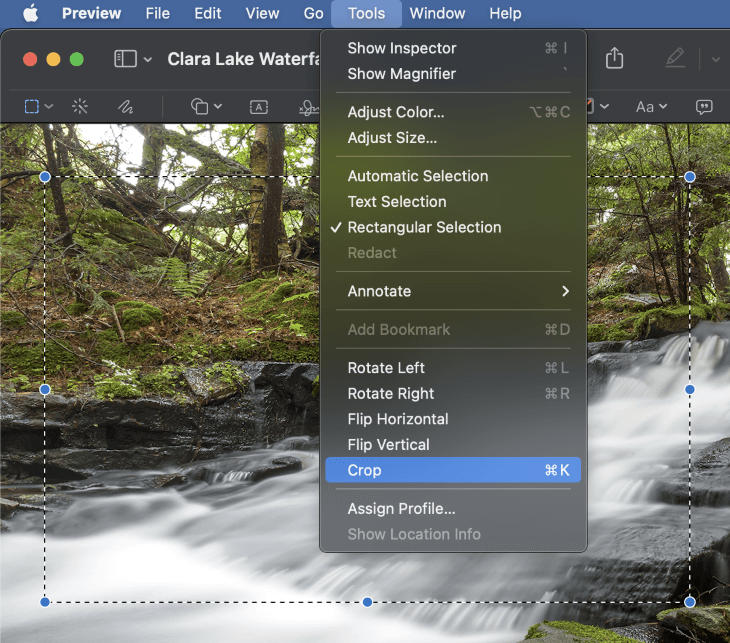
Once you’re happy with the selection area, press the keyboard shortcut Command + K to run the Crop command. You can also open the Tools menu and select Crop from down near the bottom of the menu.
You can also use the Crop command on PDF documents, but it won’t actually delete the content outside of your selection area. Instead, it will just be hidden while displaying it in Preview, which is relatively pointless, in my opinion.
5. Resize Images
Resizing an image is another image editing task that comes up time after time, and Preview can help with that too.
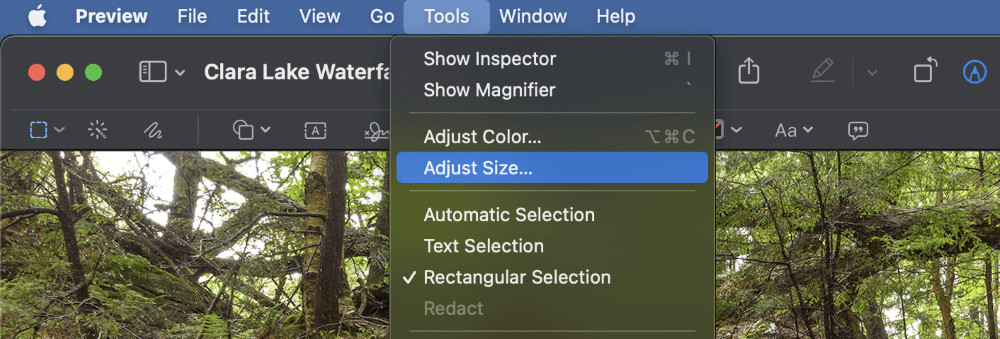
Once your image is open in Preview, open the Tools menu and select Adjust Size. Preview will open a new dialog box (as shown below), allowing you to specify a new size for your image. You can enter a specific size in pixels, or you can set the Width and Height using percentage values by opening the units dropdown menu and selecting Percent.
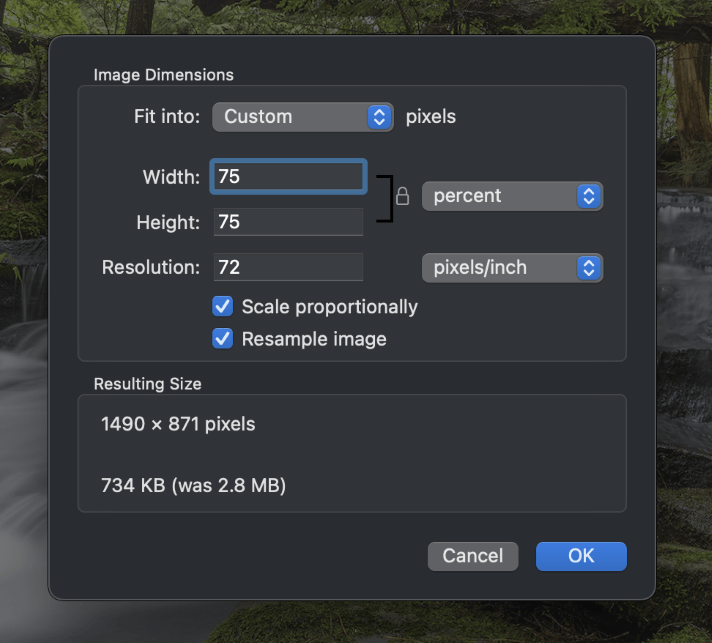
Alternatively, you can select one of the common preset sizes from the Fit Into dropdown menu.
Click the OK button, and your image will be resized to the dimensions you specified.
6. Rotate and Flip Images
While it doesn’t happen quite as often as it used to in the early days of digital photography, sometimes digital images are loaded in the wrong orientation.
The Preview app makes it quick and easy to reorient your images in any way that you want, even if you just want to see what your cousin would look like upside down and backward!
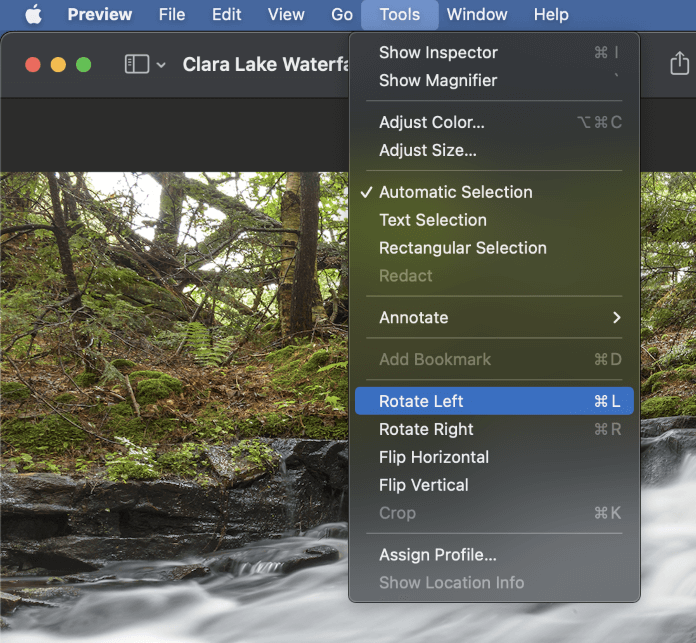
Open your image in Preview, then open the Tools menu. You can select between the Rotate Left and Rotate Right commands to change your image’s orientation, or you can mirror your image using the Flip Horizontal and Flip Vertical commands.

There’s also a Rotate Left button located in the main Preview toolbar if you want an even faster method.
You can rotate as many times as necessary to get the orientation you want, although you’ll probably never need to rotate more than twice since you’ll soon just wind up back where you started.
7. Editing Images
While it will never replace a dedicated image editor like Adobe Photoshop or Affinity Photo, the Preview app has some handy image editing tools for making quick adjustments to any image.
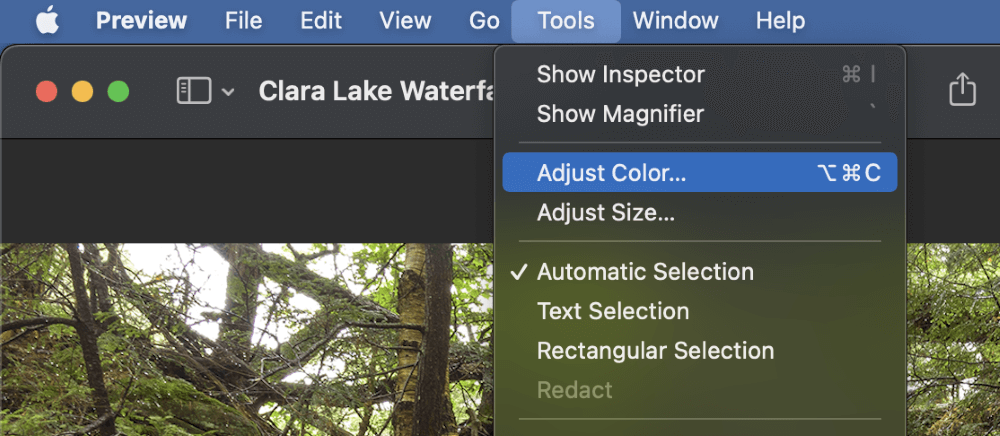
Open the Tools menu and click Adjust Color, or use the keyboard shortcut Command + Shift + C. You can also click the Adjust Color button on the Markup toolbar if it’s currently visible.
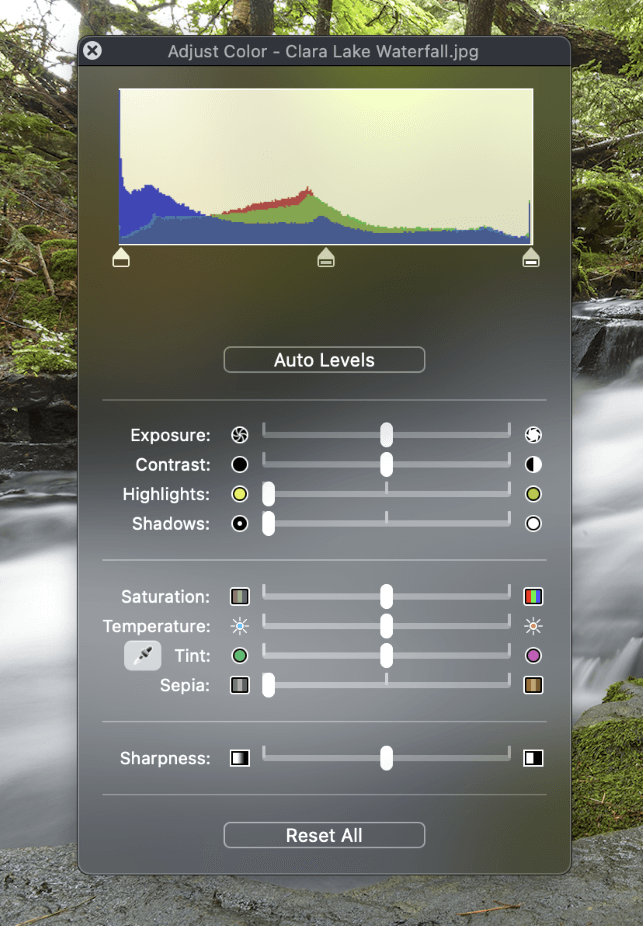
Preview will open the Adjust Color dialog window, which contains a histogram of your image and a few simple sliders for making edits to exposure, brightness, saturation, and color balance. You can even add some basic sharpening to an image.
Best of all, these edits are non-destructive until you save your file. This means you can feel free to experiment with all the different settings and then go back to adjust them later since none of the edits will permanently alter your image until you save or close the file.
8. Highlighting Text
Digital documents are quickly becoming popular as more and more of the world goes digital, and the Preview app is ready to help you focus on what’s important.
Whether it’s a form or a digital textbook, you can use the Preview app to highlight sections of text, just the same as you would with a highlighter marker on a paper document or textbook.

With your document open in Preview, click the Highlights and Notes button, then click and drag your mouse cursor to select any passage of text in your document. A brightly-colored background will appear behind the text, highlighting it in yellow.

You don’t have to use yellow if you don’t want to, of course! Click the small arrow beside the Highlights and Notes button to open a popup menu of five different highlight colors.
You can also right-click on a previously-highlighted area and change the color or even switch to an underlined or strikethrough font.
9. Call the Inspector
Modern digital files contain a whole lot of additional information, above and beyond the actual contents of the file. This information is known as metadata (data about the data), which includes everything from author and copyright information on a document to the EXIF data saved by a camera on a digital photo.
Preview’s Inspector window allows you to look through any and all metadata associated with your open files.
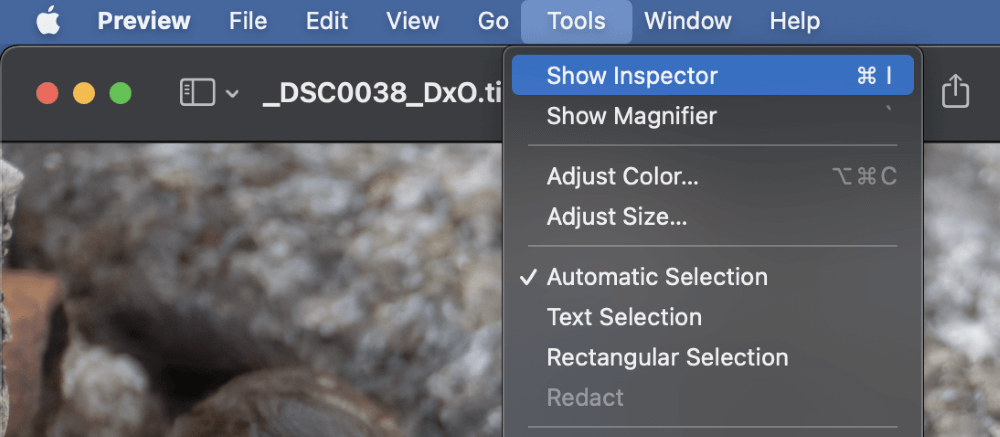
To open the Inspector window, you can click the I icon on the toolbar (as shown above) or use the keyboard shortcut Command + I. You can also open the Tools menu and click Show Inspector.
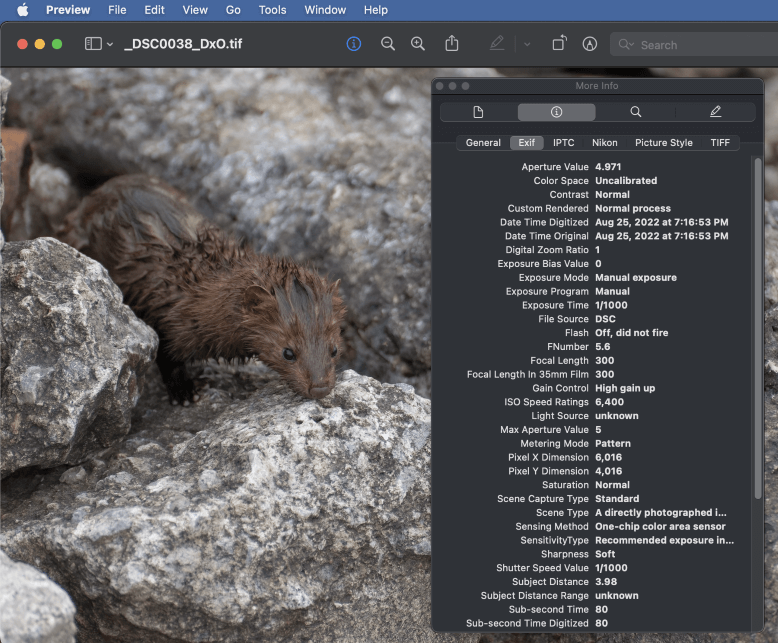
The Inspector window has several different tabs, each displaying different information. The Inspector also allows you to view, select, and delete any annotations that have been added to the document.
10. Customize Your Preview App
Last but not least, let’s take a quick look at how you can customize the Preview app so that it’s even easier to use. If you find yourself regularly using certain tools or commands that aren’t part of the default toolbar configuration, you can speed up your workflow by customizing your Preview toolbars.
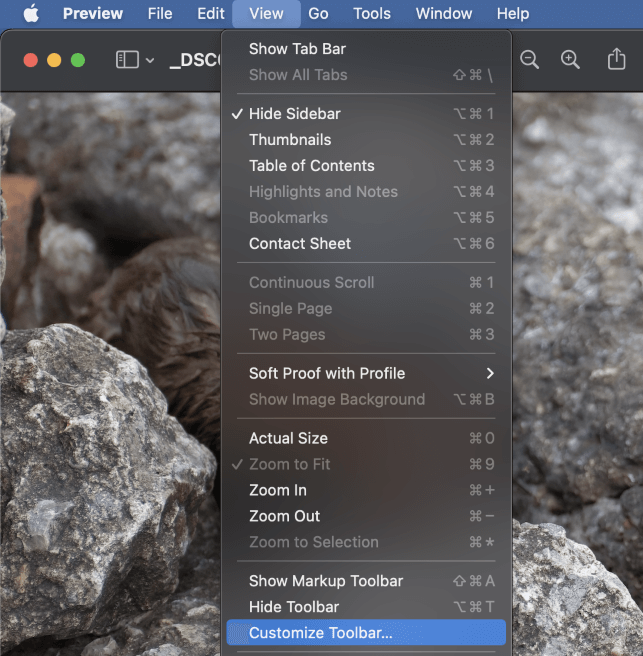
Open the View menu and click Customize Toolbar. A new dialog window will open, displaying all the different icons that can be placed in the toolbar. Simply click and drag any of the icons directly onto the Preview toolbar, and it will update itself to include them!
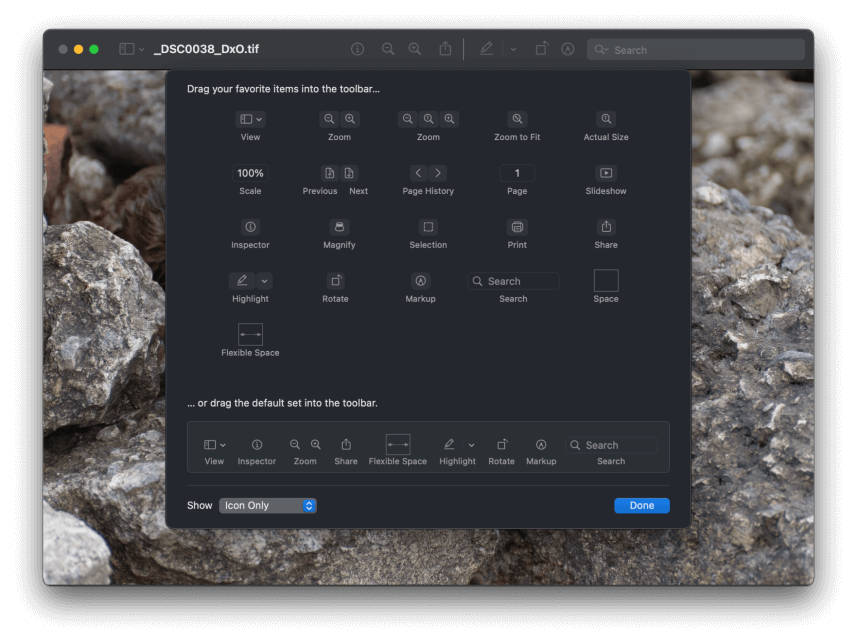
If you’re having trouble learning which icon represents which command (or if you’re just a bit forgetful like yours truly), you can also open the Show menu and set it to Icon and Text so that Preview will include a small text label below each icon in the toolbar.
A Final Word
Once you’ve mastered these 10 tips, you’ll be well on your way to becoming a Preview pro! Of course, there’s always more to learn; you can redact text, insert new files into documents, and even soft-proof images in different color spaces, but those are more advanced techniques that I’ll save for another post.
Happy Previewing!
Do you have a favorite Preview feature that I left out of this list? Let me know in the comments below!