
The global pandemic changed many things about the world, but one of the most remarkable was how much it accelerated the adoption of digital documents. Every business, from banking to real estate, wanted their customers to sign documents digitally using PDF files.
Fortunately, the Preview app that is available on every Mac allows you to sign digital documents quickly and easily.
Here’s how it works!
Note: This article is exclusively about adding your handwritten signature to a PDF document. It does not discuss cryptographic digital signing methods, which are a whole separate topic.
Before you can sign a PDF in Preview, you need to create a signature file. If you’ve already done this, you can move ahead to the next section.
Table of Contents
Create Your Signature in Preview
Creating a signature takes a few minutes, but it is a huge timesaver in the long term since you only have to create your signature once, and then you can add it to any document with just a couple of clicks.
You can even store multiple signatures and variations of your signature, such as one for your first name only, another for your initials, another for your full name, and so on.
To get started, open your PDF document in Preview and then open the Markup toolbar. If you’re unfamiliar with it, the Markup toolbar gives you access to a range of special features, including digital signing tools.
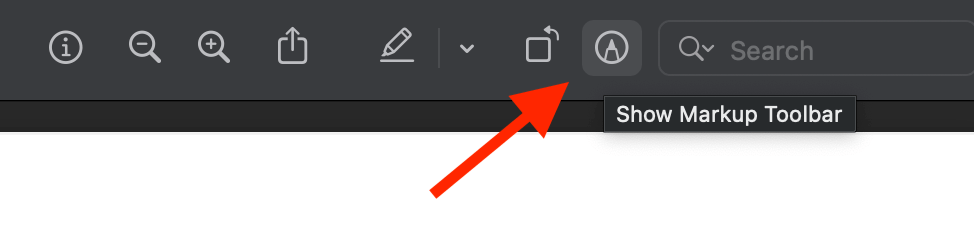
To open the Markup toolbar, click the Show Markup Toolbar button in the upper right of the Preview window, or use the keyboard shortcut Command + Shift + A. You can also open the View menu and click Show Markup Toolbar.
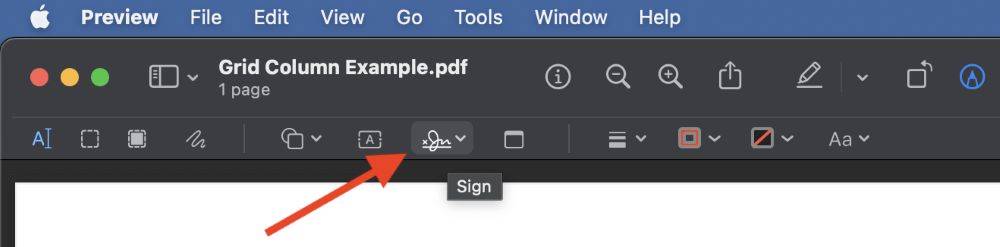
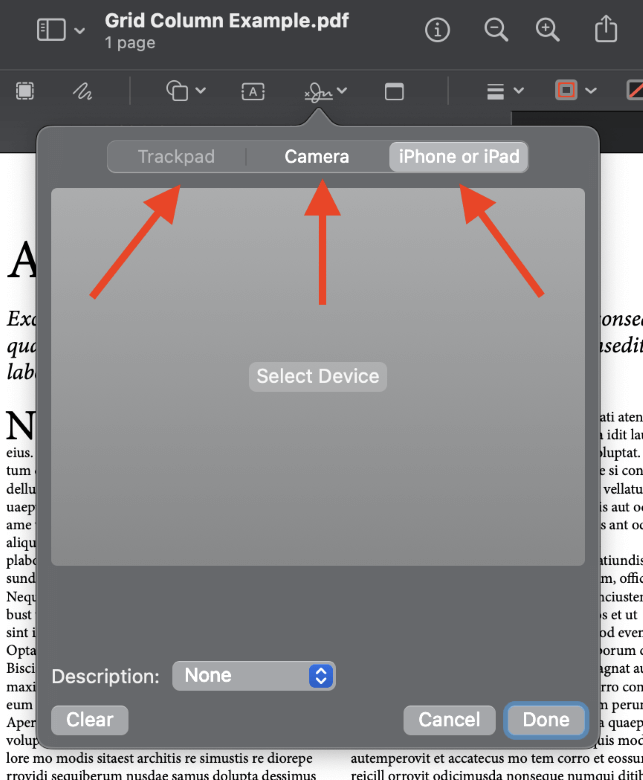
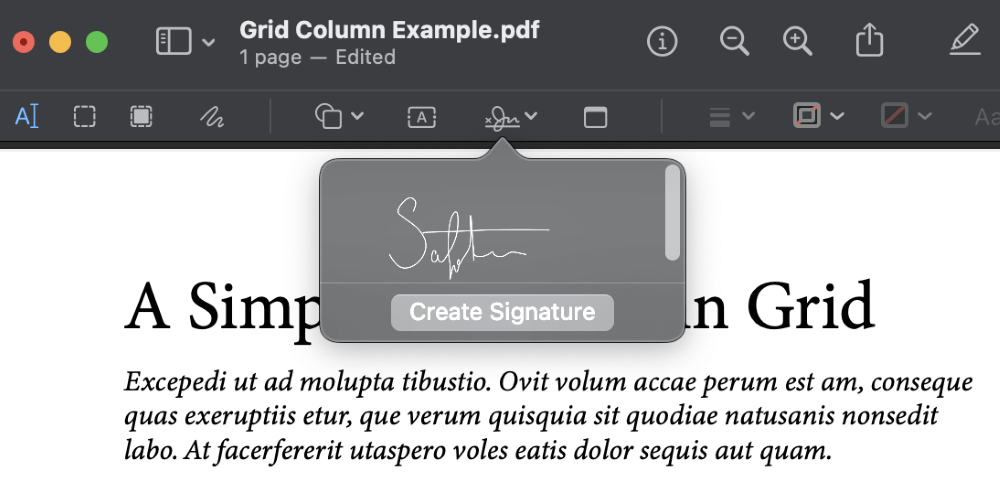
Within the Markup toolbar, click the Sign icon (as shown above). Since you’ve never created a digital signature before on any of your Apple devices, the popup menu will display three different methods you can use to create one:
- You can use a trackpad if you’re on a Macbook or you have a trackpad connected to your desktop Mac.
- You can sign a piece of white paper and then hold it up to your Mac’s camera for scanning.
- You can use your iPhone or iPad touchscreen to create a signature. Click the Select Device button, and select any of your available iOS devices. Follow the prompts on your device.
Since my Mac doesn’t have a trackpad, that option is disabled, and I habitually keep my webcams covered for privacy, so I’ll use my iPhone for this tutorial – and no, I won’t be using my real signature 😉
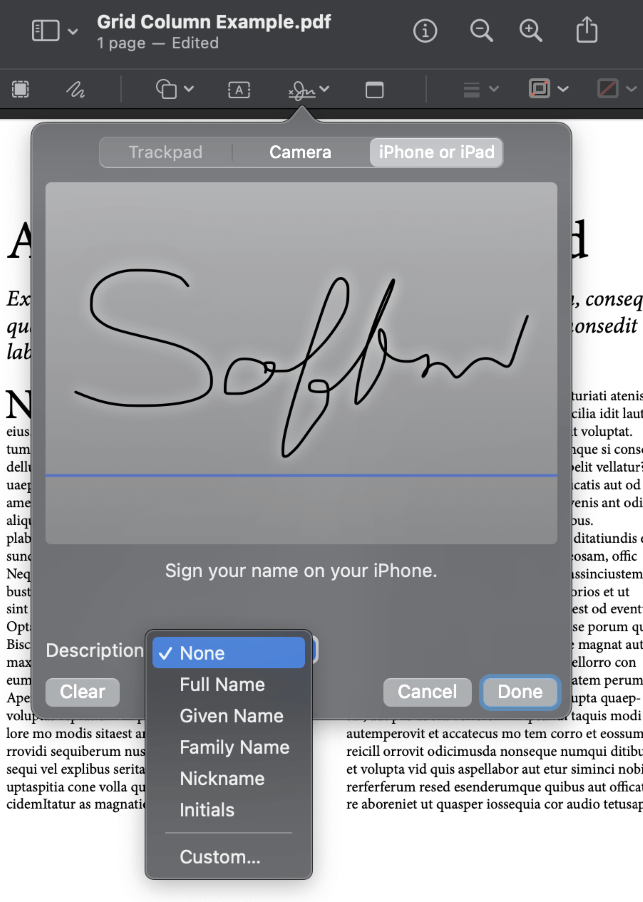
Once you’re happy with your signature, you can add a description to make it easier to distinguish between multiple different signature images, then click the Done button.
If you use iCloud storage, your signature will now be available on any device that uses the same iCloud account.
During my testing, I had originally hoped to use my iPad since that would let me sign using my Apple Pencil, but despite the fact that the iPad showed up in the device list, it never actually loaded the signature screen on my iPad.
I used my iPhone instead, and discovered that it is remarkably hard to sign legibly using your finger on a touchscreen!
Sign a PDF in Preview
Now that you’ve got a signature associated with your Apple account, you can begin using it to sign any document you want. Click the Sign button again, and you should see a new dropdown menu that displays your signature (and yes, I cleaned it up a bit!)
Click the signature that you want to use to sign your PDF, and it will immediately appear as an object in your PDF document.
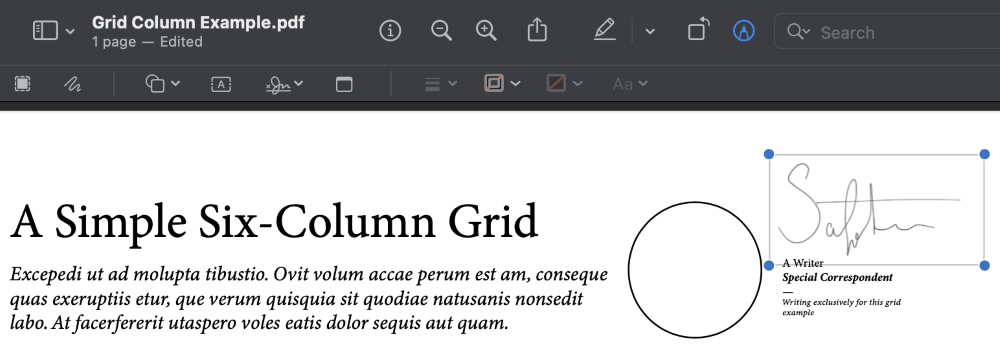
To reposition your signature, simply click and drag it to place it in the desired position.
To resize your signature, click and drag one of the blue anchor handles at the corners of your signature object.
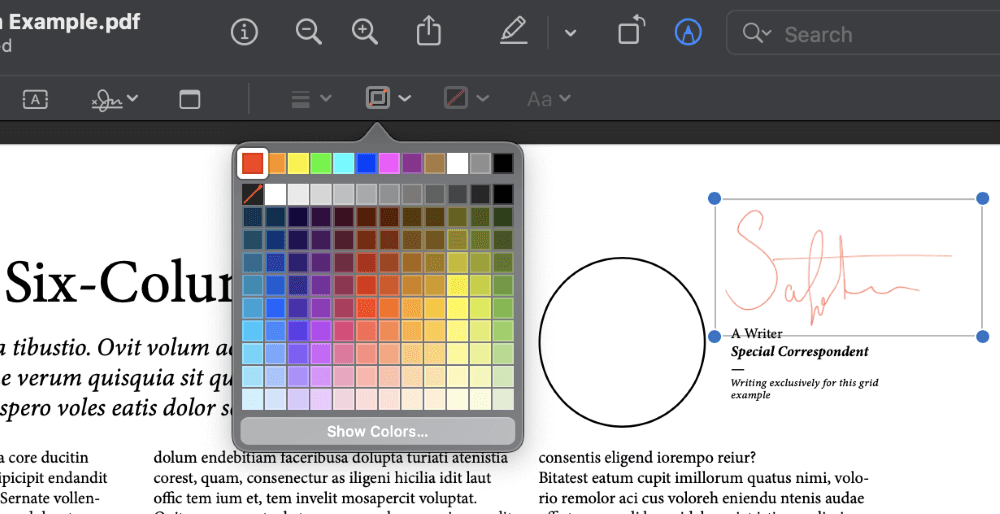
You can even change the color of your signature by selecting a new color in the Markup toolbar, as shown above. Just make sure that the signature object is selected while you choose a new color, or the new color will only apply to any additional objects you create.
Save or Export Your Signed PDF
In many situations, you can simply close a file that you’ve edited in Preview, and the changes will be automatically saved. When adding a signature, you’ll have to save your PDF file intentionally, and your signature will be embedded directly into the file.
Alternatively, you can also export your PDF file as a new copy, and then leave the original file untouched.
A Final Word
Congratulations, you’ve just created a signature and used it to sign a PDF in Preview on your Mac! While the demand for digital signatures is only just beginning, it’s a good idea to get familiar with the process so that you’re ready anytime you might need to sign a digital document.
You can even just use it to add a personal touch to your documents, but it might be a good idea to create a separate version of your signature for more casual purposes so that your official signature isn’t spread too far in the world.
Happy signing!