
In the early days of the paperless office, it was almost impossible to properly highlight and annotate your digital documents, which meant every document wound up printed out after all.
Digital documents are finally overtaking their ancient paper ancestors, and one of the biggest changes to pave the way is the ability to highlight and annotate digital documents as easily as you can with a marker.
The Preview app comes preinstalled on every Mac, and it has a great set of tools for highlighting the essential parts of your document. We might still be a few years away from getting document summaries prepared by an AI, but highlighting key passages by hand is still a good solution.
Here’s how you can highlight text in a PDF in Preview!
Table of Contents
Create Highlighted Text in Preview
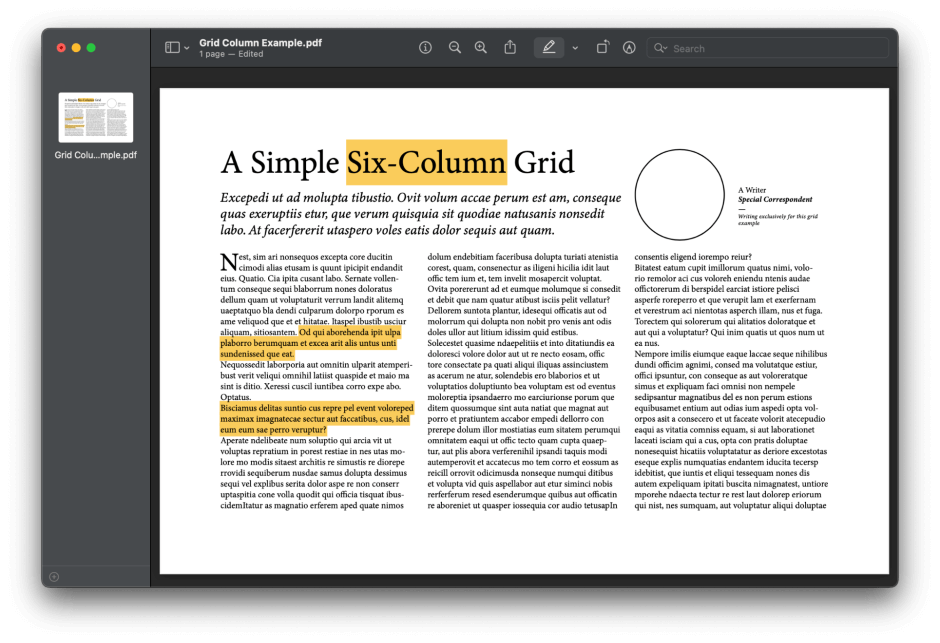
Creating highlighted text in Preview is extremely simple. Open your document in Preview, and then click the Highlights and Notes button (as shown below).

Once the Highlights tool is active, click and drag the mouse cursor over the text you want to highlight, and a colored background should appear behind the text. That’s all there is to it!
If you want, you can also customize the color of your highlighted sections and review all of your highlighted sections (skip to the next section for more details).
It’s also possible to highlight passages of text multiple times. I’m not sure how useful this is, exactly, but there might be times when it could be helpful.
In my experience, the highlighting feature is a great start, but it could use a bit more refinement. I often found that text couldn’t be selected in a coherent way, although that could be due to the structure of the PDF that I was testing rather than a problem with Preview’s highlighting tools.
For example, the subhead and writer credits in my sample PDF were nearly impossible to select using the mouse, although the Select All command was able to select the text and highlight it with no trouble.
Customize Your Highlight Colors
If you’re not a fan of the classic yellow highlighter style, you can customize your highlights to use one of five preset color options. You can even use multiple colors to separate your highlights into different subjects or themes.
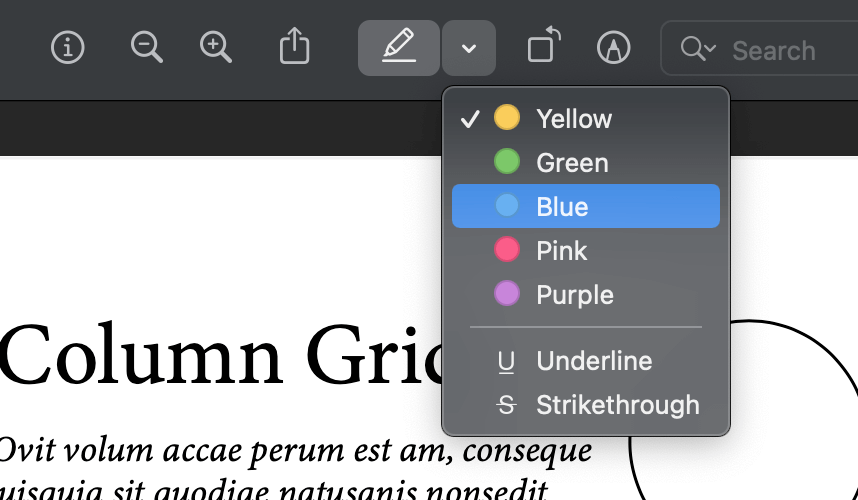
If you want to adjust your highlight color, click the small arrow next to the Highlights and Notes button to expand the formatting dropdown menu. Click to select your chosen color, and then continue highlighting as normal.
You can also change the color of a previous highlight section. This allows you to quickly highlight all the necessary sections in your document, and then go back and color-code them later.
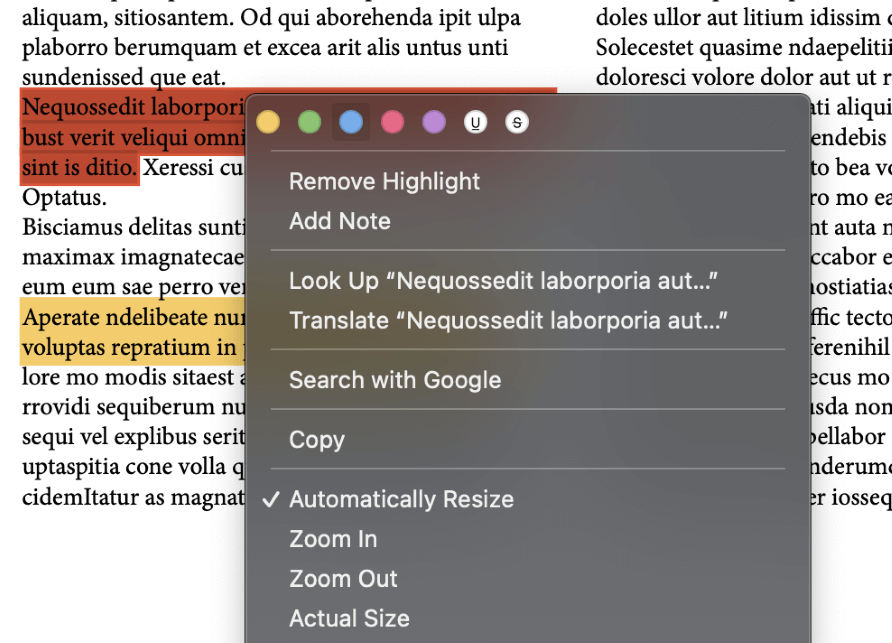
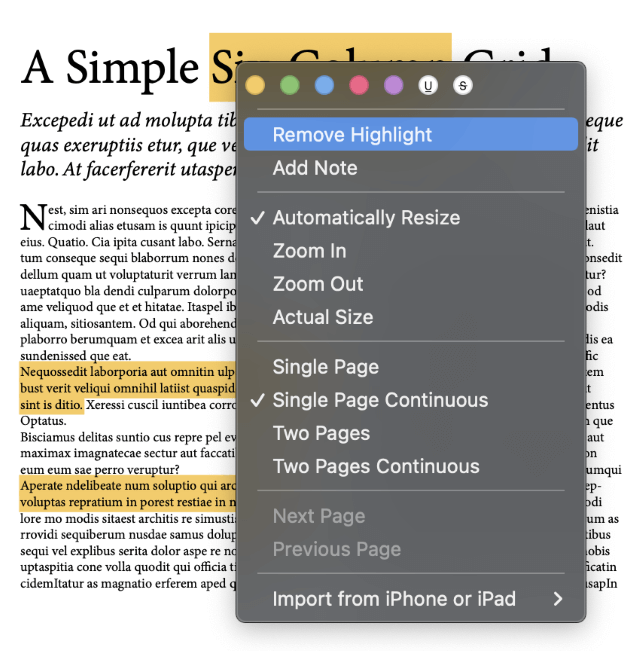
To change the color of a highlight, right-click the highlighted text and choose a new color from the top of the popup menu, as shown above.
Viewing Your Highlighted Text
When you’re working with a long document like a digital textbook, it can be a bit tedious to scroll through each page to look for any highlighted sections. Fortunately, Preview offers a better way to navigate your document using the handy sidebar panel.
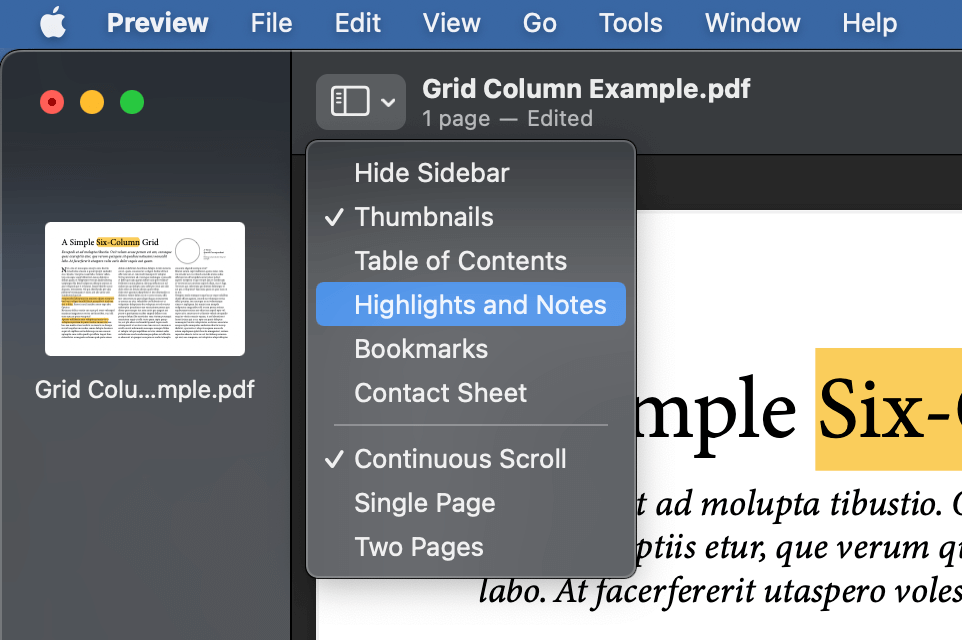
Click the Show sidebar panel icon, and select Highlights and Annotations. Instead of showing page thumbnails in the sidebar, Preview will display a list of every highlighted area in the document.
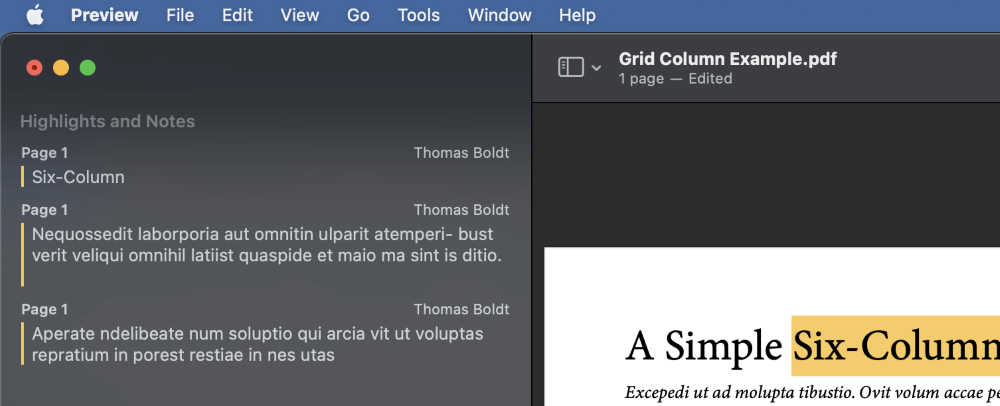
This allows you to quickly capture all the essential highlights in the document and ensures that you won’t miss any by scrolling your pages too quickly.
How to Remove Highlighted Text in Preview
The fastest way to remove highlighted text in Preview is to right-click on the highlighted section and click Remove Highlight.
You can also re-apply the highlighter to your previously-highlighted text, and the highlight will be removed. This method can be a bit tedious, though, because if you don’t match the previous highlight section exactly, you’ll wind up with a double highlight.
During my testing, I accidentally highlighted an entire 90-page document multiple times in different colors, and the result was more than a bit confusing. This wouldn’t have been a problem, except that Preview treated each highlighted section as a separate highlight, so I couldn’t delete them all at once using the method described above.
If you find yourself in the same situation with more highlights than you have time to remove, there’s a faster way to clear them all.
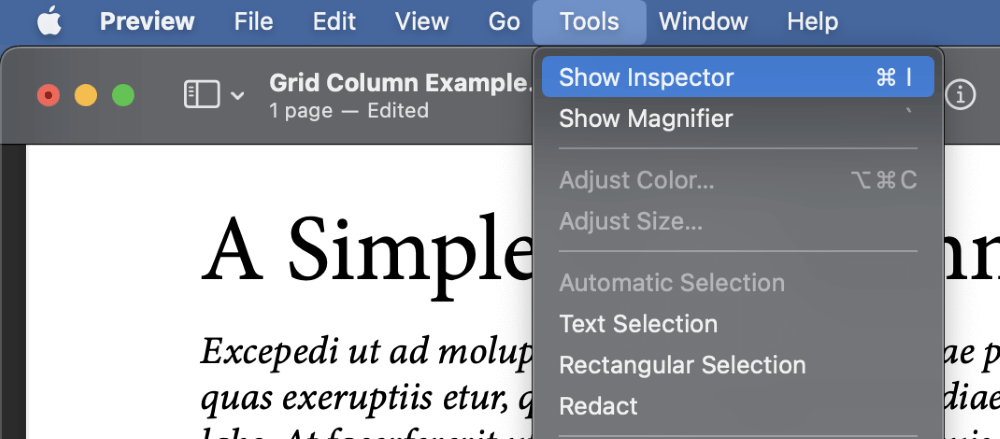
Open the Tools menu, and select Show Inspector. You can also use the keyboard shortcut Command + I to display the panel.
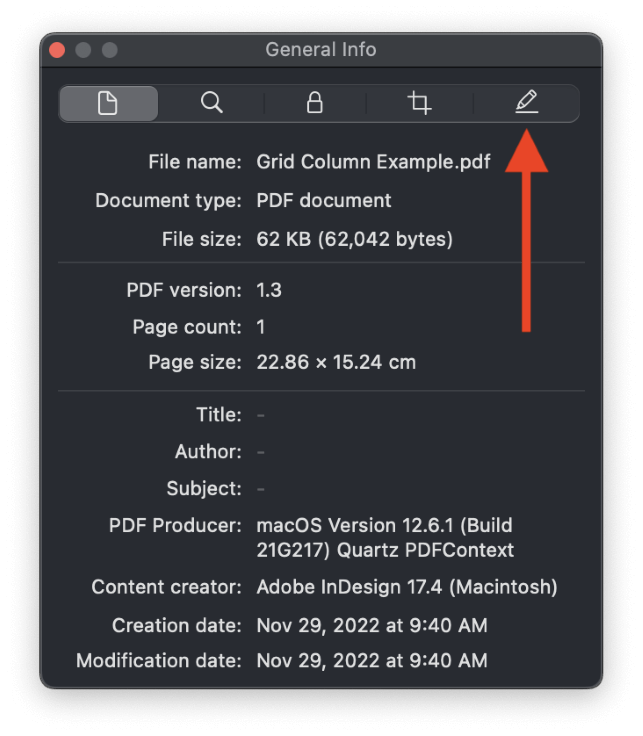
In the Inspector panel, click the Annotations section (as highlighted above), and the Inspector will display all the annotations that are contained in the file.
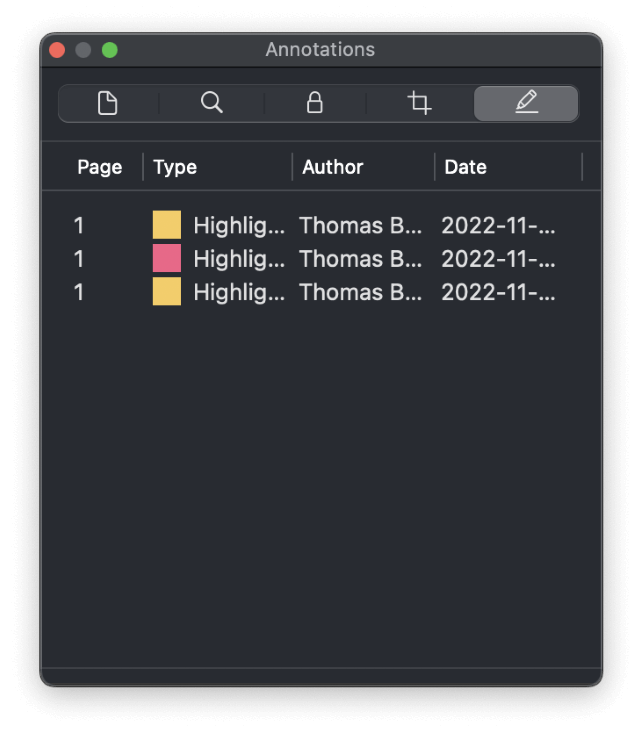
Simply select the entire list (or any specific entries that you want) and press the Delete key to remove them all. It might take a second or two, depending on how many annotations there are, but this method is much faster than removing them using the highlighter tool.
A Final Word
That covers everything that you need to know to highlight text in a PDF in Preview! Preview is one of the unsung heroes of the macOS world, and hopefully, Apple will continue to add new features and options while still keeping it a lightweight, responsive app.
Happy highlighting!