
Moovly
Summary
Moovly is an online platform for creating and editing videos. It offers editing tools, free graphics and sounds to use in your videos, collaborative sharing features, and of course, you don’t have to download anything. The platform seems to be geared toward enterprise users for creating marketing, Facebook, or internal use videos.
Overall, Moovly is a great web-based video creator. It offers a lot more than most of its competitors, especially at the free level. While it will never match professional video editing software, it’s still a great choice for making short clips, explanatory movies, or marketing videos. Moovly would also serve students and educators well due to its wealth of resources.
What I Like: Simple interface with a low learning curve. Vast library of graphics and stock images/videos. Works in your browser without any hassle.
What I Don’t Like: Very few, very short templates. A limited library of free sounds. Premium assets aren’t shown to free users.
Is Moovly safe to use?
As a web-based video editor and creator, Moovly is 100% safe to use and their web site is secured with HTTPS.
How long is Moovly’s free trial?
You can use Moovly as long as you want. But the trial version has some limitations, for example, your videos will be watermarked, maximum video length is 2 minutes, and you only have up to 20 personal uploads.
How much does the paid version cost?
It depends on how you’ll commit to the tool, monthly or yearly. The Pro version costs $299 per year, and Max version costs $599 per year.
Table of Contents
Why Trust Me for This Moovly Review?
The Internet is notorious for being both a great resource of knowledge and an ocean of false “facts”. It makes sense to vet any review before you take what it says to heart. So why trust me?
My name is Nicole Pav, and I’ve reviewed many different programs for SoftwareHow. Just like you, I’m a consumer who likes to know the pros and cons of an item before I purchase it, and I value an unbiased look inside the box. I always try each program myself, and all content in the review comes from my own experiences and tests with the program. From logging in to the final export, I personally look at every aspect of the program and take time to learn how it really works.
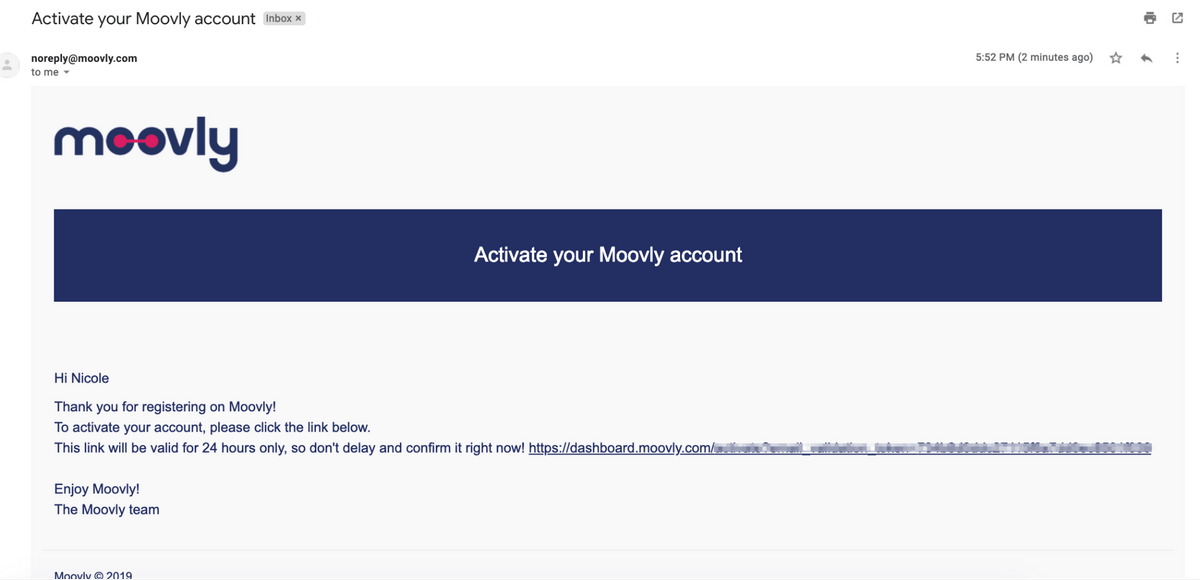
If you need further proof that I have actually used Moovly myself, you can check out this account confirmation email I received, as well as the support tickets and other content in the review.
Moovly Review: What’s In It for You?
Dashboard & Interface
When you first open Moovly, you’ll see a simple screen for your projects. There’s a pink “create project button” and a menu bar with the tabs ‘My Projects’, ‘Shared With me’, ‘My Gallery’, ‘Archived’, and ‘Templates’.
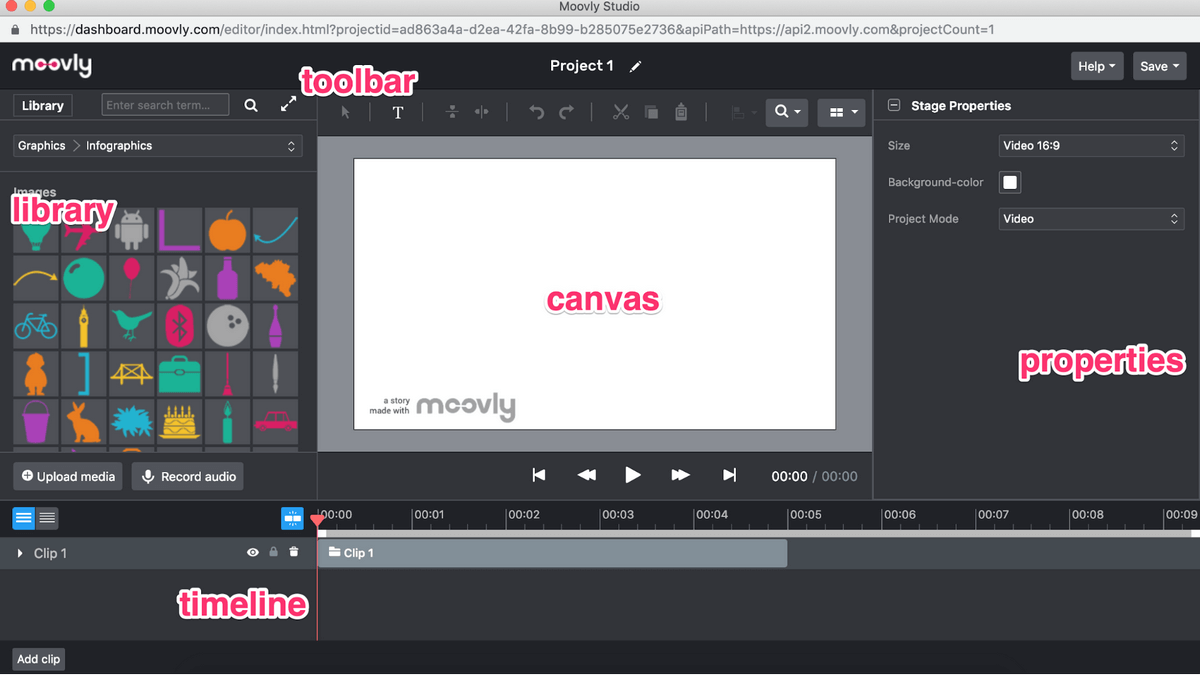
When you create a project, a new window will open with the Moovly video editor. This editor has several key sections: toolbar, library, properties, canvas, and timeline. You can see them each labeled in the image below.
The first time you open Moovly, you’ll be offered an intro video on how to use the program, which you can view here.
Overall, the layout is fairly simple, which makes it great for users of all skill levels. There are no hidden menus or difficult-to-discover features, making Moovly straightforward and uncomplicated.
You also don’t have to start with a blank canvas as we’ve shown here — Moovly offers a small set of templates to get you going.
Templates
Moovly’s template library is pretty small, and that library doesn’t appear to get any larger for paid users. There are about 36 templates offered, and most tend to be pretty brief — some as short as 17 seconds.
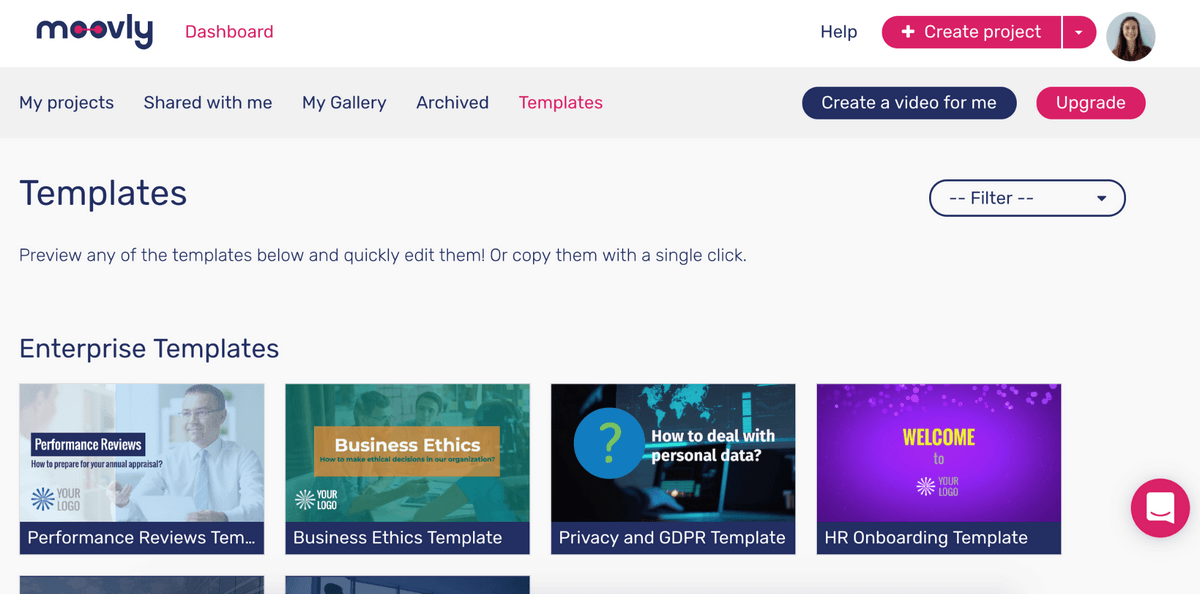
If you click on any template, you can play a preview of the clip. You can also immediately edit it with the small sidebar that pops up. This feature allows you to change any wording/links in the template, but not its media. The feature may be useful for seeing how well your content will fit within the template, but it’s highly unlikely you’ll be able to make a video you are satisfied with using this method.
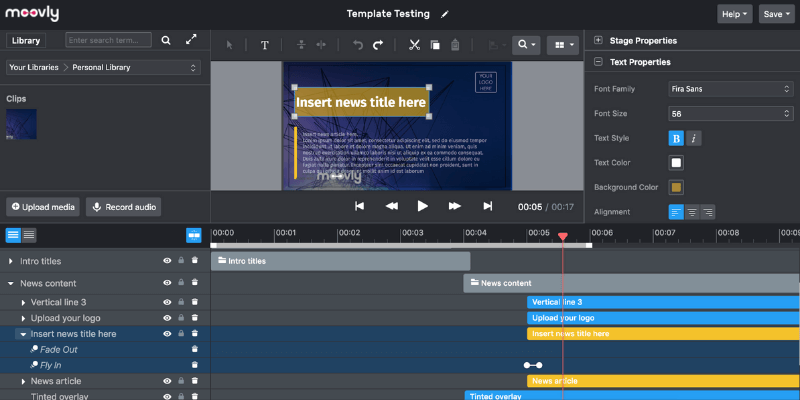
To change the media out, you need to open the full editor.
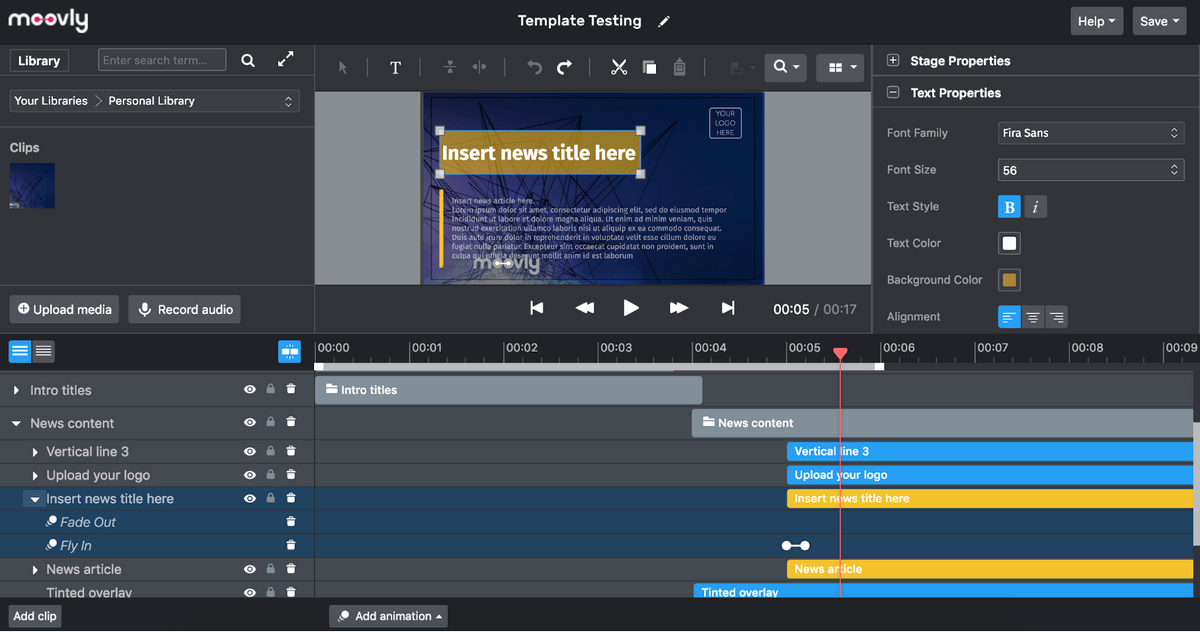
When you do this, you’ll see the template in the canvas, all assets in the timeline, and the appropriate properties. To edit an asset, you can double-click it on the canvas. This will also highlight it in the timeline, which makes it easy to adjust timing and effects.
While the templates themselves are pretty easy to manipulate, adding in anything that deviates too far from the given structure, including new scenes, will probably be tedious for you.
One thing I particularly didn’t like was how few templates Moovly offers, especially compared to its competitors. Some seemed particularly useless — for example, one is called “Workplace Sexual Harassment”. It is hard to imagine a reputable company using a 90-second stock video for such a serious matter.
Although there is a small section of templates entitled “Enterprise”, most of the templates are best suited to a business Facebook page, leaving very little for casual users. Furthermore, most of the templates are around 20 seconds long. In my opinion, the templates are best for getting ideas and getting the hang of the program. After that, you’ll want to just ignore them and make your own videos.
Assets
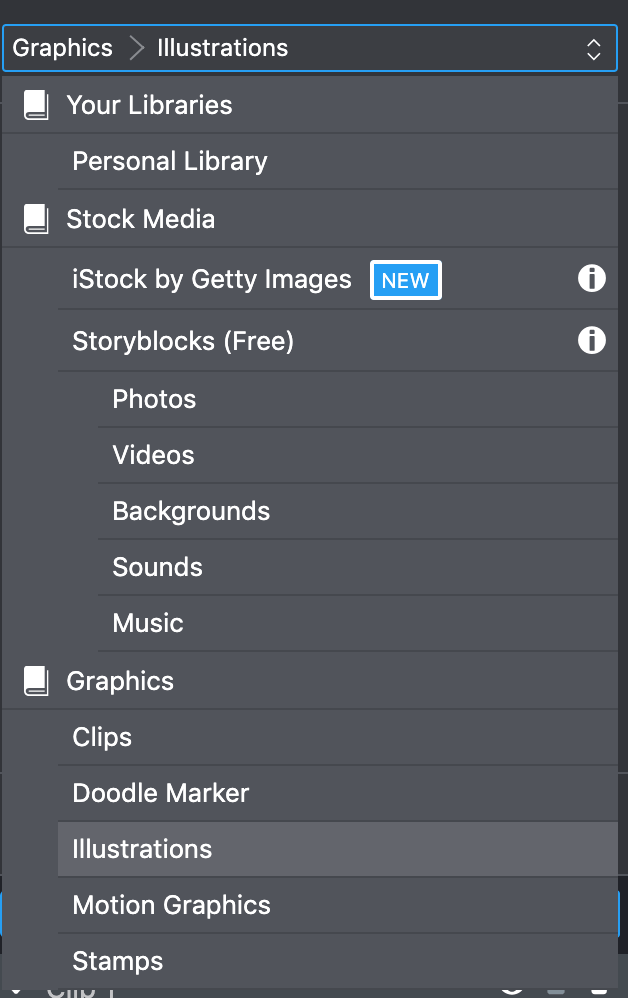
Moovly offers a good-sized library of free assets that you can use in your videos at no charge. This panel is on the left-hand side, and by default displays as “Graphics > Illustrations”. However, there are several categories you can search through for the perfect image.
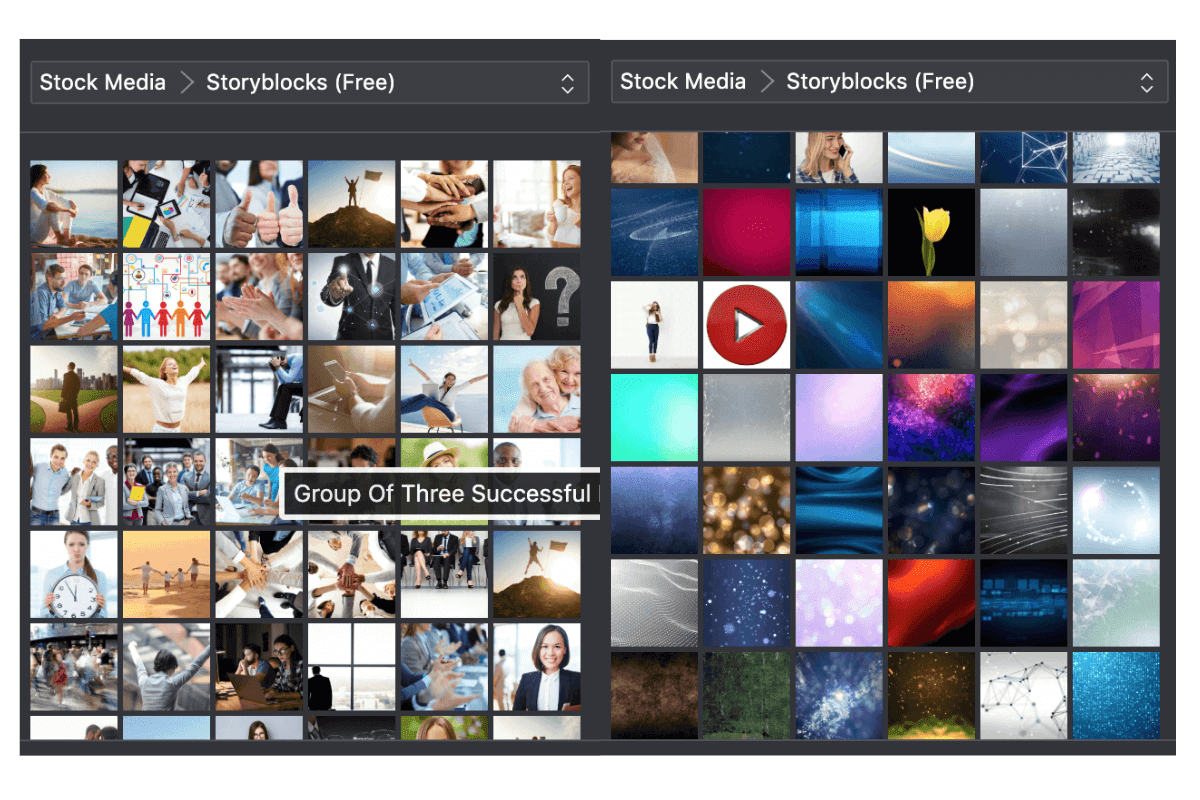
Interestingly, Moovly does not show its premium assets to free users, so it’s impossible to know what “Access to 170+ million premium videos, sounds, and images” entails. However, the free library seems to be plentiful, and its stock images/videos are of good quality. This was refreshing, especially because similar programs offer large amounts of assets but have very few that people will actually use.
As you can see here, the “Storyblocks” tab offers a lot of high-quality stock clips, videos, and backgrounds.
The clipart selection is very good and supports altering the color of the clipart. As I demonstrated here, the original android logo in the asset panel is gray. However, after dropping it onto the canvas, you can use the “Object Properties” tab on the right-hand side to edit the color to anything you choose. This seems to apply to all of the clipart.
If you’re willing to pay for your assets, Moovly integrates with Getty Images. You can access this by choosing Graphics > iStock by Getty Images. When you do, you’ll see a brief pop-up explaining the integration.
The stock images must be purchased individually, and prices can vary. They’ll be watermarked until you purchase a copy for use in your video.
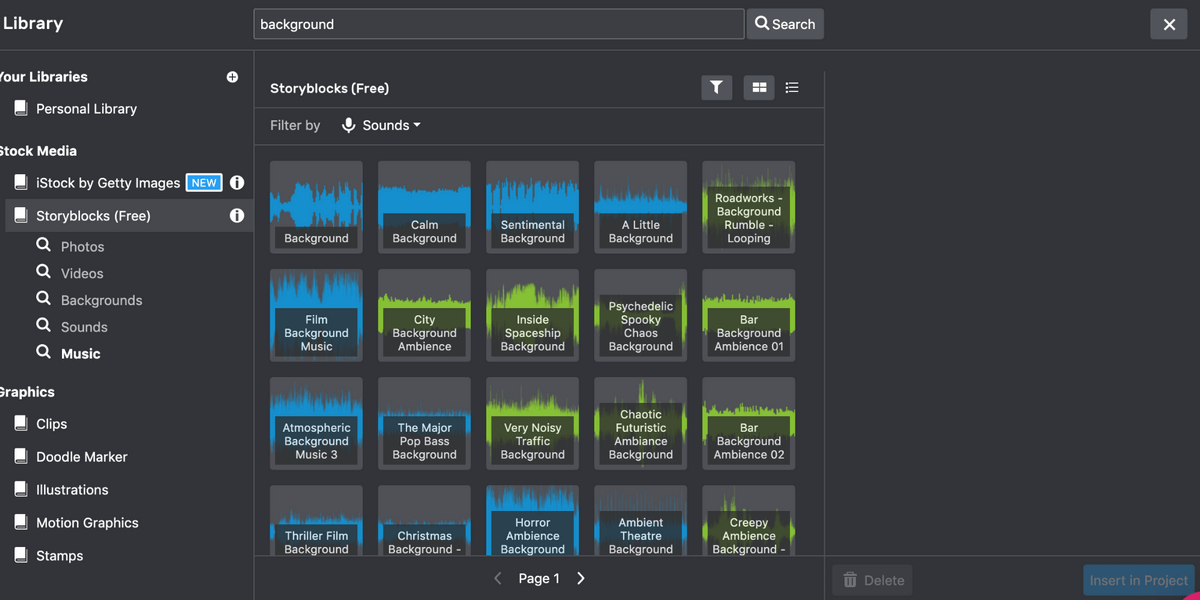
The one downside of the Moovly library is that it seems to have a limited selection of music and sounds. At the free level, there are about 50 songs and 50 sound effects available. However, many of these are very similar; there’s not a lot of variety or selection.
For example, I am sure “White Noise Inside Jet”, “White Noise”, “Static White Noise”, “Rising White Noise” and “Pink Noise” all have their place, but it’s not going to help someone who needs something a little more distinct, like a car horn beeping or a door opening/closing.
Luckily, the software does support uploading your own media, so a problem like this can be easily overcome. Just click “Upload Media”, and the file will show up under Your Libraries > Personal Libraries.
Moovly supports uploading files from cloud storage programs like Google Drive and Dropbox, not just your computer, which extremely convenient. I was able to upload JPEGs, PNGs, and GIFs. However, the GIFs did not animate and displayed as still images instead.

Overall, if you’re looking for a graphic or stock clip, Moovly has a great selection at the free level (and presumably pro level as well), but you’ll want to find your own sounds.
Properties Panel
In the properties tab and above the canvas, there’s a variety of tools for editing your video. Always available is “stage properties”, which allows you to change the default background, aspect ratio, and mode (presentation or video). Free users will only have access to the 1:1, 16:9, and 4:3 aspect ratios, but there are several mobile formats available.
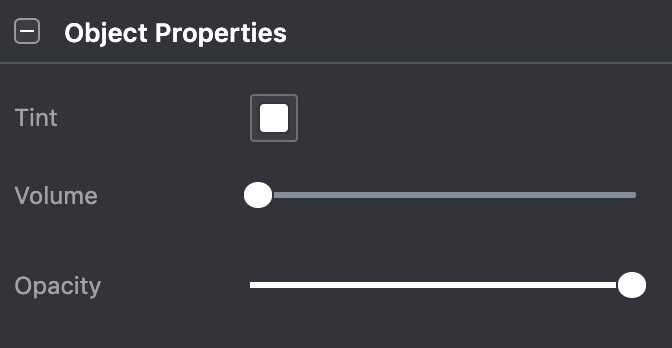
Below this is the Object Properties tab, which will show up whenever you select an asset. Every object will have an “opacity” slider. Graphics from the stock library will also have a “tint” option, which allows you to recolor them. Lastly, video clips also include a volume feature so you can adjust them relative to your overall video.
Text assets have a special panel called “Text Properties” that allows you to change the size, font, formatting, and etc. The opacity slider for text is still listed under Object Properties.
Most objects have a “Swap Object” option as well. To use this, simply select the original object, then drag a new item from the asset panel into the “swap” box.
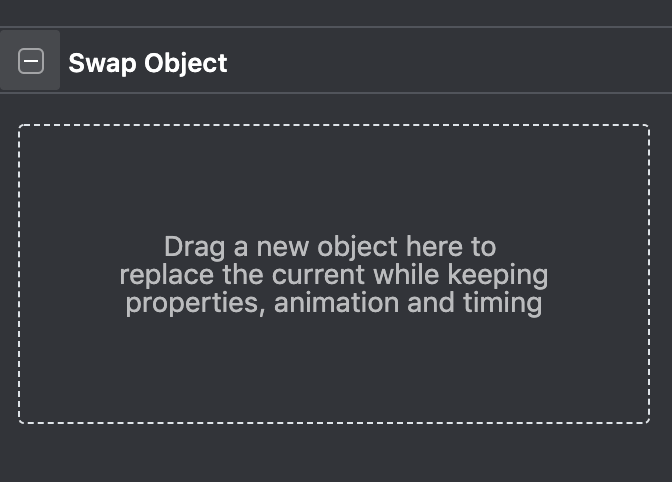
This is pretty useful if you’re using a template or if you’re trying out a few different items in the same place. It allows you to keep the timeline position and effects without recreating them for each new item.
Toolbar
The toolbar above the canvas is also something you will probably use often.

The arrow on the left never lit up for me — no matter what type of object I clicked or actions I tried, I couldn’t get it to activate. At this time, I’m still unsure of its use. I was able to get the program to do whatever I wanted otherwise.
Next to it is the Text Tool. You can use it to add text. This is followed by the Mirror buttons, which will flip an image horizontally or vertically. To the right, you’ll find Undo and Redo buttons, and then your standard Cut, Copy, and Paste.
The button with the two rectangles will activate if you select multiple objects at once. You will then have the option of choosing an edge to align the items, or by their vertical/horizontal center.
The magnifying glass button allows you to change the size of the canvas that you are viewing.
Lastly, the grid button lets you set up a grid over your video that’s useful for aligning different objects. You can set the number of horizontal and vertical lines, and then decide whether elements should snap to those guidelines.
Timeline & Animation
The Timeline is where you can make adjustments to the timing and appearance of your assets. Each item gets its own row on the timeline, and the position of its color block correlates with a timestamp above it. The red marker indicates which part of the video is currently displayed on the canvas.

To add animations to an object, click the “Add Animation” button at the bottom of the timeline (“Add Pause Point” pauses all content should only be used if you’re in “Presentation Mode”).

Once you click this, you can choose entry and exit animations, movement animations, or “hand” animations if you want it to look like someone sketched an image (like in a whiteboard video).
Once you add an animation, a small white bar will appear beneath the item in the timeline. Changing the length of this bar will change the length of the animation.

Overall, the timeline functions very simply and relies on drag and drop. It can get a bit crowded, but you can expand the viewing area (at the cost of reducing the size of the canvas) as needed.
Save & Exporting
Inside the editor, Moovly has an autosave feature, although you can manually press “save” in the upper-right corner as well. To export your video, though, you’ll need to go to the home page/dashboard where your projects are listed.
From here, scroll to the project you want to export. You can either “Publish”, “Download”, or “Share”.
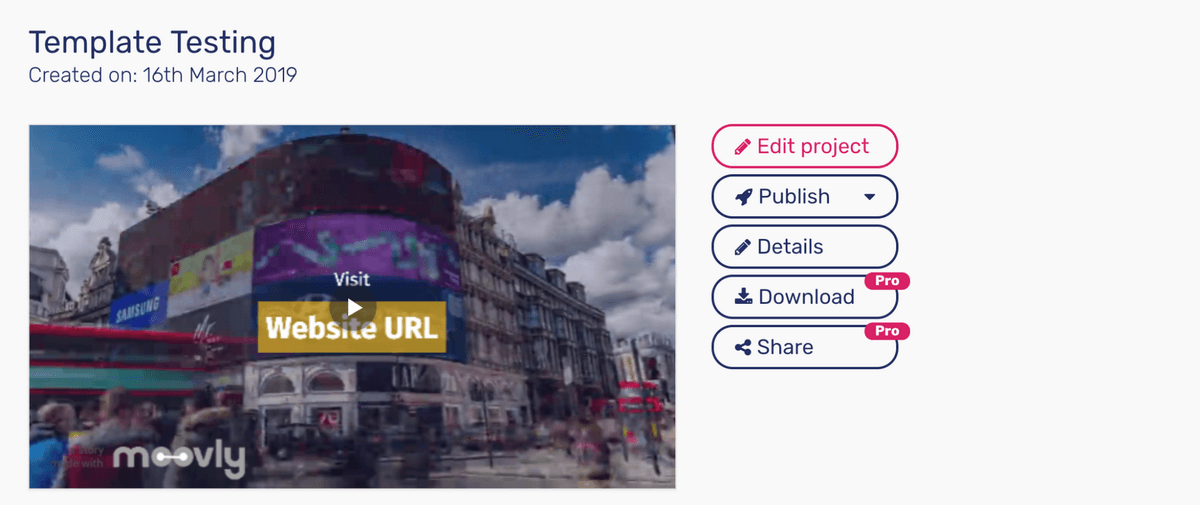
“Publish” will let you upload to the Moovly Gallery, Youtube, or Vimeo.
“Download” is only available to paid users but will create a video file without the Moovly watermark in HD quality and download it to your computer.
“Share” is also only available to paid users. This feature is for allowing others to view, edit, and copy your video. It’s kind of like the share button on Google Docs, and any Moovly videos shared with you will show up under the “Shared With Me” tab on the home page.
Support
Moovly offers a few different kinds of support. They have a good FAQ section, and most of the topics have videos rather than written instructions.
There’s also a chat feature, but I wasn’t able to try it out. This is because this “conversation” window only has active reps during Central European time — that’s anywhere from 6 to 8 hours ahead of users in the United States, making it difficult to talk to a real person.
Additionally, if you want to contact them by email, it’s best saved for serious or complicated inquiries. Response times vary depending on your subscription level, which is understandable, but most of your questions can probably be found in the existing help documents.
Reasons Behind My Moovly Review Ratings
Effectiveness: 4/5
For a freemium video editor, Moovly has a lot of features. You’re able to insert your own materials, manipulate the timeline, and use a wealth of free resources. Generally, it seems to load pretty quickly and I only experienced lag only once when I tried to insert a new video clip. If you’re making education or promotional videos, it has pretty much everything you’ll need. However, you probably won’t want to use it for video editing, since you can’t adjust anything besides opacity and volume on your clips. Overall, it’s a great editor if you don’t need a full-blown professional tool.
Price: 4/5
The free level of Moovly is generous. You aren’t paywalled except when it comes to downloading the final project, and the resources they give you are plentiful. The pro-level pricing seems fair for commercial use, at $25 a month for a year, or $49 month-by-month. However, this same tier is marketed to education, and that’s definitely not in the price range of most individual students and teachers.
Ease of Use: 5/5
One of the great things about Moovly is how easy it is to get started. It has simple menus and easy-to-access features. A simple tutorial under the “help” button will guide you if anything seems unclear. It couldn’t get any simpler.
Support: 4/5
It’s fitting that a video-making program offers a lot of its tutorials in video format. Their Youtube channel “Moovly Academy” includes plenty of videos for learning how to use the program to its maximum potential, and the help page offers articles and an easy search mechanism. Moovly offers chat and email support, but it’s offered based on the Central European Time, which may limit how accessible it is to you. Lastly, Moovly offers email support, but you should save this as a last resort. Most questions can be solved using the other resources provided, and reply times are based on your subscription level.
Moovly Alternatives
If Moovly doesn’t seem like the right choice, there are a lot of alternatives out there.
Animaker is a great choice if you want simple animated videos without live action clips. It has a lot of flexibility, a pricing structure that might be more friendly to those with a limited budget, and a ton more templates than Moovly. It’s web-based, so you won’t need to download anything. You can check out our full Animaker review here.
Powtoon is another web-based, animated editor that you may find useful. It’s more heavily based on templates, which could be good for those who just need something quick. The editor is scene-based instead of having an overarching timeline, which might be easier to manage for less experienced users. Powtoon has its own library of free characters and graphics. You can check it out from our detailed Powtoon review here.
Camtasia offers professional editing tools and is more of a traditional video editor, if you need to step it up a notch. It’s geared more at making your own content, so you aren’t going to find libraries of assets or templates galore. However, you will find tools for audio and visual effects, a detailed timeline, and a variety of export options. To learn more, you can view our full Camtasia review.
So, what do you think about this Moovly review? Let us know by leaving a comment below.
Hi DJ Mas,
That’s correct… our office is located in Ghent, Belgium. The Support team is available from Monday through Friday, from 09:00 AM CEST until 07:00 PM CEST.
We reply within 16 business hours max.
We have an online community where users can help each other 24/7. For now it exists on Facebook, but we hope to move it to another platform soon. Get access here: https://www.facebook.com/groups/moovlyfriends/.
Good luck!
Chana @ Moovly
Customer Success Manager
Hi Andrew,
In fact you can publish your video project straight from the Moovly platform to your YouTube channel. Here’s how to do that: https://helpcenter.moovly.com/portal/kb/articles/how-do-i-publish-a-moovly-project.
When you publish the project, you can choose the visibility setting. If you want it to be visible for everybody immediately, simply choose ‘Save in YouTube as Public’.
For any further questions, feel free to reach out to the Moovly Support team: https://www.moovly.com/contact.
Enjoy Moovly!
Chana @ Moovly
Customer Success Manager
You do not mention that they are located in Europe and that their customer support is, for New York clients, 6 hours behind. Very inconvenient!
After purchase, and the video is downloaded to You Tube how can it be viewed by others