

Dr. Cleaner (Now Cleaner One Pro)
Summary
Dr. Cleaner, one of the new players in the crowded Mac cleaner software market, differentiates itself from the competition by boldly offering key features for free that none of its competitors would consider doing.
After testing, I find Dr. Cleaner to be more like a toolbox than a pure system optimizer or cleaner. You can use the app to shred data, find duplicate files, and more. I also especially like the Dr. Cleaner Menu, which acts as a mini productivity app by showing a number of useful metrics that indicate how my Mac is performing in real-time.
However, Dr. Cleaner claims to be “the ONLY all-in-one free app…to keep your Mac optimized for the best performance.” I’m not really fond of this claim given that the app isn’t 100% free. It does offer many features that are free to use, but certain actions require you to upgrade to the Pro version ($19.99 USD) to unlock.
That said, the price is well worth it if you consider the app’s overall value. I recommend it. You can read more in my detailed review below. Just a kind tip: Try Dr. Cleaner first before upgrading to Dr. Cleaner Pro.
What I Like: Stats shown in Dr. Cleaner Menu are helpful. Junk Files, Big Files, and Disk Map modules are free to use without limitations. Disk Map allows you to see what’s taking up system storage, while that section is greyed out in Apple macOS. Very easy to use thanks to its clear interfaces and text instructions. Good localization (the app supports 9 languages).
What I Don’t Like: The app could find more junk files e.g. Safari cache. Memory Optimization notifications are a bit distracting. The FREE version isn’t 100% free. It should be called TRIAL in order to avoid confusion.
Important Update: Trend Micro, the developer of Dr. Cleaner, has re-branded the app and the new version is called Cleaner One Pro, which you can also download from the Mac App Store for free. Due to Apple App Store policy updates, some features in Dr. Cleaner, such as Memory Optimization, System Monitor, App Manager, and File Shredder, are no longer available. Clean One Pro is also available for Windows.
What can you do with Dr. Cleaner?
Dr. Cleaner, designed and developed by Trend Micro, is a Mac application that aims to optimize Mac’s performance by offering a suite of cleaning and monitoring utilities. Those utilities will scan and clean junk files, big old files, and duplicate files. It also allows you to analyze Mac disk usage, uninstall unused third-party apps in batch, and shred files and folders to make your sensitive data unrecoverable. Finally, you can use Dr. Cleaner Menu to get a real-time status of your Mac system, such as how much free memory is available, how many junk files have accumulated over time, etc.
Is Dr. Cleaner safe to use?
First of all, the app is free of any virus or malware issues. I’ve been using it for quite a few months and Apple macOS has never given me any warning about the Dr. Cleaner installation file or Dr. Cleaner Menu. In fact, Dr. Cleaner has to be downloaded from the Mac App Store; rest assured that apps from the App Store are malware-free. Trend Micro, the app’s maker, is a public-listed cybersecurity company that has offered data security solutions for enterprise companies for the past three decades — another reason to believe that their product is secure.
The app itself is also safe to use, provided you know what you are doing. Since Dr. Cleaner is a cleaning tool that deals with files stored on our Mac machines, our top concern is whether the app could delete wrong files due to misoperation or inadequate text instructions. In this regard, I think Dr. Cleaner is very safe to navigate as long as you understand the functions of each module within the app.
Also, don’t forget that Dr. Cleaner sends unwanted files to Trash when you hit the Removal or Clean button, which gives you a second chance to undo any operations. However, in rare situations, you may end up with deleting the wrong files or folders if you use the File Shredder feature. In this case, my only advice to you is to back up your Mac before you use Dr. Cleaner or any other similar apps.
Is Dr. Cleaner legitimate?
Yes, it is. Dr. cleaner is an app made by a legit company called Trend Micro, a public-listed corporation that began trading on the NASDAQ stock exchange in 1999. You can also learn more about the company from its Wikipedia page here.
During my research, I also happened to find the company mentioned or indexed in many prestigious media portals like Bloomberg, Reuters, etc.
Is Dr. Cleaner free?
Dr. Cleaner has a free version (or trial) as well as a Pro version that requires pay ($19.99 USD). Technically, the app isn’t fully free. But Dr. Cleaner offers more free features than its rivals. I’ve tested dozens of Mac cleaning apps (both free and paid) and I discovered that most paid apps allow you to scan your disk but limit file removal functions unless you pay to unlock them. That’s not the case with Dr. Cleaner.
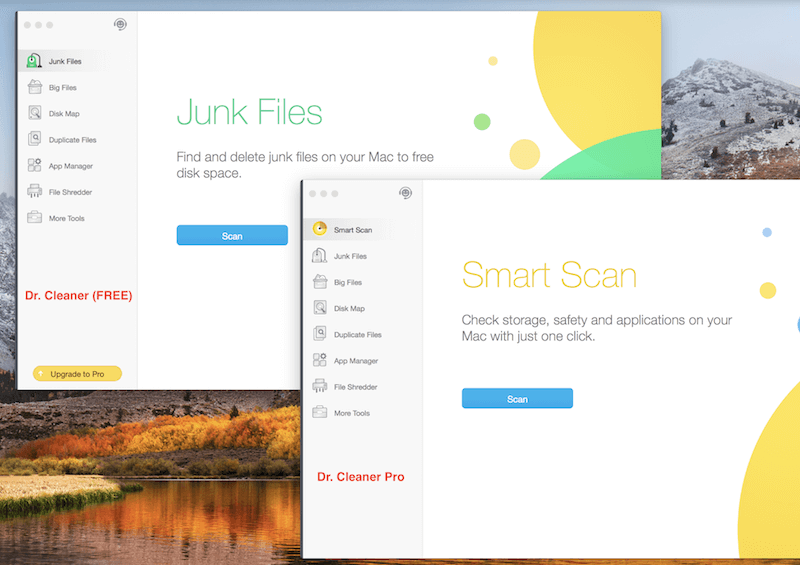
Table of Contents
Why Trust Me for This Review
My name is JP Zhang. I test software programs to see whether they are worth paying for (or installing on your computer if it is freeware). I also check whether it has any catches or pitfalls so you can avoid them.
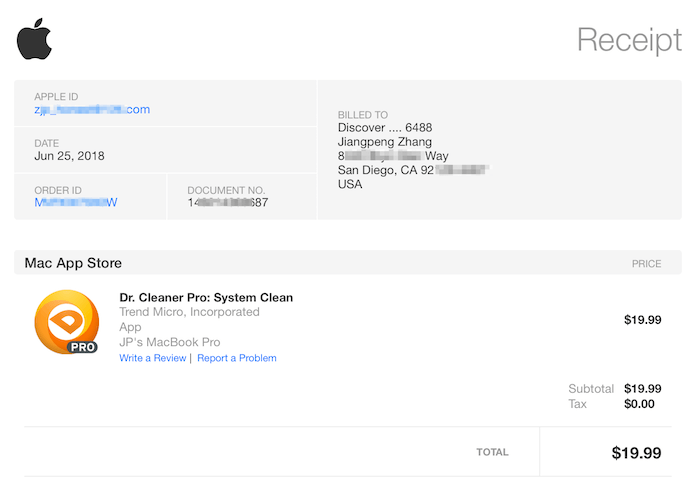
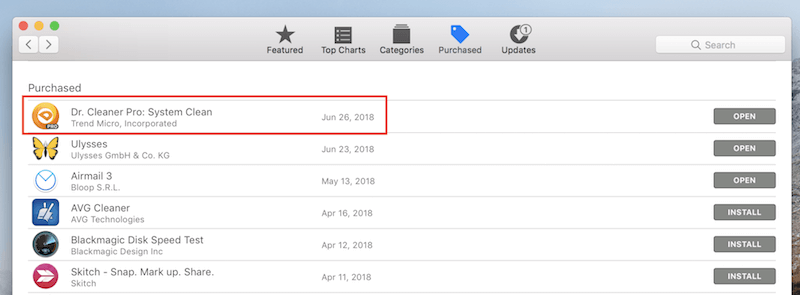
That’s what I’ve done with Dr. Cleaner. The app has both a free and pro version. The latter costs $19.99 USD. I tried the basic free version first, then paid for the Pro version (receipt shown below) to test these premium features.
Meanwhile, I also reached out to the Dr. Cleaner support team via live chat in order to test how responsive their team is. You can learn more from the “Reasons Behind My Review Ratings” section below.
Disclaimer: The Dr. Cleaner team (staffed by Trend Micro) has no influence on the making of this review. All the things I like or dislike about the program are my own personal opinions based on my hands-on testing.
Detailed Review of Dr. Cleaner
To make this Dr. Cleaner review easier to follow, I decided to break all the app’s features into two sections: System Optimizer and Dr. Cleaner Menu.
- System Optimizer is the core of the app. It includes a number of smaller utilities (or modules, as listed on the left panel of the program). Each utility helps solve specific problems. I’ll cover more about that below.
- Dr. Cleaner Menu is a small icon shown in the macOS Menu Bar (on the top of your Mac desktop). The Menu shows a number of key performance metrics related to your Mac such as CPU usage, memory usage, etc.
System Optimizer
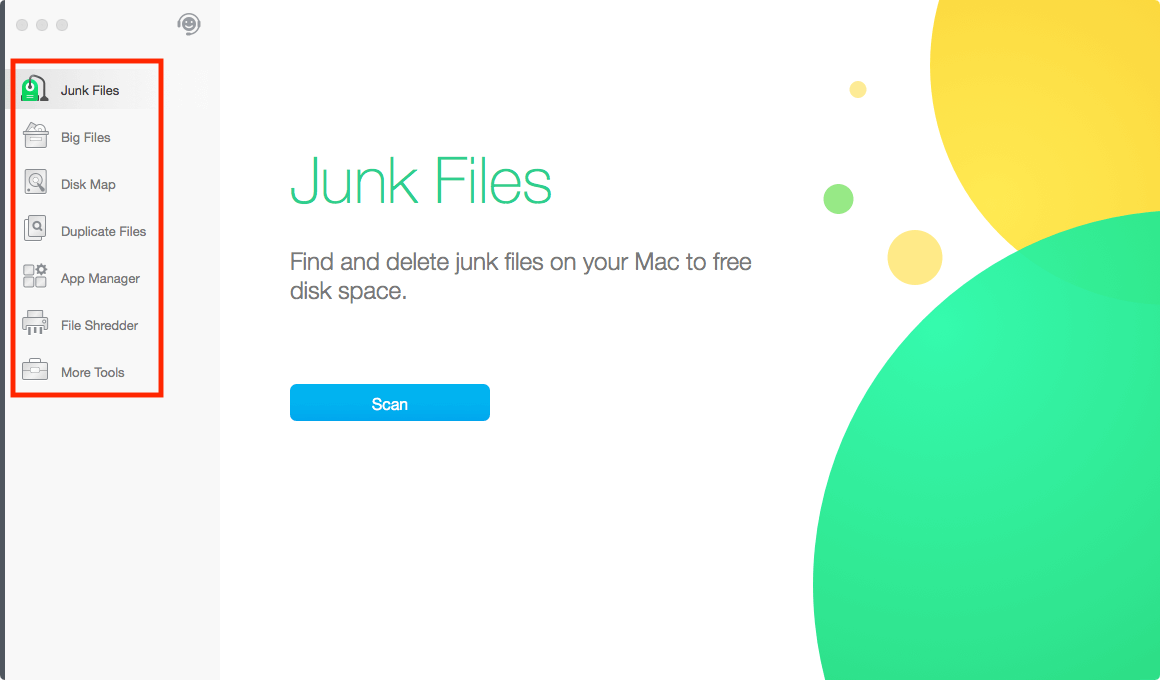
There are 7 modules (now 8, see more below) listed on the app’s main interface: Junk Files, Big Files, Disk Map, Duplicate Files, App Manager, File Shredder, and More Tools. I’ll go through each of them and see what they have to offer and how they actually perform.
Junk Files
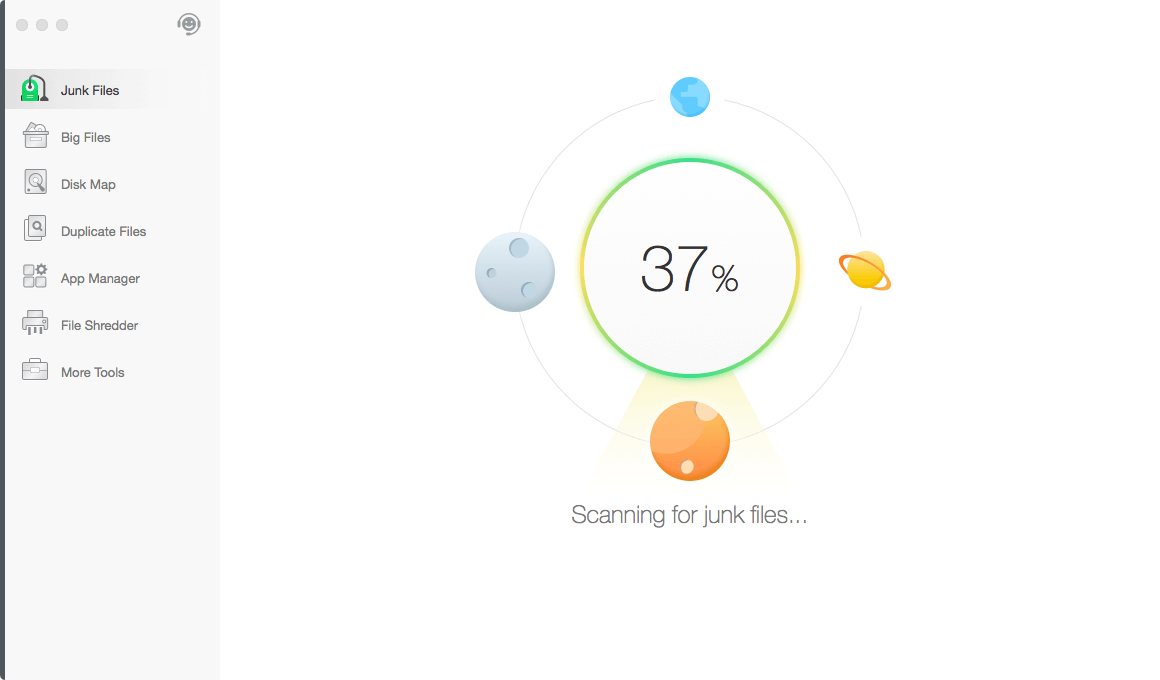
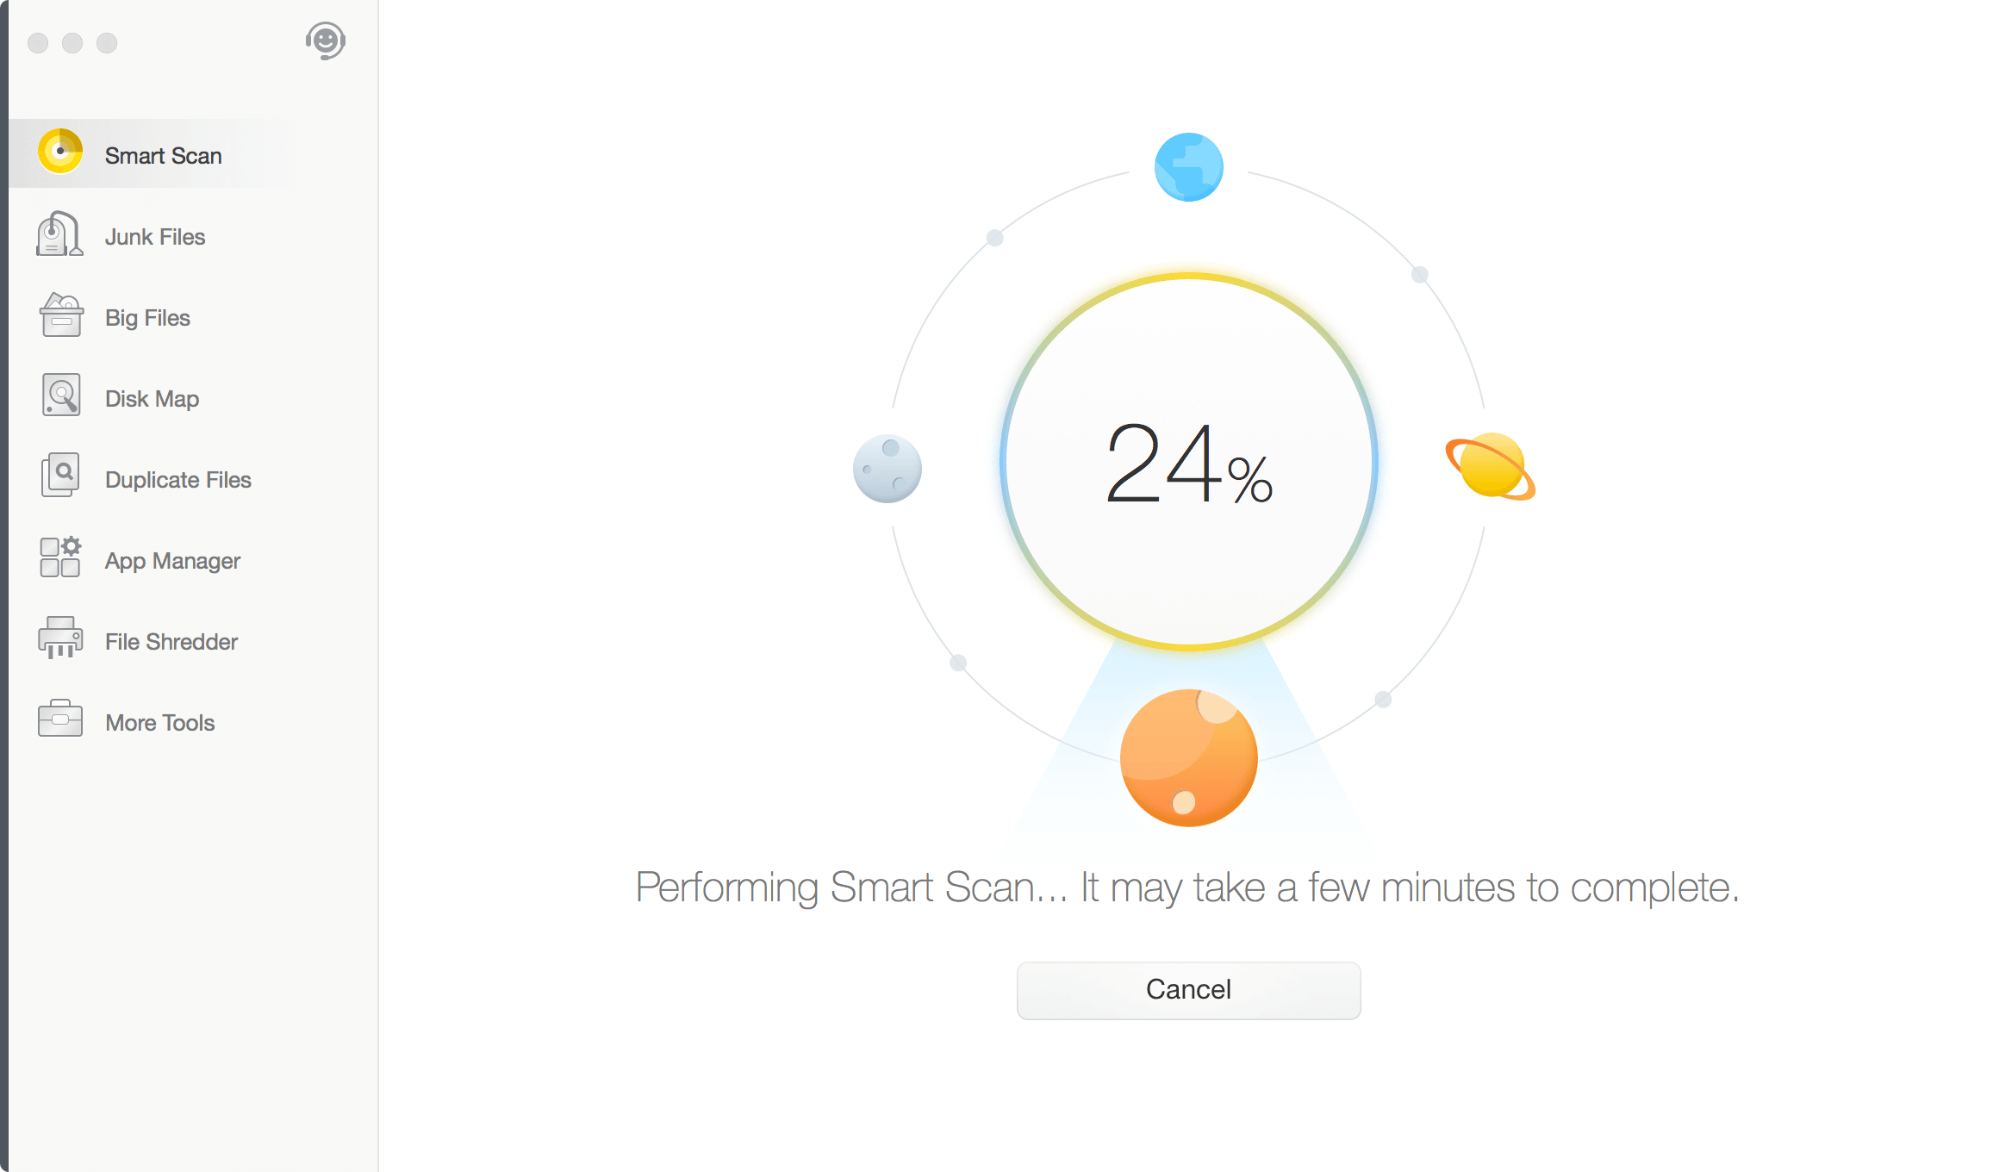
This model is designed to find system junk files on Mac; by deleting them you can free up a ton of disk space. It all starts when you clicking the blue “Scan” button. After that, Dr. Cleaner shows you the scanning progress indicated with a percentage number surrounded by four planet icons in the universe. It looks pretty nice!
When I ran the scan, it only took 20 seconds or so, after which the app showed me a list of items that could be removed. By default, Dr. Cleaner automatically selected Application Caches, Application Logs, iTunes Temporary Files, and Mail Caches (totaling 1.83 GB in size), while I could manually select Trash Can, Browser Caches, Uninstalled Application Leftovers, and Xcode Junk (which takes close to 300 MB in size). In total, the app found 2.11 GB of junk files.
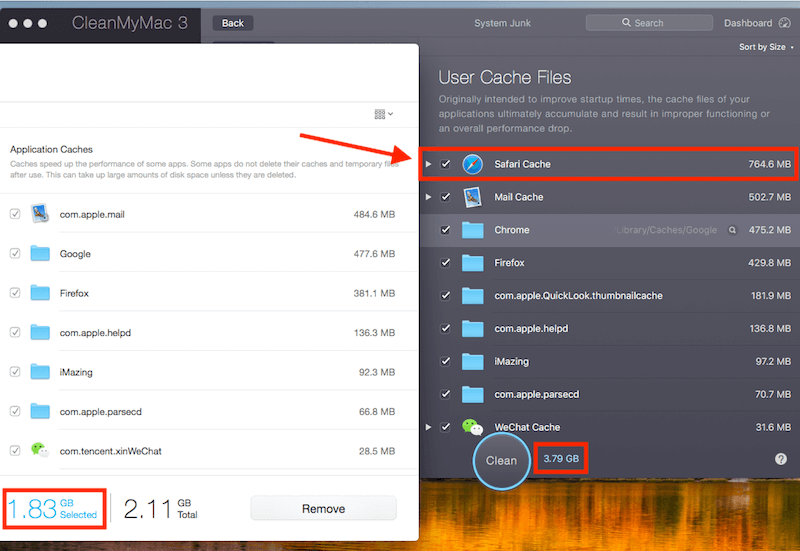
Numbers don’t tell you how good or bad an app is unless you compare them with the competition. In my case, I ran a new scan with CleanMyMac — another Mac cleaner app I reviewed earlier. It turned out CleanMyMac found 3.79 GB of system junk. After carefully comparing the results, I discovered that Dr. Cleaner didn’t count “Safari Cache” as junk files when CleanMyMac did so. As you see from this screenshot, CleanMyMac found 764.6 MB cache files in Safari browser. This explains the difference in numbers between the two apps.
My Personal Take: Dr. Cleaner was able to find a lot of junk files, and then auto-selects those items that were safe for removal. The scan was also very fast. In less than a minute, I freed up 2GB in disk space. But after comparing the results from Dr. Cleaner with those of CleanMyMac, I feel there’s some room for System Optimizer to improve. For example, they could include Safari Caches in the scan but not auto select the files.
Big Files
Sometimes your Mac storage is almost full because of old and large files rather than system junk. That’s what the “Big Files” module in Dr. Cleaner is made for — finding and deleting big files to make up more disk space.
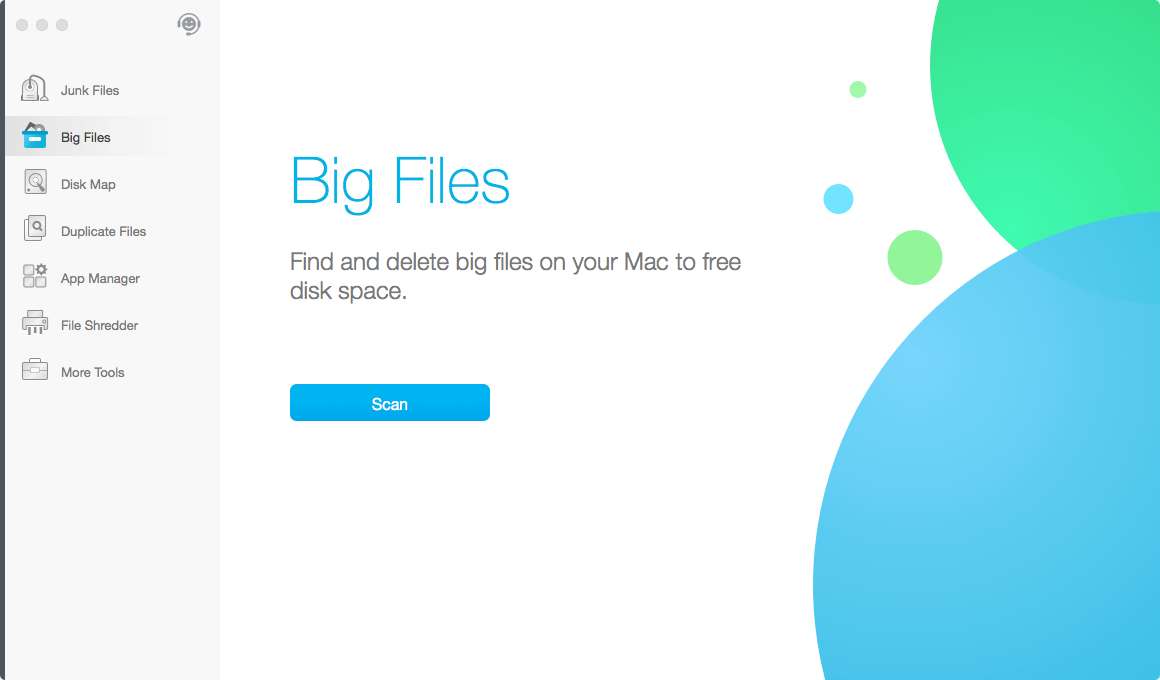
Again, it starts with a scan. Just hit the blue button to get started. Soon, the app will return a list of large files, in descending order, based on file size. On my MacBook Pro, Dr. Cleaner found a whopping 58.7 GB of big files grouped into three categories: 1 GB to 5 GB, 500 MB to 1 GB, and 10 MB to 500 MB.
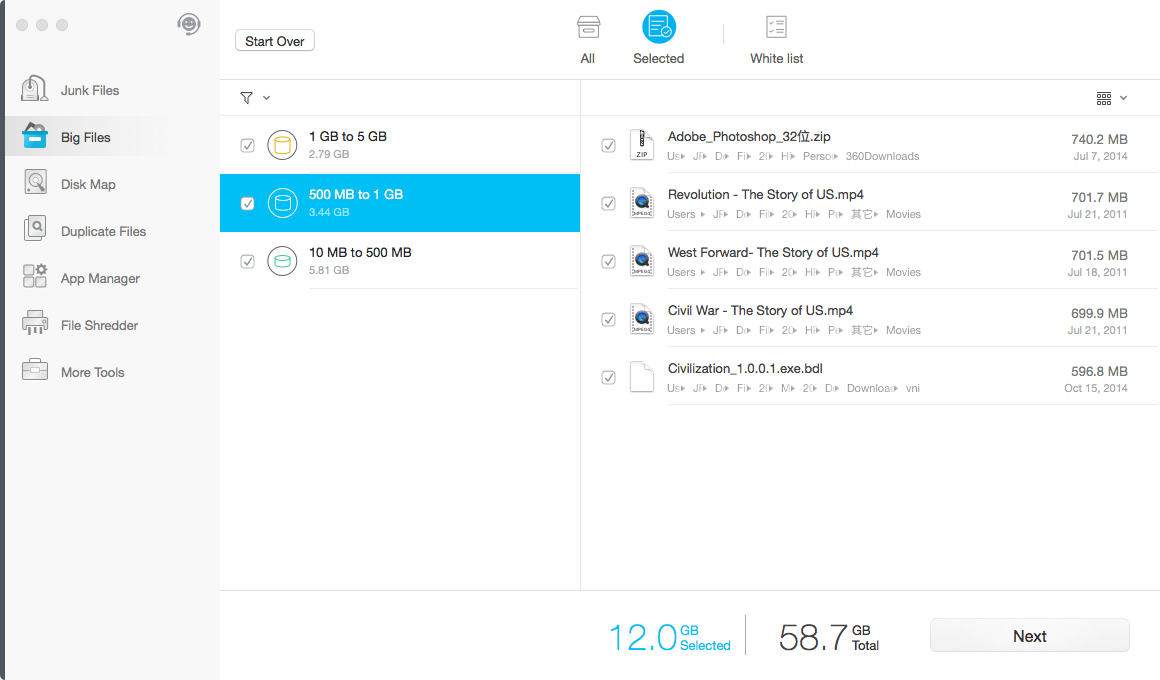
It’s worth noting though that just because there’s a big file on your computer doesn’t mean it has to be deleted. Always review those files carefully before taking the “delete” action. Thankfully, Dr. Cleaner helped me locate a bunch of old documentary movies, some I wish I’d found earlier. It took me only two minutes to find them and BOOM — 12 GB disk space freed up.
My Personal Take: Some old large files are space-killers — and they are not easy to be found, especially if you have used your Mac for years. The “Big Files” module in Dr. Cleaner is convenient to use and extremely accurate in spotting those unneeded files. I really like it.
Disk Map
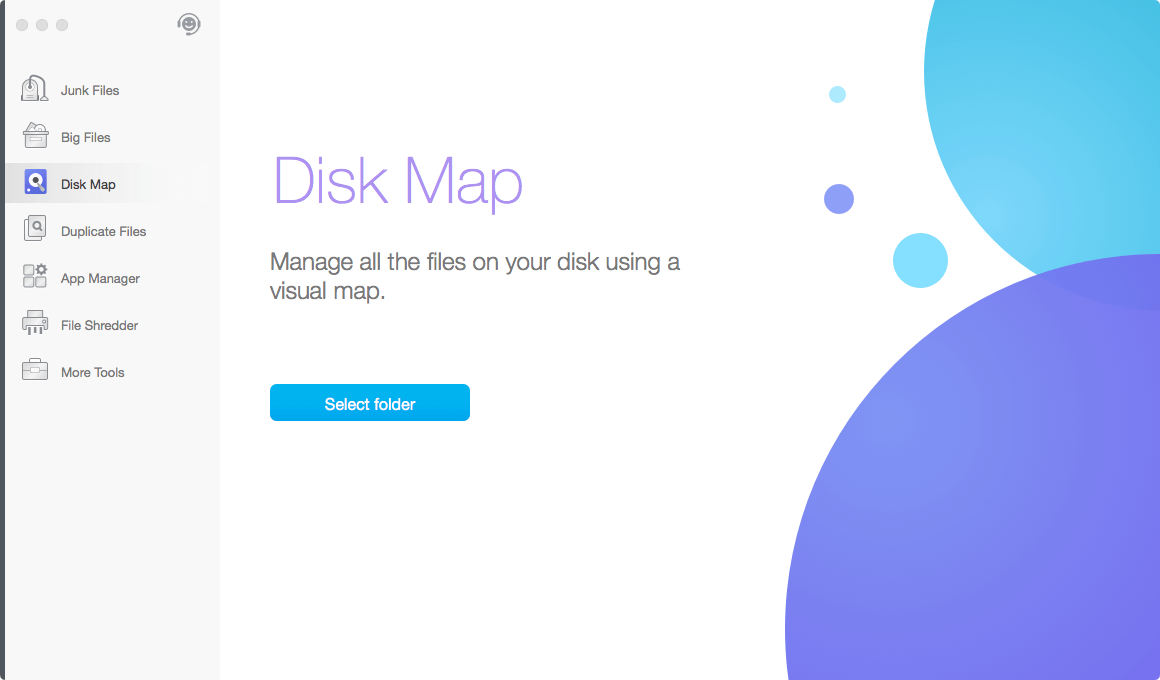
This Disk Map module gives you a visual overview of what’s taking up your Mac disk storage. It’s pretty straightforward: You simply select a folder, then Dr. Cleaner will scan the files in that folder and return a “map-style” view.
In my case, I selected the “Macintosh HD” folder hoping to see what was going on with my Mac. The scanning process was a bit slower compared to scans in previous modules. It’s possible that it’s because the app needs more time analyzing all the items saved in the entire SSD.
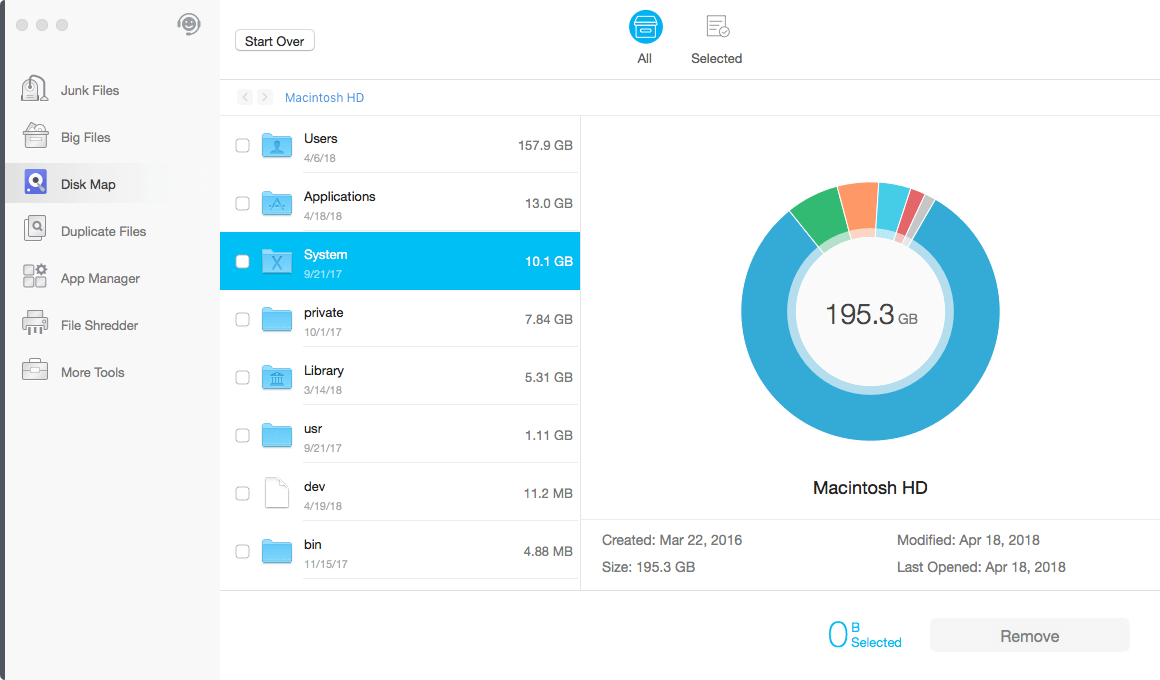
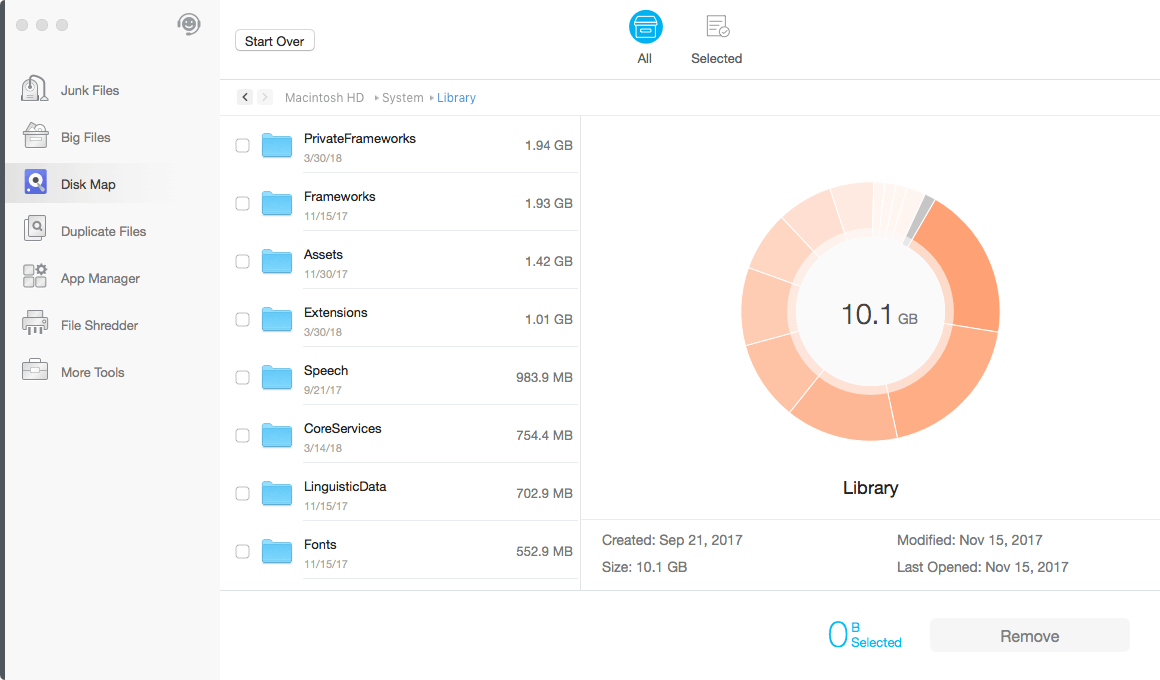
The results seemed a bit overwhelming at first, but soon I discovered the value of this feature. See the “System” folder that takes 10.1 GB in size? If you read this post I wrote earlier, you know macOS greys out the “System” folder, making it hard for you to figure out what files are there and whether they could be deleted. Dr. Cleaner makes it a breeze to see more details.
My Personal Take: I’m glad to see Dr. Cleaner incorporates this Disk Map feature into the app. It reminds me of another fantastic utility called DaisyDisk, which is specifically designed to analyze disk usage and free up space. Personally, I like Dr. Cleaner more than DaisyDisk because of its overall value. It’s disappointing to see Apple doesn’t make it easy to view disk usage on macOS High Sierra — Dr. Cleaner is smart.
Important Note: This Dr. Cleaner review was paused for a month or so because my old MacBook Pro drive died right before I went out of town to volunteer for a non-profit summer program. By the time I came back, Dr. Cleaner Pro released a new version, and the interface of the app now looks a bit different. Also, the app has added a fresh new module called “Smart Scan”. We’ll start from there and cover the rest of those modules accordingly.
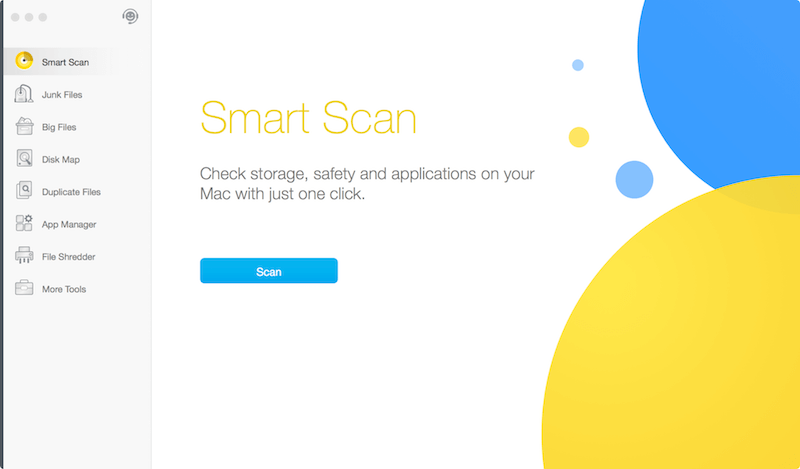
Smart Scan
Smart Scan is the very first step you are supposed to take (or at least that’s what Dr. Cleaner hopes). With just one click, you get a quick summary of your Mac’s storage and application status as well as safety. Let’s see how it works.
It all starts with clicking the blue “Scan” button.
As the text instructions indicate, the scan was indeed a bit more time-consuming compared to other light scans. But it’s totally tolerable; the whole process took less than a minute to complete.
And here’s the result: Smart Scan suggests five actions on my Mac, three of which are related to Storage — 13.3 GB of junk files, 33.5 GB of big files, and 295.3 MB of duplicate files. The other two actions are related to macOS Safety. It hints there’s a newer macOS version (10.13.5) available to install and promotes Trend Micro Antivirus software (this doesn’t surprise me as Dr. Cleaner is a product of Trend Micro.)
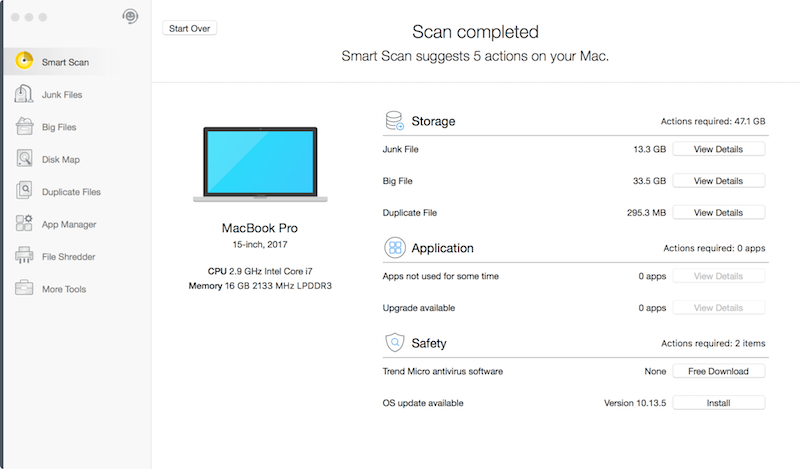
My Personal Take: Smart Scan provides some value, especially to Mac users who are not that tech-savvy. From the scan stats, you can get a quick overview of what’s taking up your Mac storage. By clicking “View Details,” you can get an idea of where to start optimizing your disk if needed. Unfortunately, this feature is only available in Dr. Cleaner PRO at the moment. I suggest and hope the Trend Micro team adds it to free version soon for better user experience and satisfaction.
Duplicate Files
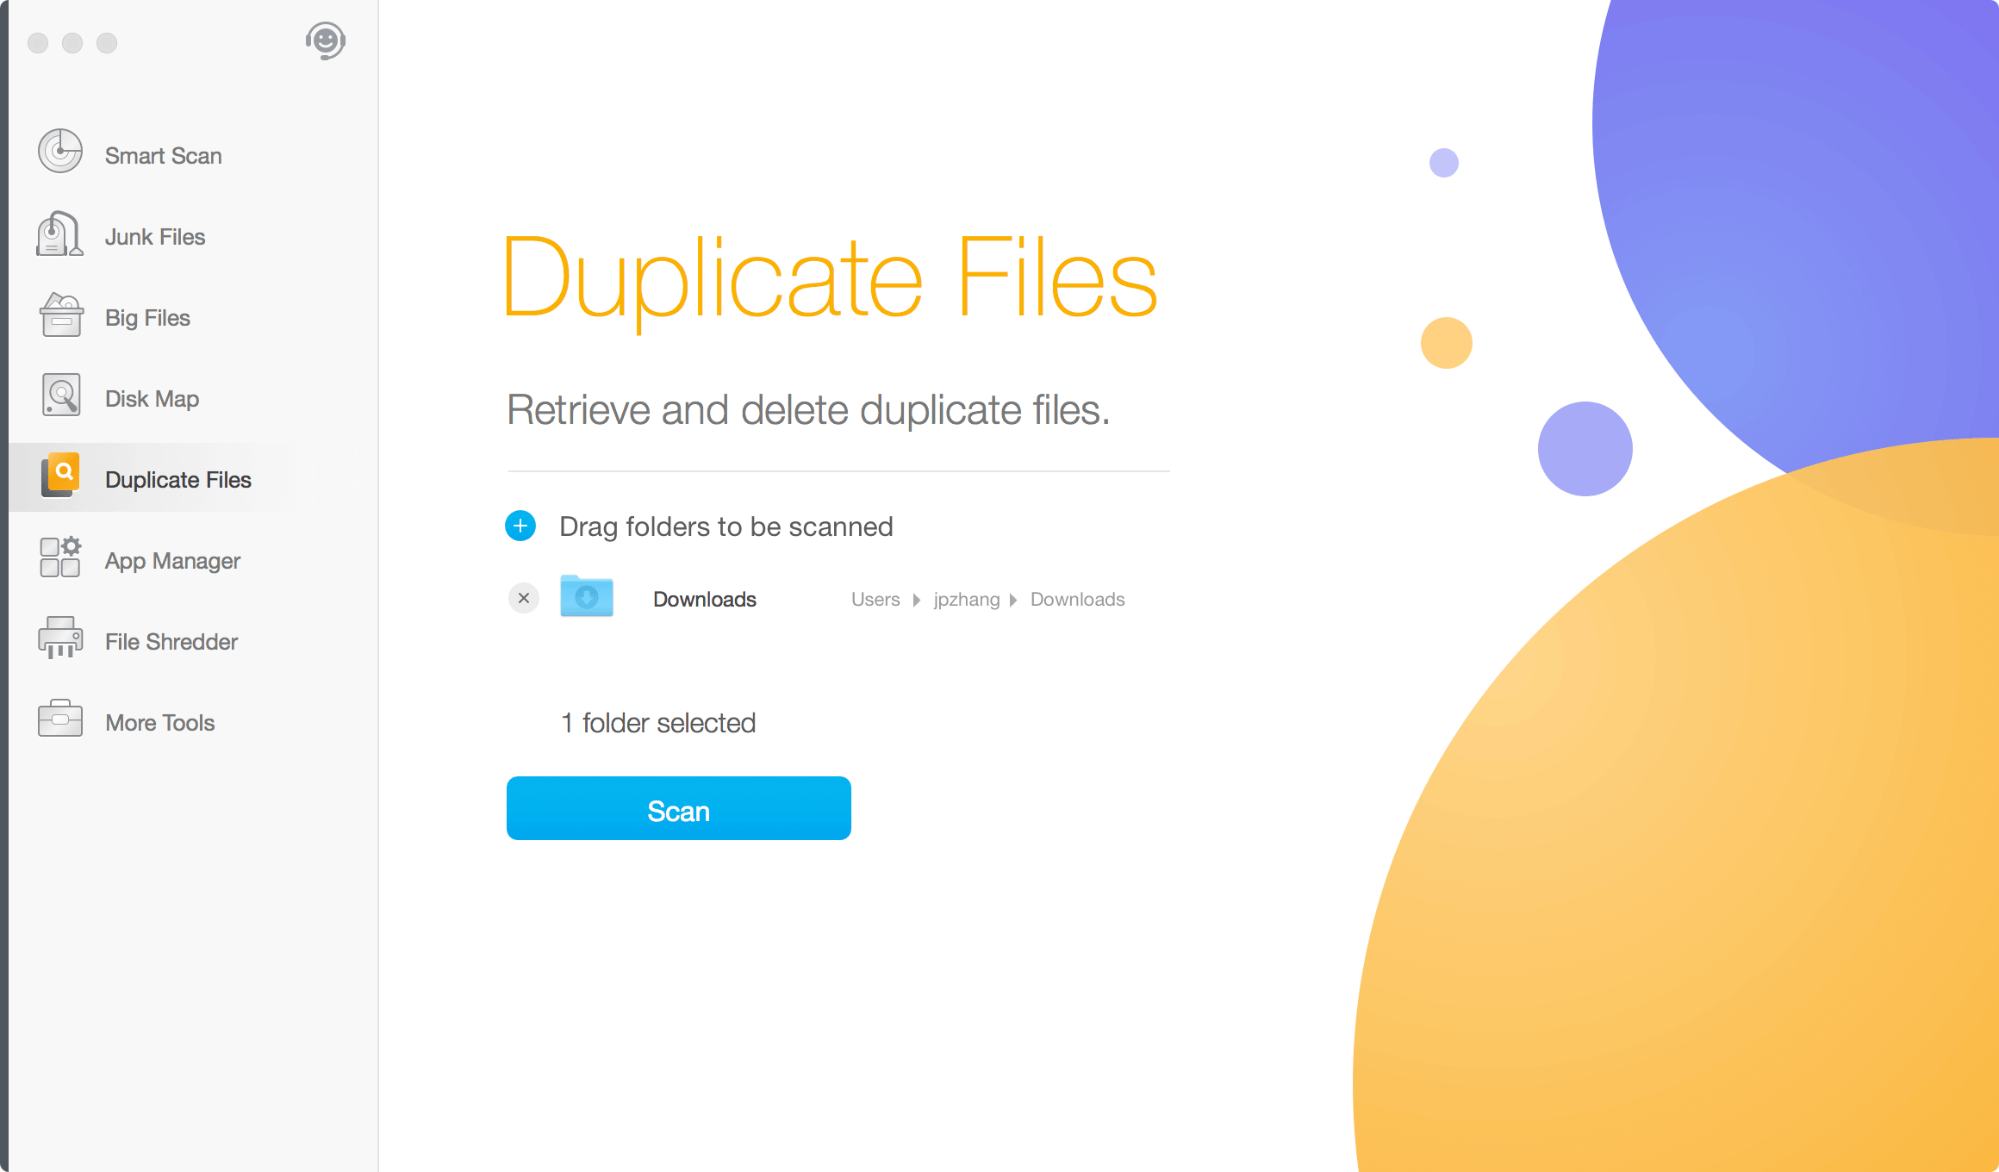
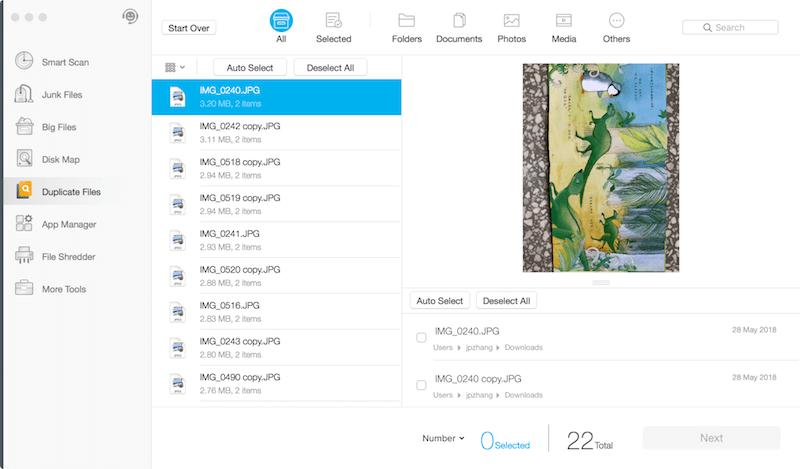
This one’s very straightforward: It’s designed to help you find duplicate items. By removing them, you can reclaim a decent amount of disk space. Since I’m now on a new Mac which doesn’t have many files at all, I copied a bunch of photos into the Download folder to test whether Dr. Cleaner could quickly target them.
I started by dragging the desired folders in for a scan. Note: You can also manually select multiple folders by clicking the blue “+” icon. Then, I hit “Scan” to continue.
The app found my duplicate pictures in a few seconds. I could review them one by one thanks to the thumbnail preview feature. I could also click the “Auto Select” button to batch-select duplicate items for efficiency.
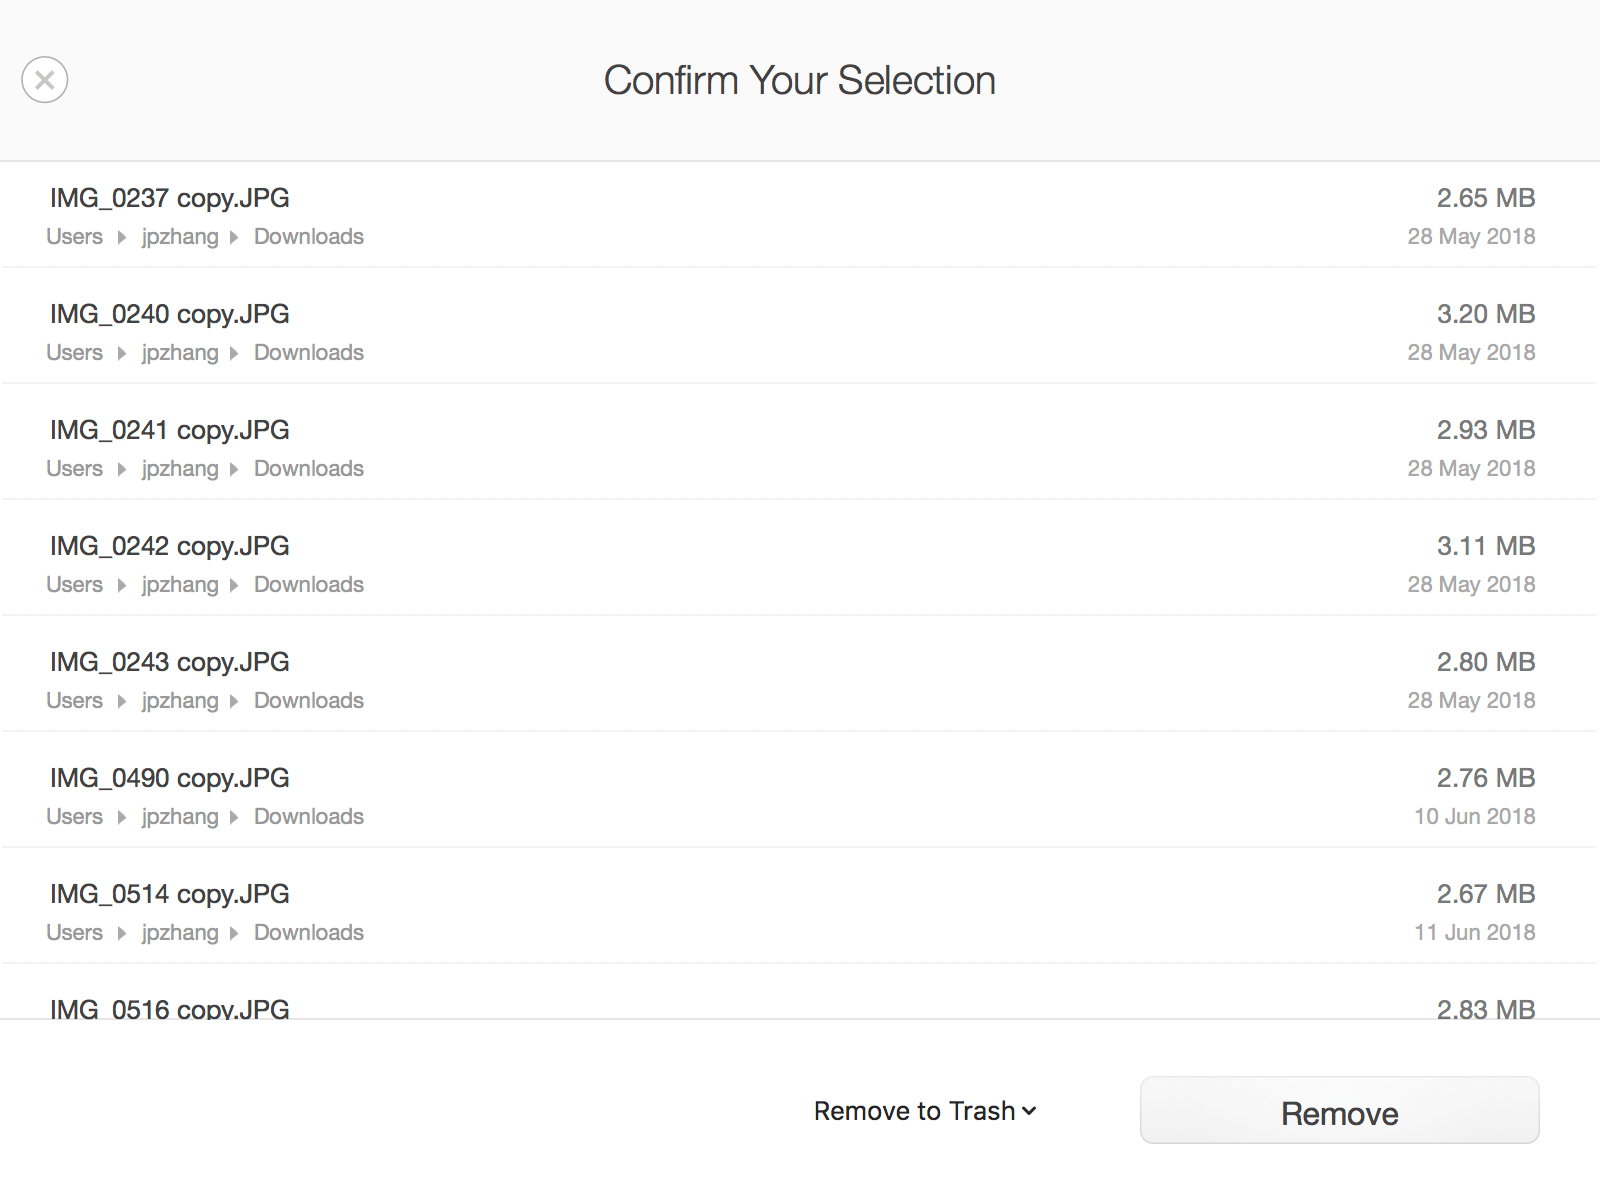
After that, it was time to remove those selected items. Dr. Cleaner asked for confirmation; all I had to do was hit the “Remove” button and the duplicate pictures were sent to Trash.
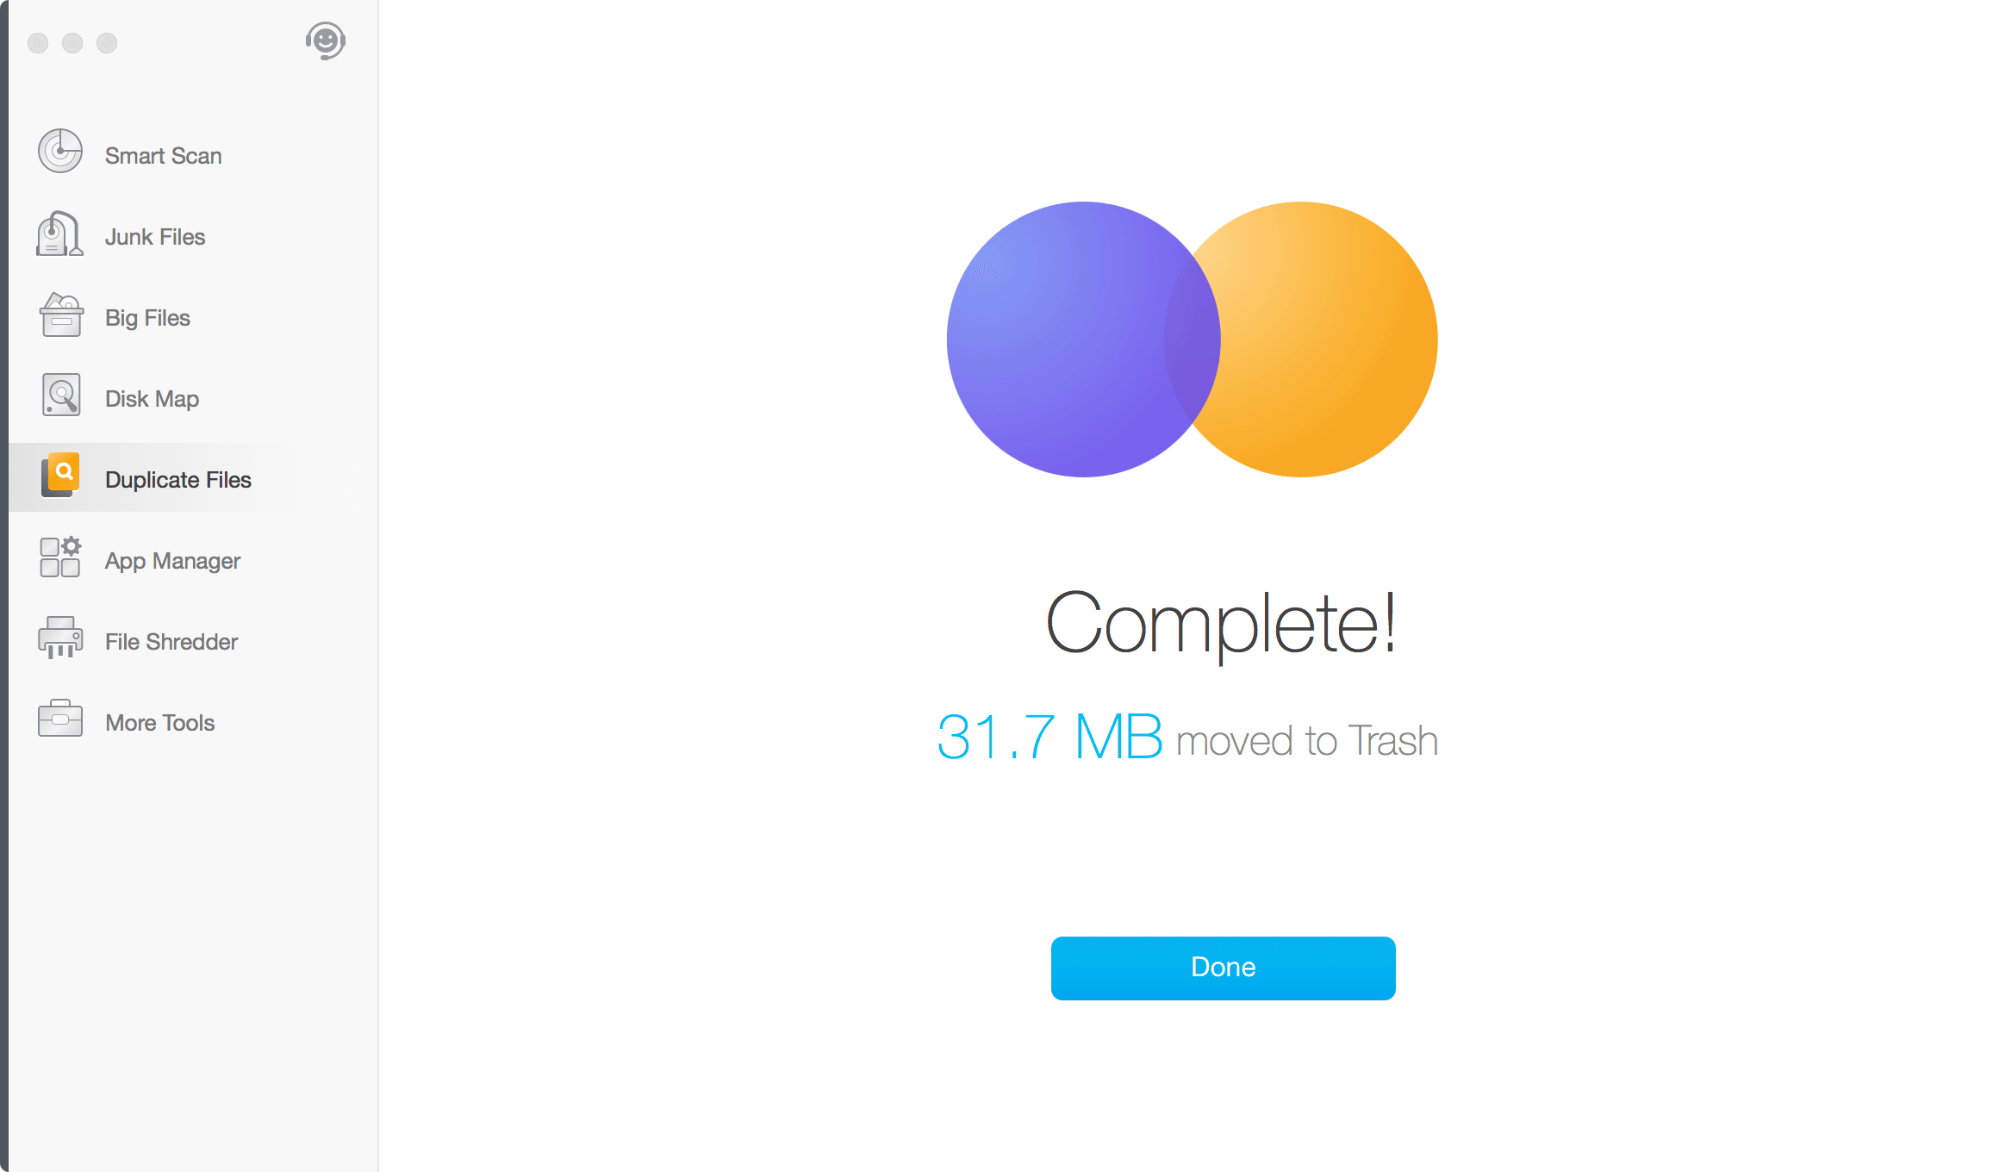
Done! 31.7 MB files got removed.
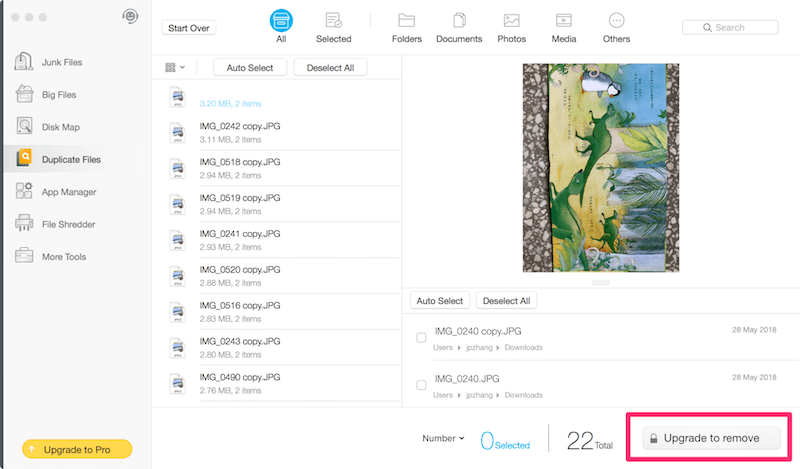
Quick notice: If you’re using Dr. Cleaner (the Free version), it allows you to scan the folders for duplicate files, but the “Remove” action is blocked and the button text will show as “Upgrade to remove” instead. You’ll need to purchase the PRO version to unlock this feature.
My Personal Take: The Duplicate Files module is very useful to those of you whose Mac gets stuffed with tons of duplicate files. The test scan I performed was fast, text instructions/reminders were prompt, and I really liked the “Auto Select” function. I have no problem featuring Dr. Cleaner in our best duplicate file finder roundup.
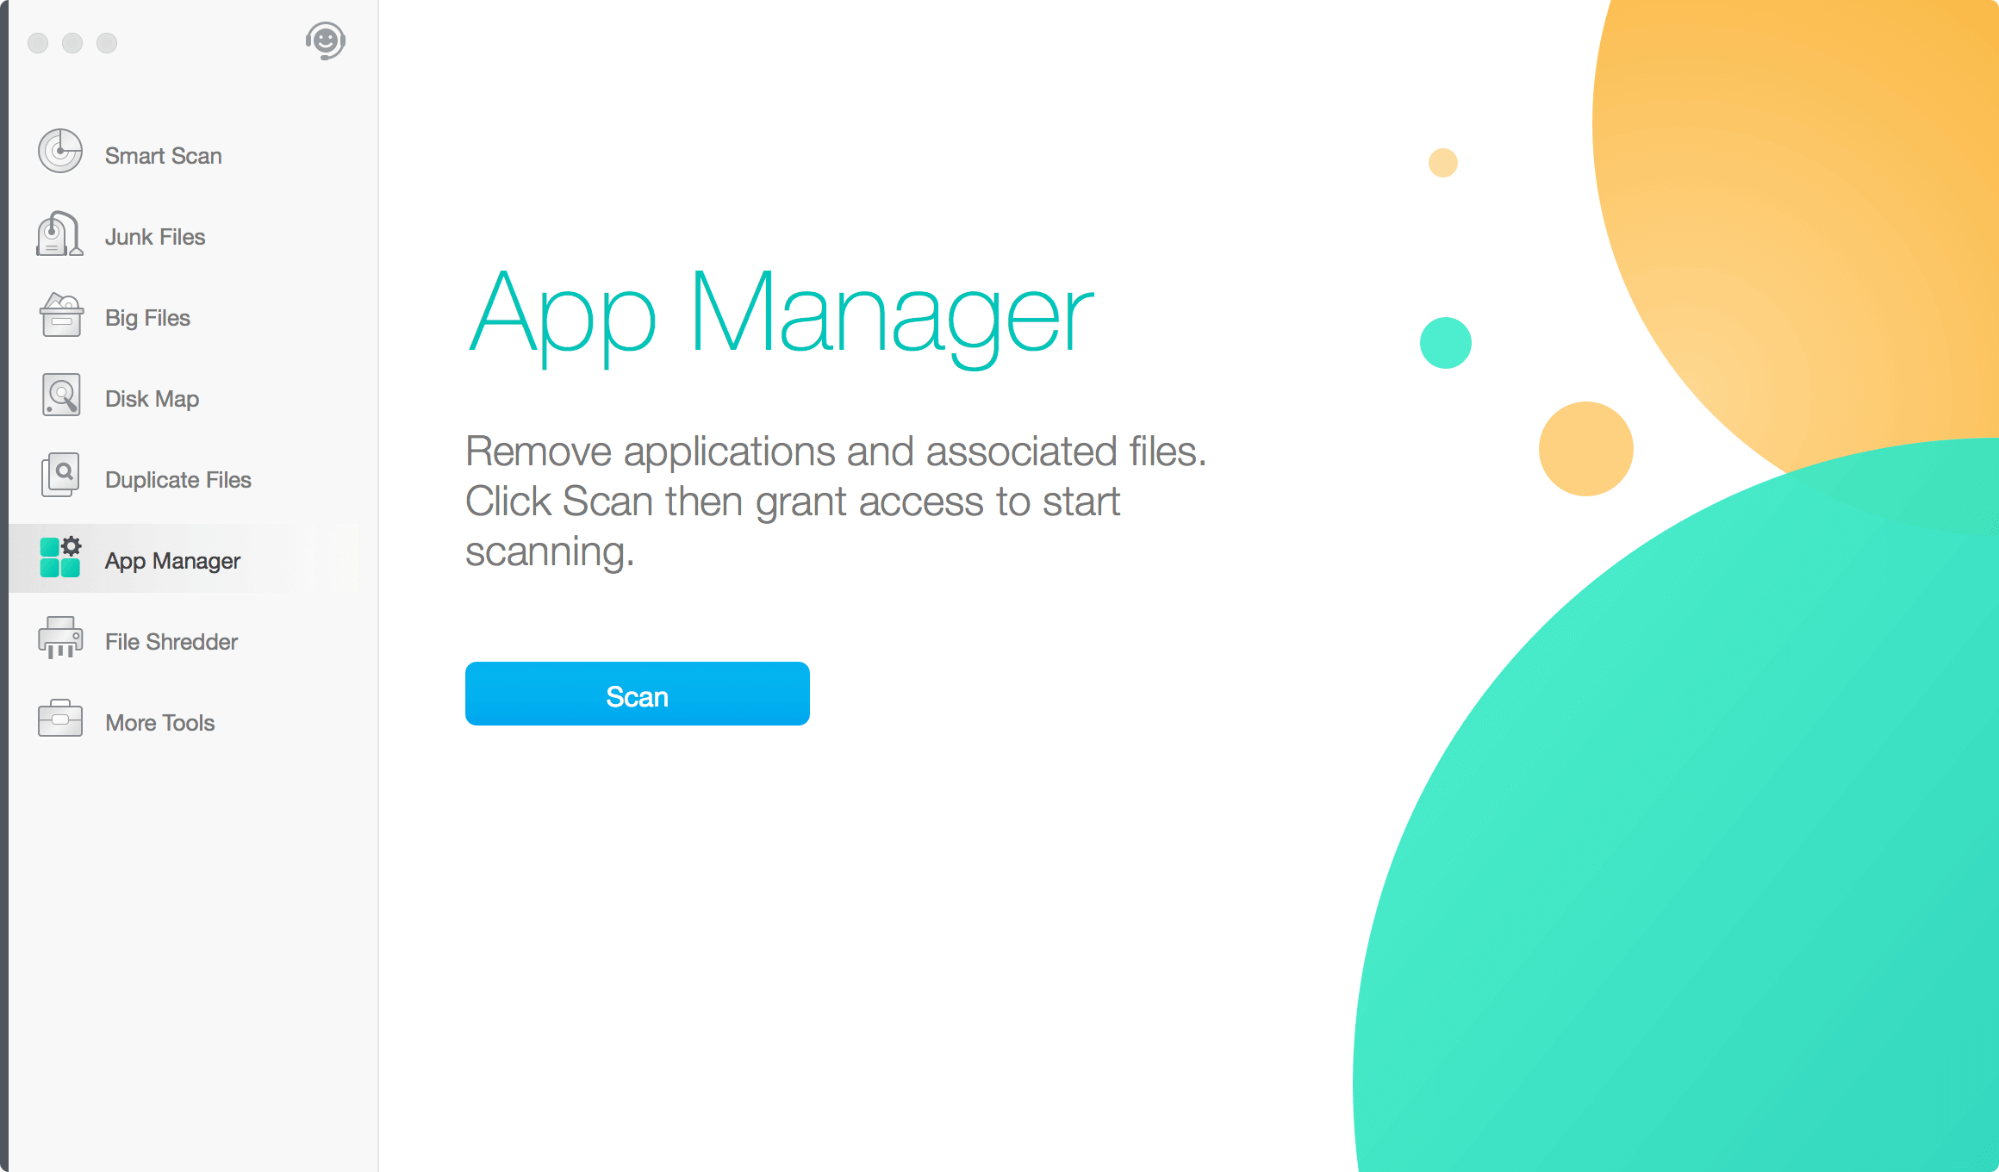
App Manager
App Manager is the place to quickly uninstall third-party Mac apps (and their associated files) you don’t need. When I say “quickly”, I mean Dr. Cleaner enables you to remove multiple apps in a batch so you don’t have to manually delete each app one by one.
Again, to get started, just click the Scan button in the app and give it permission to access Applications. Dr. Cleaner will then search for all the third-party apps installed on your machine.
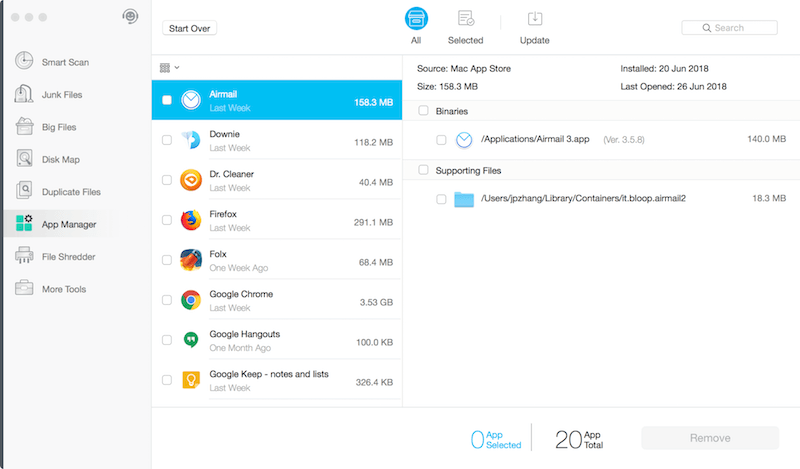
Soon you’ll see a list like this — an overview of the third-party apps together with information such as app name, disk space it takes, location of the supporting files, etc. If you want to uninstall those unused/unneeded apps, simply highlight them by selecting the checkbox on the left panel and hit the “Remove” button at the corner to proceed. Note: the Remove function is disabled if you are using Dr. Cleaner free trial.
My Personal Take: App Manager provides certain value if you are an “app junkie” who obsessively downloads/installs apps on your Mac. You can use Dr. Cleaner Pro to get rid of those unused apps at once. But if you mainly use your Mac for light tasks like word processing and Internet surfing, you probably don’t need to batch-clean third-party apps thus App Manager won’t be that useful to you. Plus, you can manually uninstall an app on Mac by dragging it to Trash.
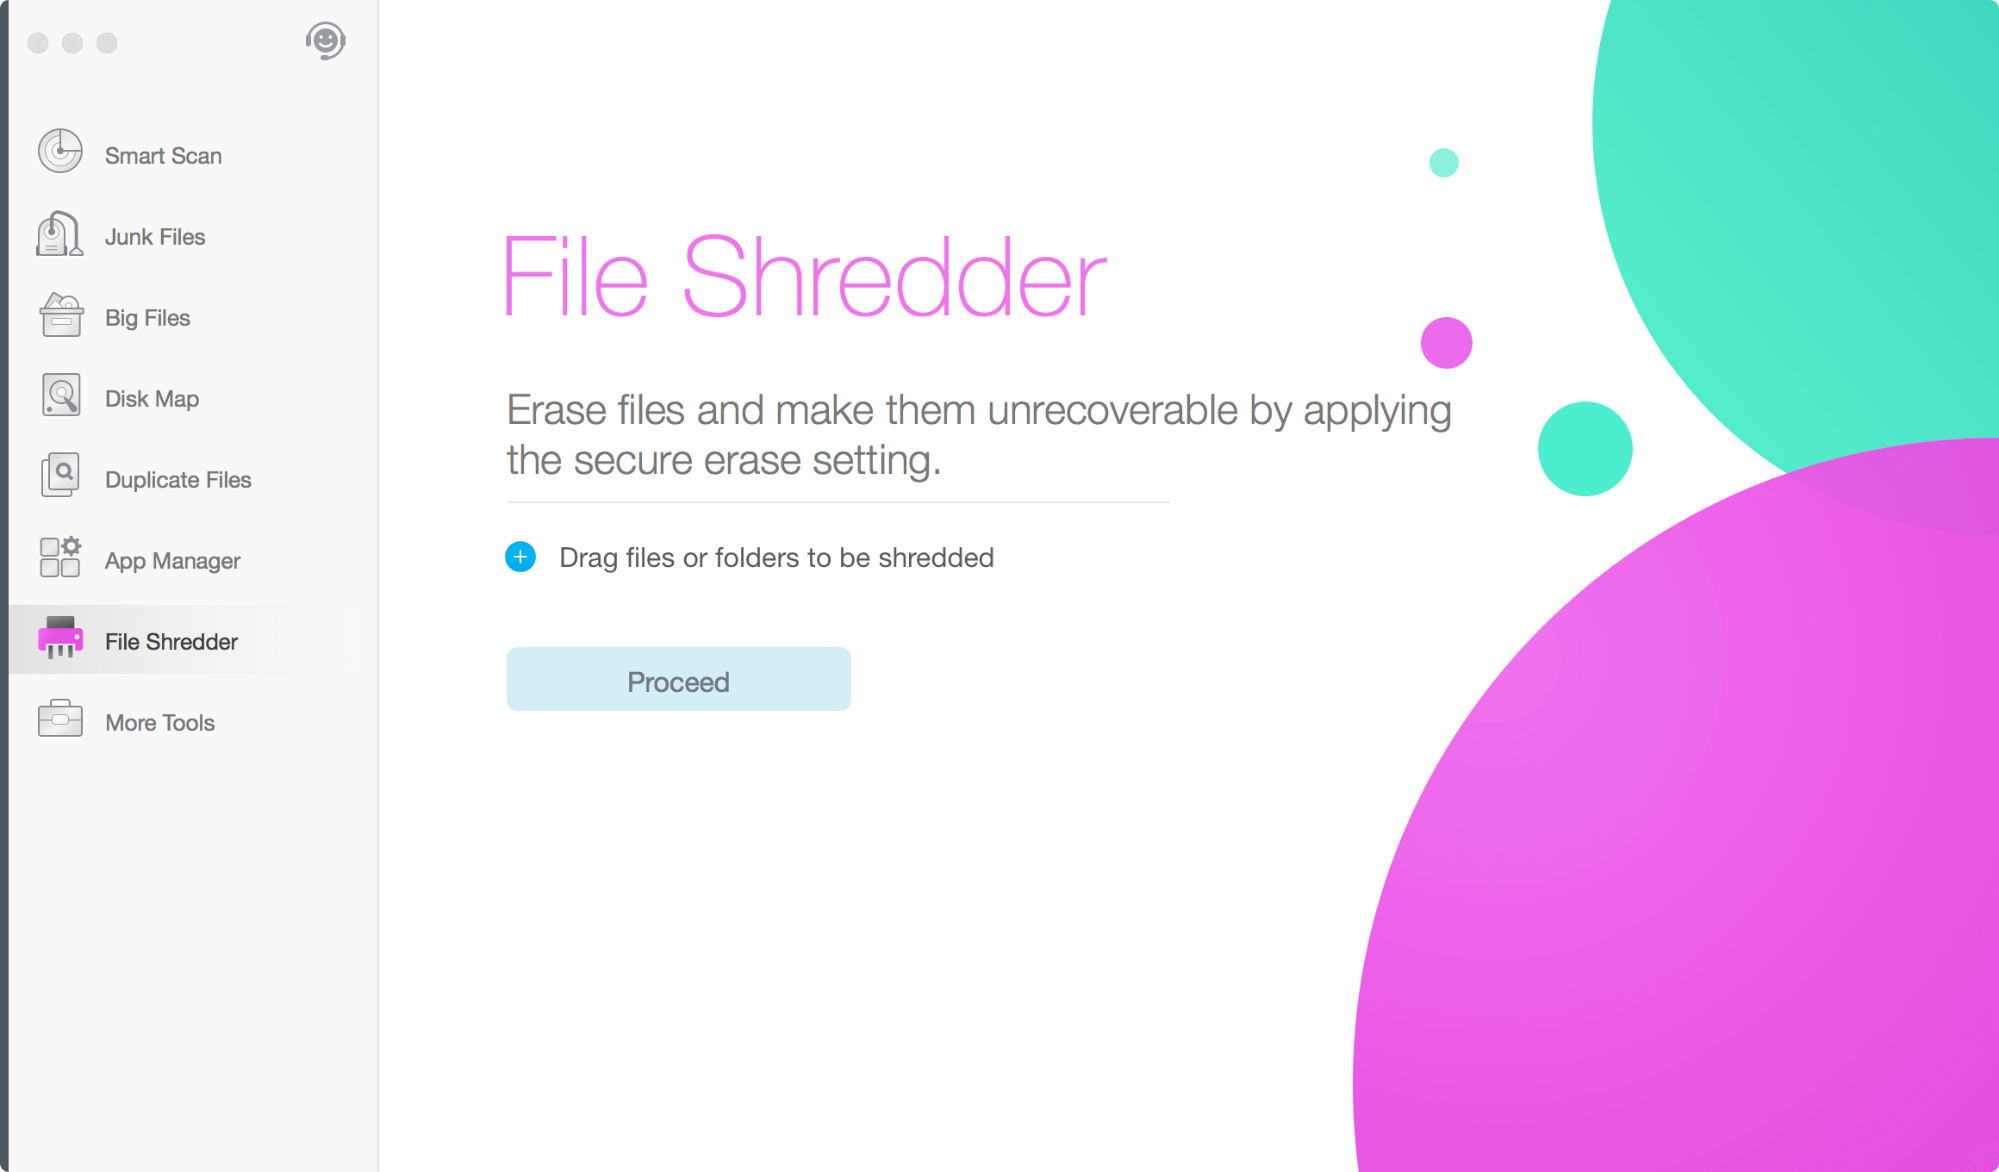
File Shredder
File Shredder, as the name indicates, is designed to help shred files or folders and make them unrecoverable for security/privacy reasons. Because in many situations those deleted files (even if you formatted the drive or emptied Trash) may be retrieved with third-party data rescue programs, we’ve rounded up a list of free data recovery software (for both Windows and macOS) in case you might want to check it out.
Note: The chances of successful data recovery varies from case to case and the storage media — for example, whether it is an HDD or an SSD, and if SSD whether TRIM is enabled or not — is also an important factor. I’ll explain more below. For now, let’s focus on how File Shredder works.
To begin with, drag any files or folders that contain sensitive data to be erased, and then click the “Proceed” button to continue.
I selected 4 unimportant files and 2 folders to give it a test.
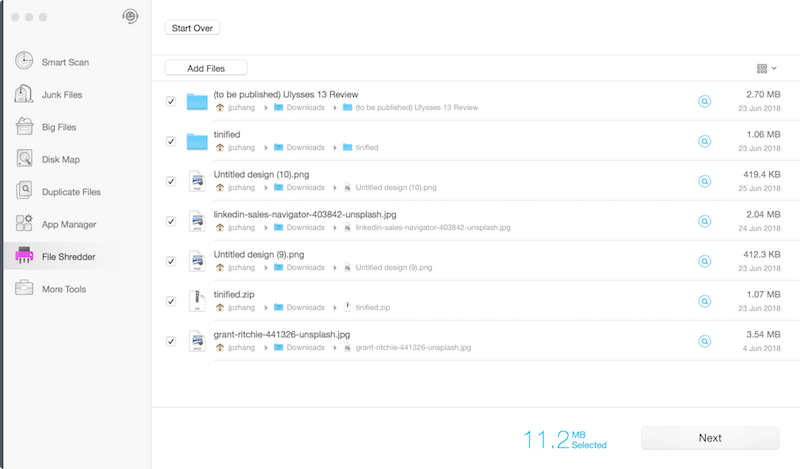
Dr. Cleaner asked me to confirm my selection.
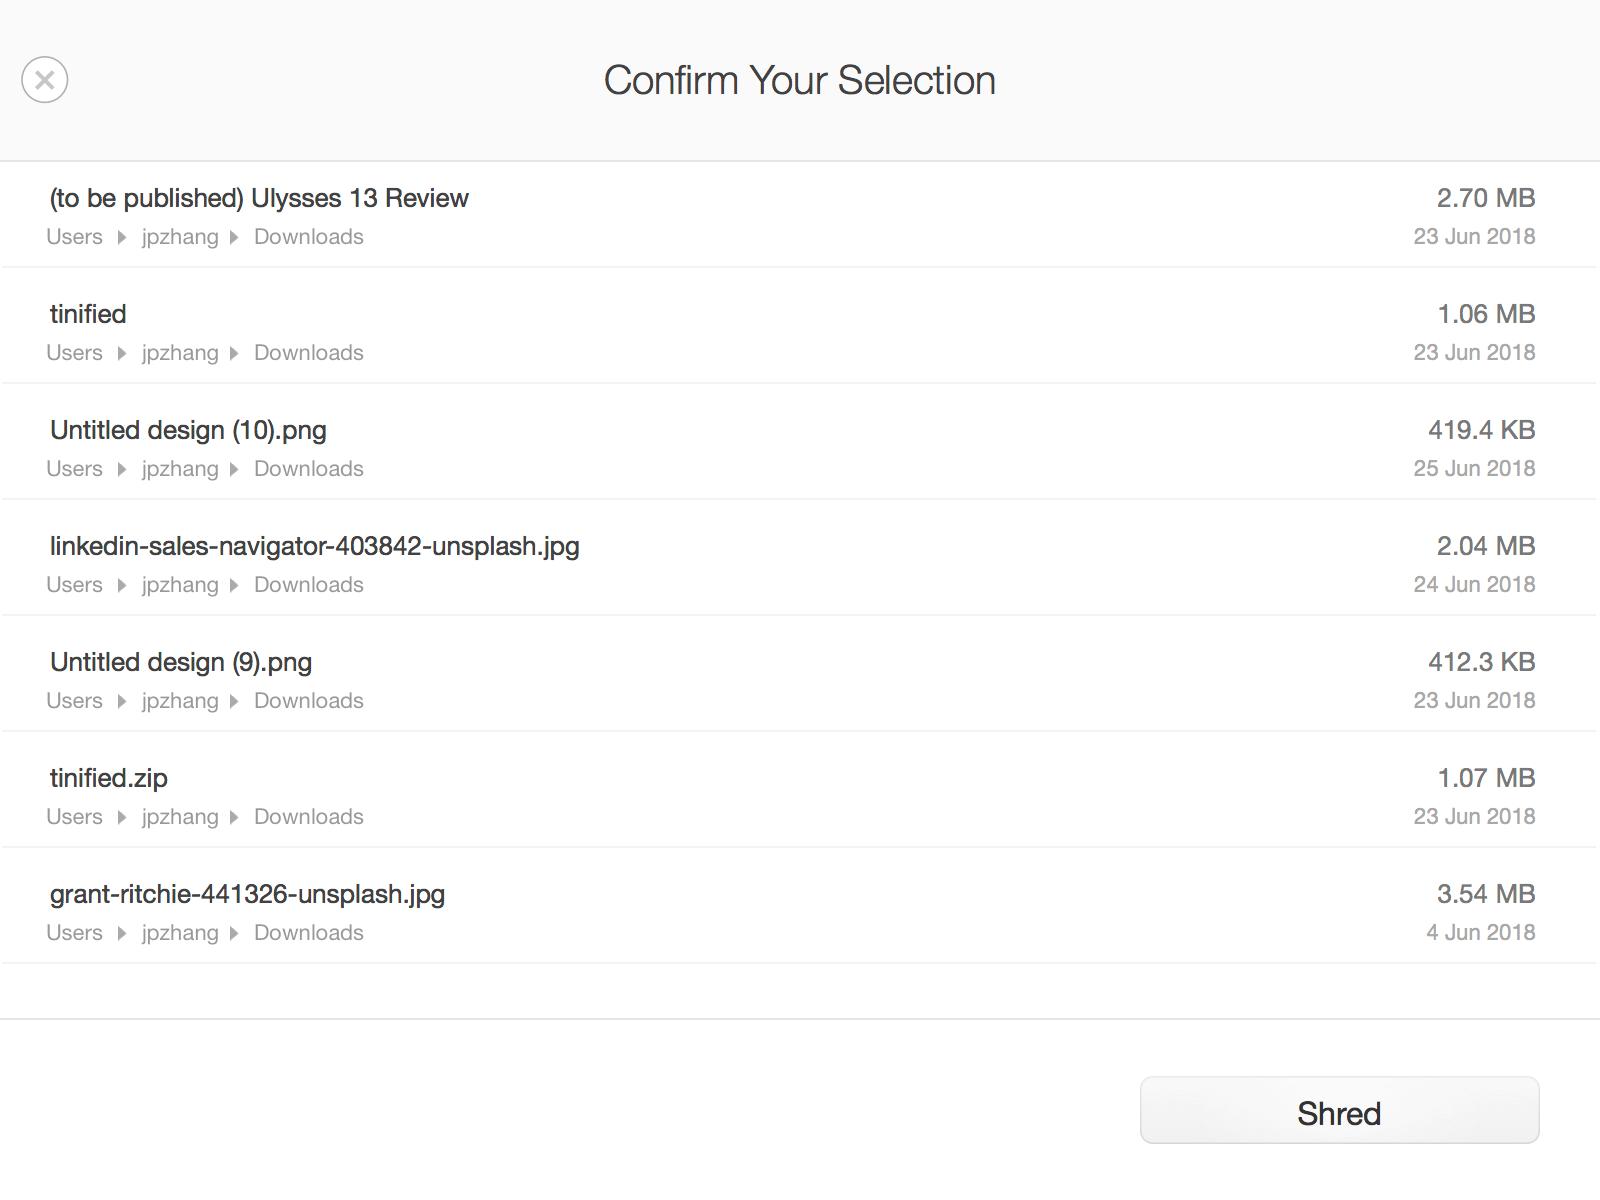
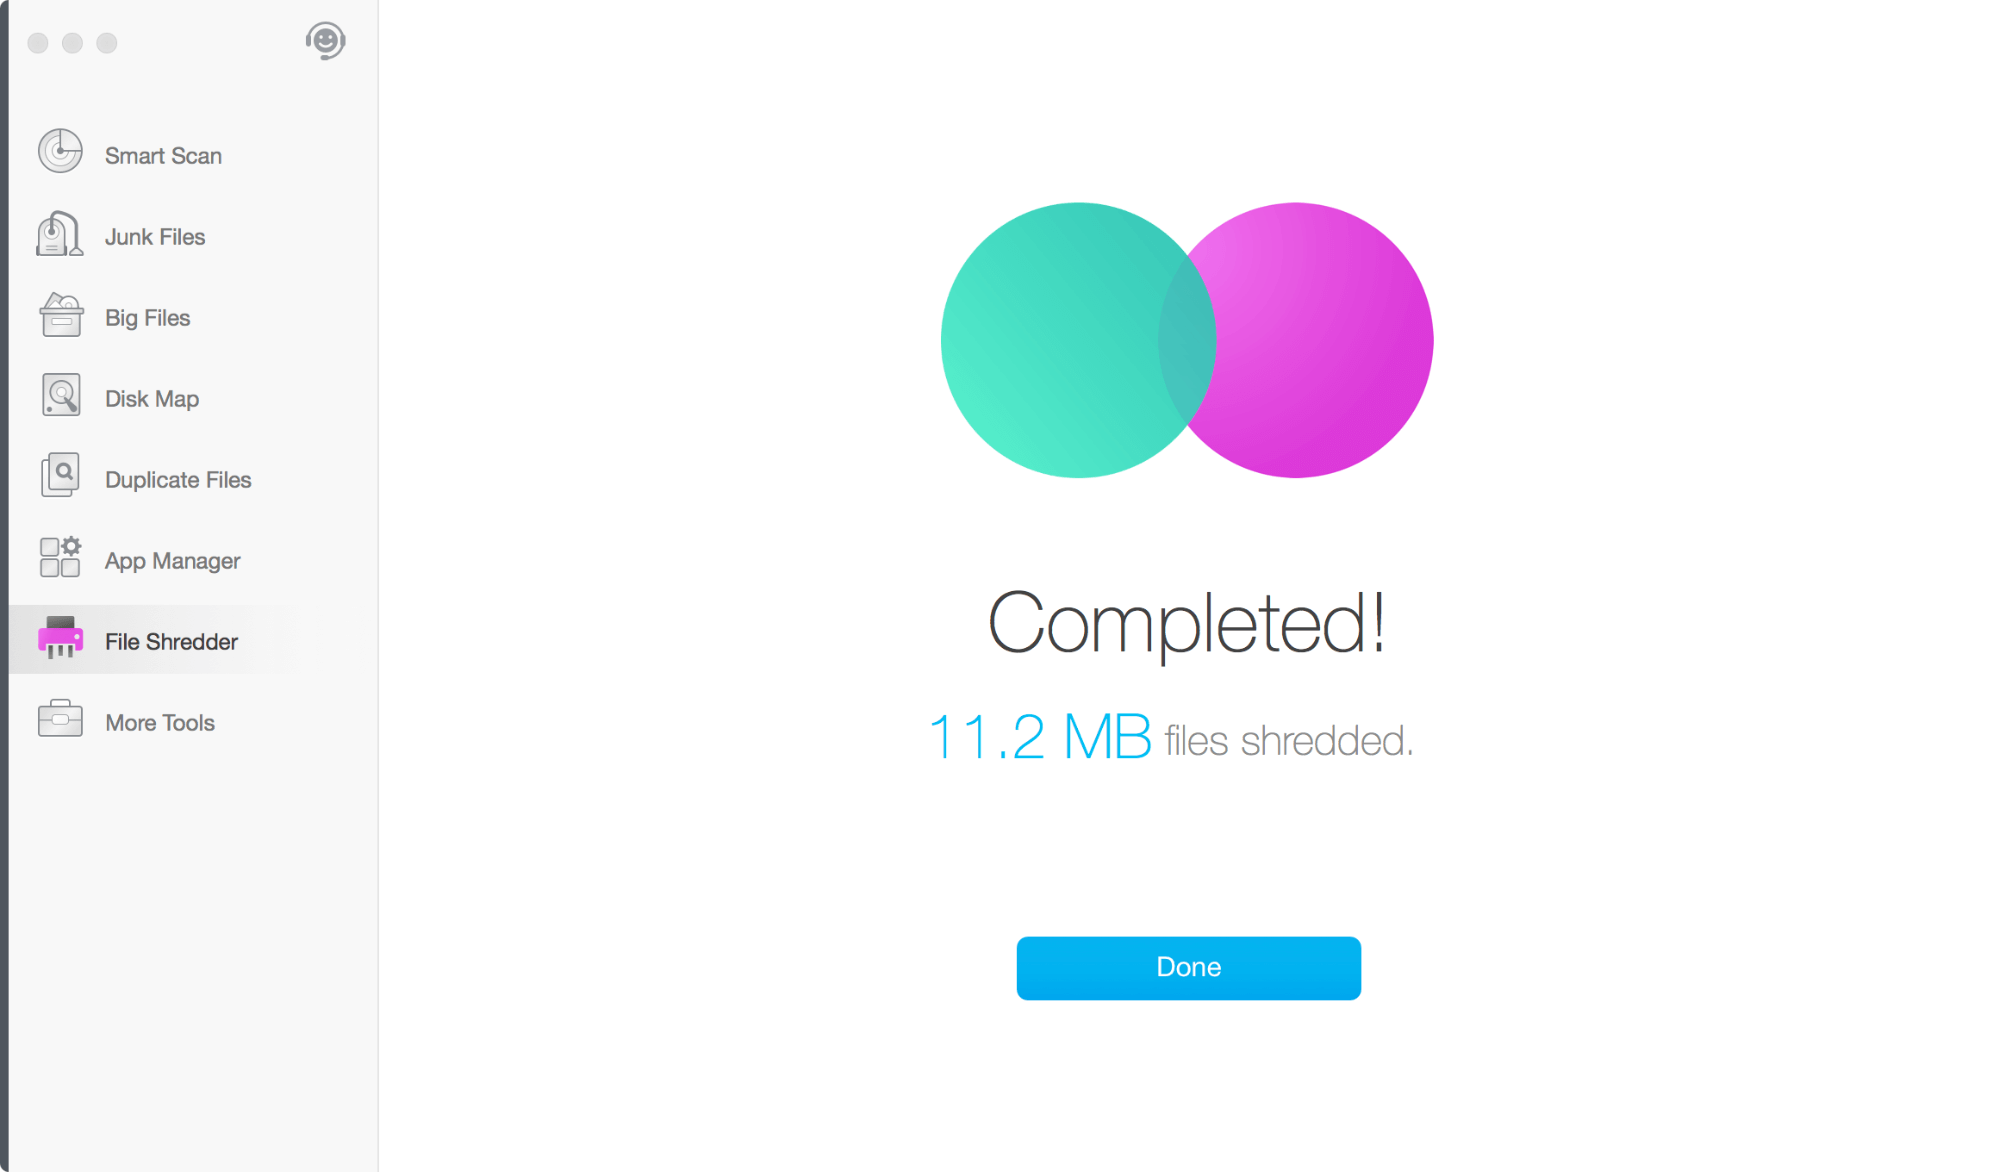
I hit the “Shred” button and within seconds the files and folders got shredded.
My Personal Take: I like what File Shredder has to offer. It’s a useful feature for those who are concerned or paranoid about file safety (you want some data to be erased for good). But it’s less useful for Mac users like me because I’m using a MacBook Pro with flash storage and the internal SSD drive is TRIM-enabled. However, if you are using a portable storage device like USB flash drive, external HDD/SSD, etc. or a Mac machine with an SSD not enabled with TRIM, and you want to get rid of those sensitive files or folders, File Shredder in Dr. Cleaner will be of great help.
More Tools
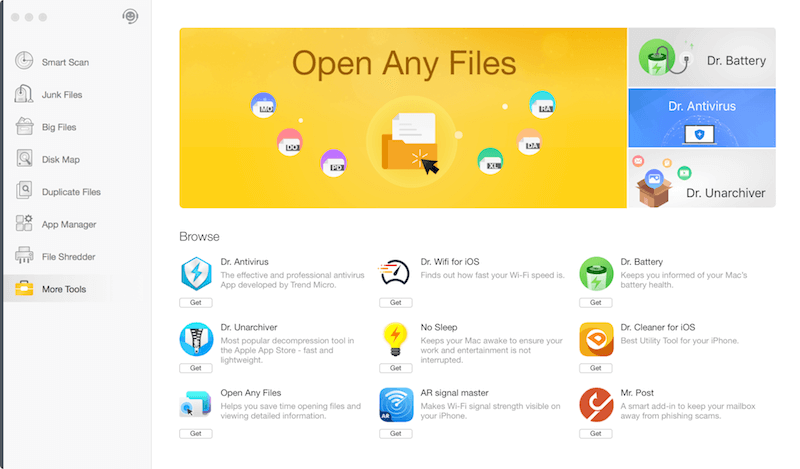
This module is like a marketplace for promoting Trend Micro’s family products — or should I say, Dr. Cleaner’s brothers and sisters. As of now, these include Dr. Antivirus, Dr. Wifi for iOS, Dr. Battery, Dr. Cleaner for iOS, Dr. Unarchiver, Open Any Files, AR signal master, and Dr. Post.
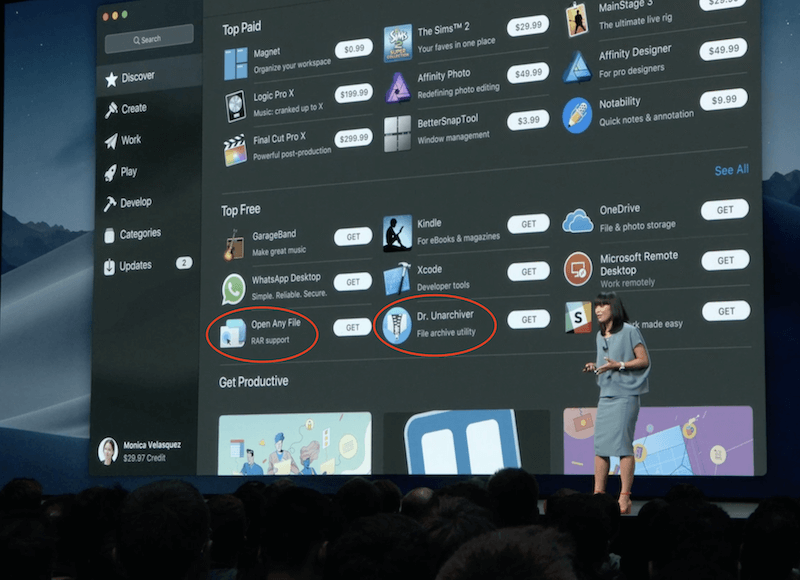
By the way, if you happen to have watched the 2018 Apple Worldwide Developers Conference (WWDC), you might remember this screenshot, where Open Any Files and Dr. Unarchiver got featured in the “Top Free” section in the Mac App Store.
The mini menu is part of the Dr. Cleaner app and it is able to give you a quick overview of your Mac’s system performance such as CPU usage, memory usage, etc. Here’s a snapshot of the app on my MacBook Pro.
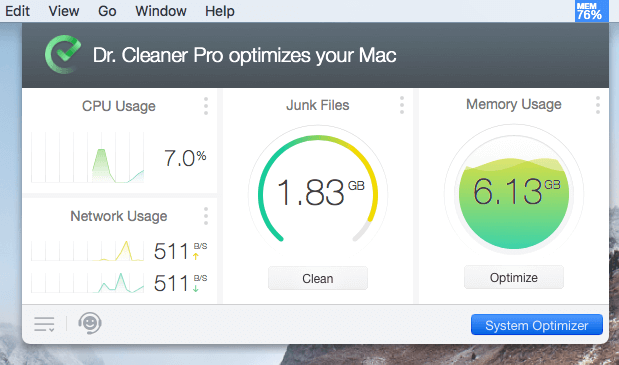
Clicking on the blue “System Optimizer” button will take you to the main interface of Dr. Cleaner, which you’ve probably seen in the sections above. On the bottom-left corner, there’s a setting icon that allows you to customize the app based on your personal preferences.
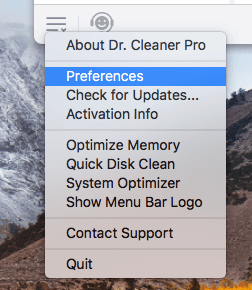
Just select “Preferences.” You’ll see this window with several tabs for you to adjust relevant settings.
Note: if you use Dr. Cleaner Free instead of the Pro version, the Duplicates, Whitelists, Auto Select tabs will be hidden.
Under General, you can disable the Dr. Cleaner Menu from auto starting at login if you prefer to have more space in the macOS menu bar as well as speed up the startup time.

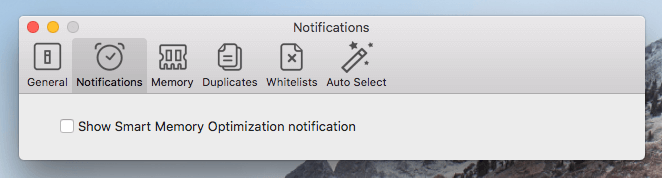
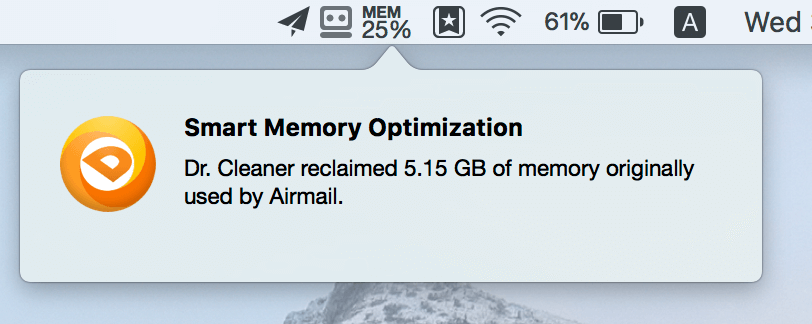
The Notifications tab allows you to enable Smart Memory Optimization notification or not. Personally, I prefer to uncheck it as I found the notifications a bit distracting.
Memory allows you to customize the way memory usage is displayed, by percentage or by size. I like percentage because it enables me to monitor used memory in real-time. If the number is pretty high, I can click the “Memory Usage” circle to learn more and optimize it.
Under Duplicates tab, you can customize how you want the app to find duplicate files. For example, you can manually set the minimum file size to save scan time by just moving the file size bar.

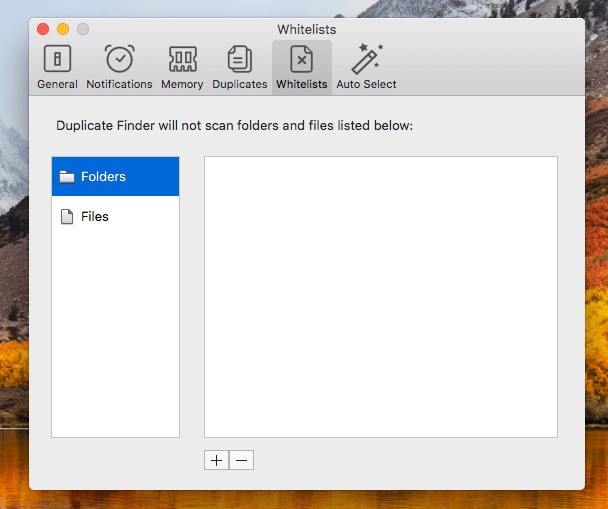
Whitelists is part of the Duplicate Finder feature too. Here you can include or exclude certain folders or files to be scanned.
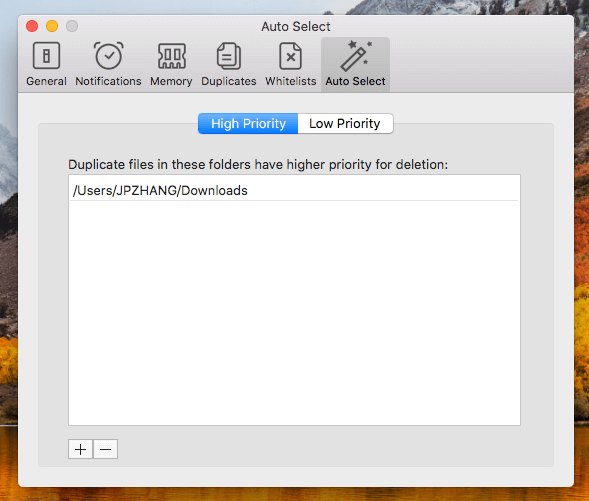
Lastly, the Auto Select tab allows you to define priorities for the deletion of duplicate files. For me, I added the Downloads folder because I’m pretty sure duplicates in this folder are 100% okay to be removed.
My Personal Take: The Dr. Cleaner Menu is very convenient to use and easy to set up. At first glance, it’s like the Activity Monitor app built into macOS. But I find the Dr. Cleaner Menu easier to navigate so I don’t have to launch Activity Monitor via Spotlight search to figure out what’s going on with my Mac’s real-time performance. The “Preferences” adds value to the app too as you can use it to customize the app to the way you like.
Reasons Behind My Review Ratings
Features: 4/5
Dr. Cleaner does deliver what it claims: It cleans your Mac disk and optimizes system performance. If you are using an older Mac, chances are it’s running (or going to run) out of free disk space. Instead of manually optimizing your Mac’s disk, Dr. Cleaner can help you find and remove those unneeded files a lot more quickly. Plus, the Junk Files, Big Files, and Disk Map modules are totally free to use without limitations. The reason why I deduct one star is I feel its junk file searching ability still has room to improve, as you can read above.
Pricing: 5/5
Dr. Cleaner (the free trial version) already has a lot of free features to offer, as I have emphasized several times. Compared to industry “best practices,” most Mac cleaning apps allow you to scan or search for junk files, but disable the removal function or limit the number of files you can delete. Dr. Cleaner is bold enough to provide Junk Files/Big Files search and cleaning for free. Even though the other features such as App Manager and Duplicate Files aren’t free and require you to upgrade to Pro version (costs $19.99, one-time purchase) to unlock the removal function, the price is still unbeatable.
Ease of Use: 4.5/5
In general, Dr. Cleaner is pretty simple to use. All features are well organized and shown in the main interface, the color and text in buttons are aligned, text instructions and warnings are easily understandable. As long as you know how to navigate the macOS system, you should have no problem using the Dr. Cleaner app to handle certain tasks. The reason why it gets half a star off is I personally find the Smart Memory Optimization notifications a bit annoying, though they can be disabled through the app’s Preferences setting.
Support: 4.5/5
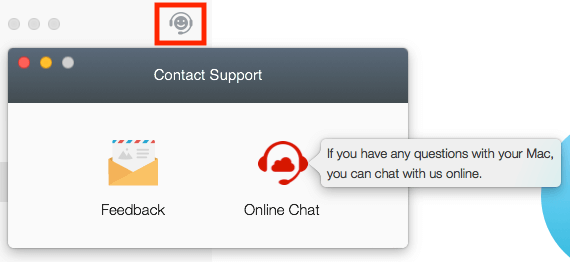
Support for Dr. Cleaner is extensive. If you are new to the app, you’ll find this short video tutorial made by the Dr. Cleaner team useful. Their website has a section called Frequently Asked Questions and Knowledge Base full of detailed issues that may help address your concerns. Furthermore, the app also has a support section called Dr. Air Support where you can send direct feedback (similar to email) as well as online chat. To test the responsiveness of their online chat, I opened the chat box and turned out their customer support team was there immediately.

Final Verdict
Dr. Cleaner is a new disk cleaning and system optimization app for Mac users. It caught my attention while I was testing the free version because surprisingly, I found Dr. Cleaner offers a lot more free features than its competition, and I instantly felt the app developer’s ambition. This is a good thing for Mac users because we have another good option when it comes to using third-party apps to clean our Mac disks (when necessary, of course).
It’s worth noting though, that Dr. Cleaner isn’t freeware and somehow I feel their marketing claim is a bit misleading. Dr. Cleaner Pro works as a separate app and costs $19.99 USD for a one-time purchase on the Mac App Store. The price is almost unbeatable considering the massive value and features the app is able to offer. So, if your Mac is lacking in storage space or you’re looking for a system optimizer app to handle certain tasks for efficiency, give Dr. Cleaner a try.
Interestingly enough – it has been taken off the App Store. The company – Trend Micro – has been taking browser histories off users. The Japanese company continues but some of their software offerings are unavailable on the App Store.
Thank you for this post/review. I have Dr. Cleaner (free) and for some reason it was removed from my laptop so I started to look into it (wondering if it was virus laden or if my malware scan deemed it as such.)
As a casual computer user – I trusted the software, but always wanted to know if it did the job as much as I thought. Your review gave me assurances.
This is a great review. Unfortunately, the product doesn’t seem to be available any longer from the App Store, at least not in the US. Any idea why?
it appears the pro version ii not available in united states?
I also have the Pro app. and it just stopped working. After some research, it looks like it was taken down from the Apple App store. But there is no mention of it on the Apps website, and i can’t download a new version. It would be nice if you could get an update from the Trend Micro, there must be 1000’s of people looking for answers.