
Having trouble drawing a straight line? Losing your mind trying to draw a perfect circle? Need to make a detailed scene in perspective? Fear not. Using PaintTool SAI rulers can help turn your design process from a headache-inducing nightmare into smooth sailing.
My name is Elianna. I have a Bachelor of Fine Arts in Illustration and have been using PaintTool SAI for over seven years. I know what it’s like to spend hours making perspective grids and planning circles. I feel your pain.
In this post, I will show you how to use PaintTool SAI’s rulers so your design process stays productive, fun, and void of stress.
Table of Contents
- Key Takeaways
- What are PaintTool SAI’s Ruler Options
- How to Use PaintTool SAI’s Straight Ruler
- How to Use PaintTool SAI’s Ellipse Ruler
- How to Use PaintTool SAI’s Parallel Lines Ruler
- How to Use PaintTool SAI’s Concentric Ellipse Ruler
- How to Use PaintTool SAI’s One-Point Perspective Ruler
- How to Use PaintTool SAI’s Two-Point Perspective Ruler
- How to Use PaintTool SAI’s Three-Point Perspective Ruler
- Final Thoughts
Key Takeaways
- PaintTool SAI has five main ruler options in the ruler menu: Straight, Ellipse, Parallel Lines, Concentric Ellipse, and Vanishing Point.
- PaintTool SAI also features perspective rulers including 1VP, 2VP, 3VP, 2VP grid, and 3VP grid.
- Click on the Perspective Ruler icon in the Layer panel to create a perspective ruler.
- PaintTool SAI’s default ruler is Straight. To access the other ruler options, locate them in the Ruler menu.
- Use the keyboard shortcut Ctrl + R to quickly show or hide your ruler.
- Hold down Ctrl or Alt to edit your ruler.
What are PaintTool SAI’s Ruler Options
PaintTool SAI has five primary ruler options. They are as follows:
- Straight – Allows you to draw straight lines of various angles
- Eclipse – Allows you to draw perfect Ellipses
- Parallel Lines – Allows you to draw perfect, parallel lines of various angles
- Concentric Eclipse – Allows you to draw concentric Ellipses
- Vanishing Point – Allows you to draw lines emanating from a central vanishing point.
PaintTool SAI also features perspective rulers, many with the acronym VP, which refers to vanishing points. They are as follows:
- 1VP- Allows you to draw in a one-point perspective. Is the same as the vanishing point ruler
- 2VP- Allows you to draw in two-point perspective
- 3VP– Allows you to draw in three-point perspective
- 2VP Grid – creates a two-point perspective grid that can be modified.
- 3 VP Grid- creates a three-point perspective grid that can be modified.
The primary rulers and perspective rulers are found in different parts of the PaintTool SAI user interface, with the primary rulers found in the Ruler drop-down menu in the top toolbar, and the perspective rulers under an icon in the layer panel. It is important to note that although the Vanishing Point and 1VP ruler perform the same function, they look different when selected.
Furthermore, in this post I will be covering how to use 1VP, 2VP, and 3VP perspective rulers. Tutorials on how to use perspective grids are covered in another post.
Let’s get into it!
How to Use PaintTool SAI’s Straight Ruler
PaintTool SAI’s default ruler is the Straight Ruler. It allows you to draw straight lines along the ruler’s edge. Here is how to use it effectively.
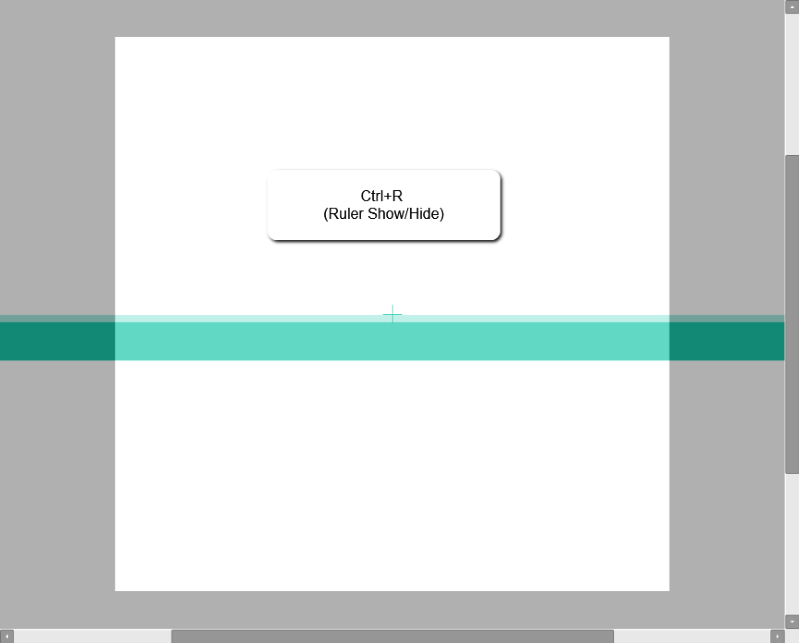
Step 1: Hold down Ctrl and R on your keyboard. This is the keyboard shortcut to show or hide your ruler. This will default show the straight ruler and is the fastest way to access it.
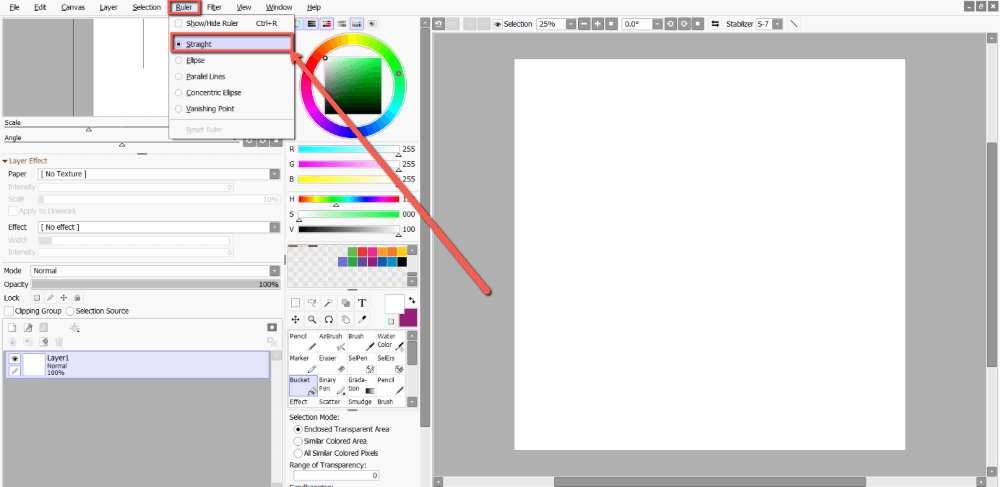
Alternatively, click Ruler > Straight in the top menu bar.
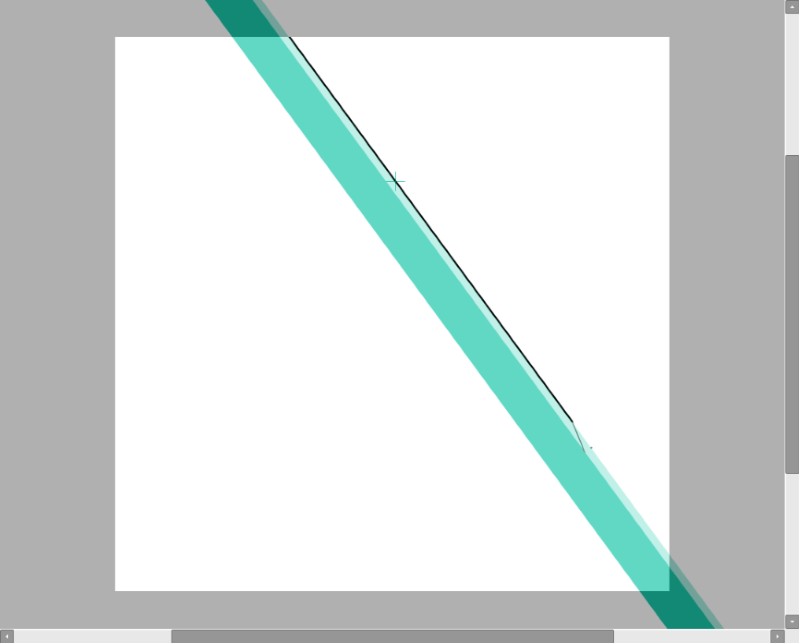
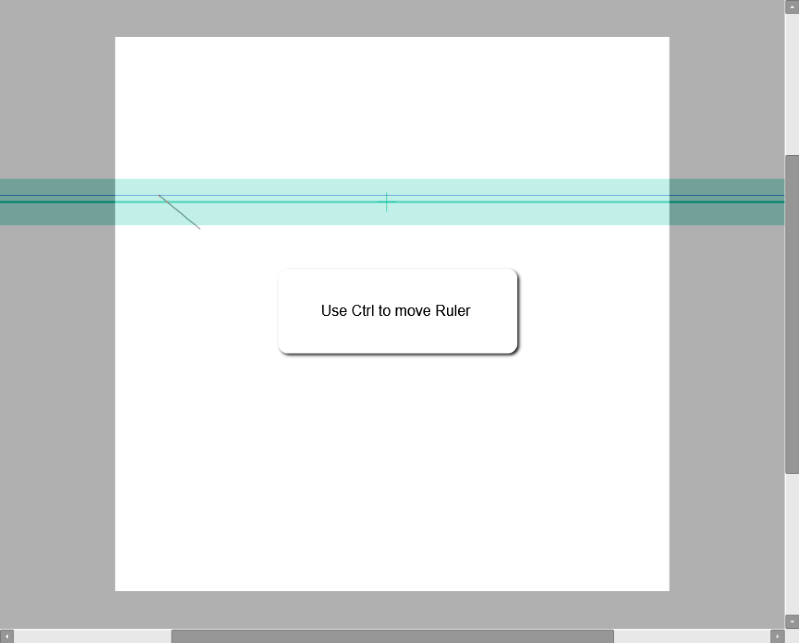
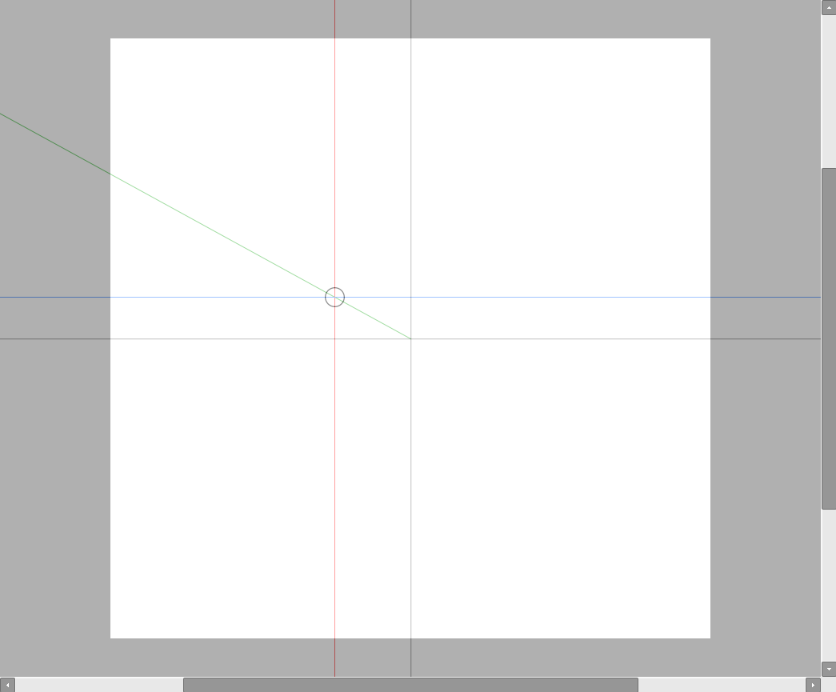
You will now see a straight green line. This is your ruler.
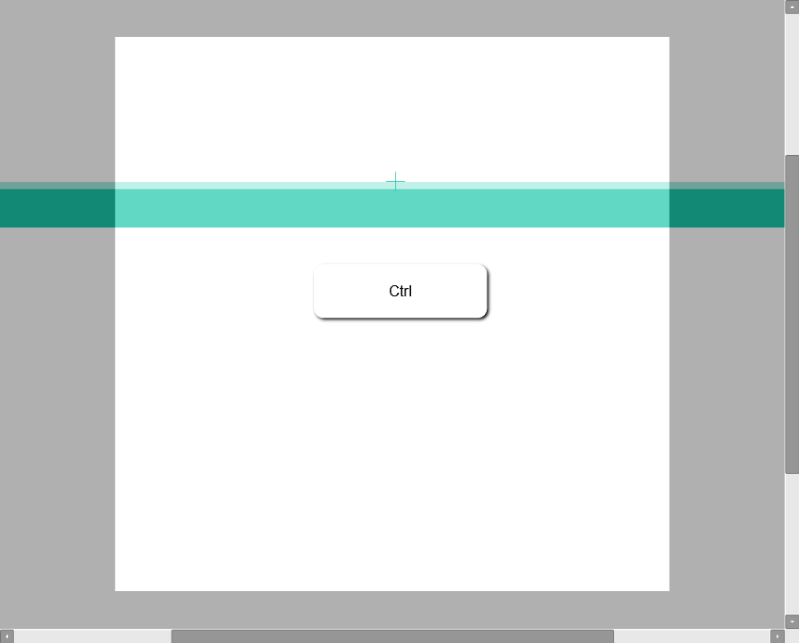
Step 2: Holding down the Ctrl key on your keyboard, reposition it to where you want it on your canvas.
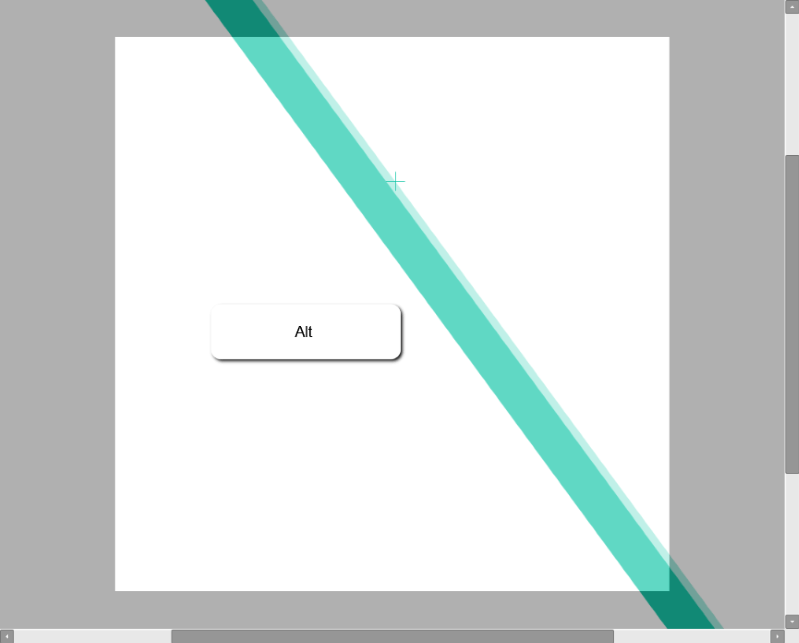
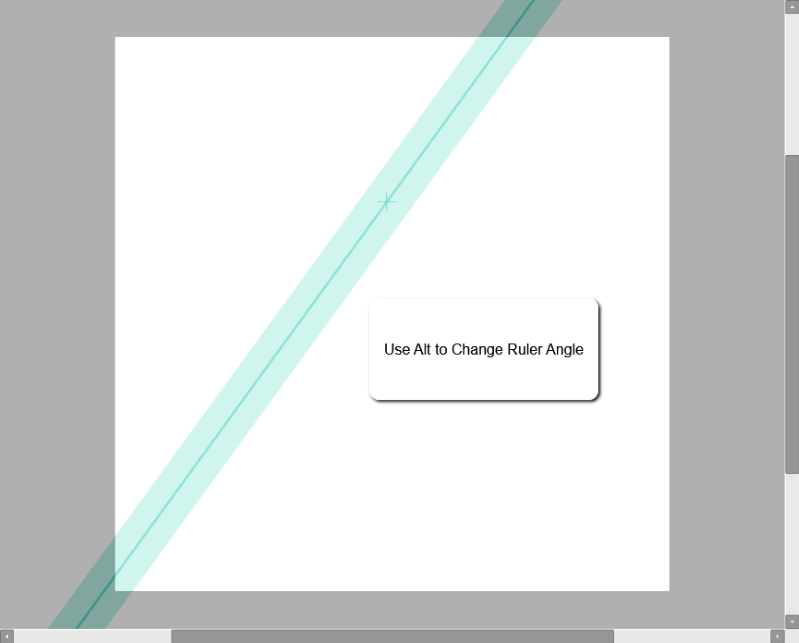
Step 3: Hold down the Alt key on your keyboard to adjust the ruler’s angle.
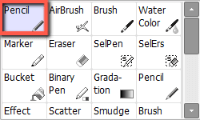
Step 4: Select a tool and point size from the tool menu. For this example, I am using the Pencil tool at 10px.
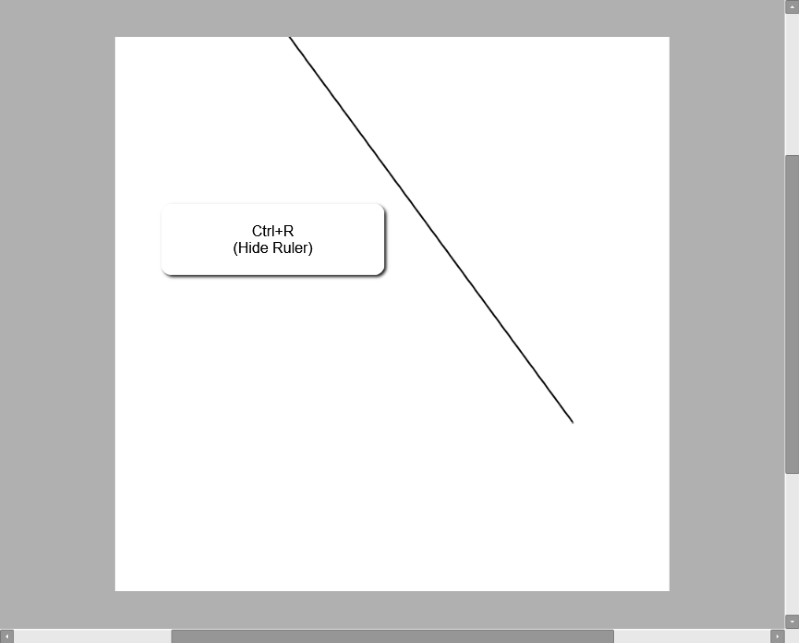
Step 5: Outline your ruler.
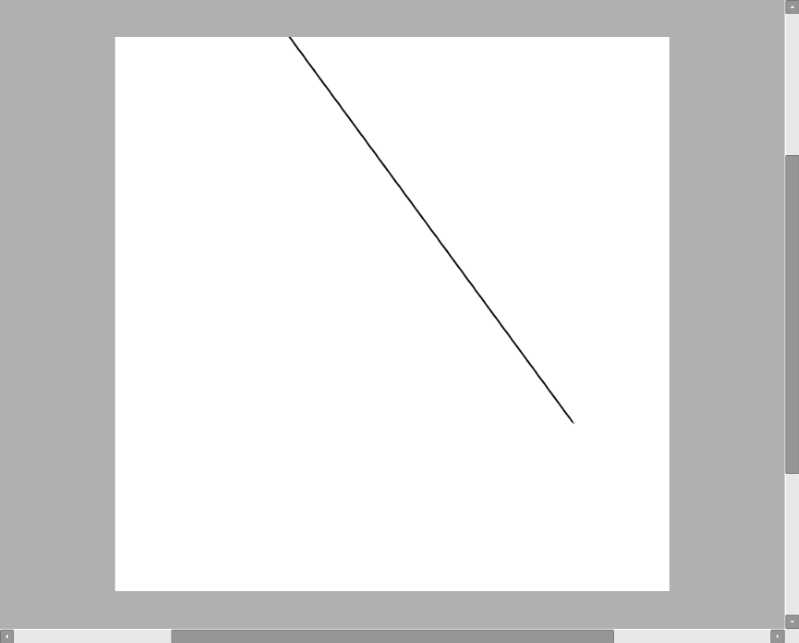
Step 6: Use the keyboard shortcut Ctrl + R to hide the ruler.
Enjoy!
How to Use PaintTool SAI’s Ellipse Ruler
The second useful ruler in PaintTool SAI is the Ellipse Ruler. This ruler allows you to draw perfect eclipses at different angles and has saved me many tears of frustration in the past few years. Follow these steps to learn how to use it:
Step 1: Click on Ruler in the top menu bar and select Ellipse Ruler.
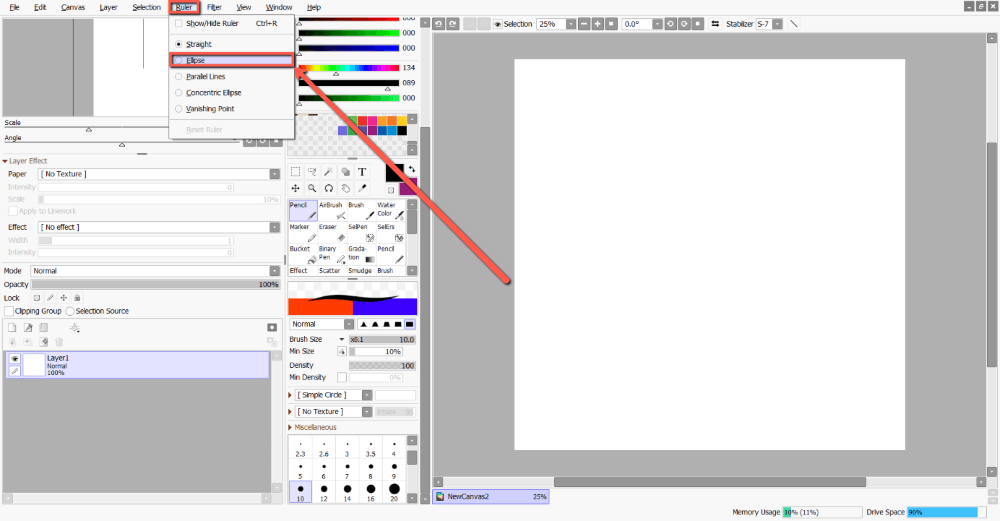
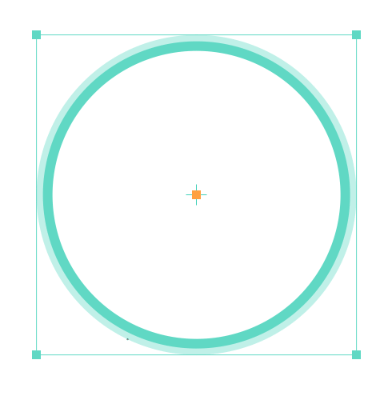
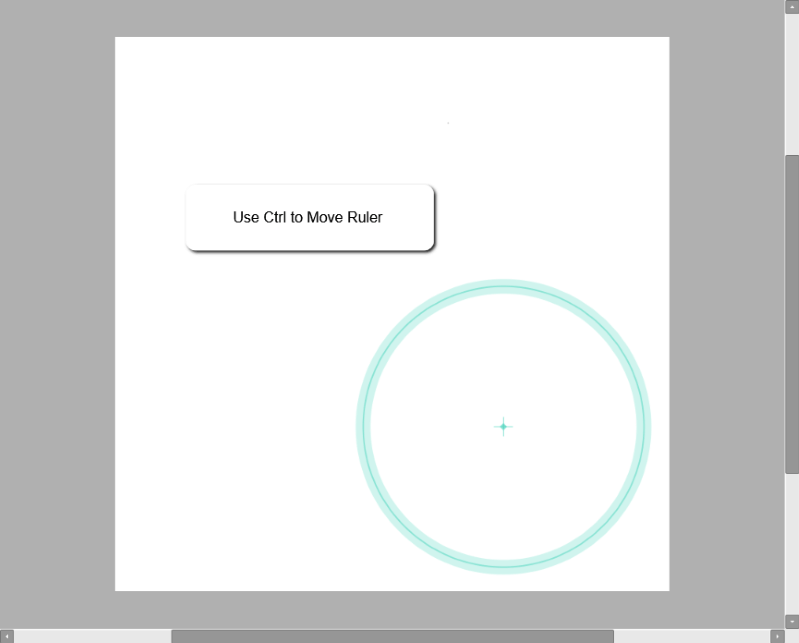
A green circle will appear in the center of your canvas. This is your Ellipse Ruler.
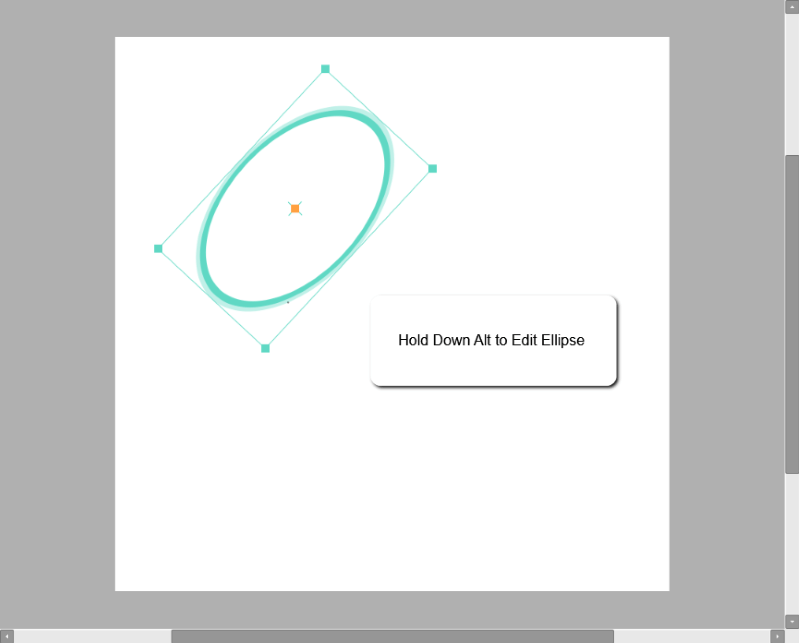
Step 2: Hold down Ctrl on your keyboard, and using the center point of the Ellipse, reposition the ruler on your canvas as desired.

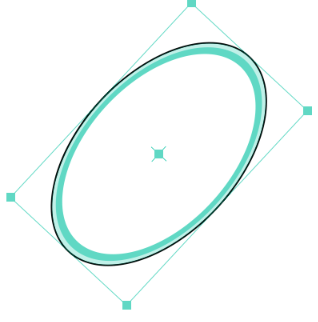
Step 3: Still holding down the Alt key, click and drag the endpoints or rotate to further edit your ruler as needed.
Step 4: Select a tool and point size from the tool menu. For this example, I am using the Pencil tool at 8px.
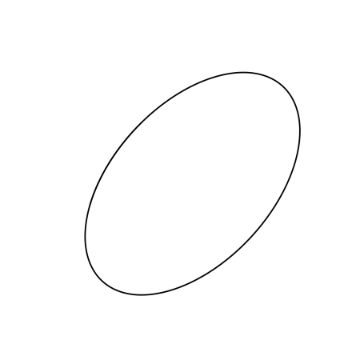
Step 5: Outline your ruler.
Step 6: Use the keyboard shortcut Ctrl + R to hide the ruler.
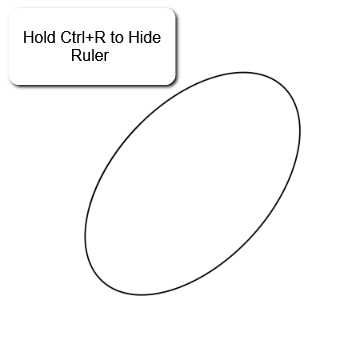
Enjoy!
How to Use PaintTool SAI’s Parallel Lines Ruler
PaintTool SAI’s third ruler, the Parallel Lines Ruler allows you to draw multiple straight parallel lines. I find this perfect for outlining isometric drawings. Here’s how to use it:
Step 1: Click on Ruler in the top menu bar and select Parallel Lines.
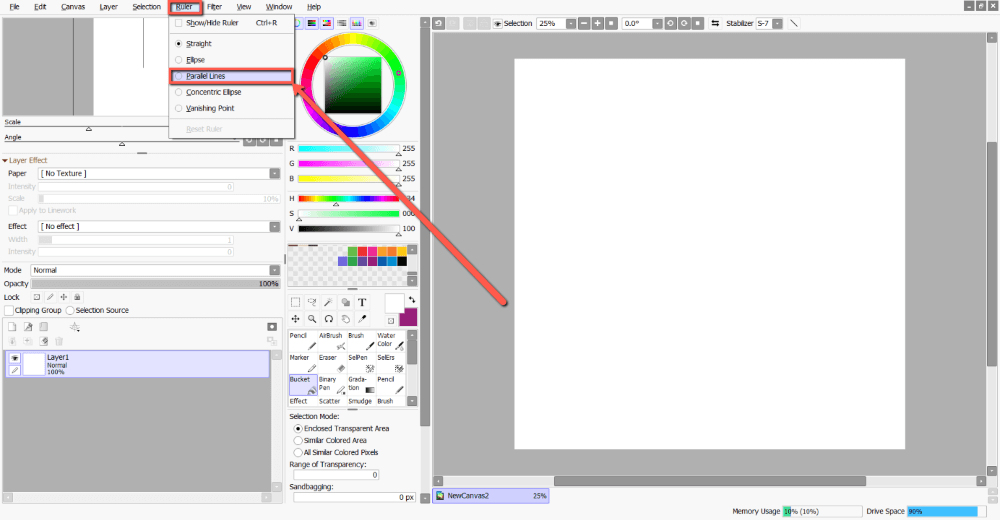
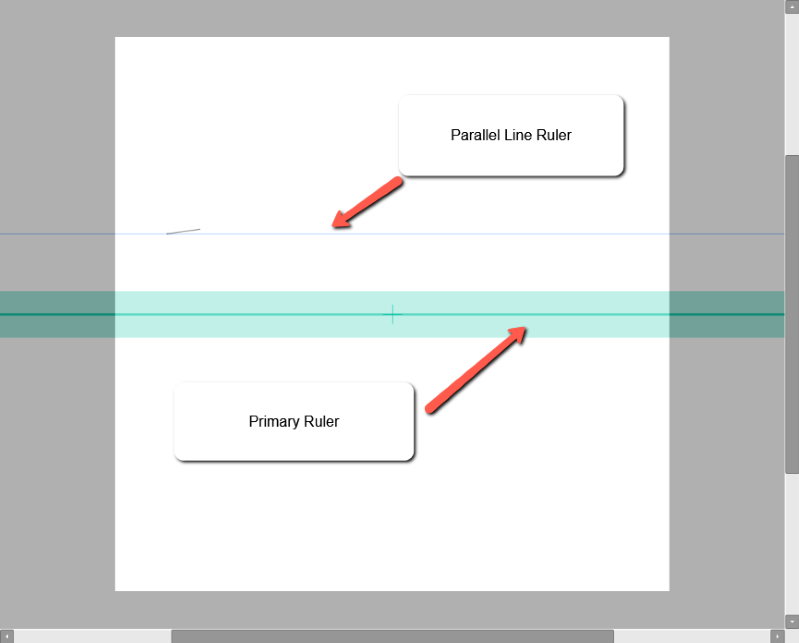
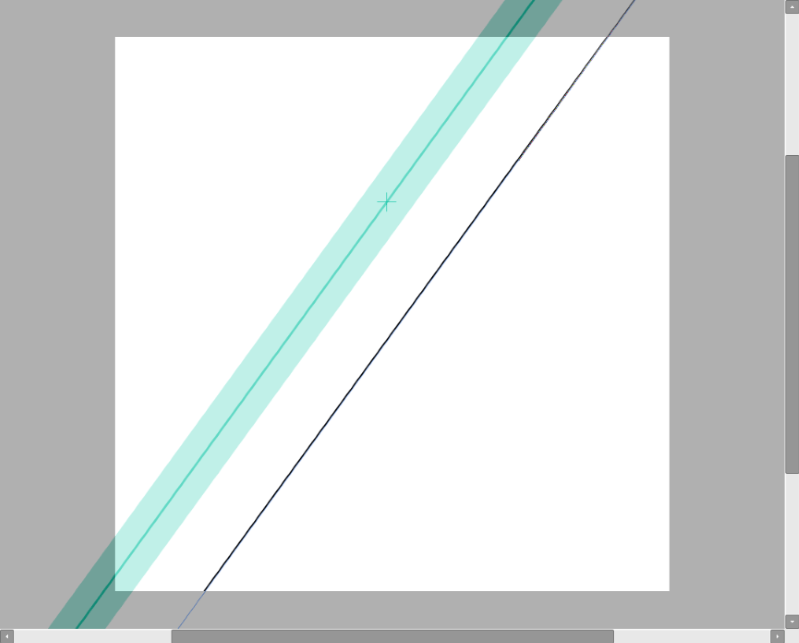
A green line will appear in the center of your canvas. This is your Parallel Lines Ruler.
However, unlike the Straight Ruler, you will also see a live blue line that moves with your cursor. This is the line you will be outlining with. But first, here is how to edit your ruler:
Step 2: Holding down the Ctrl key on your keyboard, reposition the ruler to where you want it on your canvas.
Step 3: Hold down the Alt key on your keyboard to adjust the ruler’s angle.
Step 4: Select a tool and point size from the tool menu. For this example, I am using the Pencil tool at 8px.
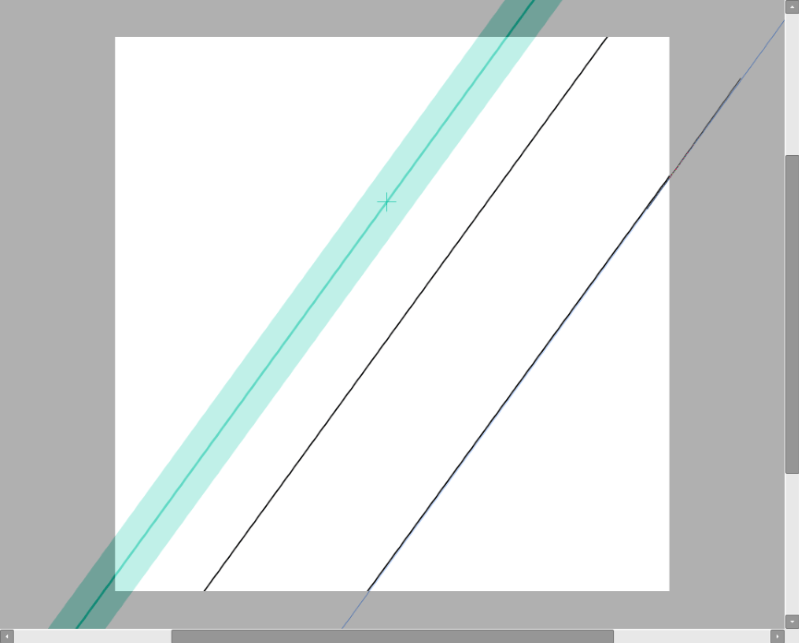
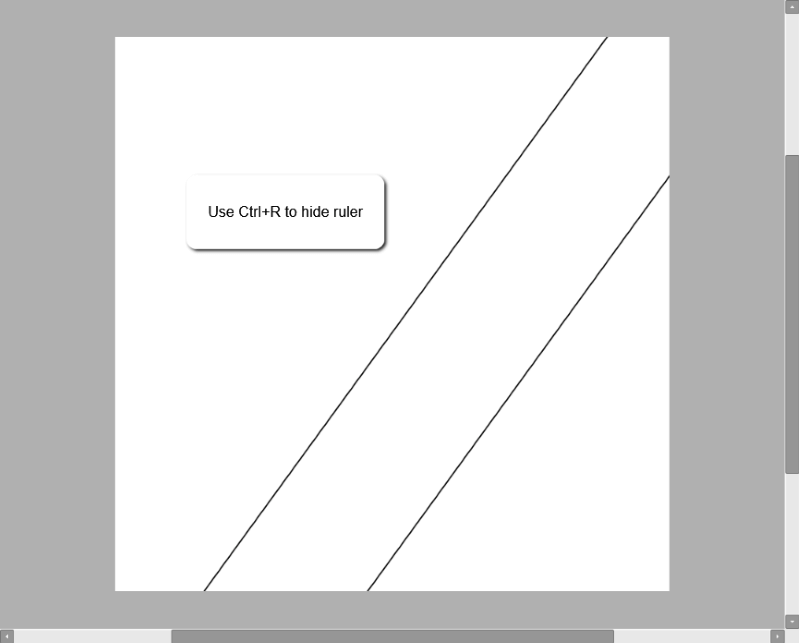
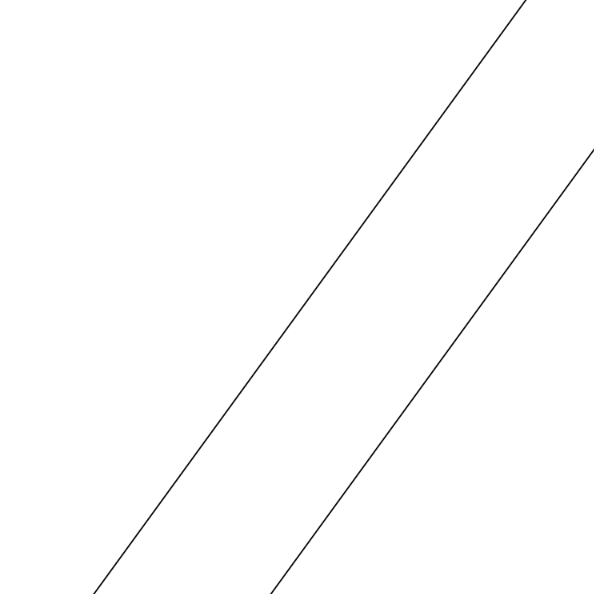
Step 5: Outline your first line.
Step 6: Move your cursor and outline another parallel line.
Step 7: Use the keyboard shortcut Ctrl + R to hide the ruler.
Enjoy!
How to Use PaintTool SAI’s Concentric Ellipse Ruler
PaintTool SAI’s Concentric Ellipse Ruler is similar to the Ellipse Ruler but differs as it allows users to draw multiple ellipses within one another. This is how:
Step 1: Click on Ruler in the top menu bar and select Concentric Ellipse.
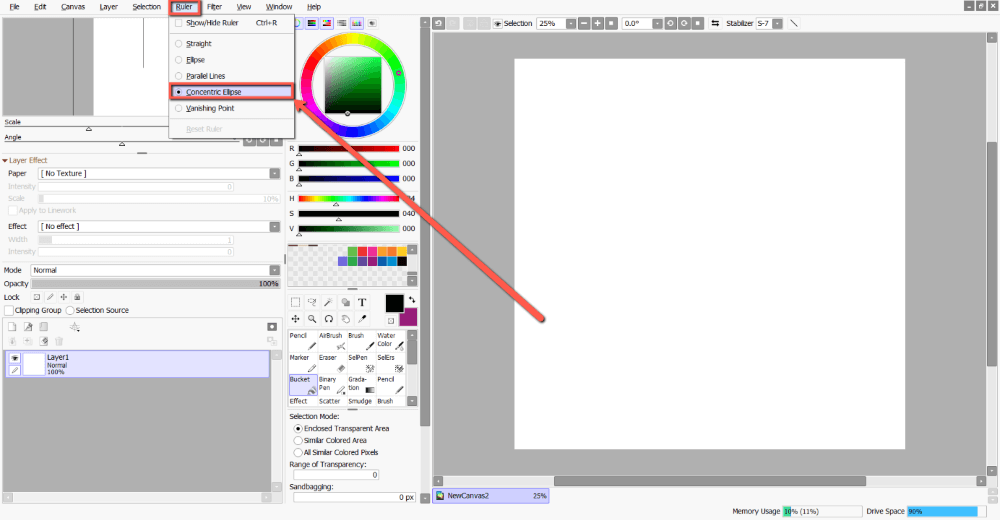
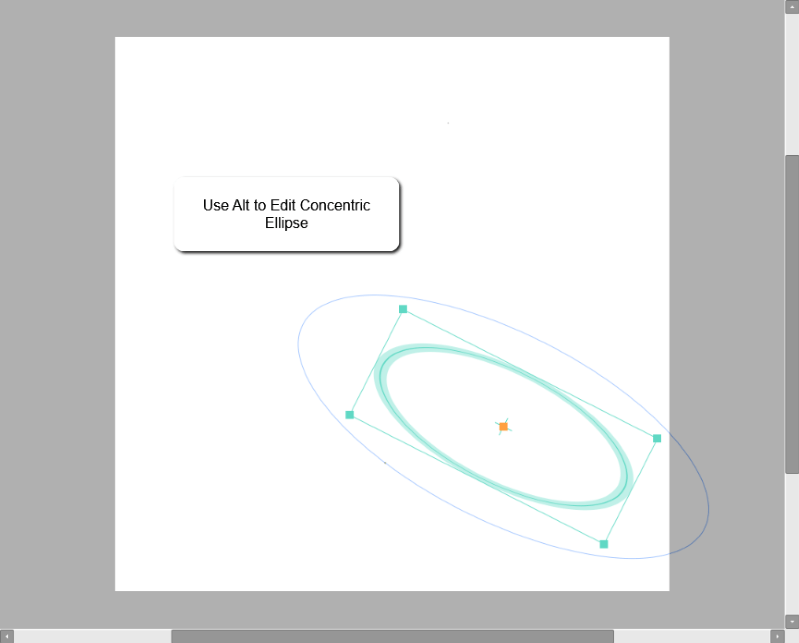
A green circle will appear in the center of your canvas. This is your Concentric Ellipse Ruler.
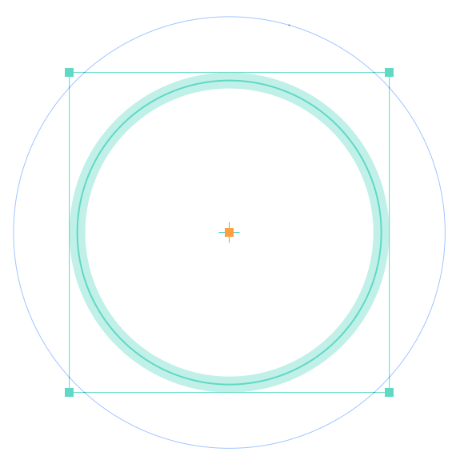
Step 2: Hold down Ctrl on your keyboard, and using the center point of the concentric ellipse, reposition the ruler on your canvas as desired.
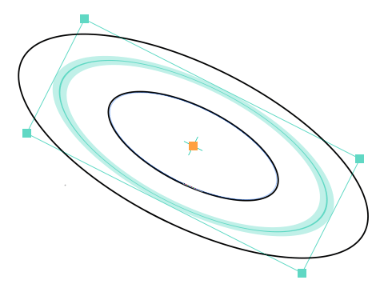
Step 3: Still holding down Ctrl, click and drag the endpoints or rotate to further edit your ruler as needed.
Step 4: Hold down the Alt key to edit your ruler.
Step 5: Select a tool and point size from the tool menu. For this example, I am using the Pencil tool at 8px.
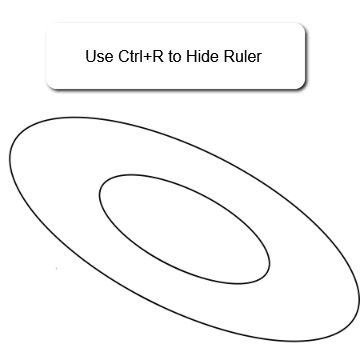
Step 6: Outline your ruler. Note that the blue line that moves with your cursor is the ellipse you will be outlining.
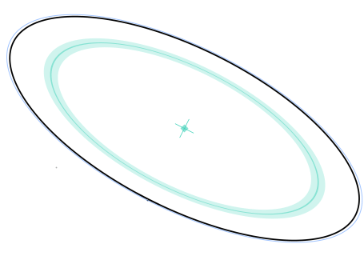
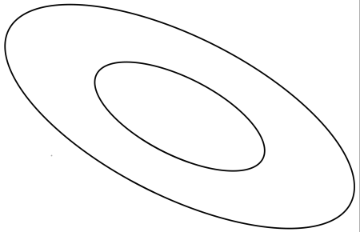
Step 7: Online your concentric Ellipse.
Step 8: When finished, use the keyboard shortcut Ctrl + R to hide the ruler.
Enjoy!
How to Use PaintTool SAI’s One-Point Perspective Ruler
PaintTool SAI’s one-point-perspective makes it easy to draw in perspective. Say goodbye to the long days of rulers. Here’s how you can create one:
Step 1: Open a new document in PaintTool SAI.
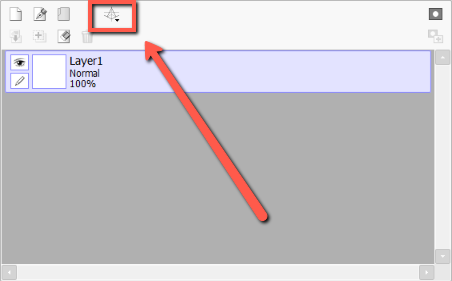
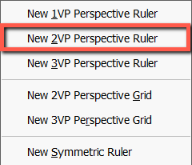
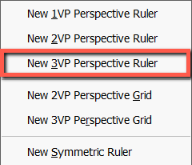
Step 2: Click on the Perspective Ruler Icon.
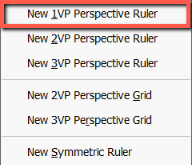
Step 3: Select New 1VP Perspective Ruler.
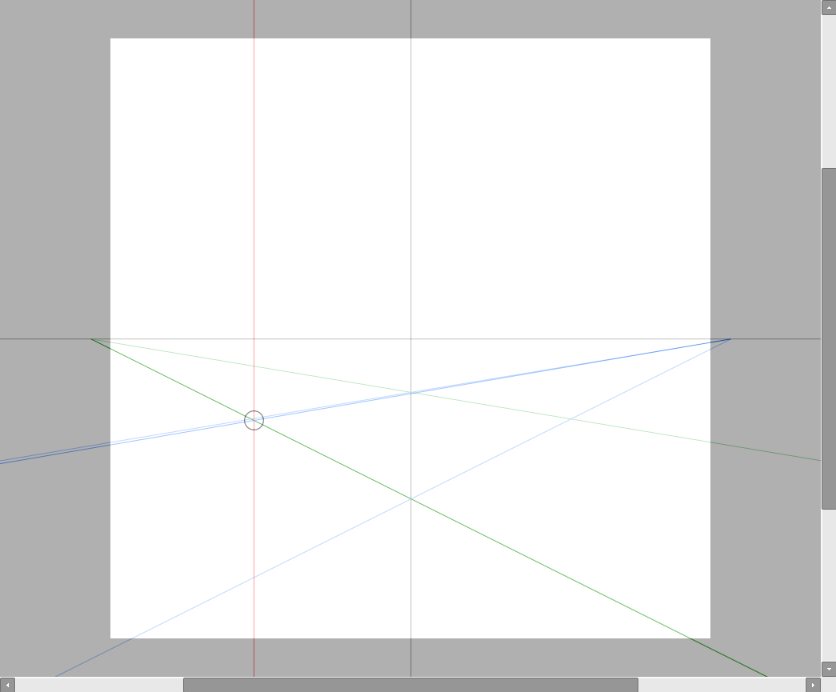
You will now see the perspective ruler appear on your screen, with three differently colored lines. Here is what they represent:
- Black – Represents your vertical and horizontal horizon lines
- Green – Represents the lines corresponding to your vanishing point
- Blue – Horizontal line ruler
- Red – Vertical line ruler
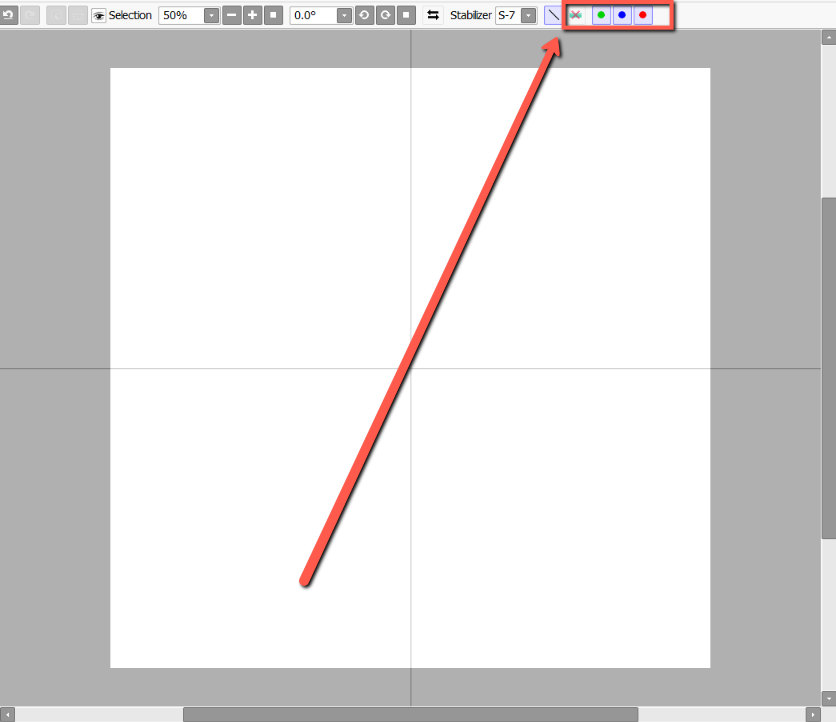
You will also see the Perspective Ruler appear in the layer panel. You can double-click the layer to open the Layer Property menu to rename it and show/hide the ruler using the visibility box.

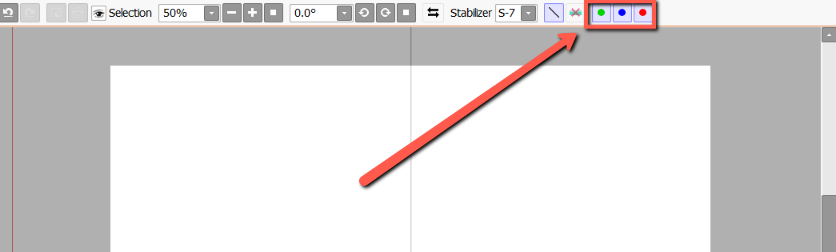
You can also toggle which guides you will see while drawing. These can be accessed by the green, blue and red buttons above the canvas.
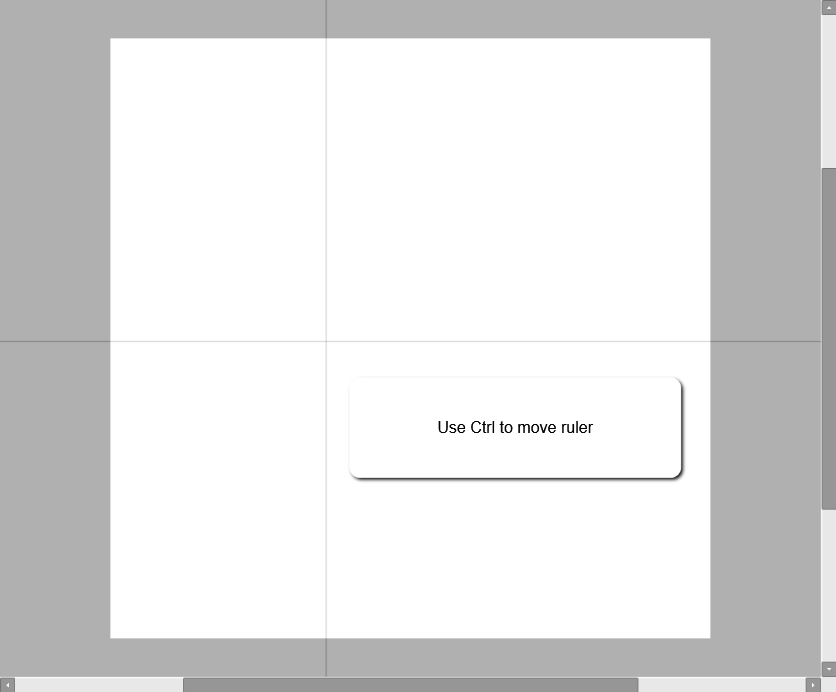
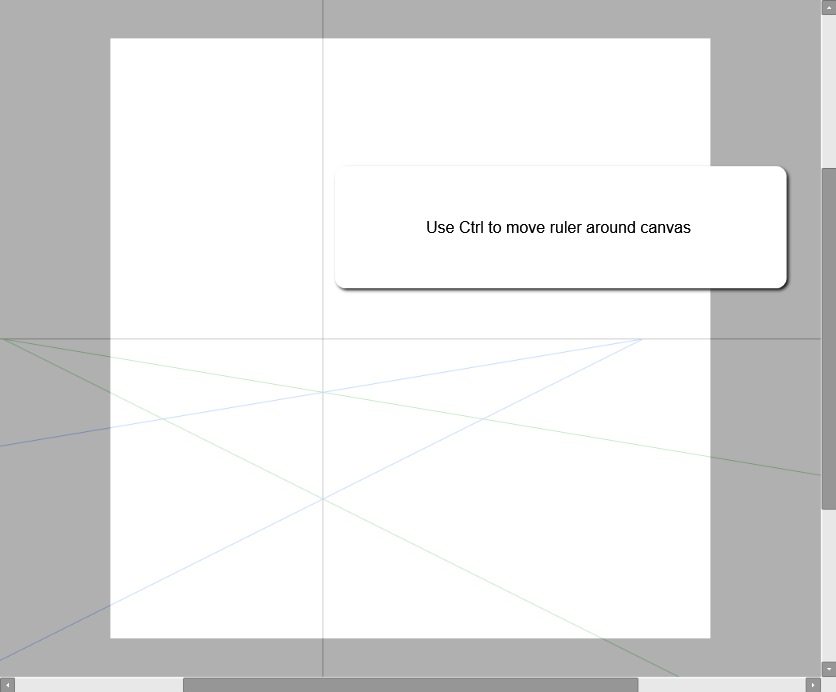
Step 4: Hold Ctrl on your keyboard and click and drag to change to reposition your perspective ruler.
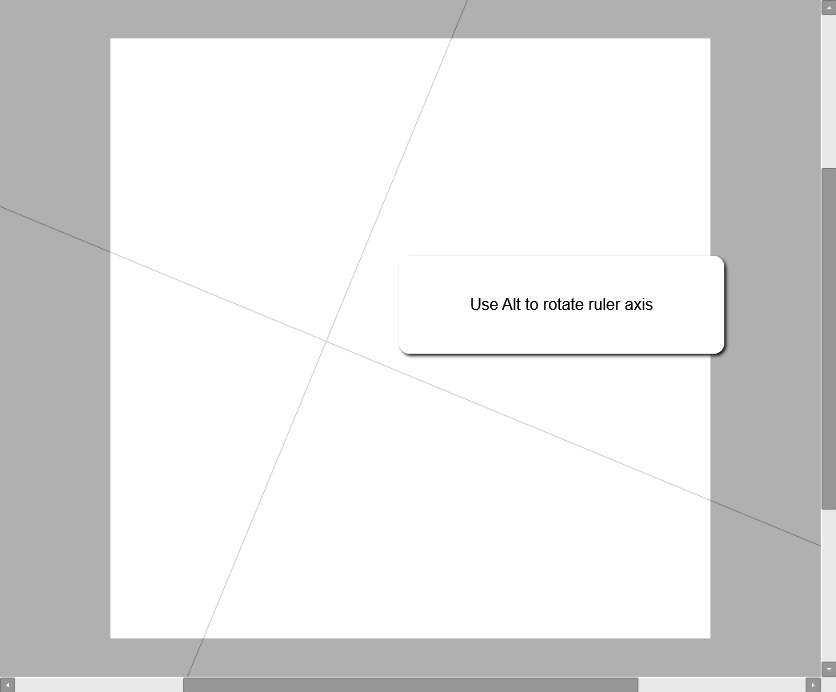
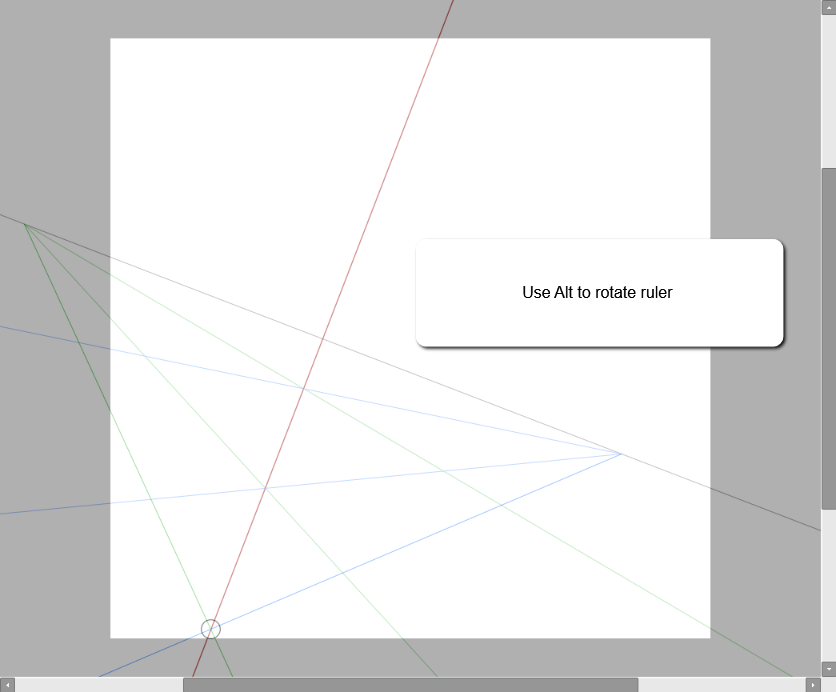
Step 5: Hold down Alt on your keyboard and click and drag to change the angle of your perspective ruler.
Step 6: Click on a normal layer in the layer panel, as you will not be able to draw on the perspective ruler layer itself. This is the layer you will draw on.

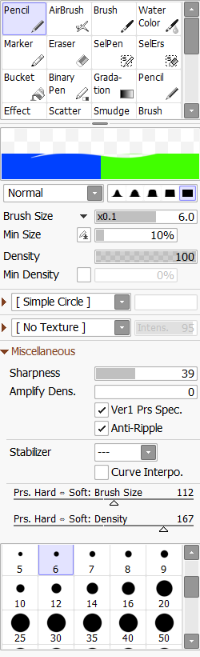
Step 6: Click on the Pencil, Brush, Marker or another tool and select your desired stroke size and color. For this example, I am using the Pencil at 6px.
Step 7: Draw. For this example, I am making a one-point perspective box
Step 8: Enjoy!
For a more in-depth tutorial about how to create one-point perspective drawings using the one-point perspective ruler watch the video below:
How to Use PaintTool SAI’s Two-Point Perspective Ruler
Step 1 and 2 are the same as above.
Step 3: Select New 2VP Perspective Ruler.
You will now see the perspective ruler appear on your screen, with three differently colored lines.
Here is what they represent:
- Black – Represents your vertical and horizontal horizon lines
- Green – Represents vanishing point #1
- Blue – Represents vanishing point #2
You can also toggle which guides you will see while drawing. These can be accessed by the green, blue, and red buttons above the canvas.
Step 4: Hold down Ctrl on your keyboard to reposition your two-point perspective ruler around the canvas.
Step 5: Hold down Alt on your keyboard to click and drag to change the angle of your two-point perspective ruler’s axis.
You can also use Ctrl to change the position of your vanishing points, represented by the colored circles on your ruler. Hold down Ctrl on your keyboard and click and drag to reposition your vanishing points as desired.
Step 6: Click on the Pencil, Brush, Marker, or another tool and select your desired stroke size and color. For this example, I am using the Pencil at 6px.
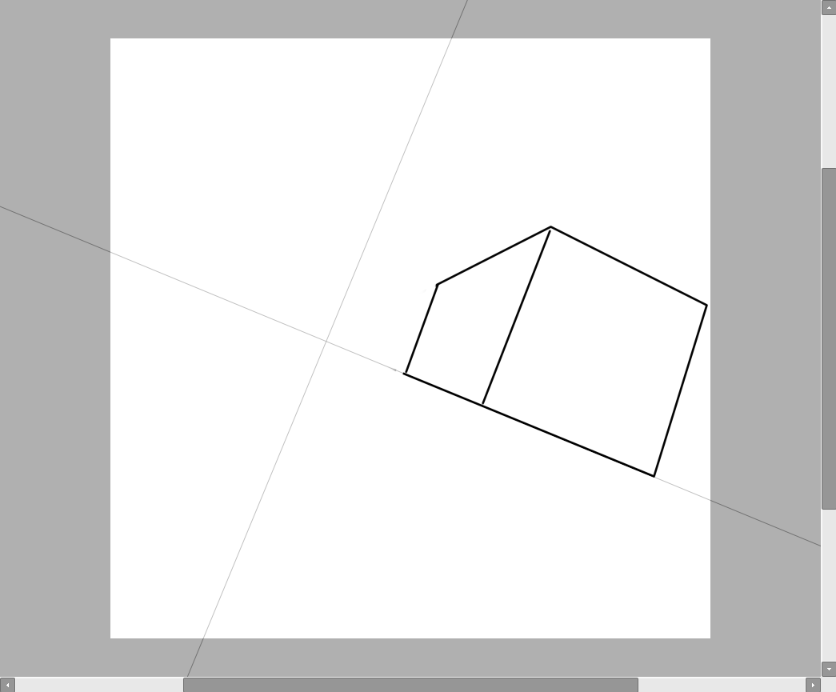
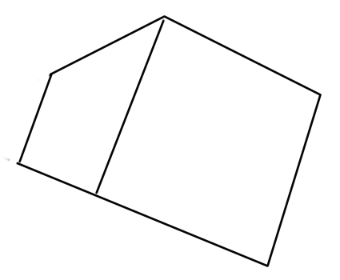
Step 7: Draw! For this example, I am using the two-point perspective grid to create a box.
Step 8: Enjoy!
For a more in-depth tutorial about how to create two-point perspective drawings using the two-point perspective ruler watch the video below:
How to Use PaintTool SAI’s Three-Point Perspective Ruler
Step 1 and Step 2 are the same as above.
Step 3: Select New 3VP Perspective Ruler.
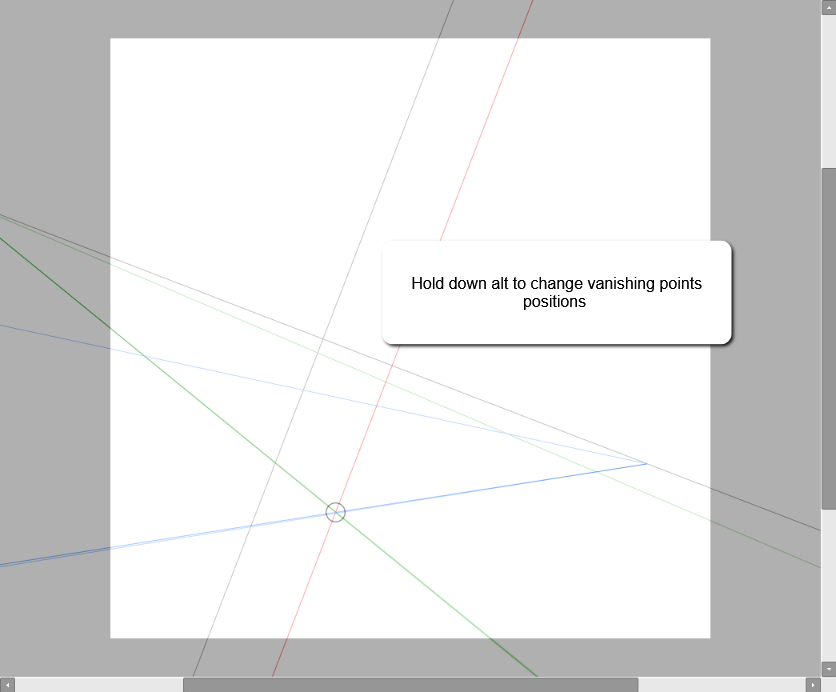
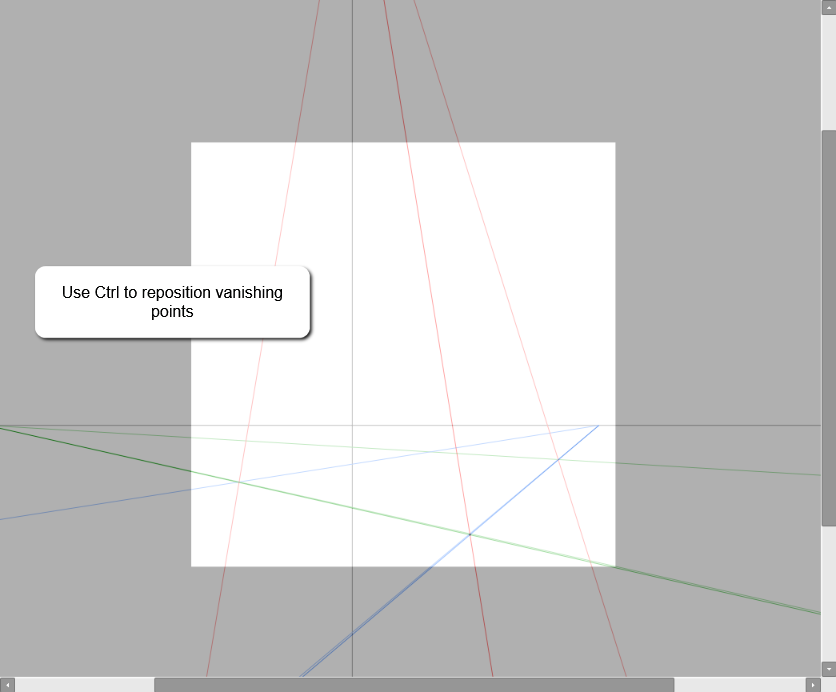
You will now see the perspective ruler appear on your screen, with three differently colored lines.
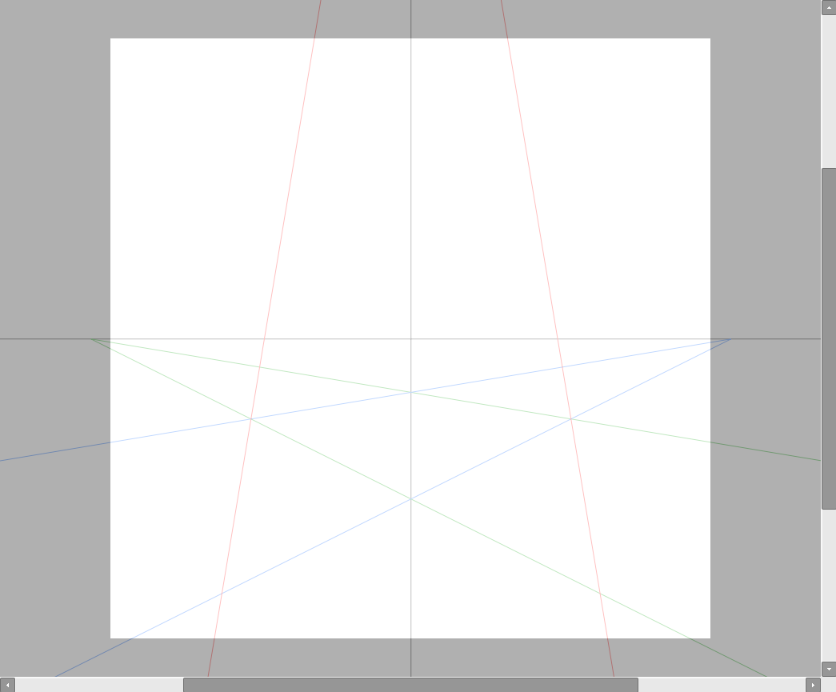
Here is what they represent:
- Black – Represents your vertical and horizontal horizon lines
- Green – Represents vanishing point #1
- Blue – Represents vanishing point #2
- Red – Represents vanishing point #3
You can also toggle which guides you will see while drawing. These can be accessed by the green, blue, and red buttons above the canvas.
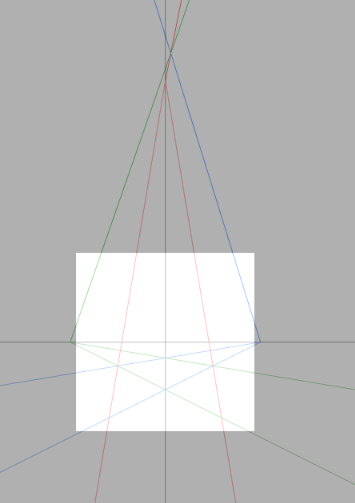
In order to see vanishing point #3 you may need to zoom out of your canvas as it will be located far above vanishing points #1 and #2.
Step 4: Hold down Ctrl on your keyboard to reposition your three-point perspective ruler around the canvas.
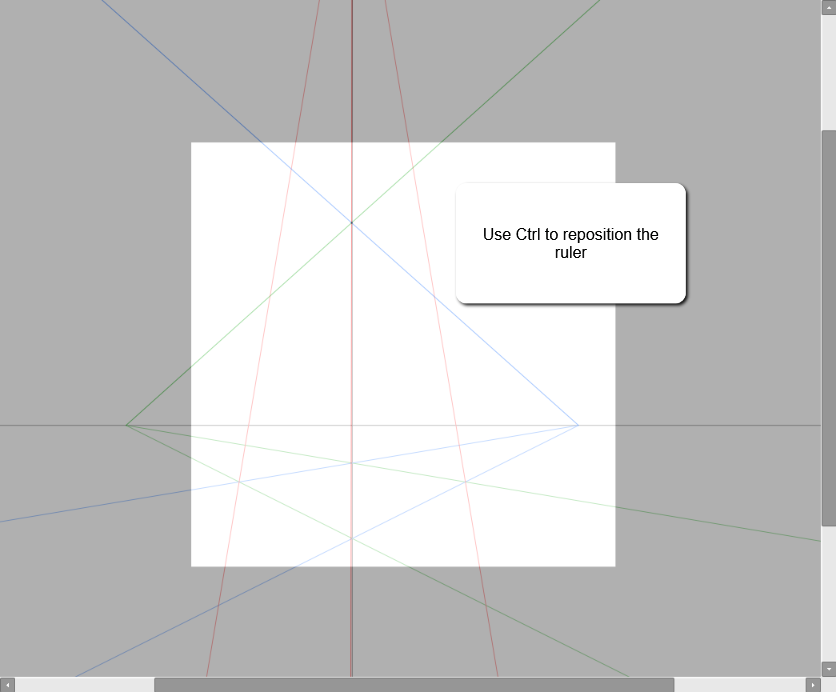
Step 5: Hold down Ctrl on your keyboard to change the position of your vanishing points, represented by the colored circles on your ruler. Click and drag to reposition your vanishing points as desired.
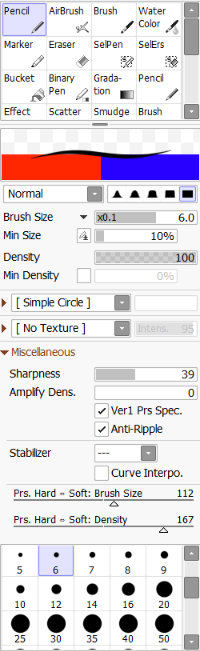
Step 6: Click on the Pencil, Brush, Marker or another tool and select your desired stroke size and color. For this example, I am using the Pencil at 6px.
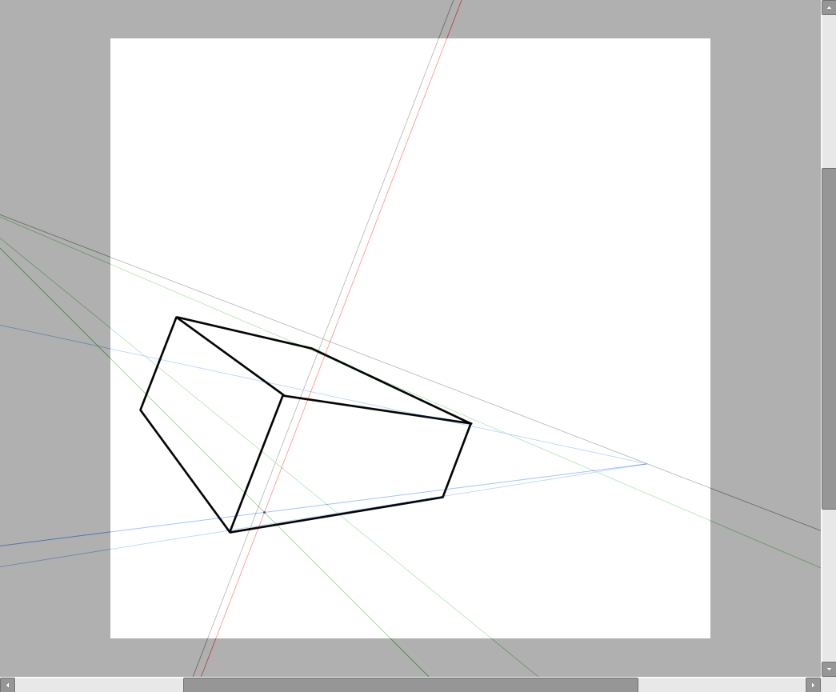
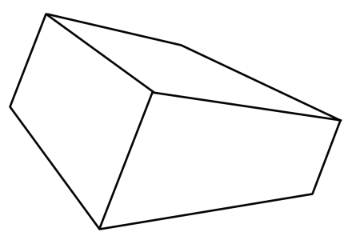
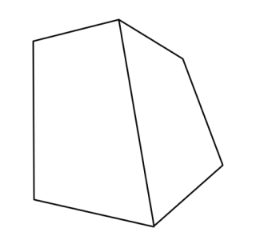
Step 7: Draw! For this example, I am using the three-point perspective ruler to create a box.
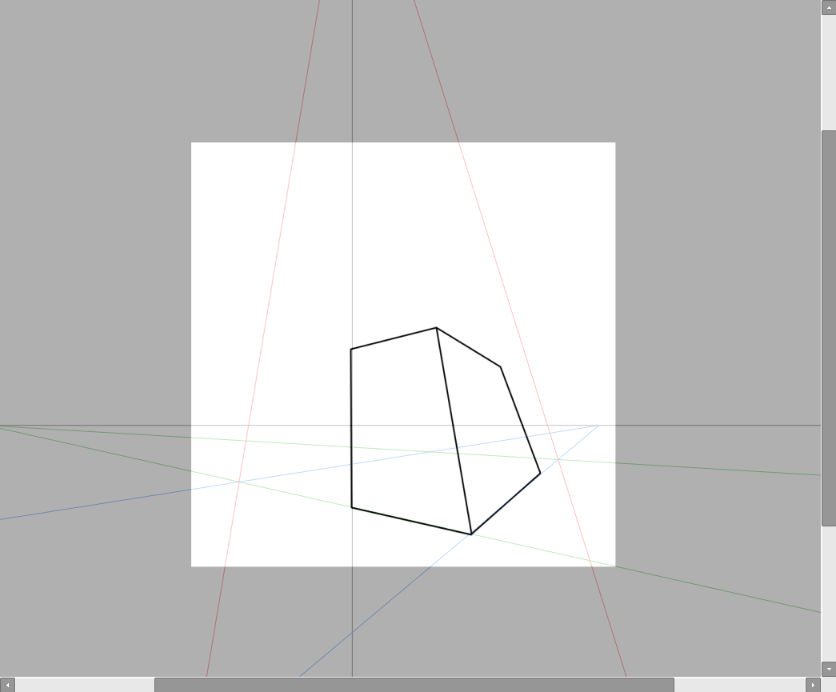
Step 8: Enjoy!
For a more in-depth tutorial about how to create three-point perspective drawings using the three-point perspective ruler watch the video below:
Final Thoughts
PaintTool SAI’s rulers can turn a daunting task into a fun, efficient process. Learning how to use them can save you time, frustration, and a headache. No more struggling to draw a perfect circle, or matching parallel lines. The world is your design oyster.
Which Ruler in PaintTool SAI is your favorite? Which one do you use the most? Let me know in the comments below!