
In order to create a personalized vision board on Canva, you will first have to do some reflecting to choose what visuals you want to include in your design. Once you do that, search for a vision board template and upload the images into the premade slots or build a board from scratch using the library of elements available on the platform.
Oh hello! My name is Kerry, and I am an artist who really enjoys finding new techniques and projects to try out, especially when it comes to creating for fun!
One of the platforms that have helped me expand my digital design portfolio is Canva, and I highly suggest it to people who are also looking to dabble in graphic design.
In this post, I’ll explain how you can create a digital vision board that reflects your goals, dreams, and interests. While Canva does offer some premade templates to create this kind of project, you can also build a vision board from scratch on their website.
Ready to work on your vision board and manifest those goals?
Let’s get to it!
Table of Contents
Key Takeaways
- Before beginning to create your vision board on Canva, it is useful to do some reflecting off to the side so that you have a list that can be used to help you search for images and visuals to include on your board.
- You can use a premade template to create your vision board by searching for that term in the main search box on the home screen.
- If you are looking to build your vision board from scratch, you can add frames, elements, images, and other templates to customize your vision!
What is a Vision Board
Let’s begin by going over what a vision board is. While they are nothing new, vision boards have become very popular over the past few years as people have become more reflective on who they are, what they want to accomplish, and the steps to get there.
Visions boards are a tool that can be used to visualize and highlight various aspects of your life and what you want to accomplish. They can be specific to work, your personal life, a group initiative, long-term, short term – you really can decide what is best for your needs. (And create as many as you would like!)
In the past, people have created vision boards using tangible materials such as cardboard and cut-out pictures from magazines, but in this digital age, you can find more and more of them being designed on platforms like Canva.
These digital vision boards are helpful because you can store them on your device, quickly look at them for inspiration, and integrate them into digital planners, documents, and other note-taking tools.
So if you are looking to find a creative outlet to visualize your goals, increase motivation, reinforce intentions, or provide clarity for plans – developing a vision board may be a project that you want to try out!
How to Create a Vision Board on Canva
It is actually pretty simple to create your own vision board on Canva as it really is a graphic organizer that can include visuals in either an organized format or through a more disorganized manner. (Nothing wrong with that if you don’t want everything aligned! This is your vision board!)
There are many premade templates that you can use to customize your own vision board with either images that are in the Canva library or ones that you upload onto the platform. You can also choose to forgo the use of a template and simply add images onto the canvas along with backgrounds, elements, and effects.
Follow these steps to learn how to create your own vision board on Canva:
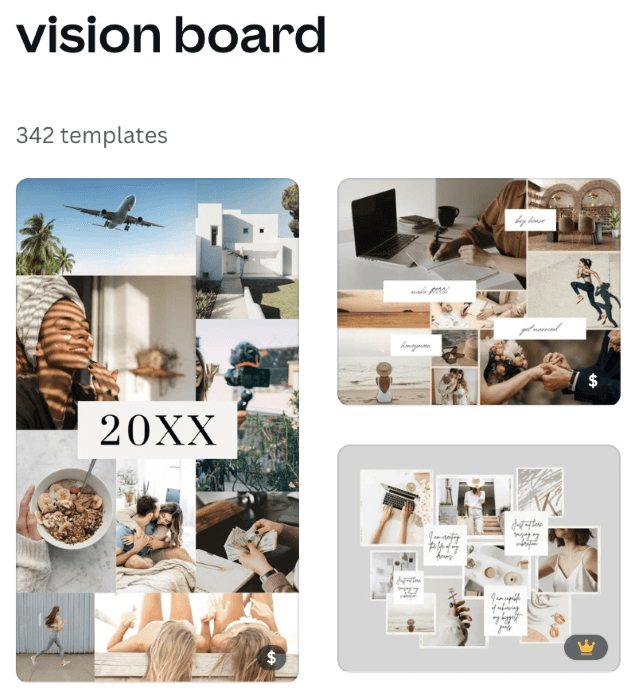
Step 1: Your first step is to sign onto the Canva platform using your sign-in credentials. Once on the home screen, navigate to the search bar, type in the term “vision board” and click search.
Step 2: On a new page, you will see a variety of premade vision board templates that you can scroll through and choose from.
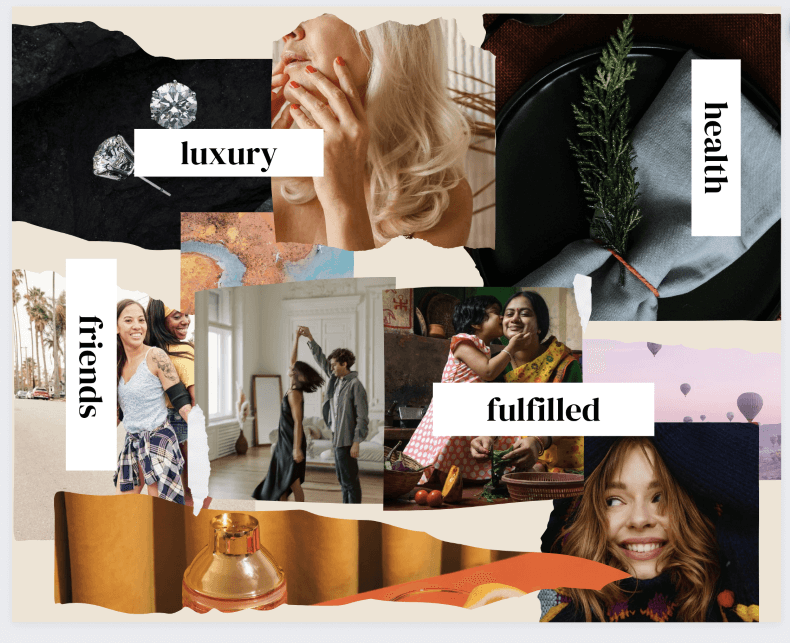
Once you find the one that best fits your vision, click on it and it will be applied to your new canvas page. (I personally liked the nostalgic theme of ripped magazine strips in this template.)
Also, keep in mind that any template or element on Canva that has a little crown or money symbol attached to it means that you can only get access to that piece if you have a paid subscription account, such as Canva Pro or Canva for Teams.
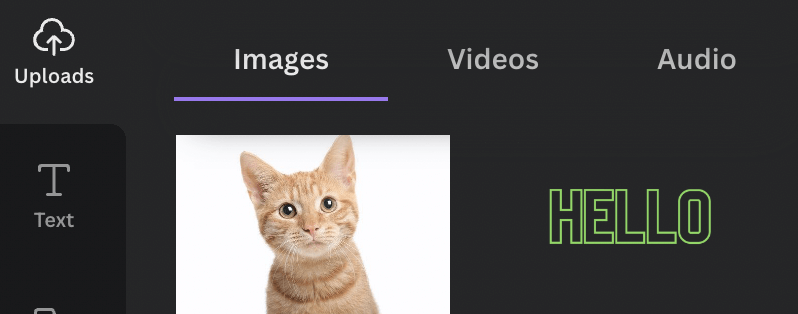
Step 3: On your canvas, click on the already inserted images that you want to replace with your own. If you want to use some of the images that are already included in the Canva library, simply go to the Elements tab on the left side of the screen and search for your desired image.
While in the Elements tab, you can further narrow down your search by clicking on the type of graphic that you want to include (graphics, photos, video, or audio). For vision boards, I usually include photos, but that is up to you!

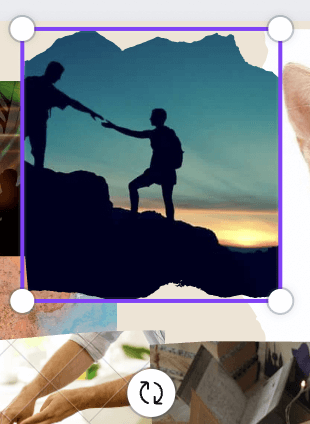
Step 4: When have chosen the images that you want to include, drag and drop it onto the canvas- either in a new position or within the frames on the template. Resize it or change the orientation of the element by clicking on it and using the corner circles to rotate it or resize it.
You can also upload your own images to the Canva library to be included in your vision board. To do this, you will have to search for images online or through your device and download them to your device.
Step 5: In order to add those external images to the Canva platform, navigate to the Upload option in the toolbox. Click on the Upload Files button and a popup window will appear. Here you can select files that are on your device to be added to the website.
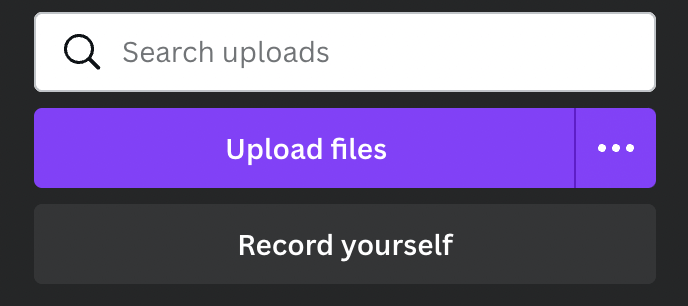
Any uploaded file will appear in the Uploads tab for this project and any future projects that you design on the account that you are signed into.
Step 6: Keep doing this and add as many images that you want to include in your vision board! You can also add text boxes, more elements or graphics, and change the color scheme by using the toolbox on the left side of the screen.

Step 7: If you do not want to use a premade template and would rather build your vision board from scratch, fear not! Instead of following the first steps by adding the template to your page, simply open up a new canvas and follow to steps to add images, text boxes, and elements to build out your board!
Final Thoughts
I personally love creating vision boards (and lots of them!) for various aspects of my life. They are also fun projects to create while hanging out with others so you can share your work and plan together!
Plus, with the thousands of included images on the Canva platform, you don’t even need to search for and download a ton of extra images!
Have you ever created your own digital version of a vision board on Canva? Are there any pieces to this project that I missed in this tutorial that you would like to discuss? Or do you have any tips that you would like to share about amplifying techniques within vision board projects?! If you would like to contribute to the conversation, please share your thoughts in the comment section down below!