
Adding text to a Canva project is one of the most utilized features on the platform. While the reasoning for adding text varies from project to project, it is important to understand the different options for taking this action.
My name is Kerry, and I’ve been working in the graphic design and digital art industry for years. One of the main platforms that I’ve utilized in my work is Canva. I love to share tips, tricks, and advice on how to create projects!
In this post, I’ll explain how you can add a text box to your project in Canva. This will probably be one of the most utilized features in your projects, so it’s good to know the ins and outs of all the text options!
Let’s get started!
Table of Contents
Key Takeaways
- To add a text box to your project, simply go to the text tool in the toolbox and click Add Text Box.
- You can alter the design of your text by either changing the font or by using premade text graphics that are found in the text tool under Font combinations.
How to Add a Basic Text Box in Canva
Unless you’re designing a completely visual-based project on Canva, you’re more than likely going to include some sort of text on your canvas.
While this is a simple action to take, beginners to the platform may not realize all of the options associated with text features!
Adding a text box to a project is pretty simple!
Follow these steps to add a basic text box to your canvas:
Step 1: Open a new project (or an existing one that you’re working on).
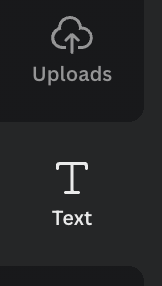
Step 2: Navigate to the left side of the screen to the toolbox. Click on the Text button and choose the size and style of text that you want to add to your project.
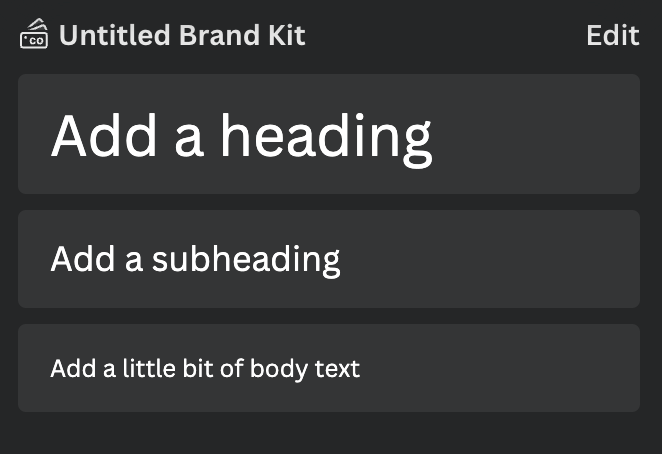
The main options for adding text fall into three categories – Add a heading, Add a subheading, and Add a little bit of body text.
You can also search for specific fonts or styles in the Search box under the Text tab.
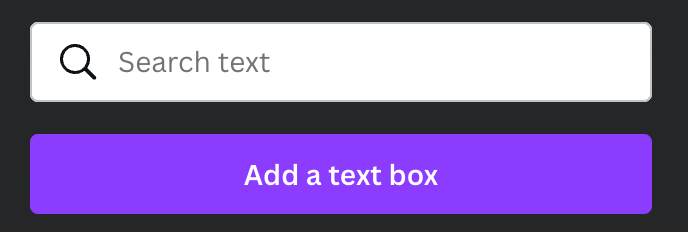
Step 3: Click on the style and either click on it or drag and drop it into the canvas.
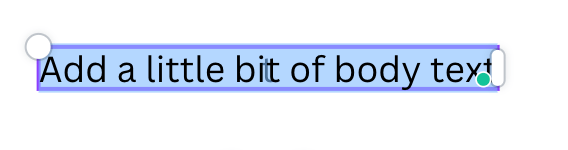
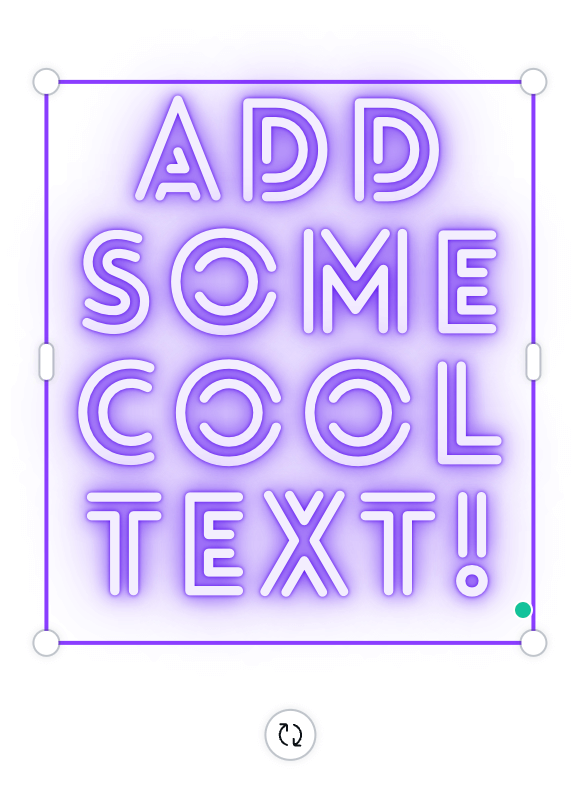
Step 4: While the text box is highlighted, you can use your keyboard to type in the text that you want to include. If you accidentally unhighlight it, double-click on the text box to edit the text inside.
Also here is a Pro Tip! If you hold down the T key on a keyboard, a text box will appear on your canvas!
How to Add Graphic Text Boxes Using Font Combinations
If you’re looking to incorporate a bit more style through your text and don’t want to manually edit the font, size, color, etc., you can use the premade text graphics found under the Font Combination subheading in the text toolbox!
Follow these steps to utilize Font combinations:
Step 1: Open a new project (or an existing one that you’re working on).
Step 2: Navigate to the left side of the screen to the toolbox. Click on the Text button and choose the size and style of text that you want to add to your project.
Step 3: Underneath the search bar and previously used fonts, you will see an option labeled Font combinations. Scroll through the premade options and click on the style or drag and drop it into the canvas.
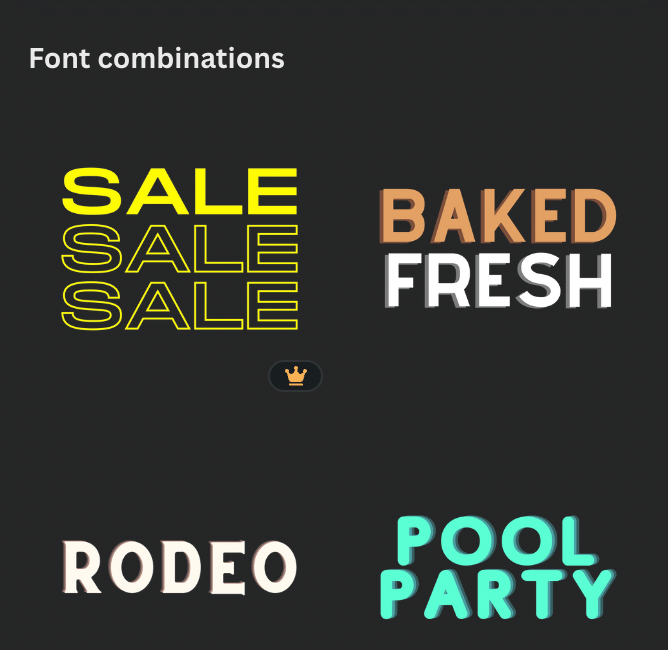
Remember that any option in Font combinations that has a small crown attached to it is only accessible if you have a premium subscription account.
Step 4: Just as you did when editing text with a basic text box, you can use your keyboard to type in the text when the box is highlighted.
How to Edit Text in Canva
If you want to change how the text appears in your project, you can manually change the font, color, and more by highlighting the text and utilizing the text toolbar!
Follow these steps the learn how to change the appearance of your text:
Step 1: Highlight the text that you want to edit, and an additional toolbar will pop up at the top of the canvas. You will see that there are multiple options displayed on the toolbar to alter the preexisting font on your canvas.
Step 2: While the text is still highlighted, you can click on the different buttons in the toolbar to change the appearance of your text.

Options in the text toolbar include:
- Text
- Size
- Color
- Bold
- Italics
- Alignment
- Spacing
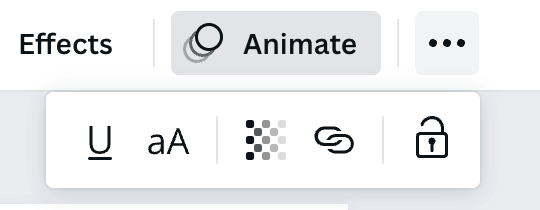
- Effects (Such as Curved Text and Alternate Styles)
- Animations
If you click on the three dots at the end of the toolbar, you will find additional options to edit your text that include:
- Underlining
- Uppercase
- Copy Style
- Transparency
- Link
- Lock
Final Thoughts
While adding text to your project is a simple task, it is fun to explore and try out different styles by either using Font combinations or manually changing it using the toolbar!
Do you have specific fonts or styles that you like to use when adding text to a project? Have any tips or creative methods that you would like to share? Comment below with your thoughts and ideas!