
Creating a smooth workflow is one of the most useful things you can do as a designer, and being forced to change apps in the middle of a good flow can really destroy your productivity.
Many new layout designers get frustrated by constantly switching back and forth between InDesign and Photoshop to test out various image treatments, and they long for a way to make an image black and white directly within InDesign.
InDesign can do a lot of remarkable things, but it’s built from the ground up to be a page layout application, not an image editor. Properly converting an image from color to grayscale is a complex technical process that InDesign isn’t designed for.
If you want to create high-quality black-and-white images (which are technically known as grayscale images), then you really need to use an image editor like Photoshop.
Table of Contents
3 Ways to Simulate Black and White Images in InDesign
If you don’t care about getting the perfect conversion from color to black and white, then you can fake the effect in InDesign – but I have to warn you that it will not be anywhere close to the quality you can get from a proper grayscale conversion in Photoshop.
You may also get strange results if you send these modified images out to a printer, so keep that in mind before you use these techniques on a print project. If you’re still committed anyways, read on!
As far as I can tell, both of these methods provide identical results, but you may find variations depending on the contents of the original image that you are modifying.
For all methods, start by placing your image into your InDesign document in the standard way using the Place command.
Method 1: Rectangles and Blend Modes
Switch to the Rectangle tool using the Tools panel or the keyboard shortcut M.
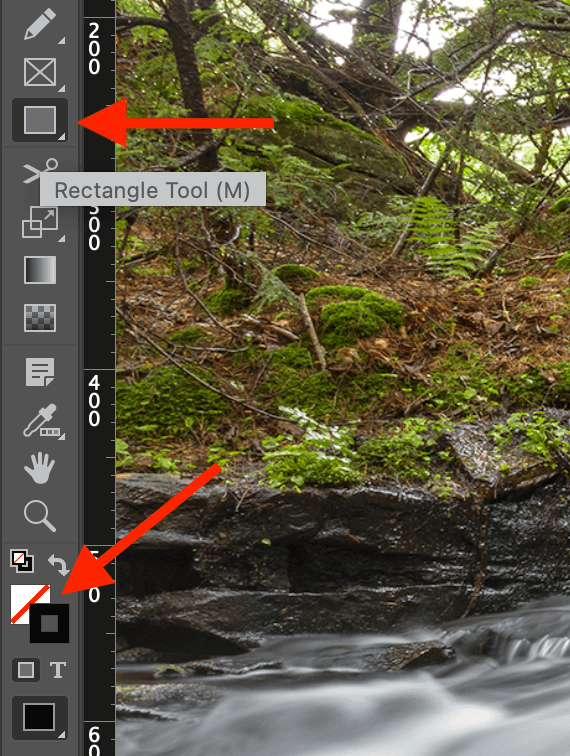
At the bottom of the Tools panel, change the Fill swatch color to Black and the Stroke stroke color to None (represented by a white swatch crossed with a red diagonal line).
You can do this by hand using the swatches, or you can do it very quickly using keyboard shortcuts: press the D key to switch to the default Stroke and Fill settings, then press Shift + X to swap them.
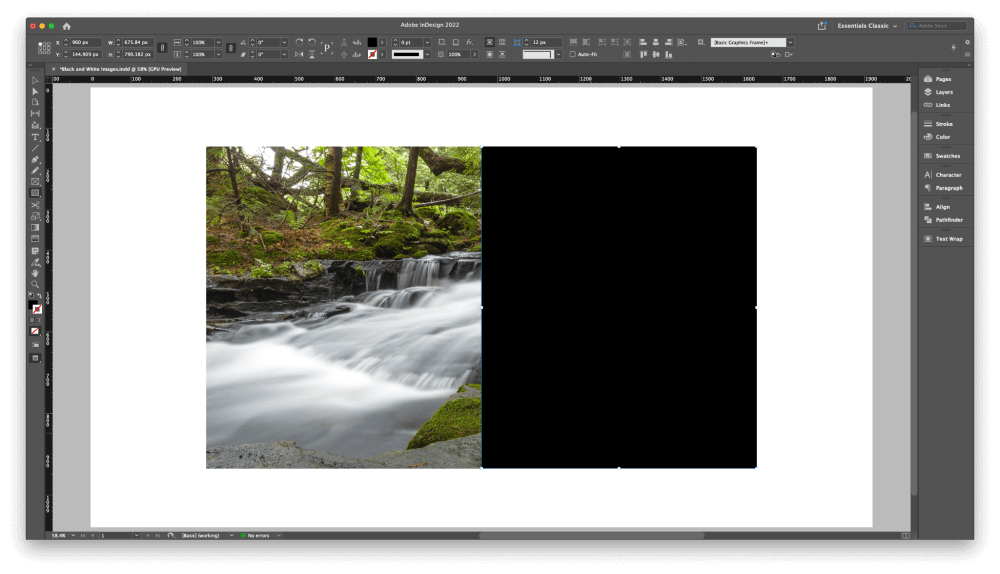
Starting at one corner of your image, click and drag to draw a solid black rectangle over the top of the full image frame dimensions.
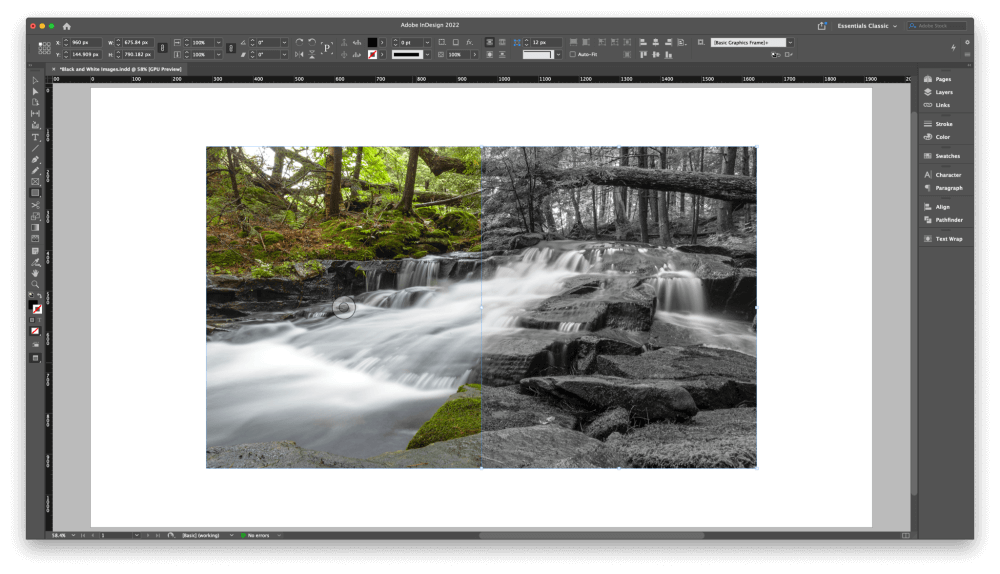
It’s ok if the rectangle extends past the image edges a bit, but your image should be fully covered. In my example, I’m only covering half of the image so that you can see the process more clearly.
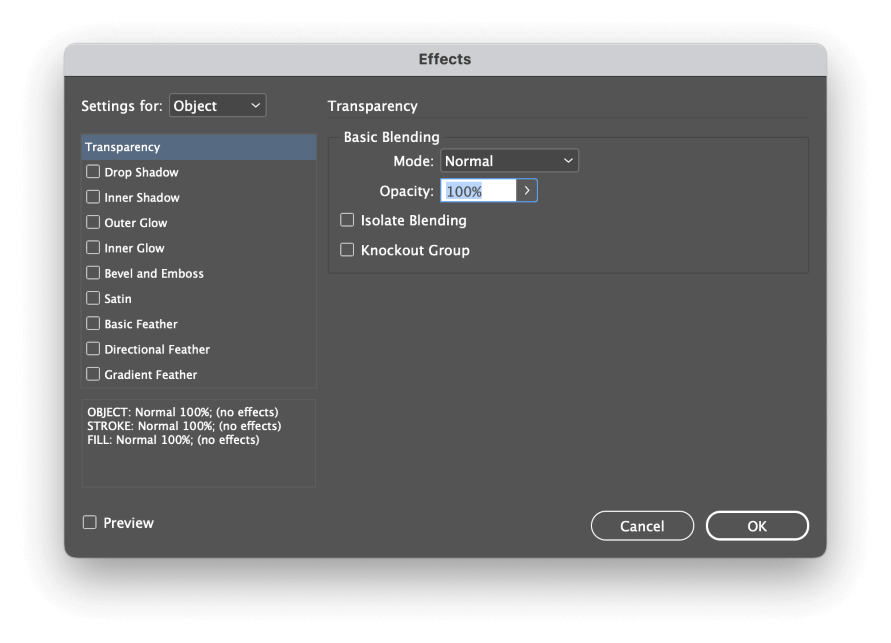
Next, right-click your rectangle to open the popup context menu, then select the Effects submenu and click Transparency. InDesign will open the Effects dialog window, displaying the Transparency tab.
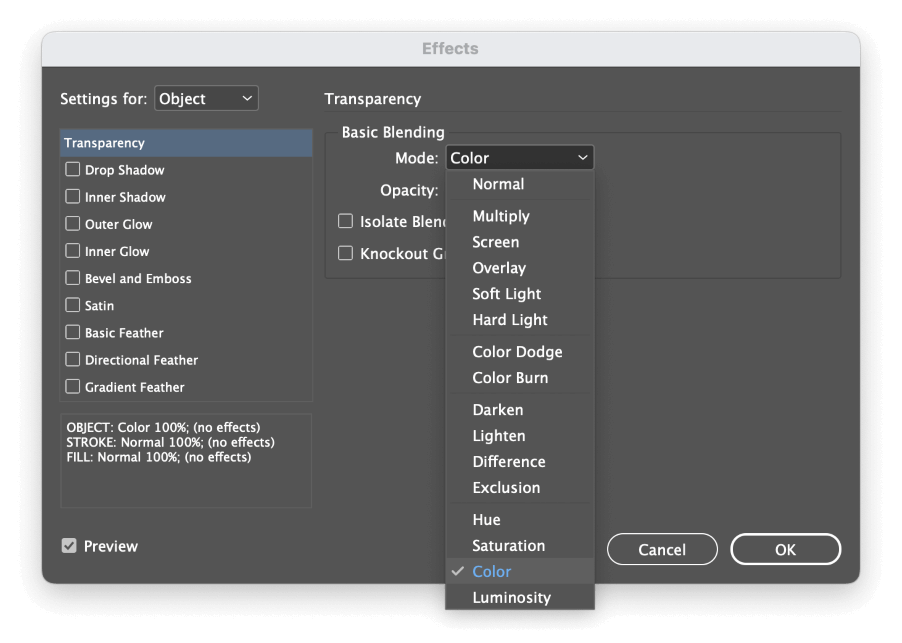
In the Basic Blending section, open the Mode dropdown menu and select Color. You can enable the Preview checkbox to see the result and then click OK.
Your image now appears desaturated. It’s not technically a black-and-white image, but it’s as close as you can get without leaving InDesign.
Method 2: Paper Fills and Blend Modes
This method is a bit more finicky to set up, but you don’t have to draw any additional objects within your image. That being said, it may provide more unexpected results due to its use of the special Paper swatch.
I always use Photoshop to create my black-and-white images, so I can’t promise that it will work in every situation, but I recommend that this method should only be used on documents intended for screen display (or, better yet, not used at all).

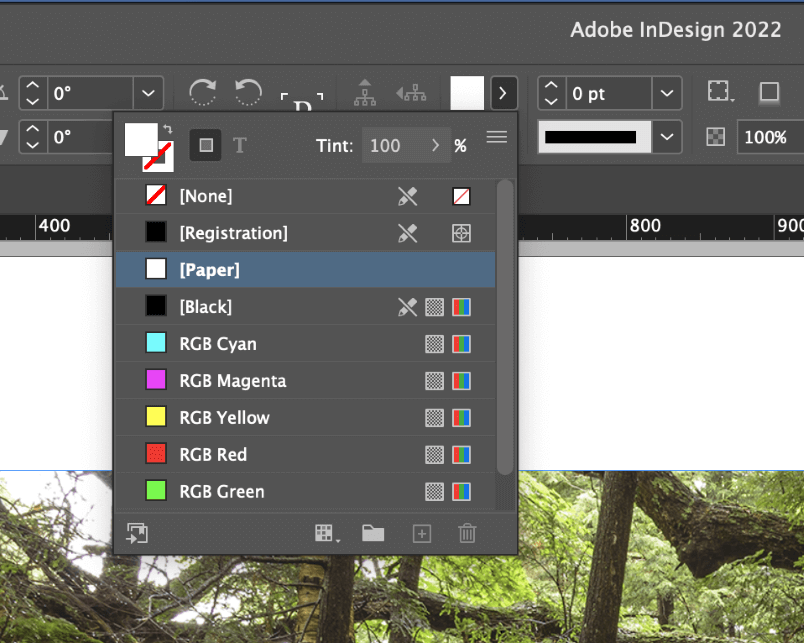
Select your image frame using the Selection tool, and locate the Fill swatch in the Control panel at the top of the main document window (highlighted above). Open the dropdown menu and change the Fill setting to Paper.
Next, click the Content Grabber in the center of your image to select the image object itself, and then right-click on the image to open the popup context menu. Select the Effects submenu, and click Transparency.
It’s essential to ensure that you are editing the transparency of the image object, not of the image frame. If you’ve got it right, the Settings for: option will be set to Graphic, and all the other options in the dropdown menu will be unavailable.
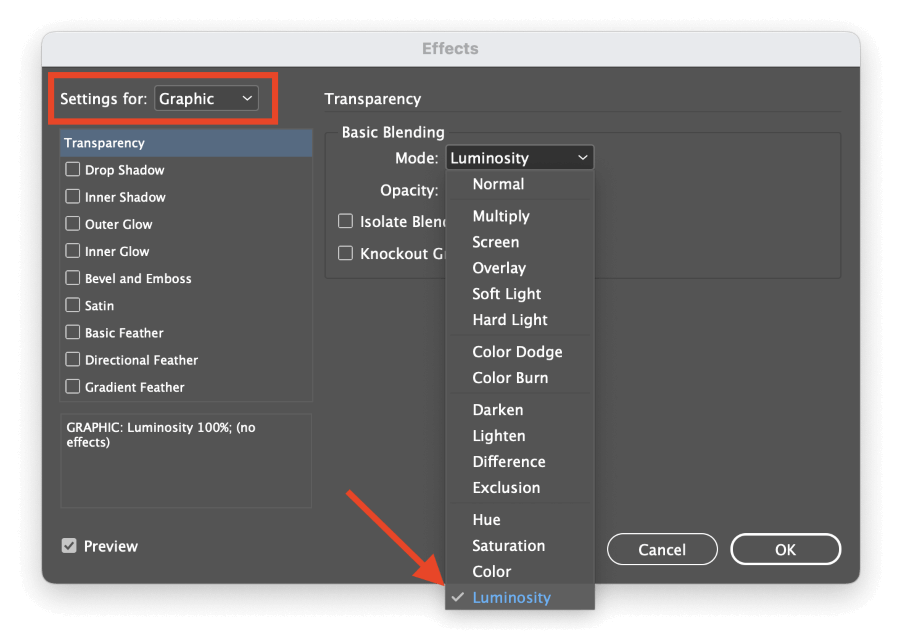
In the Basic Blending section, open the Mode dropdown menu and select Luminosity. Click the OK button, and your simulated grayscale image will be revealed.
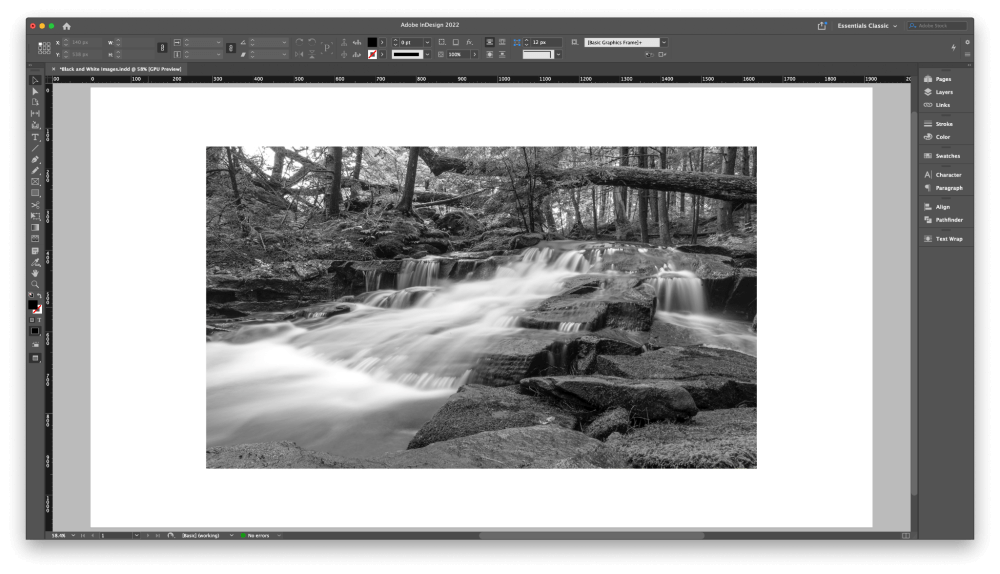
Once again, you don’t get a perfect black-and-white image, but it’s the only other way I know of accomplishing the job entirely within InDesign.
Method 3: Using the Edit Original Command
If you want to speed up your InDesign workflow without sacrificing image quality, then you can take advantage of InDesign’s linked images system to get the best of both worlds.
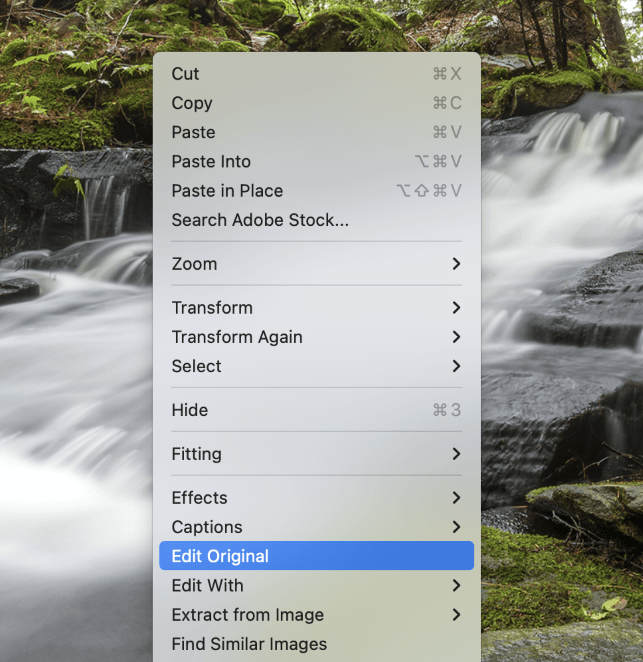
Place your image normally using the Place command, then right-click the image and choose Edit Original from the popup context menu. InDesign will open the image in your operating system’s default image editor, but if you’d prefer to use another one, you can select Edit With from the popup menu to specify the editor you’d like to use.
In your favorite image editor, apply whatever grayscale conversion method you like, and then save the image using the same filename.
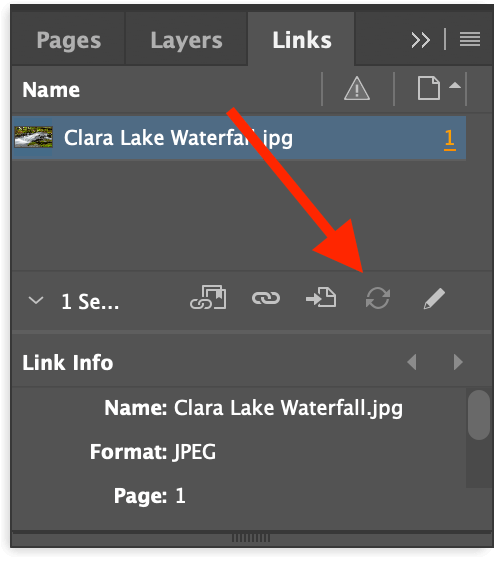
Switch back to InDesign, and open the Links panel. Select the link entry that matches the image you just edited, and click the Update Link button at the bottom of the panel (see above).
InDesign will refresh the image to display the newly-modified version while maintaining your existing scale, rotation, and position.
A Final Word
That’s everything you need to know about how to make an image black and white in InDesign: technically, it’s impossible. You can fake it using a couple of different methods, but neither one produces the high-quality grayscale conversion you can accomplish with Photoshop or any other dedicated image editor.
Always use the right tool for the job, and happy converting!