
You can create a personalized email signature on Canva using premade templates that are available in the library. These templates are customizable and easy to edit for your needs.
Hi there! My name is Kerry, and I’ve been working in the world of graphic design and digital art for years. One of my favorite platforms to use is Canva because it is so accessible and there are so many projects to create through the website.
In this post, I’ll explain how you can create an email signature on Canva. This is a great feature as the platform has a variety of premade templates that will help bring your correspondence with others to a higher professional level.
Are you ready to learn how to create your own email signature to be used over and over again? Great- let’s learn how!
Table of Contents
Key Takeaways
- The easiest way to create an email signature is by using premade, editable templates that you can find using the search tool on the main platform.
- You can choose any designs and styles for your email signature, but if working for a company or organization that has a Premium account, you can use the brand kit to utilize the brand logos, color pallets, and fonts!
- While you can save your work in a few different types of formats, the best one to choose when saving an email signature is in the PNG format.
Create Your Own Email Signature
You may be wondering what an email signature is and why you should create one. An email signature is basically your own business card that is included at the end of emails that shares pivotal information such as your address, phone number, job title, and social media handles.
Including a stylized email signature at the end of your email messages can leave a strong impression on those who are in contact with you. It is a final point of communication and is informative, leading to a lasting imprint.
You can create an email signature that matches your brand and brand palette, style, and icons to make your signature more professional and aligned with your company or organization.
How to Create an Email Signature Using a Template in Canva
Canva allows you to create designs using either premade, customizable templates from their library or from scratch. For the purpose of this tutorial, we will be focusing on using a premade template to make your email signature look very professional.
Follow these steps to learn how to create your own personalized email signature:
Step 1: On the home screen of the platform, navigate to the search box to find the different types of templates that you can use for your project.

Step 2: Type “email signature” and a list that fits those search terms will automatically generate in a drop-down menu.
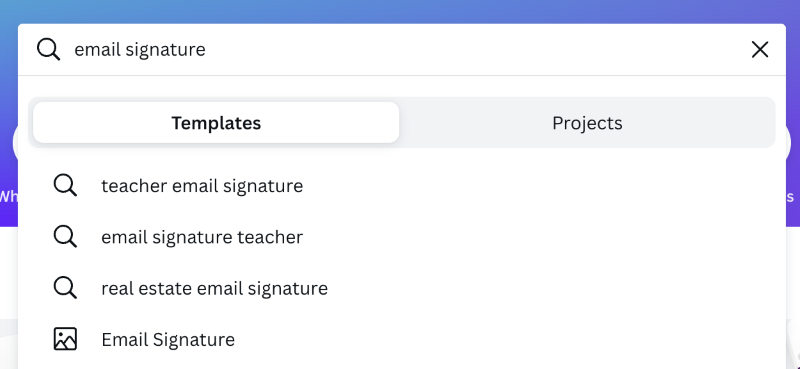
Step 3: Click on the generic option that says, “email signature” and it will then bring you to a library of premade options that you can choose a template from. Choose the template that you want to use, and it will create a new canvas using that specific template.
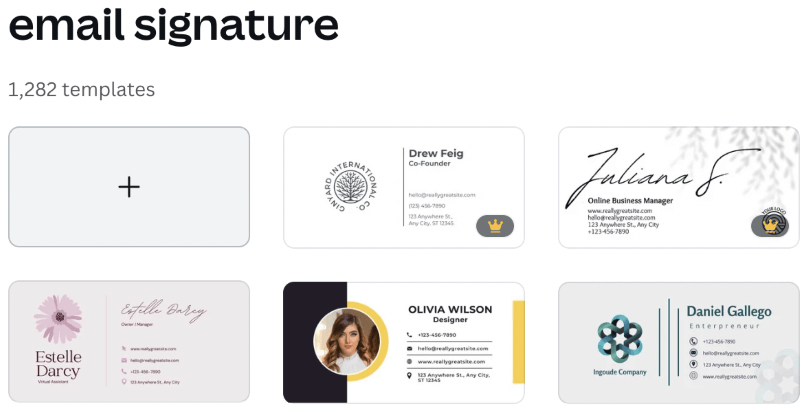
Note: If you see a small crown attached to the element or template, you will only be able to use it in your design if you have a Canva Pro account that gives you access to premium features.
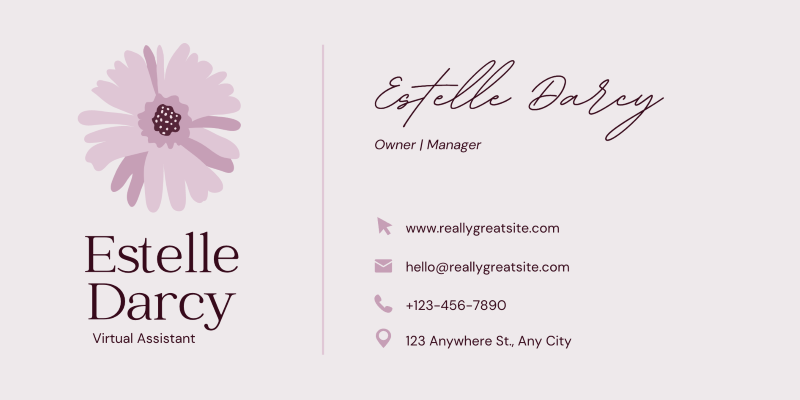
Step 4: Canva will automatically bring you to this canvas page where you can edit the elements that are already displayed to be personalized with your information. (This can be graphics or text boxes that include your name, email, phone number, etc.).
Step 5: To change or edit any of those elements and information, simply click on the text box or element to highlight it.
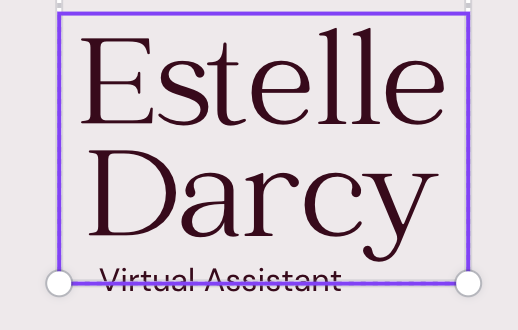
Step 6: At the top of the canvas, you will see an additional toolbar pop-up. While your element is highlighted, you can use this toolbar to edit the graphics, change colors, size, the font, and add some cool special effects!

Note that when you can also swap out or include additional elements by utilizing the default toolbox on the left side of the platform where the libraries for text, elements, styles, backgrounds, and templates live.
Step 7: At the top of the canvas, you will see an additional toolbar pop-up. While your element is highlighted, you can use this toolbar to edit the graphics, change colors, size, the font, and add some cool special effects!
Step 8: When you are satisfied with your design, head to the top right portion of the canvas and click the button Share. A submenu will drop down and you’ll have multiple options for sharing your project.

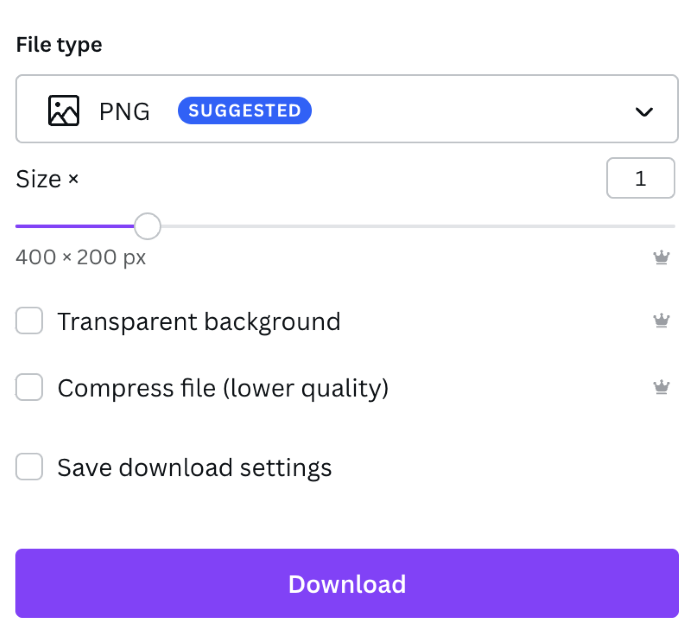
Step 9: Click on the button Download and yet another menu will appear! Here you can choose the type of file that you want to save your email signature as. The best format for this type of work is PNG. Once you choose that, click download, and your work will be saved to your device!
How to Import Email Signature from Canva to Outlook
Once you’ve finished designing your project, you’ll want to make sure to put your work to good use! If you’re using Outlook as your main email platform, you’ll be able to upload your Canva file easily to have to be a default setting when you send out emails.
Follow these steps to upload your signature to your Outlook email:
Step 1: The first step is to make sure that you have the email signature option enabled. To do this, navigate to the top right section of the Outlook email screen and find the settings button that looks like a small gear.
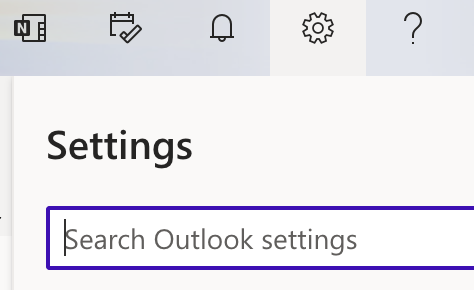
Step 2: Go to the bottom of the menu and click on the option that says View all Outlook settings. This will bring you to a page where you can see all of the customization options for your email.

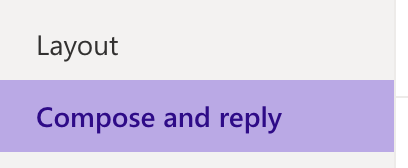
Step 3: Make sure that you are in the Mail tab of this settings page and click on the button that says, Compose and reply.
There will be a spot for you to create an email signature, but no need to do that since you have already designed an amazing one in Canva!
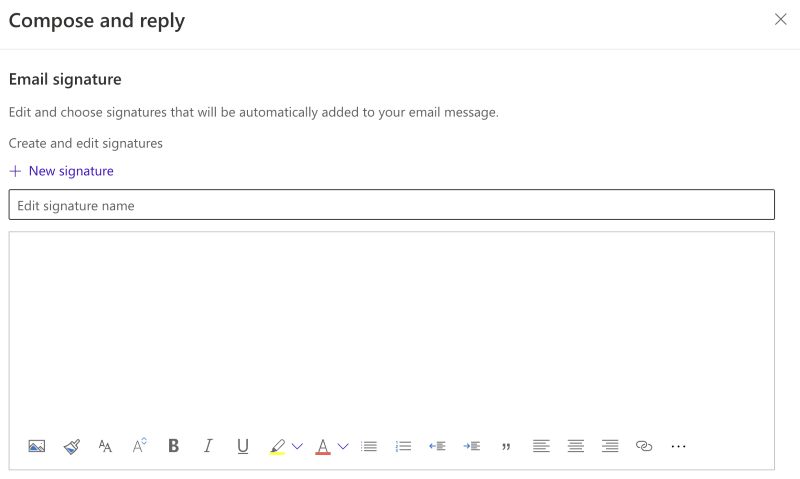
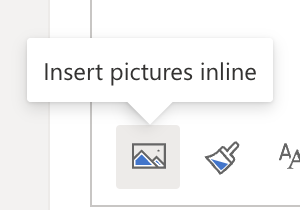
Step 4: Name your signature and click on the icon that looks like a picture frame. (If you huddle over it, you’ll see that it is labeled Insert pictures inline.) When you click on it, a file folder from your device will pop up where you can select your saved email signature from Canva.
Step 5: Once you upload your file, scroll to the bottom of the menu and click save!
While you are still on the email signature settings page, you will also be able to set this email signature for all emails by going to the default signatures menu underneath the text box and selecting your signature’s name.
How to Add Your Email Signature from Canva to Gmail
Don’t worry if you aren’t using Outlook! If you’re using Gmail as your main email platform, you’ll be able to upload your Canva file just as easily so that you can include it as a default setting when you send out emails.
Follow these steps to upload your signature to your Gmail email:
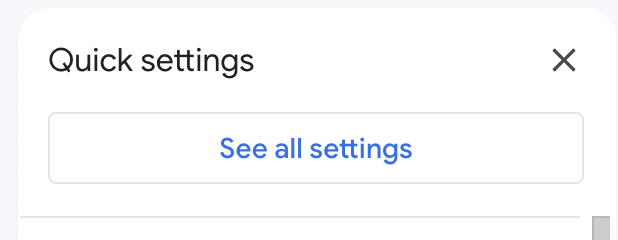
Step 1: Navigate to the top right corner of the email platform where you’ll see the Settings button. This looks like a little gear! You’ll have to choose the See all settings option to view the entire menu.
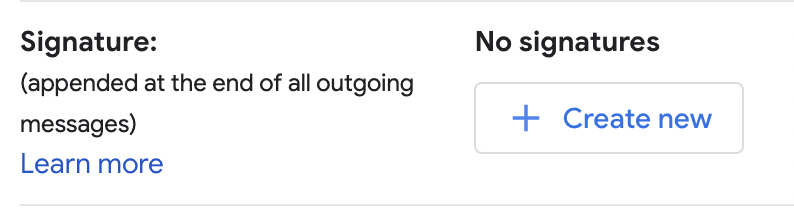
Step 2: You will see a long, horizontal menu at the top of the screen. Stay in the General tab and scroll to the bottom where you will see an option to add an email signature.

Step 3: Click on the Create new button and another dropdown menu will appear where you can name your new signature.
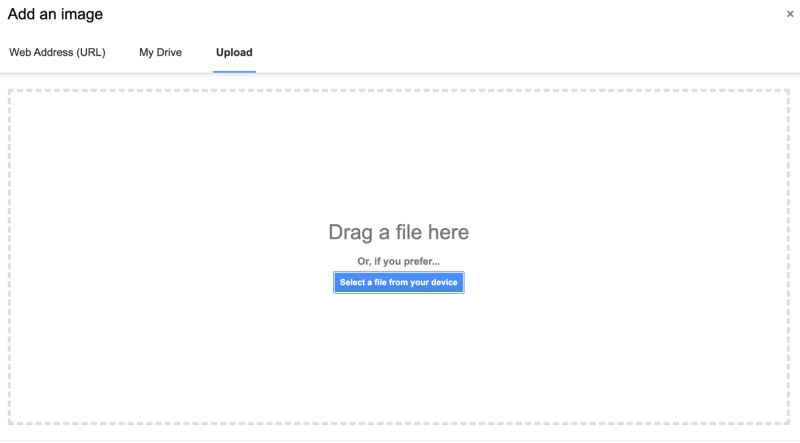
Step 4: Once you have named your file, on the bottom toolbar, find the file upload button.

The file upload screen will pop up. You can choose your saved Canva file from your device to upload.
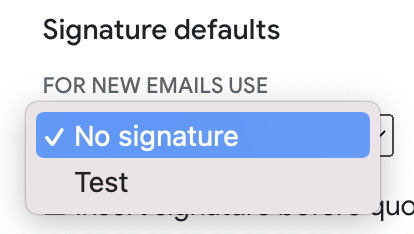
Step 5: Once you have uploaded your file, make sure to click the name of your signature to use on new emails and save those changes. Your email signature should be ready to go!
Final Thoughts
Being able to create and add stylized email signatures to your email accounts is a useful and professional feature that is boasted on Canva and for good reason! Text Animation is another cool feature that Canva offers that will elevate your projects and make you feel like a true graphic designer!
Have you found any tricks or tips that you would like to share with others about making an email signature? Comment in the section down below with anything that you would like to share on this topic!