
Contact sheets are a throwback to the days of film photography. They are simply a sheet of same-size images that offered a quick way to preview the images from a roll of film. From there you could choose the images you wanted to print bigger. So why do we care today?
Hello! I’m Cara and I’ve been photographing professionally for a few years now. Though the days of film are over (for most people), there are still some useful tricks from the era that we can use today.
One of them is contact sheets. They’re a handy way to create a visual reference for filing or to display a selection of images to a client or editor.
Let’s look at how to make a contact sheet in Lightroom. As usual, the program makes it quite simple. I’m going to break down the tutorial into six major steps with detailed instructions in each step.
Note: the screenshots below are taken from the Windows version of Lightroom Classic. If you are using the Mac version, they will look slightly different.
Table of Contents
Step 1: Choose the Images to Include in Your Contact Sheet
The first step is to select images in Lightroom that will appear on your contact sheet. You can do this however you want. The goal is just to get the images you want to use in the filmstrip at the bottom of your workspace. The Library module is the best place to be for this task.
If all your images are in the same folder, you can simply open the folder. If you want to choose certain images from the folder, you might assign your chosen images a certain star rating or color label. Then filter so that only those images appear in the filmstrip.
If your images are in different folders, you can put them all into a collection. Remember, this doesn’t create copies of the images, just puts them conveniently in the same place.
You can also use the search feature to find all images with a certain keyword, capture date, or another piece of metadata.
However you do it, you should end up with the images you want to use in your filmstrip. You can pick and choose later from these images as you’re creating your contact sheet so don’t worry about having only the exact images you want to use.
Step 2: Choose a Template
Once you have your images together in the Library module, switch to the Print module.
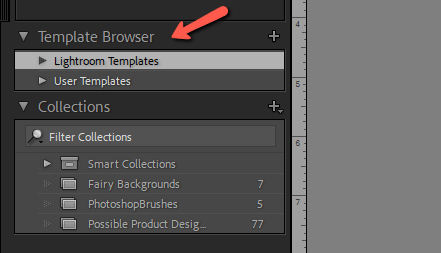
On the left side of your workspace, you’ll see the Template Browser. If it’s not open, click the arrow to the left to expand the menu.
If you make any of your own templates, they will usually appear in the User Templates section. However, Lightroom includes a bunch of standard-size templates and that’s what we’ll use today. Click the arrow to the left of Lightroom Templates to open the options.
We get several options but the first few are single images. Scroll down to the ones that say Contact Sheet.
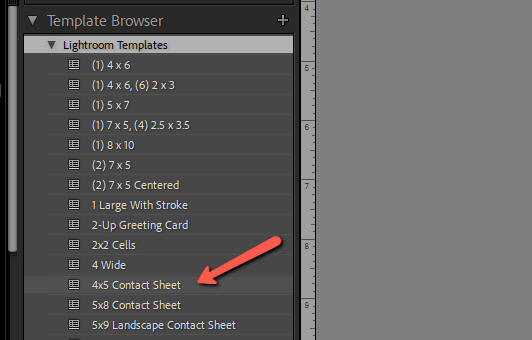
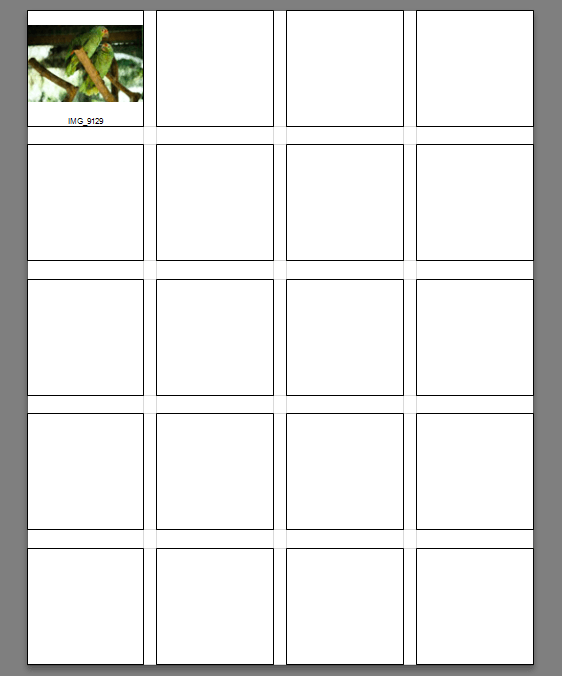
Keep in mind that 4×5 or 5×9 refers to the number of image rows and columns, not the size of the paper it will be printed on. So if you choose the 4×5 option, you’ll get a template with room for 4 columns and 5 rows, like so.
If you want to customize the number of rows and columns, go to the right side of your workspace to the Layout panel. Under Page Grid, you can adjust the number of rows and columns with the sliders or by typing a number in the space to the right.
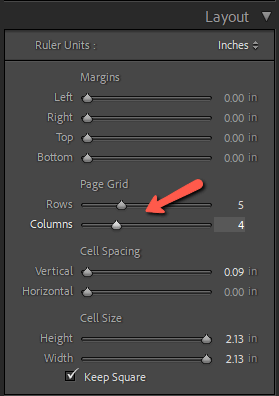
The template will automatically adjust to keep all the images the same size yet accommodate the numbers you’ve selected. If you want more control you can also set the margins, cell spacing, and cell size to custom values in this menu.
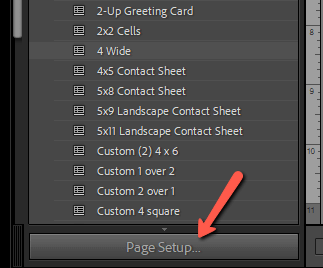
Back on the left side, click Page Setup to choose the paper size and orientation.
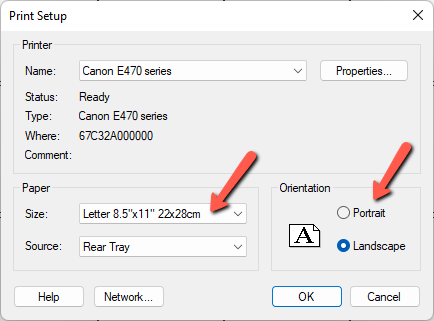
Choose your paper size from the dropdown menu and tick the correct box for Portrait or Landscape orientation.
What if you try to squeeze more rows or columns onto a page than can fit the page size you’ve chosen? Lightroom will automatically create a second page.
Step 3: Choose the Image Layout
Lightroom gives you a few options for how the images will appear in the contact sheet. These settings appear on the right side of your workspace under Image Settings. Again, if the panel is closed, click the arrow to the right to open it.
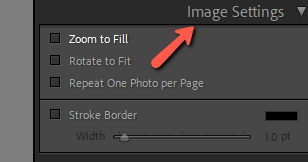
Zoom to Fill
This option will zoom into the photo to fill the entire box on the contact sheet. Some of the edges will usually be cut off. Leaving it unchecked allows the photo to keep its original aspect ratio and nothing will be cut off.
Rotate to Fit
If you are using a landscape orientation template, this feature will rotate portrait-orientated images to fit.
Repeat One Photo per Page
Fills every cell on the page with the same image.
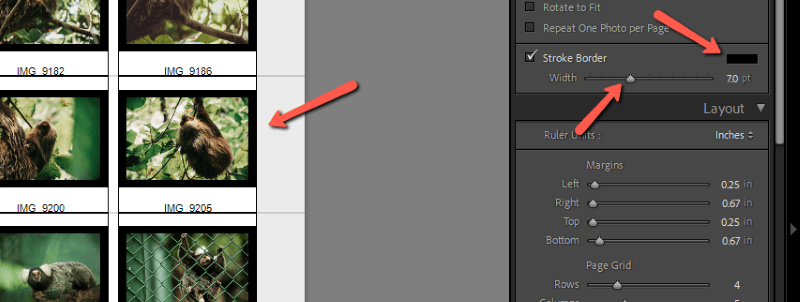
Stroke Border
Allows you to put borders around the images. Control the width with the slider bar. Click the color swatch to choose the color.
Step 4: Populate the Grid with Images
Lightroom lets you decide how to pick the images to use in the contact sheet. Go to the Toolbar at the bottom of your workspace (above the filmstrip) where it says Use. By default, it will also say Selected Photos. (Press T on the keyboard to reveal the toolbar if it is hidden).

In the menu that opens, you’ll have three options for how to select the contact sheet images. You can put All Filmstrip Photos into the contact sheet, or Selected Photos or Flagged Photos only.
Choose the option you want to use. In this case, I’ll select the photos I want to use. Check out this article if you need help selecting multiple photos in Lightroom.
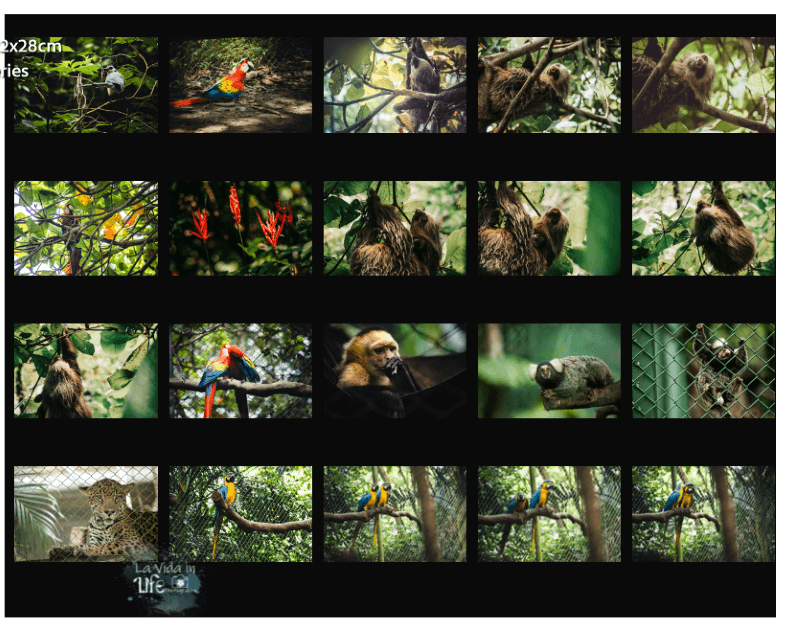
Select the photos and watch them appear in the contact sheet. If you choose more images than can fit on the first page, Lightroom will automatically create a second one.
Here’s my populated contact sheet.
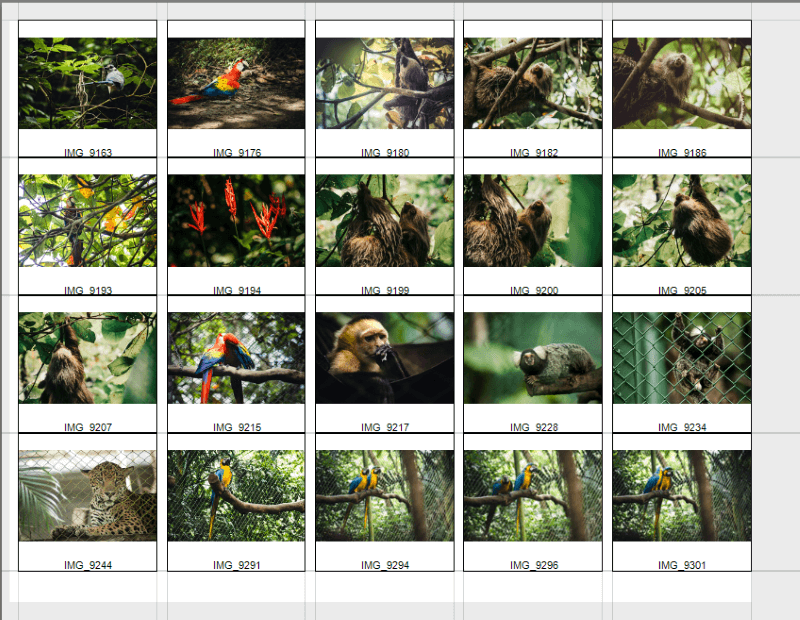
Step 5: Adjusting the Guides
You might notice all the lines around the images. These guidelines are just to help with visualization in Lightroom. They will not appear with the sheet is printed. You can remove the guides under the Guides panel on the right.

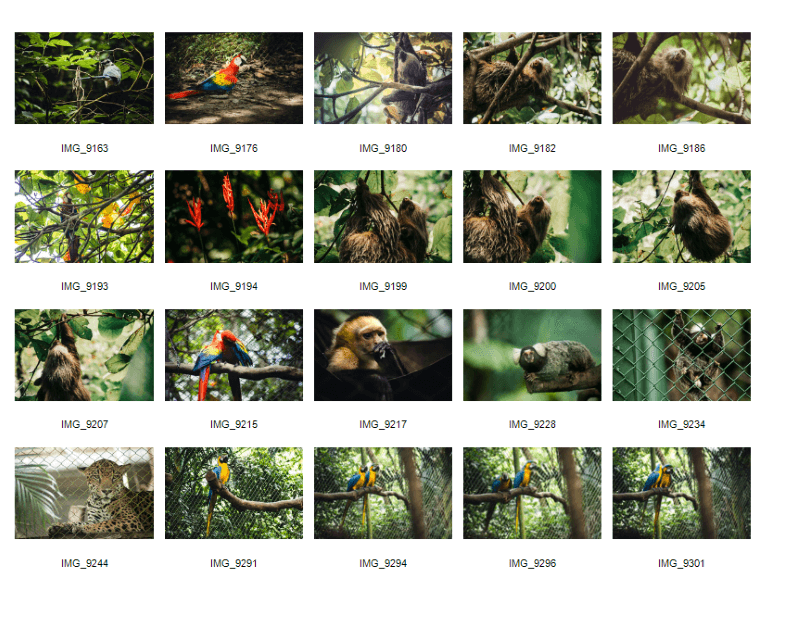
Uncheck Show Guides to remove all guides. Or pick and choose which ones to remove from the list. Here’s what it looks like with no guides.
Step 6: Final Setup
In the Page panel on the right, you can customize the look of your contact sheet. You might have to scroll down to find it.
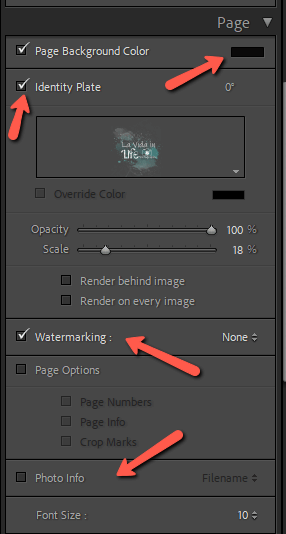
Page Background Color
This feature lets you change the background color of your contact sheet. Click the color swatch on the right and choose the color you want to use.
Identity Plate
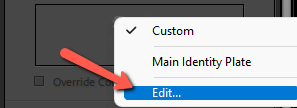
This feature is great for branding options. Use a styled text identity plate or upload your logo. Click on the preview box and choose Edit.
Check the Use a graphical identity plate and click Locate File… to find and upload your logo. Press OK.
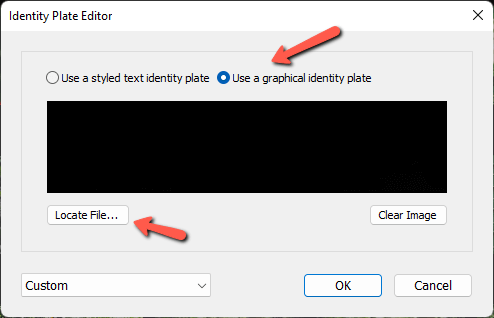
The logo will appear on your file and you can drag it around to place it how you like.
Watermark
Alternatively, you can make your own watermark and have it appear on each thumbnail. Then click to the right of the Watermark option to access your saved watermarks or create a new one with Edit Watermarks…

Page Options
This section gives you three options to add page numbers, page info (printer and color profile used, etc.), and crop marks.
Photo Info
Check the box for Photo Info and you can add any of the information in the image below. Leave it unchecked if you don’t want to add any of this information.
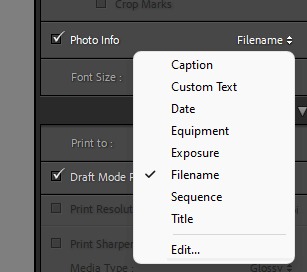
You can change the size of the font in the Font Size section just below.
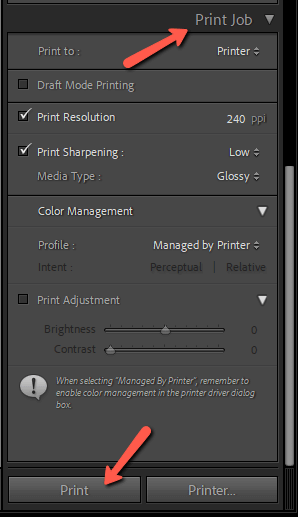
Print Your Contact Sheet
Once your sheet looks how you want, it’s time to print it! The Print Job panel appears at the bottom on the right. You can save your contact sheet as a JPEG or send it to your printer in the Print to section at the top.
Choose the resolution and sharpening settings that you want. Once everything is set, hit Print at the bottom.
And you’re set! Now you can easily display several images in digital or printed format. Curious how else Lightroom makes your workflow easier? Check out how to use the soft-proofing feature here!