
Have you ever printed a stunning image, only to be underwhelmed by its ho-hum look on paper? You probably didn’t take advantage of the Soft Proofing feature in Lightroom.
Hello! I’m Cara and as a professional photographer, I always want my images to look exactly how I want them. However, with differences between monitors, consistency isn’t always easy. Plus, images often look different on the screen than they will when printed.
So how can we make sure our images will print the way we want? That’s what Soft Proofing in Lightroom is for. Let’s take a look at how to use it.
What is Soft Proofing in Lightroom
So, what does soft proofing do in Lightroom?
This feature allows you to see a preview of how your image will look on other devices. This includes on paper when printed with the specific color profile that your printer uses.
As you may have experienced, the look of the printed photo can change drastically depending on the printer you’re using. The Soft Proofing feature allows you to see those differences on the screen.
You can then create a proof copy and make changes to it until it more closely resembles the master file. Then, when you print it, you should get a result more like what you’re seeing on the computer screen.
Note: the screenshots below are taken from the Windows version of Lightroom Classic. If you are using the Mac version, they will look slightly different.
How to Use Soft Proofing in Lightroom
Let’s look at how to use this very helpful feature.
Activate Soft Proofing Mode
Make sure you are in the Develop module of Lightroom. Select the photo you want to preview.
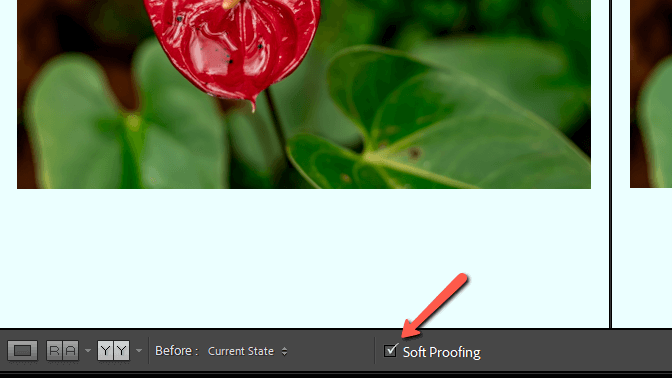
Turn on Soft Proofing by checking the box in the toolbar under the photo but above the filmstrip at the bottom of the screen.
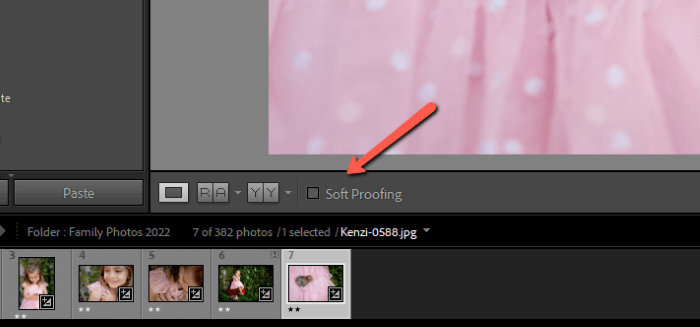
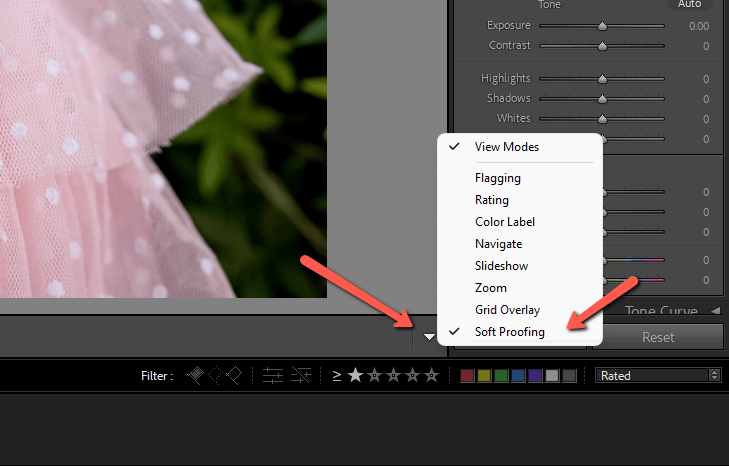
If you don’t see this toolbar, press T to activate it. What if the toolbar is there, but you don’t see the Soft Proofing option? Click the arrow on the far right side of the toolbar. Click on Soft Proofing to activate it. A checkmark indicates the option is active.
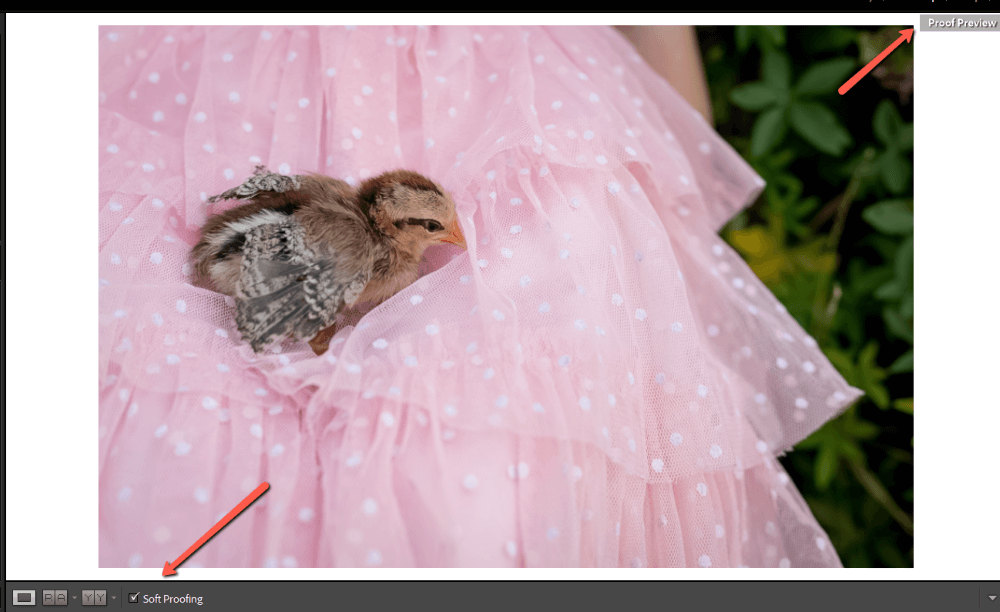
When you check the Soft Proofing box, the background will turn white and a Proof Preview indicator will appear in the top right corner.
Create a Proof Copy
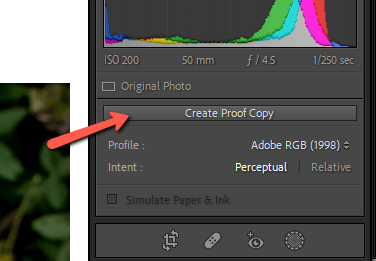
We’re going to want to adjust the proof without affecting the master file. To do that, let’s make a proof copy. Click Create a Proof Copy in the Soft Proofing panel on the right.
A second copy will appear in the filmstrip at the bottom. Now when we make adjustments they will be applied only to the file we’ll use for printing.
Activate Before and After
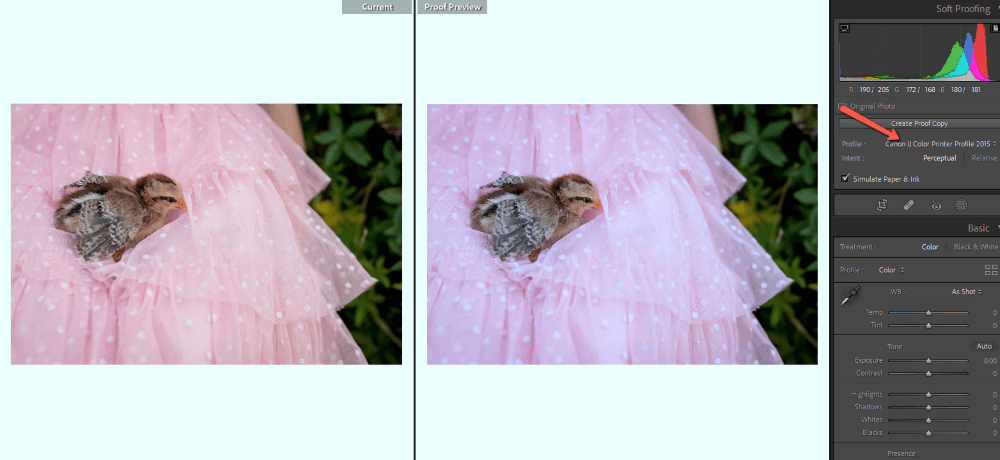
To see what we’re doing, it’s helpful to compare the master file to the proof preview. Press Y on the keyboard to activate the Before and After mode.
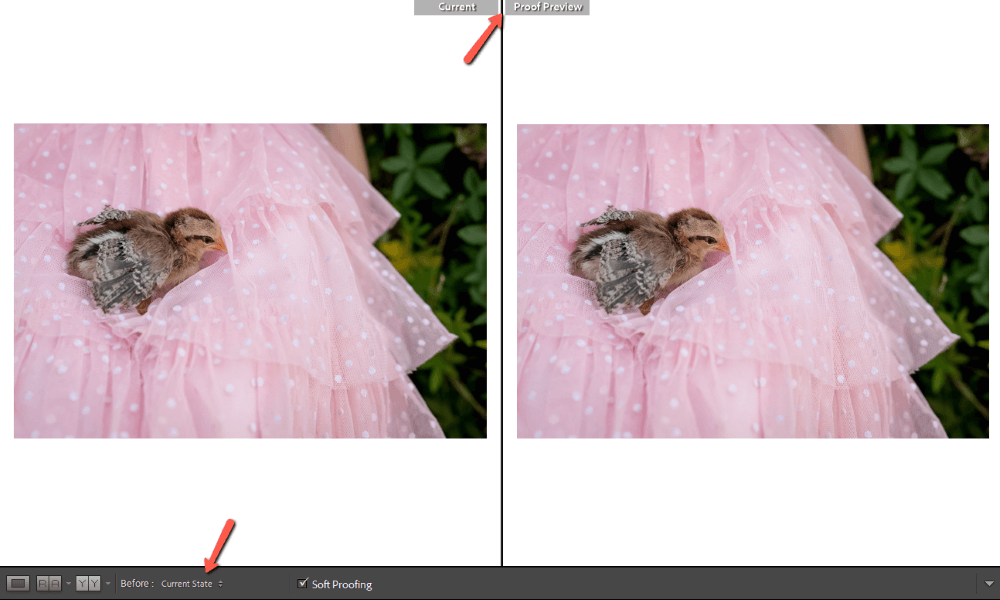
Make sure that the Before photo is set to Current State. If it is set to Before State it will show the original image without your Lightroom edits applied.
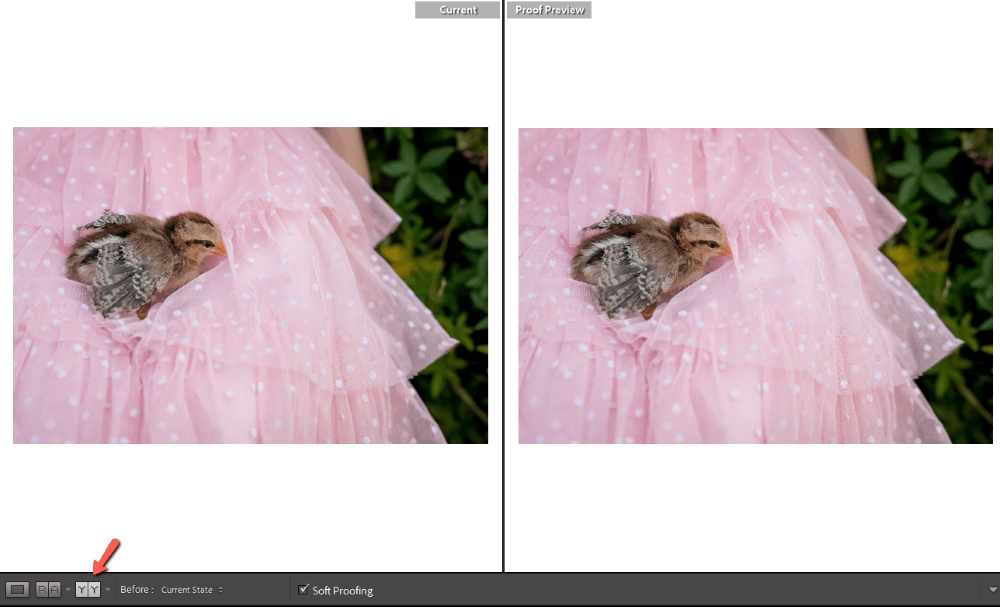
You can also change the orientation of the before and after mode if you prefer a different look. Click the boxes with the Y on the left side of the toolbar to toggle through the different options.
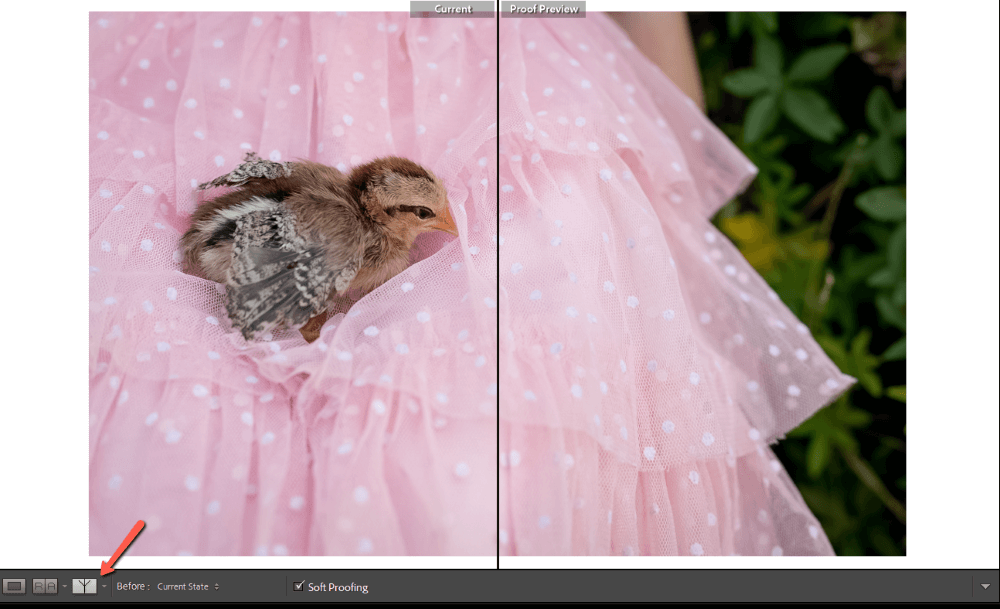
I’m going to stick with the side-by-side view.
Choose the Device Color Profile
Now, you may have noticed that the photos look basically the same. What gives?
We need to choose the color profile for the device we’ll be using. On the right side of the screen above the Basic panel, we see that the Adobe RGB (1998) color profile is selected. Click on it and a dropdown will appear where you can choose your device.
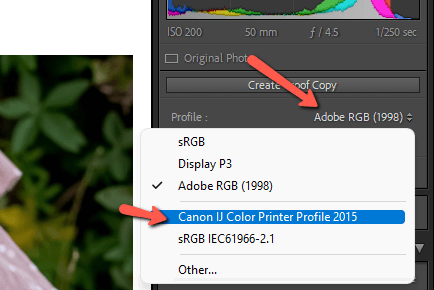
Also, make sure that the Simulate Paper & Ink box is checked.
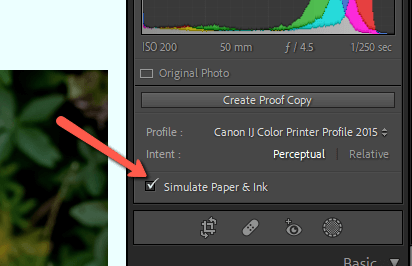
Now we can see a big difference between the two!
Adjust the Proof Copy
Make adjustments to the proof copy until it looks more like the original photo.
I adjusted the color temperature, highlights, and shadows for this image with a few tiny adjustments in the HSL panel.

Now I should end up with a printed image that looks much more like what I see on my screen!
FAQs
Here are more questions related to soft proofing in Lightroom.
What to do when Lightroom soft proofing is not working?
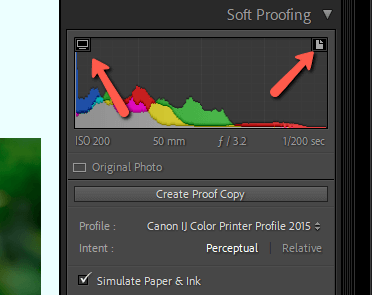
Turn off the gamut warnings. These are the warnings that show you blown-out highlights or completely black parts of the image.
In soft proofing mode, there is a gamut warning for your monitor and one for your destination device (such as a printer). If either of these is active, they will interfere with the proof and the Simulate Paper & Ink option will appear not to be working.
Find these options in the top corners of the histogram in the soft proofing panel. The one on the left is the monitor warning and the one on the right is the destination device warning.
How to turn off soft proofing in Lightroom?
Uncheck the soft proofing box in the toolbar below the image workspace. Alternatively, press S on the keyboard.
Should I use perceptual or relative Lightroom soft proofing?
Perceptual or relative rendering intent tells Lightroom how to deal with out-of-gamut colors.
If your image has many out-of-gamut colors, choose perceptual rendering. This type tries to preserve the relationships between the colors as much as possible. In-gamut colors will shift with out-of-gamut colors to maintain the color relationship while adjusting the out-of-gamut colors.
If you have only a few out-of-gamut colors, go with relative rendering. This option preserves the in-gamut colors and only shifts the out-of-gamut ones to the closest reproducible colors. This will keep the colors in the printed image as close to the original as possible.
Curious about other features in Lightroom? Check out this explanation of the little-understood Dehaze tool!