
Luminar and Lightroom are both very similar RAW development apps on the surface, which can make it difficult to tell which app is the right one for your image editing workflow.

Luminar Neo is the latest release from Skylum (formerly Macphun), focused on providing easy-to-use AI tools for quick RAW image editing. It’s designed for users of all skill levels and brings together an impressive set of cutting-edge AI tools into one app, including noise reduction, sharpening, upscaling, and more. It’s available for Windows and macOS as either a monthly subscription or a one-time purchase.
Lightroom Classic is a venerable yet popular RAW development app from Adobe, widely used among professional photographers for its simple editing process and excellent library management tools. Traditionally paired in a one-two workflow with Photoshop, all of Lightroom’s monthly subscription options come bundled with access to the full version of Photoshop.
For those of you who are new to SoftwareHow, I’m Thomas Boldt, and my love of digital photography has been going strong for over 20 years. I’ve been a Lightroom user since way back in 2009, and I’ve experimented with many different versions of Luminar since it was first launched. I’ve also written extensively about both apps and hopefully, I can help you sort out which one of them is right for you.
In this Luminar vs Lightroom comparison article, I’ll take a look at the user interfaces and editing capabilities of each app, as well as their library management options and pricing differences.
Note: this article refers to Adobe Lightroom Classic, not the newer and confusingly named Adobe Lightroom, which is a cloud-based RAW development app with a very different use case.
Table of Contents
Luminar vs. Lightroom: Basic Information
| Skylum Luminar Neo | Adobe Lightroom Classic | |
| First Released | 2016 | 2007 |
| Purchase Type | Subscription or one-time purchase | Subscription only |
| Price | $14.95 USD per month, $119 yearly, or $179 for 2 years, $299 for one-time purchase | $9.99 USD, bundled with Photoshop |
| RAW Development | Yes | Yes |
| Localized Editing Tools | Yes | Yes |
| AI Tools | Yes | Yes |
| Library Management | Yes | Yes |
Luminar vs. Lightroom: Detailed Comparison
To help you distinguish between these two apps, I’m going to look at how they perform in the following categories: user interface, RAW development, localized editing tools, AI tools, library management, and pricing. Let’s get to it!
User Interface
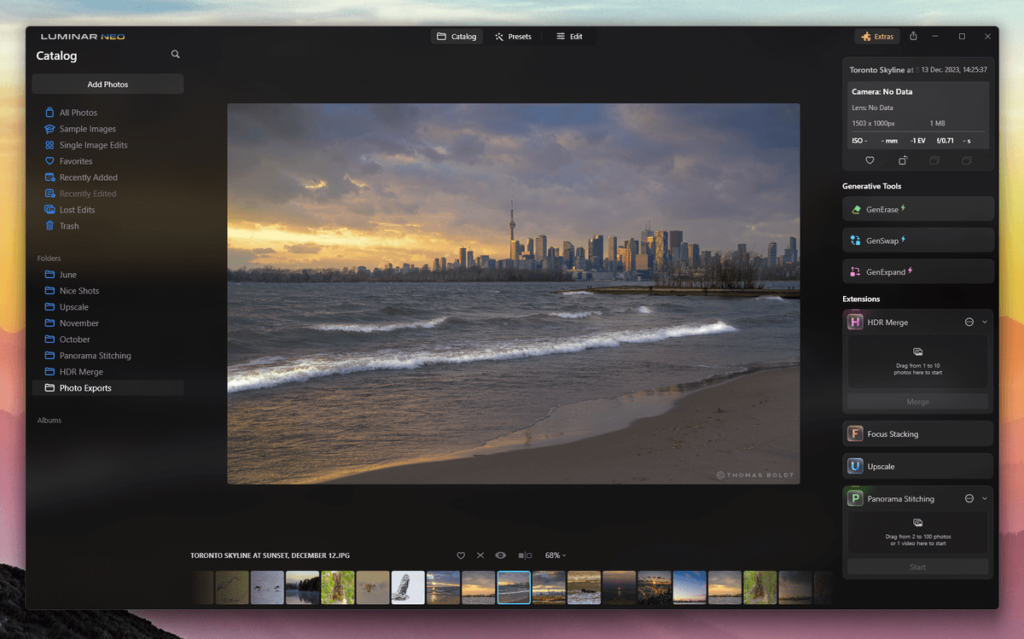
Luminar’s user interface is built to be as streamlined and user-friendly as possible, and for the most part, Skylum succeeds quite well at this. The app is divided into 3 main sections: Catalog for basic organization, Presets for applying quick adjustments, and Edit for making more complex adjustments.
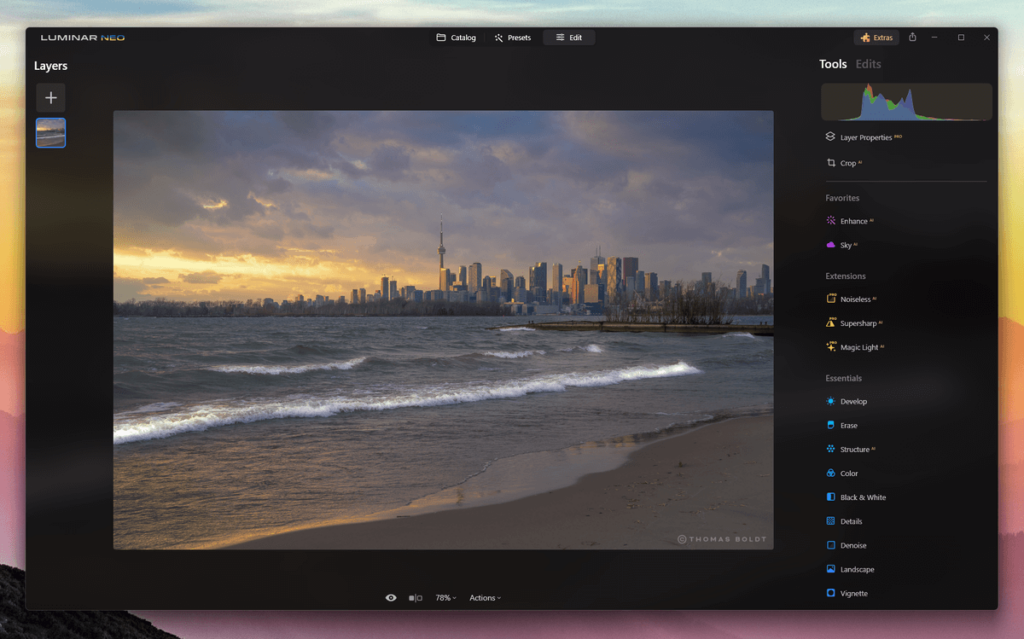
The only part of the Luminar UI that I find a bit confusing is the way they apply and track adjustments in the Edit module. Each adjustment type is treated as a filter, and each filter can be applied as many times as you want, with each one treated as a separate instance. This offers a lot of flexibility, but it can also be confusing for new users until you get familiar with the system.
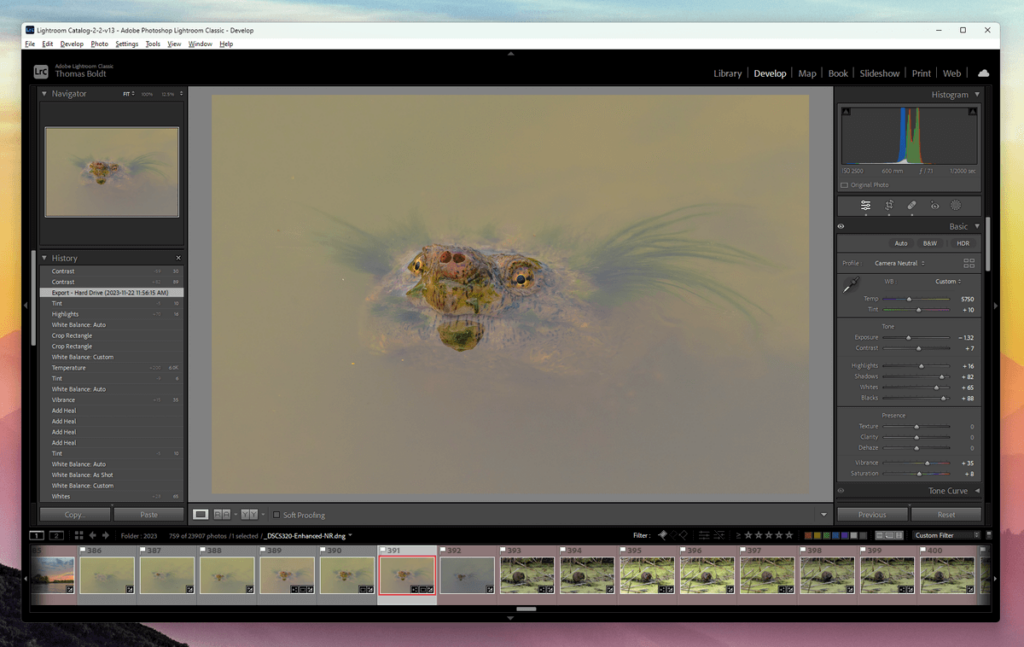
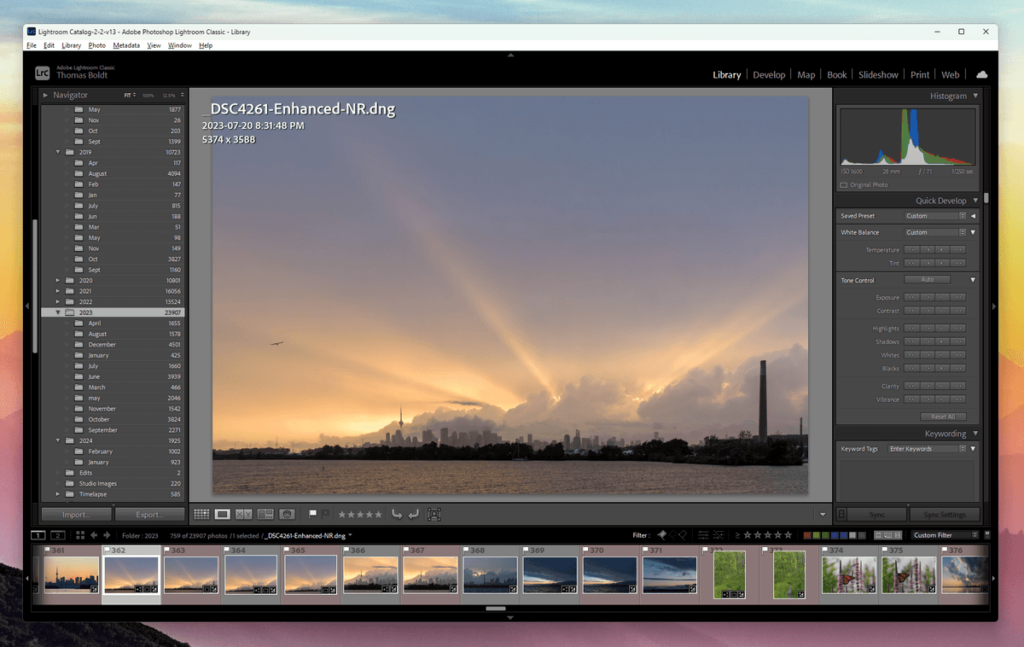
Lightroom is divided into an excessive seven modules, although you’ll probably find yourself spending most of your time in the Library module for organization and the Develop module for adjustments. The Develop module is laid out in a rough workflow, so you can start by adjusting exposure and white balance before moving on to finer adjustments to color and tone.
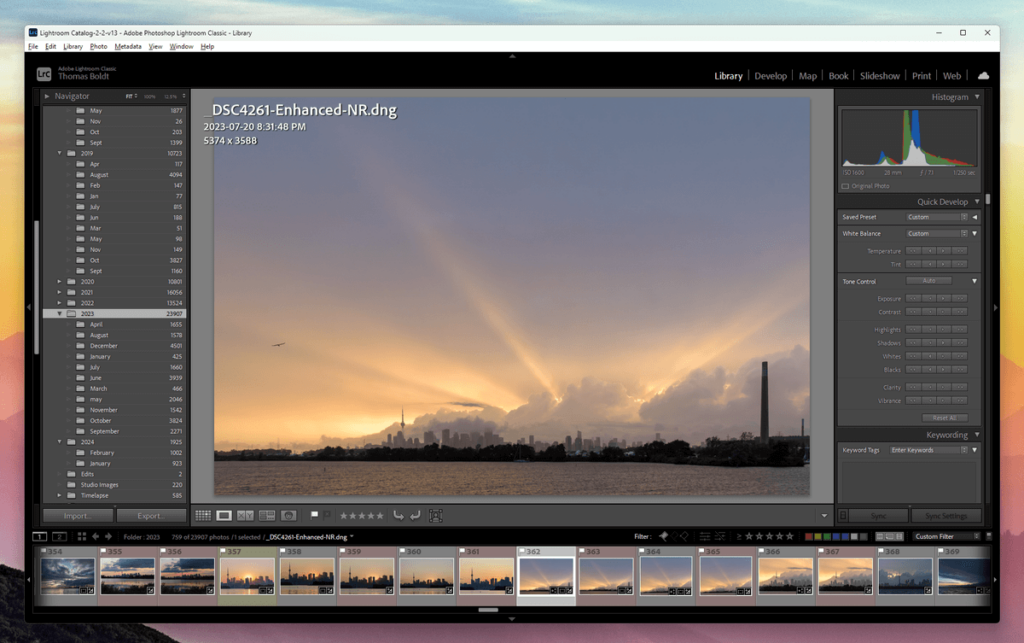
Lightroom’s UI strikes a nice balance between ease of use and precision without overwhelming the user, with the minor exception of some deep filtering settings in the Library module that could use a bit more UI/UX polish. I wish it had more UI customizability like Adobe’s other major apps, but perhaps that will come in a future release.
Winner: Tie. Luminar is more user-friendly but almost too streamlined for professionals.
RAW Development
Both Luminar and Lightroom have excellent RAW development tools, covering all the standard adjustments to exposure, white balance, highlights, shadows, and color.
Luminar features a wide range of additional adjustments that don’t have comparable options in Lightroom, but a lot of these are optional creative flourishes that many photographers consider a bit too ‘creative’ – but at least they’re separated out into another section, so they’re not confused with the ‘Essential’ tools for standard development.
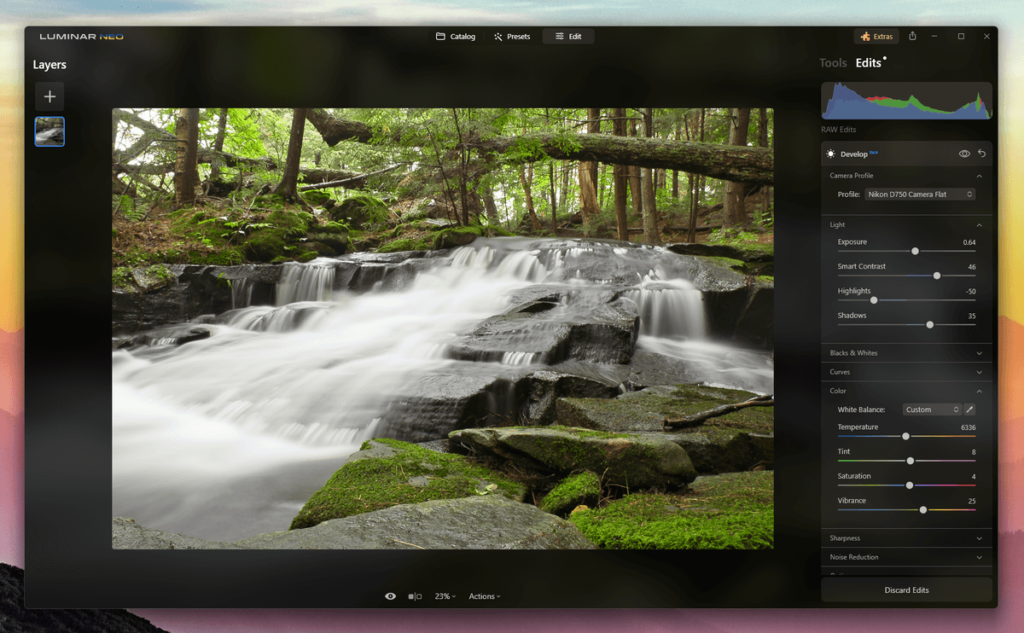
The biggest drawback to Luminar from a professional perspective is the lack of automatic lens correction profiles. There is an automatic lens distortion correction feature, but it seems to be based on machine learning and not verifiable tested data from calibration profiles.
Winner: Tie. Luminar has more tools, but Lightroom has more precision.
Localized Editing Tools
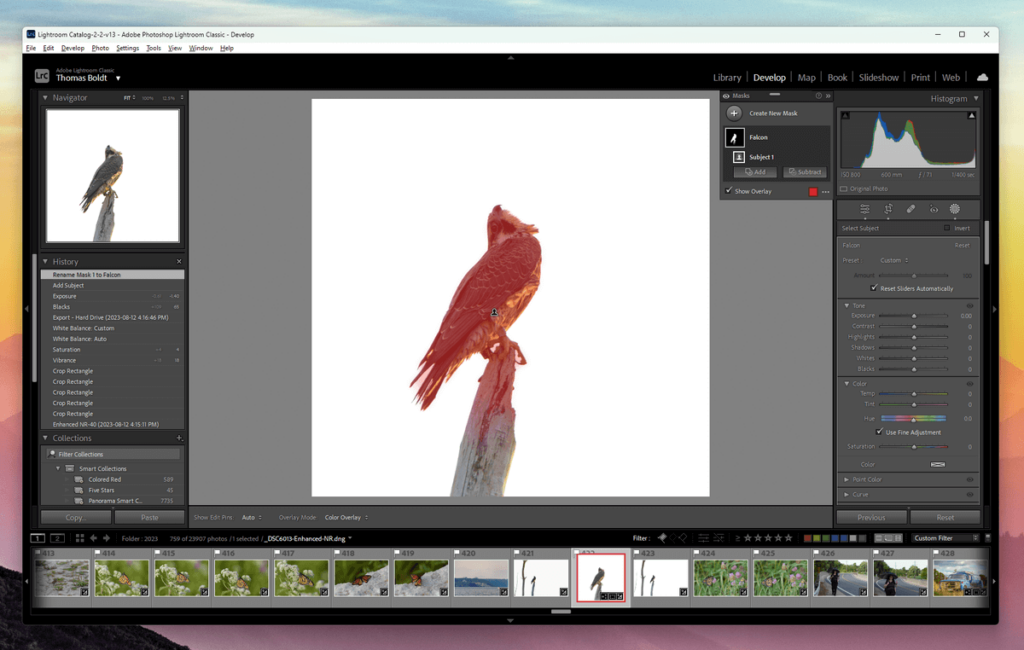
Lightroom recently got a major update to its masking system, allowing you to combine and intersect different adjustment masks created with different tools for complete control over localized editing.
Adobe’s machine-learning prowess also shows up in its automatic selections, providing you with automatic masks for skies, people, subjects, and any other object it can identify in your image. These masks aren’t always perfect, but they can do a lot of the heavy lifting in a single click.
Luminar also has solid tools for retouching and masking, including the standard cloning and healing tools, as well as a new AI-powered object removal tool (but more on that in the next section). Thanks to its automatic masking system, it can also automatically identify skies, objects, and people in your images, but I found that these masks needed to be refined by hand more often than not.
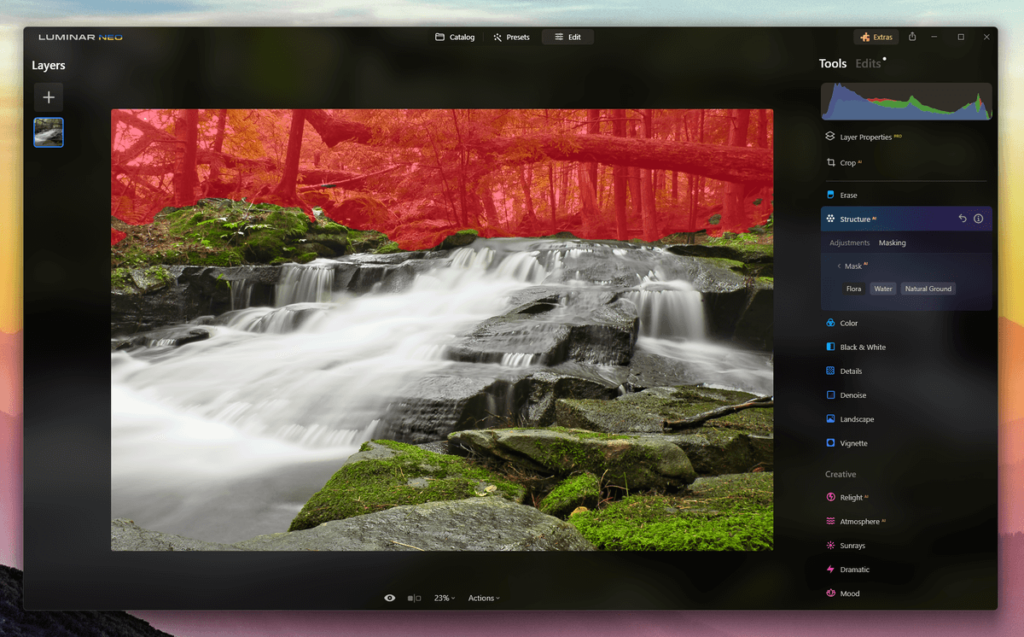
Luminar falls a bit short when it comes to making multiple precise local adjustments because each filter adjustment gets applied individually. Additionally, the RAW version of the Develop filter doesn’t allow you to apply masks at all.
Winner: Lightroom.
AI Tools
Skylum has bet heavily on the AI world, and they’ve done an excellent job of bringing together an impressive collection of useful AI-powered tools all into one place. You can find the popular AI noise removal, sharpening, and upscaling tools, as well as custom-trained algorithms for removing power lines and the shadows of dust particles from your lens.
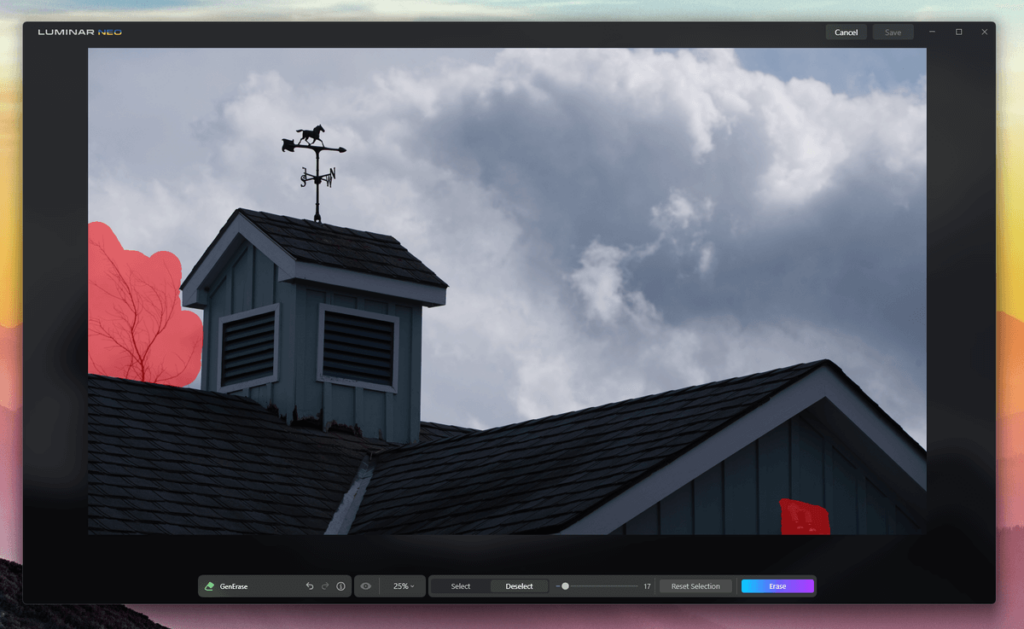
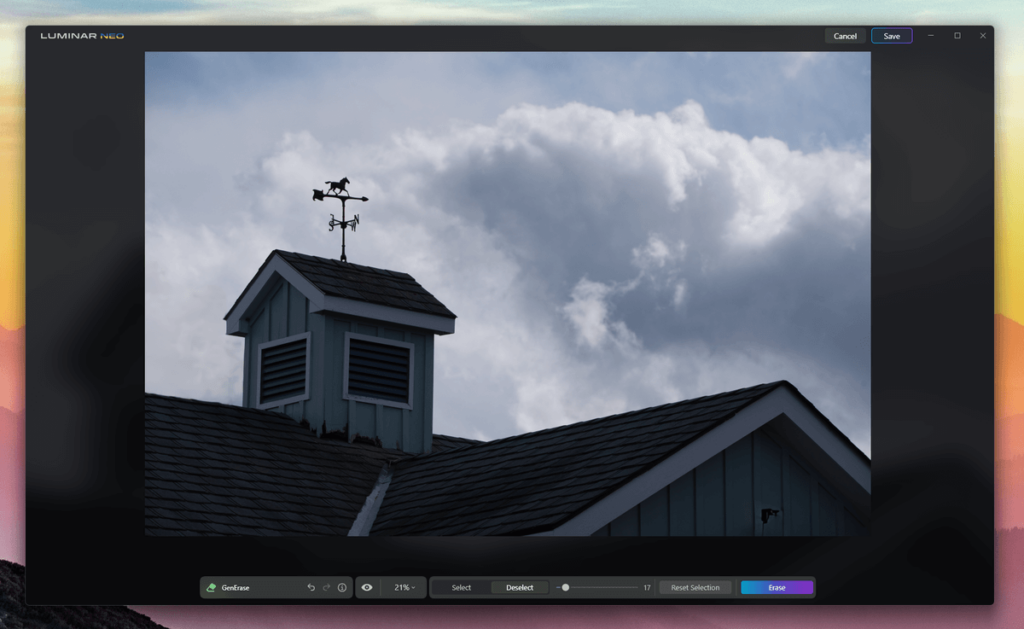
The latest AI addition is the GenErase tool, which is a souped-up version of an automatic object erase tool that uses generative AI to create realistic-looking pixel data to fill the space where your unwanted object used to be.
Adobe has also invested heavily in AI tools, but they seem to be a bit more hesitant about launching them in Lightroom. They finally released their unimaginatively-named Denoise algorithm in 2023 to sit beside the existing Raw Details and Super Resolution upscaling tools and the automatic masking tools.
Unfortunately, there’s still no AI sharpening tool available in Lightroom, and I would love to see an AI dust removal option, but we may have to wait while Adobe finishes polishing the addition of generative AI to Photoshop and Illustrator before they shift their focus back to Lightroom.
Winner: Luminar Neo.
Library Management
Most photographers eventually need to manage a huge catalog of images, and having the right tools to organize everything is an essential part of a good photo development workflow. Both of these apps have options for catalog management, but Lightroom’s features are far more advanced than those in Luminar Neo.
Lightroom’s Library module offers all the organizational tools you could possibly want. You can flag photos as Picks or Rejects, add star ratings, color coding, and as many metadata keywords as you want. You can also scan your images with basic facial recognition to sort your library by who is visible in the photo, which is a huge productivity boost for any photographers who do long event shoots.
You can filter and browse your image library using any combination of available metadata, so if you need to find all the ISO 800 images you shot with a specific camera and lens combination on a specific day, it only takes a few clicks to set up. You can even create smart albums that use similar complex filtering rules.
Luminar Neo’s organizational tools are quite basic by comparison. It only allows you to set Favorite and Rejected flags, and there are no star ratings, color coding, keywords, or any other metadata available. You can organize your images into albums, but you’ll have to do it by hand because Luminar doesn’t do any metadata filtering at all.
Winner: Lightroom.
Pricing
Skylum has done a decent job of positioning Luminar near Lightroom in the pricing category. If you’re willing to purchase two years of subscription at once, the monthly price breaks down to slightly below Lightroom’s cheapest monthly plan, and you get the advantages of all of their latest AI tools and other app updates.
Luminar Neo is also technically available as a one-time purchase for a perpetual license (ie, you buy the software once and own it forever), but even the “50% off” sale purchase price of $299 is quite steep for what you get. But are you really saving any money if the product is permanently “on sale”?
I personally don’t like Sklyum’s marketing tactics, but as long as you understand that you’ll never actually have to pay the full original price they have listed, it doesn’t do too much harm.
Lightroom is only available as a monthly subscription, with several different plans available starting at $9.99 USD per month. Lightroom doesn’t have nearly as many AI tools bundled in, but it does come with the full version of Photoshop, Photoshop for iPad, access to Adobe Fonts and Adobe Stock, and at least 20GB of online storage space in the Creative Cloud.
Winner: Tie. The Lightroom bundle includes Photoshop, but Luminar has more tools in a single app.
Who and What is Luminar Best For?
Luminar is designed for photographers of all skill levels who want to make quick and easy edits to their images using automatic tools. It can also be used by professionals who want to make more precise edits, but the main focus is on creating quick
If you want access to all the latest AI tools and a RAW development app in one place, then Luminar is worth a closer look.
Who and What is Lightroom Best For?
Lightroom is the better choice for photographers who need to manage large image collections, thanks to its excellent library management tools.
Additionally, if you need to use Photoshop for any part of your image processing workflow, you’ll be happy to know that the cheapest way to subscribe to Lightroom also comes bundled with access to the full version of Photoshop and Photoshop for iPad at no extra cost.
FAQs
Here are a few of the most common questions that I get asked about Luminar Neo and Lightroom Classic.
Do professionals use Luminar?
Yes, there are some professionals who use Luminar Neo exclusively, but it’s intended for image editors of all skill levels. Many of the professionals who use Luminar use it as a part of a larger workflow, so they can use its excellent AI tools like noise reduction, sharpening, and upscaling.
Is Luminar Neo better than Lightroom 6?
Yes, Luminar Neo is much better than Lightroom 6, and it has the major advantage of being a much more modern app. Lightroom 6 is the last version of Lightroom that was available as a perpetual license, but it was released back in 2015, and it reached the end of its support cycle from Adobe back in 2022.
Can Luminar replace Photoshop?
No, Luminar cannot replace Photoshop in your workflow unless you’re only using Photoshop for very simple edits. Luminar’s layer-based editing system is quite basic compared to Photoshop, and it doesn’t have any professional color management options or CMYK color support.
Final Thoughts
Lightroom and Luminar are both capable apps, although demanding professionals will probably be better off choosing Lightroom (and, by extension, Photoshop) over Luminar for its precision editing, color management, and excellent library management tools.
For what it’s worth, remember that Luminar has created a plugin that can fit into an existing Lightroom workflow, but Lightroom doesn’t try to fit into a Luminar workflow — which shows you where the popular vote is going.
As a result, many photographers simply purchase and use both apps, although I understand that times can be tight for artists of all types. If I had to choose just one of the two, I’d pick Lightroom, but you may want to test them both out for yourself before making a decision.
Do you have a question about Luminar Neo or Adobe Lightroom Classic that I didn’t answer in this article? Let me know in the comments below, and I’ll do what I can to help out.
Could you recommend a photo editing program that would be more on the creative side. I primarily use the photo editing on my iMac. I use the program to manipulate photos that are
turned into paintings. At this point I feel that I’ve reached the limits of my photo editing capabilities. Are there some programs that I should look at that could be of use to me?