
Luminar Neo and Affinity Photo are both excellent image editing apps, but they’re intended for slightly different markets, so the right choice will depend on your exact needs.

Luminar Neo is the latest version in a long line of releases from Skylum, intended for beginners and photo editing enthusiasts. It specializes in RAW development using AI and automatic tools for quick edits, so it’s better for creative photo development instead of high-precision editing techniques. It is available as a monthly subscription or as a one-time purchase on both Windows and macOS.
Affinity Photo is Serif Labs’ answer to Photoshop for professional image editors who don’t want to be involved in the Adobe ecosystem. It has excellent RAW development and layer-based editing tools, CMYK color support, and a fully 32-bit color-managed workflow. It is only available as a one-time purchase for Windows and macOS, and customers receive free updates until the next major version release.
My name is Thomas Boldt, and I’ve been a digital photographer for over 20 years. Admittedly, that first digital camera was only 3 megapixels, but it started a love of digital imagery that I still have today. I want to make sure that I have the best tools available for working with my images, so I’ve tested nearly every image editor available today, from industry-standard apps to free and open-source alternatives.
In this comparison of Luminar Neo and Affinity Photo, I’ll take a look at the user interfaces and editing abilities of each app, including layer-based and local editing tools, advanced AI features, and how they compare in price and value, as well as their intended audiences.
Table of Contents
Luminar vs. Affinity Photo: Basic Information
| Skylum Luminar Neo | Serif Affinity Photo | |
| First Release | 2016 | 2015 |
| Purchase Model | Subscription or one-time purchase | One-time purchase only |
| Price | $14.95 USD per month, $119 yearly, or $179 for 2 years, $299 for one-time purchase | $69.99 USD |
| RAW Development | Yes | Yes |
| Layer-based Editing | Yes | Yes |
| AI Tools | Yes | No |
| Library Management Tools | Yes | No |
Luminar vs. Affinity Photo: Detailed Comparison
Luminar Neo and Affinity Photo are both capable image editors, so here are the categories I’ll be comparing between the two apps: user interface, library management tools, RAW development tools, layer-based editing, AI tools, and pricing.
User Interface
A good user interface can make all the difference between a good editing app and a bad one, but both Luminar Neo and Affinity Photo have well-designed interfaces for their target markets. Luminar’s interface is much more streamlined, while Affinity Photo will feel instantly familiar to anyone familiar with Adobe products like Photoshop and Lightroom.
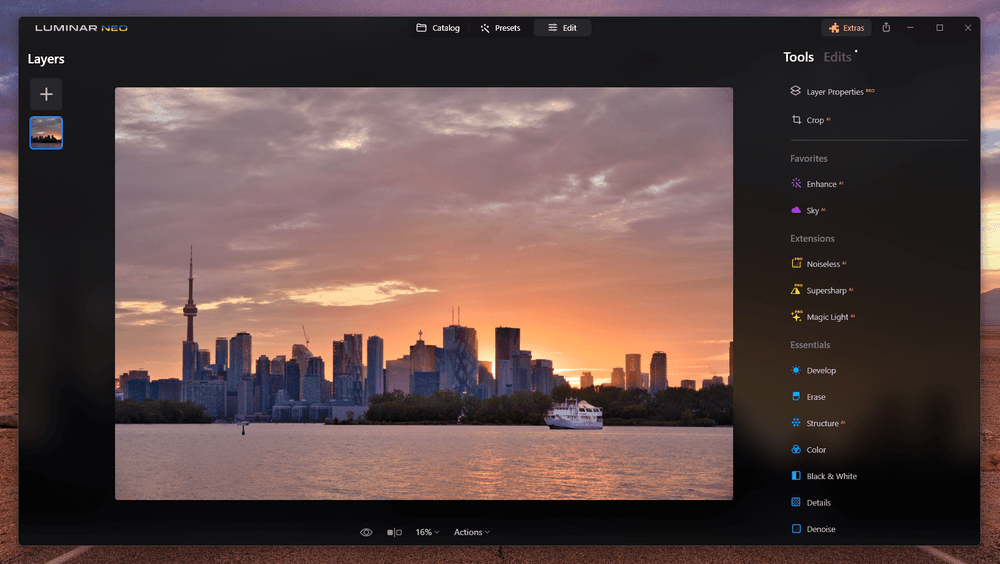
Luminar Neo is the more user-friendly of the two since it’s designed for a wider audience, including beginners to the world of image editing. It is divided into three main sections: Catalog for library management, Presets for purchasing and applying preset adjustments, and the Edit module for making custom edits.
For the most part, this streamlined interface works well, but I find that it can be a bit difficult to follow the chain of edits when working on a complex adjustment. Each edit you make to an image is treated as a separate filter, and the same filter can be applied multiple times – but each one can also be edited in the Edits section.
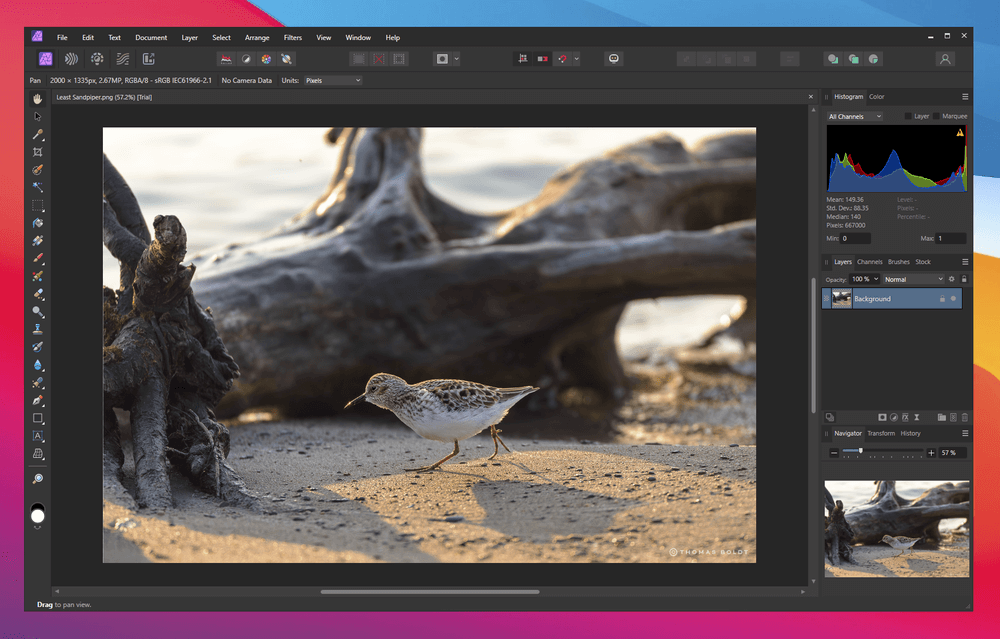
Affinity Photo divides its interface into 5 different sections known as personas: Photo for pixel editing, Develop for RAW adjustments, Liquify for a dedicated mesh warping workspace, Tone Mapping for HDR editing, and the Export module for finalizing your work. This overall UI design has always felt a bit strange to me, but it’s a minor issue since each of the personas is clear and easy to work with.
Winner: Tie. Affinity Photo for pros, Luminar Neo for beginners.
Library Management Tools
This category might seem a bit unfair since it’s a total giveaway for Luminar Neo, even though it only has very basic library management tools in its Catalog module. When placed in comparison with almost any photo editor except Affinity Photo, Luminar would probably lose, but it gets a free pass here since Affinity Photo doesn’t contain any library management tools at all.
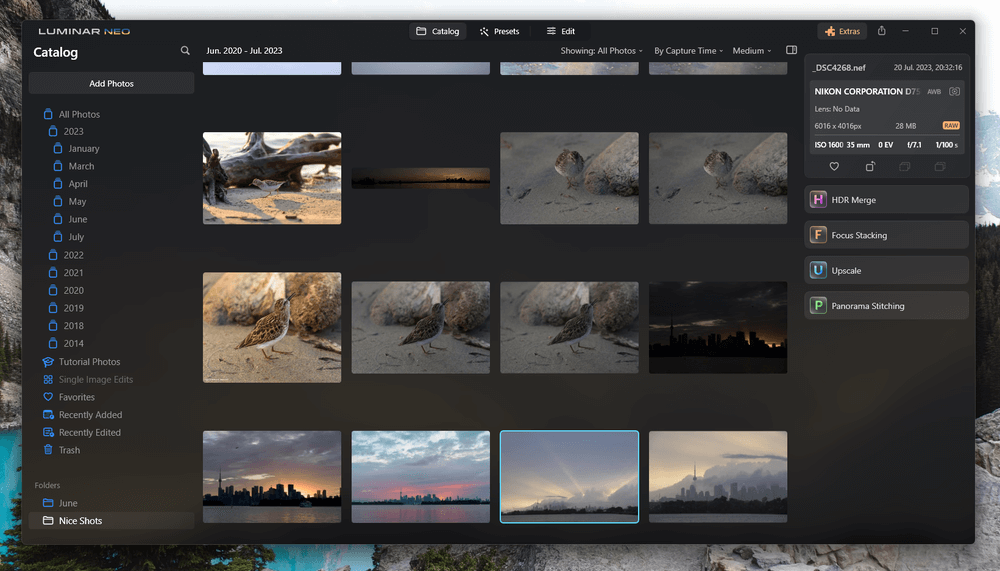
Unlike many other RAW development apps, Luminar only includes the ability to sort your images using Favorite and Rejected flags. There is no metadata editing, sorting, or filtering of any kind, although you can create albums to group your photos together.
I’ve always wondered why Affinity Photo doesn’t have any kind of built-in library management tools or a companion app for media management since it bills itself as a one-stop app for a professional workflow. Any professional who works with lots of images will need a good solution for organizing them, and it’s a large empty spot in the Affinity Photo toolkit.
Winner: Luminar Neo.
RAW Development Tools
Both Luminar and Affinity Photo have solid RAW development tools, covering all the usual options for adjusting exposure, white balance, highlights, shadows, and color. Both apps also have built-in tools for HDR merging, panorama stitching, and focus stacking.
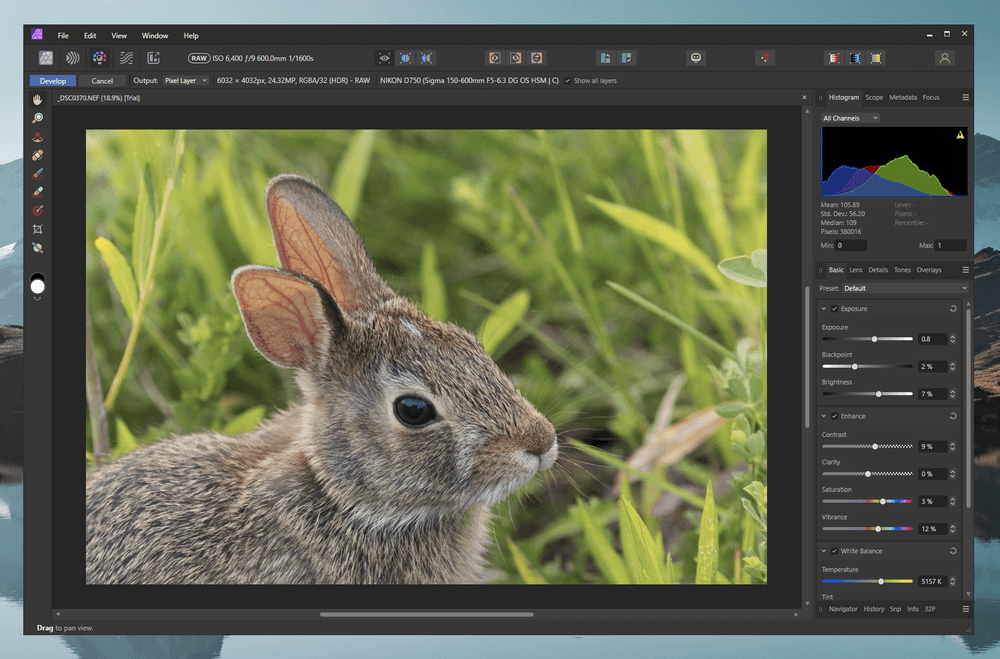
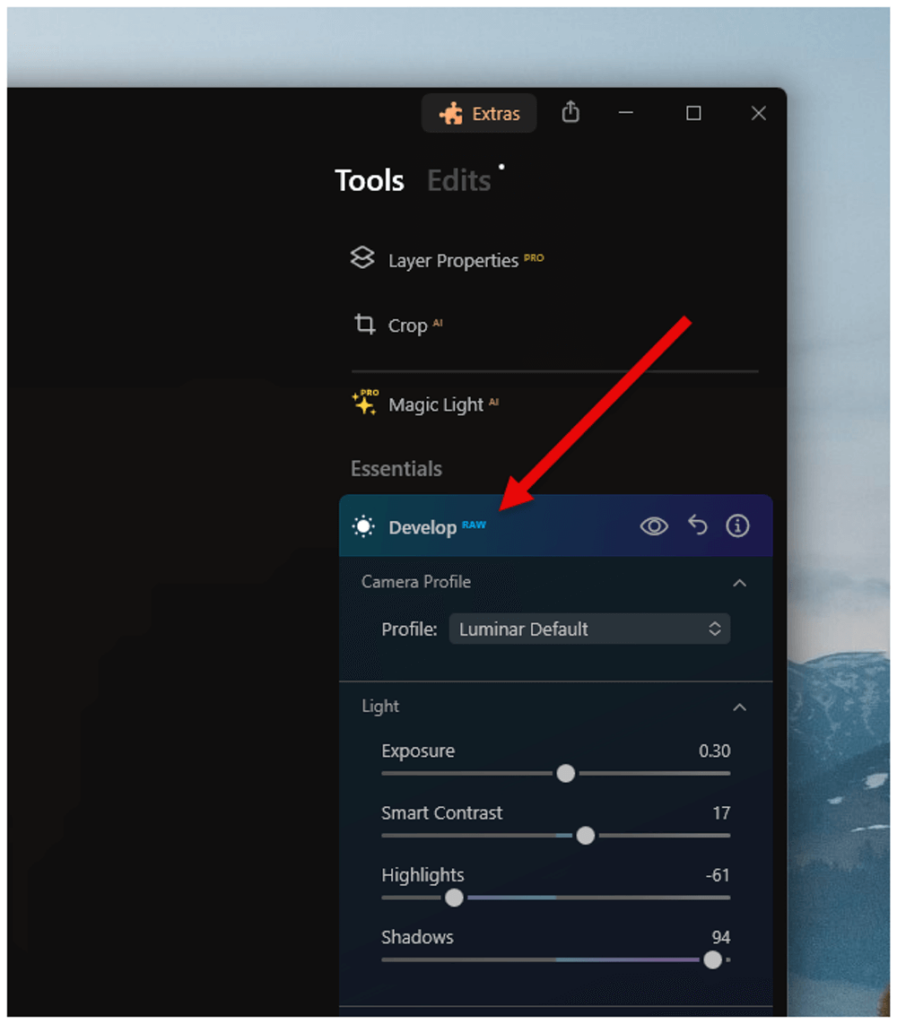
Luminar has a lot more automatic adjustment tools with simple sliders, but when it comes to the core RAW development tools, they’re quite similar. In keeping with its target audience, Luminar hides the histogram from the interface by default, but it’s easy enough to enable it if you need it.
Despite their similarities, each app handles the transition between RAW editing and rasterized pixel editing slightly differently. In a typical workflow, you would apply as many non-destructive edits as possible to the RAW file before moving on to destructive pixel-based editing, if necessary.
Affinity Photo helps to separate these two editing modes by dividing them into different personas, as I explained in the earlier User Interface section, but the ability to switch back and forth between the Develop and Photo personas can cause a bit of workflow confusion until you’re used to the process.
Luminar uses the same Edit module for RAW development and destructive pixel-based editing, and while this streamlines the interface a bit, the integrated approach does have a bit of a disadvantage. Because the same filters can be applied repeatedly, it can be a bit too easy to lose track of which filters will be applied non-destructively to the RAW image and which filters will be applied to the rasterized pixel layer.
Winner: Tie.
Layer-based Editing
This category is a big strength for Affinity Photo since it’s intended as a direct competitor for Photoshop’s abilities, and it handles layer-based editing smoothly and responsively, even on very large documents.
By comparison, Luminar’s layer editing features are one of its weakest points. The system is significantly better than it used to be in previous versions, but Skylum isn’t expecting you to be making complex photorealistic composite images the way you can in Affinity Photo.

Instead, their goal is to let you quickly swap in new skies and overlay effects that they can sell to you as image assets in Luminar’s built-in marketplace. To me, the idea of paying $20-30 or more for a single preset pack or overlay set sounds completely ridiculous, but other people don’t seem to mind.
Winner: Affinity Photo.
AI Tools
Skylum has made AI the centerpiece of Luminar Neo, and it doesn’t disappoint. It has just about every modern AI tool you could possibly imagine, covering everything from AI noise reduction, sharpening, and upscaling to the new GenErase tool, which removes objects from your scene using generative AI to create plausible back-fill pixel data. There are even specially trained tools for automatically removing power lines and the shadows caused by dust on your front lens element.

This category is another runaway for Luminar because Affinity Photo doesn’t yet offer any kind of AI-powered tools at all. This is partly due to the fact that Serif doesn’t follow the same rapid release cycle that Skylum can manage using its monthly subscription model, but it’s also because Affinity Photo is intended for the professional market. Professional users will often have exacting quality standards for their edits, and AI tools aren’t always up to the task.
That being said, we can hope that Affinity Photo will include some AI denoising, sharpening, and upscaling tools in future releases, but Serif will have to work hard to catch up to Skylum.
Winner: Luminar Neo.
Pricing
Affinity Photo was originally created (at least partly) in response to Adobe’s transition to the Creative Cloud subscription plan, so it’s always been available exclusively as a one-time purchase known as a perpetual license. You pay for the software once, and you own that copy forever. It’s affordably priced and sometimes even on sale, although it’s good value at its normal price point.
Luminar Neo is now available as either a subscription or a one-time purchase, but the one-time purchase is wildly more expensive than the monthly subscription. In other words, they really, really want you to purchase the subscription version of the app, so the high cost of the perpetual license is used to make the monthly subscription cost seem more attractive.
In my experience, Skylum has always used some slightly underhanded marketing and pricing tactics when selling its software, and they don’t seem to have changed much. If their product is permanently on sale at 50% off, it’s not really on sale at all – they’re just making it seem that way so that you’ll want to hurry and buy it now before the “sale” ends.
When it was originally released, there was a much different pricing structure that forced non-subscription customers to purchase the perpetual license along with a separate extensions pack that contained all the advanced AI tools, but it seems that enough people were unhappy that Skylum rationalized the price point a little.
Winner: Tie. Luminar has more purchasing options, technically, but Affinity Photo is much more affordable.
Who and What is Luminar Best For?
Luminar is designed for everyone from complete beginner photographers who have never used an image editor before all the way to professionals who want to use the latest AI tools all in one app. It has a heavy emphasis on making quick, creative edits with a minimum of work, but it can also be used more carefully for professional results.
Luminar’s features – including its AI tools – can be accessed as a processing plugin for Lightroom and Photoshop, which expands its target market significantly, although you’ll have to be careful about which stage you integrate them into the rest of your workflow.
Who and What is Affinity Photo Best For?
Affinity Photo is designed to cater to image editing professionals who don’t want to deal with the Adobe Creative Cloud subscription system. It provides reliable, high-performance editing in a fully color-managed workflow with support for the CMYK color model used in the printing industry.
Additionally, Affinity Photo can be purchased along with Affinity Designer for vector imagery and Affinity Publisher for page layout, forming a complete graphic design workflow for print and digital work at an affordable one-time purchase price.
FAQs
Here are a few of the most common questions that we get asked about Luminar and Affinity Photo.
Do professionals use Affinity Photo?
Yes, some professionals use Affinity Photo, especially those who were unhappy about Adobe switching Photoshop to a subscription-only sales model. However, it’s still comparatively new software, and it doesn’t have nearly the same popularity as Photoshop.
Do professionals use Luminar?
Yes, there are some professionals who use Luminar as part of their workflow, but it’s still not as popular as Lightroom or Capture One in the professional market. Luminar is also intended for users of all skill levels, and it’s hard to satisfy beginners and professionals with the same app.
Is Luminar as good as Photoshop?
Luminar and Photoshop don’t really do the same job, so it’s not a fair comparison to make. Luminar can be used by anyone to make quick, creative edits using automatic AI tools, while Photoshop is the industry standard for precision image editing in professional environments.
Final Thoughts
As you’ve now seen, Luminar and Affinity Photo are both capable apps that are designed with slightly different audiences in mind.
If you’re looking for fast editing tools that can make dramatic, creative changes to your images with a minimum of effort – or if you want access to all the latest AI-powered tools in one place – then Luminar is the right choice for you.
If you want an affordable and reliable workhorse image editor that handles RAW development and layer-based editing at a professional level, and you don’t want to deal with the ongoing cost of a monthly subscription, then Affinity Photo is the better choice.
Do you have a question about Luminar Neo or Affinity Photo that I didn’t answer in this comparison review? Let me know in the comments below, and I’ll do what I can to help.
Excellent review, as i have been debating between these two, as well as Capture One. My question is, do all of these programs process fujifilm raw files equally? i am new to the Mirrorless world with a fujifilm xt2 and am in need of a good raw file editor. your help would be greatly appreciated. regards,
Very interesting In following the developments. I am lightroom 6 user and regrettable my LR6 (2015edition) Will end due to 64bits Mac OS. using the abo subscription is not an option for me. Now i am doubting between affinity and luminar. I keep following.
Thank you so much for taking time to review these products so extensively.
I need to upgrade from High Sierra Photos. It crashes with RAW every time so I’m forced to shoot in jpeg, it often gets stuck (spinning colour wheel) or freezes up. I never had these issues with previous upgrades on my Mac and Apple “experts” were unable to help with this issue.
I’ve been looking at both Luminar and Affinity after narrowing down from many search results. I’m not experienced enough to make an informed decision so this has been really helpful. I belong to a large local camera club and it’s important to me to have the tools needed to apply what I learn there. Affinity will be a big learning curve up from Mac photos but far more affordable for me than Photoshop.
Best and most comprehensive review I’ve read.
Heather
Hi Thomas
Thanks for these detailed reviews.
A question:
To make this Luminar-Affinity comparison, did you user the Mac versions or the Windows versions?
Thanks,
– Dan
I’m currently learning/using Luminar 3. Its lack of a Text Tool to create a “brand” (i.e. logo) isn’t available. I’m tempted to get Affinity for that functionality alone. I used to be pretty good with Photoshop fundamentals, so the Affinity workspace doesn’t scare me off too much. However, after watching the Affinity tutorial video on Text usage, they failed to mention if you could save your logo as kind of a “stamp” or “brush” like Photoshop would let you (for repeatability). Do you know if that’s possible with Affinity? Thanks so much.