
If you want to save time and make editing elements in your Canva designs even easier, you can group multiple elements together so that you can resize, move, and edit all of them in one action rather than each individually.
My name is Kerry, and I have been dabbling in graphic design and digital art for quite a while now. Whenever I find tips or tricks within specific platforms, I love sharing them with others so that everyone can enjoy using digital tools to embark on their creative journey! Here I will be focusing on one specific platform – Canva.
In this post, I will explain how you can group multiple elements that you want to include in your designs to make it easier to manipulate and edit all of them together! Especially when you are trying to save time (or not mess up the previous alignment of these elements), this can be a very useful feature on the platform.
Are you ready to learn about grouping and ungrouping elements in your project?
Let us get to it!
Table of Contents
Key Takeaways
- By grouping multiple elements together in a Canva project, you will be able to move, resize, and manipulate them with just one click rather than editing each element individually.
- You can group the elements by highlighting the ones that you want together and pressing the Shift key on your keyboard or by clicking on the Group button that will emerge at the top of your canvas.
- To ungroup elements, simply click on the group of elements that you created and select the Ungroup button that will be located at the top of your project canvas.
Why Use the Grouping Feature in Canva
You may be asking yourself why grouping and ungrouping elements on the Canva platform is such a useful tool. To be honest, when you utilize this feature, it will save you a good amount of time if you are making revisions to different aspects of your project.
For those of you who are adding multiple elements to your canvas, grouping and ungrouping various parts of your project can be helpful if you want to keep them all in alignment. This is beneficial because you can move the entire group of elements without having to reposition them again individually.
How to Group Elements on Your Canvas
When you group elements together within your project, you give yourself the ability to move, duplicate, resize, and edit them in any other way without having to adjust each individually.
Especially when you want to minimize time and be able to categorize the way you will edit your inserted elements (such as adding a specific effect to only specific graphics or adding a shadow to a group of others), this is a great feature to take advantage of!
Here are the steps to group (and ungroup) elements on your Canva projects:
Step 1: Open up a new canvas to create your design or click on a project that is already being worked on.
Step 2: Add different elements to your project by navigating to the Elements tab on the left side of your canvas. (This is located in the main toolbox.)
You can search for different graphics to include in your project by typing phrases and keywords into the search bar.
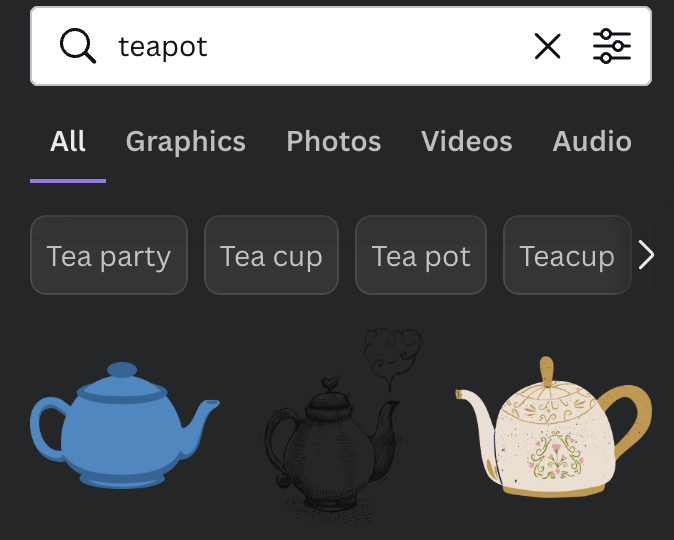
To add these elements to your canvas (and this can be graphics, text boxes, templates, and more), simply click on them or drag and drop them on the canvas area.
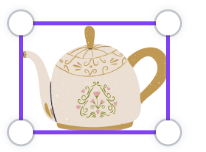
Once you have added pieces and elements to your project, change their size, placement, and orientation as you see fit.
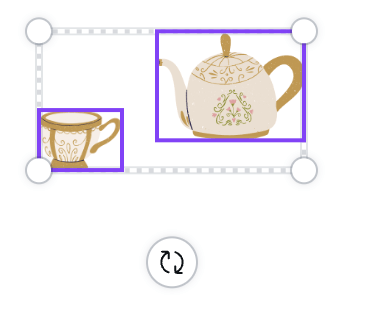
Step 4: If you are happy with the placement of your group of elements and want to group them together so that further editing will be uniform within that group, highlight the pieces using your mouse and right-click and choose the option Group.

You can also click the Shift key on your keyboard while highlighting and it will group the elements.
If you are using a Mac, you can also group these elements together by highlighting them and using the keyboard shortcut by hitting Command + G at the same time. If you are using a Windows system, you can click on Ctrl + G to group these highlighted elements.
Once you have grouped together your selection of elements, you will be able to move the whole group by clicking on it and dragging it with your mouse to wherever you want on the canvas. You can also resize the entire group and change its orientation as well!
Step 5: To ungroup the elements, click on the group and select the Ungroup button that is located on the top of the canvas in the editor toolbar.

How to Change the Element Layers or Alignment
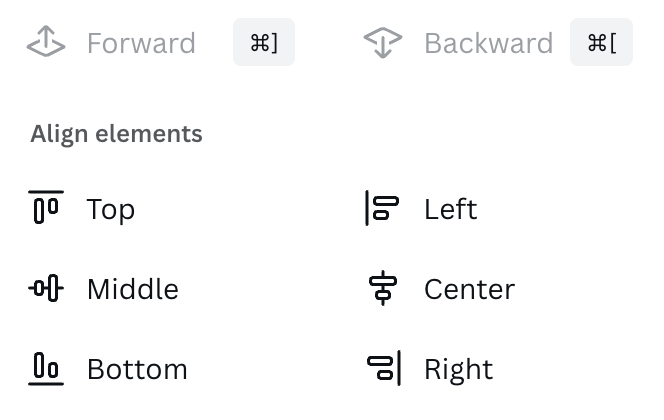
If you want to align your group of elements on your canvas, you can click on the group and use the Position button to help align pieces either horizontally or vertically. This can be helpful if you are looking to make sure that your designs are aligned in a clean-cut way.
Follow these steps to change the alignment of the elements in your group:
Step 1: Click on the element (or group) that you want to align.
Step 2: When you select this group, click on the button at the top of the canvas that is labeled “Position”.
Here you can choose the alignment direction and position that you want under a section labeled Align Elements. As you click through the options, you will see your elements become aligned with the specifications that you choose.
Final Thoughts
Being able to group multiple elements in your Canva projects can save you lots of time and minimize hassle as you go through the process of editing your designs! It is a great feature when you are working with lots of elements on your canvas!
Do you utilize the grouping feature that is available on Canva? If so, what do you think the benefits of using this feature are? Did we miss any applications? Share your thoughts and ideas in the comment section down below!