
If you want to perform some basic editing to your photos in Canva, you can easily crop images by clicking on them and using the Crop button located at the top of the canvas to adjust. You can also use the premade frames to snap photos and crop them within those shapes.
My name is Kerry, and I am a big fan of sharing basic tips and tricks for making the most of digital design platforms, specifically Canva. I find it to be helpful in not only giving other people the opportunity to create but also in finding shortcuts and refining my own technique!
In this post, I’ll explain the benefits of cropping a photo and how you can do just that while designing on the Canva website. This is a basic technique but will allow you to create, edit, and design with ease!
Are you ready to learn more about how you can crop your photos on the Canva platform? Great- Now let us get to our tutorial!
Table of Contents
Key Takeaways
- To crop an image, click on the image that you want to edit and navigate to the top toolbar and click the “crop” button. Then you can take the corners of your image and drag to adjust what part of the photo you see.
- You can also crop your photo by snapping it to a premade frame that is found in the library and adjusting the image inside.
Why Crop Photos and Elements in Canva
One of the most basic actions that you can take when editing a photo is to crop it. If you don’t know what “cropping” is, it is when you want to focus on one part of the photo or edit out part of it, so you basically cut the photo to fit your needs.
Let’s say that you have a photo of a product that you took and want to use for a marketing campaign and you are designing social media posts to promote that product. If you don’t want any of the extra visuals in the background or want to focus the shot a bit more, cropping is an easy technique to get the desired outcome.
On Canva, you can crop using different methods, but the easiest is by manipulating and editing the photo itself without any frills attached. You can also crop using the premade frames that are available in the library.
How to Crop an Image on Canva
Here is the first technique that you can use to crop images on Canva. It is straightforward, so let’s get to it!
Follow these steps to learn how to crop an image found within your projects in Canva:
Step 1: First you will need to log into Canva and on the home screen, open up a new project or an existing one to work on.
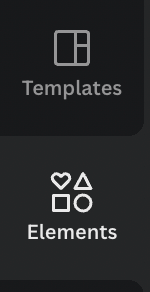
Step 2: Just as you would with adding other design elements to your project, navigate to the left side of the screen to the main toolbox and click on the Elements tab. Click on the visual that you want to use in your project and drag it onto the canvas.
Step 3: Once you have your visual situated on the canvas, click the element, image, or video that you want to crop. You will see an additional toolbar pop up above the canvas with the option to crop.
Step 4: Click on the Crop button on that toolbar or double-click the graphic to make the crop handles appear on your image. (These are the white outlines on the corners of the graphic.)
Click and drag any crop handles to adjust what you want visible within your project.
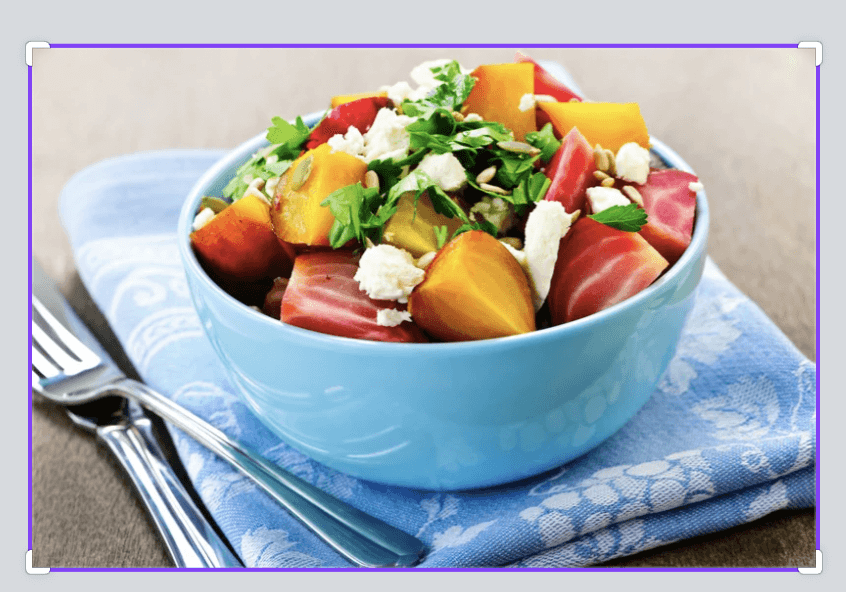
You will be able to see the full original image as a more transparent piece to the image before you complete this action and can move those crop handles over again to fit your needs.
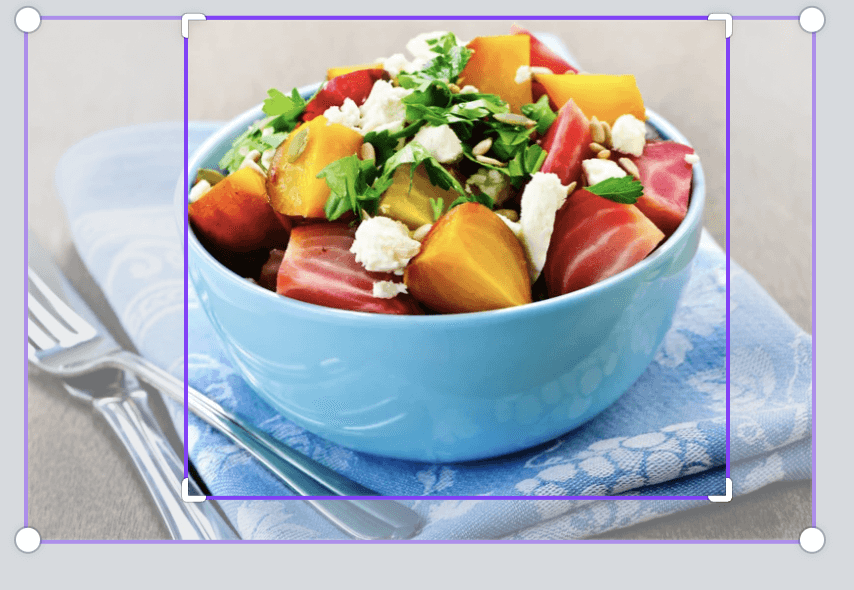
Step 5: Click on the Done button on the toolbar (or you can click outside of the graphic to complete this action). You should be able to see your newly cropped graphic on your canvas!

If you are not satisfied with the way that you cropped the image or want to revise it at any point, simply click on the graphic and follow these steps again. You can always edit your work!
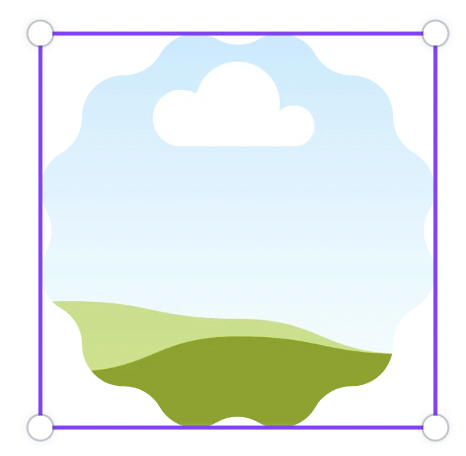
How to Crop a Photo Using Frames
Another method that you can use to crop graphics in Canva is through the use of adding your photo or video to a frame. (You can check out our other post on adding frames to your projects in a more basic sense!)
Follow these steps to learn how to crop by adding a frame to your projects in Canva:
Step 1: Similar to the way in which you add other design elements to your project, go to the main toolbox on the left side of the screen and click on the Elements tab.
Step 2: To find frames that are available in the library, you can either scroll down in the Elements folder until you find the label Frames or you can search for them in the search bar by typing in that keyword to see all of the options.
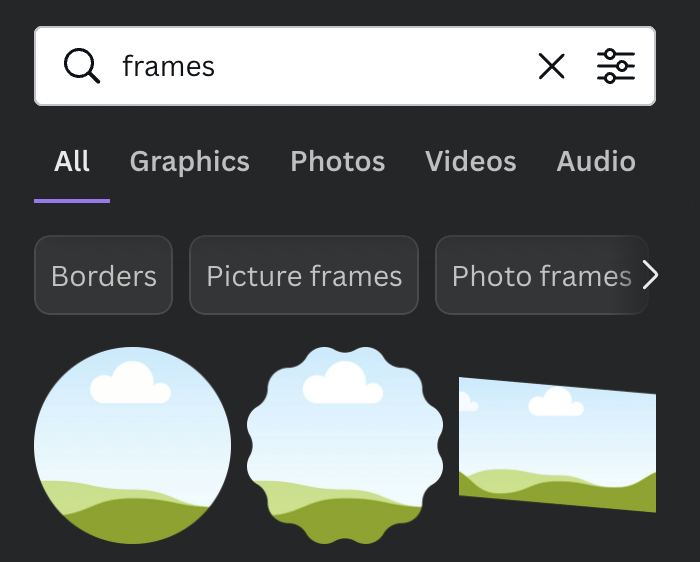
Step 3: Choose the frame that you will want to use for your project. Once ready, click on the frame or drag and drop the frame onto your canvas. You can then adjust the size or placement on the canvas, and change the orientation of the frame at any time.
Step 4: To fill the frame with a picture, navigate back to the left side of the screen to the main toolbox and search for the graphic that you want to use either in the Elements tab or through the Uploads folder if you are using a file that you uploaded onto Canva.
Step 5: Click on whatever graphic you choose and drag and drop it onto the frame on the canvas. By clicking on the graphic again, you will be able to adjust what portion of the visual you want to be seen as it snaps right back into the frame.
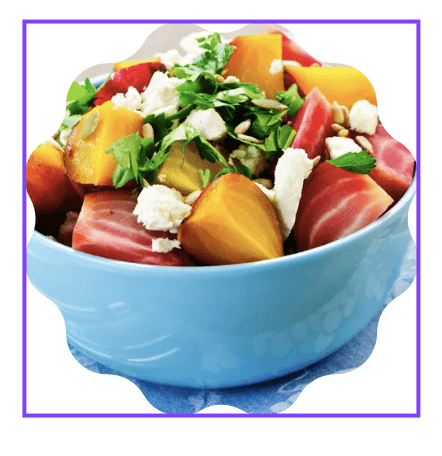
If you want to show a different portion of the image that has snapped to a frame, simply click on it and reposition the image by dragging it within the frame.
Final Thoughts
I personally love being able to crop images and other elements within the Canva platform because it is such a well-utilized tool! Whether you choose to work directly from the graphic and crop it that way or go with the frames method, you have the choice to get the job done!
Do you have a preference as to whether you like to use frames or the direct cropping method for your projects? If you have any tips or tricks for cropping images, graphics, and videos on Canva, please let us know! Share all of your thoughts and ideas in the comment section down below!