
If you are looking to blur out part of an image that you are including in your Canva project, you can do so by adding the element to your canvas and then editing it using the additional toolbar. When you click on the Blur feature, you can use a tool to move over aspects of your image that you want to blur.
Hi there! My name is Kerry, and I am an artist who loves trying out all of the tricks and hacks when it comes to designing on Canva. I enjoy sharing these techniques with you all as it saves time and allows users to really elevate their projects and skills – for beginners and professionals alike!
In this post, I’ll explain how you can blur part of a picture that you have added to your project on Canva. This is a valuable tool to learn as further customize your designs and emphasize certain aspects of the elements that you either want to add to hide within your projects.
Are you ready to get started on learning this editing technique for your photos? Awesome – here we go!
Table of Contents
Key Takeaways
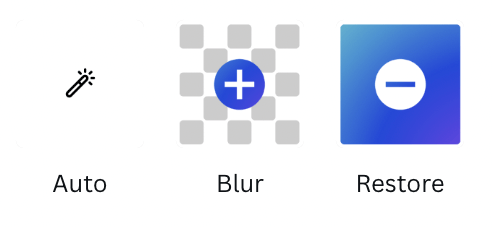
- When looking to blur part of a photo on Canva, you can click on the added image and an additional menu will appear at the top of the canvas. Click on it and a “Blur” feature will appear.
- When you choose that option, you will be able to blur aspects of your photo by clicking on your mouse or trackpad and moving your mouse over the parts of the image that you don’t want in focus.
- You can also restore aspects of your photo within the same toolbar. Click on the “Restore” option and follow the same drag and highlight method that you blurred parts of your photo, only this time it will restore those pieces back into focus.
Why Blur Parts of an Image
You might be wondering to yourself why you would want to blur out a particular part of a photo on Canva or anywhere else. Well, while there are many reasons for doing so, blurring out part of an image is such a useful feature.
You may want to do this to hide sensitive content or protect someone’s identity. You also may want to do this to add emphasis to a certain part of an image. Whatever your reasoning is, Canva allows users to create a blur for an entire element or photo.
How to Blur Part of an Image on Canva
It is actually very simple to create your own business card on Canva as there are many premade templates that you can use and customize with your own information. (You can of course also choose the blank business card template and build yours from scratch too!)
Follow these steps to learn how to blur part of your image on Canva:
Step 1: First log into Canva using your normal credentials. Open up a new template or existing canvas that you are working on.
Step 2: While you are in your canvas, choose an image that you want to include in your project. This can be done by utilizing the elements that are already uploaded into the Canva library (you can search for them in the Elements tab) or by uploading your own images.
You can upload your own by going to the Uploads tab and adding any graphics from your device to your account.
Remember that any template or element on Canva with a little crown attached to it means you can only get access to that piece if you have a paid subscription account, such as Canva Pro or Canva for Teams.
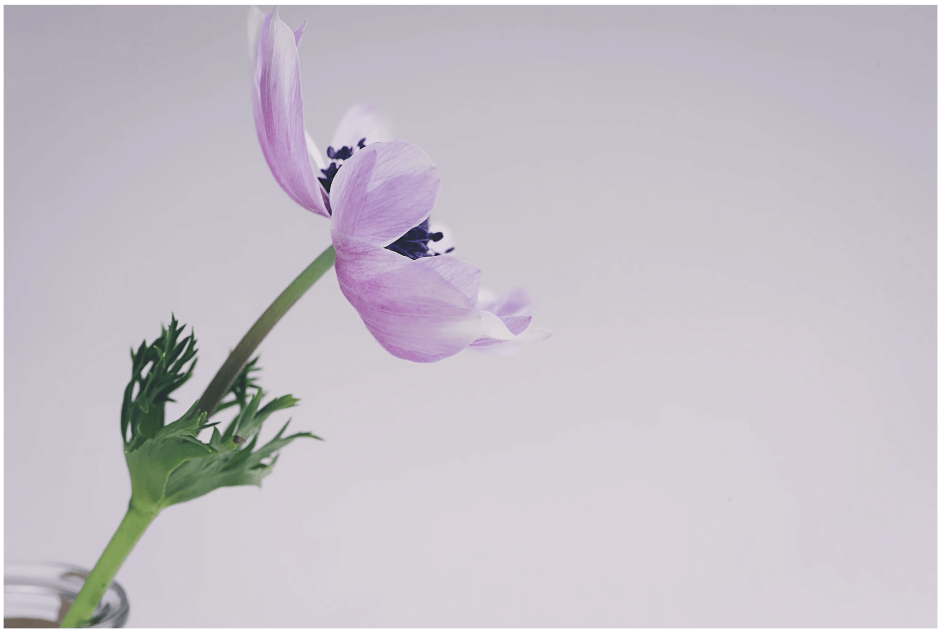
Step 3: Click on the image that you want to include in your project and drag and drop it onto the canvas. Resize it or change the orientation of the element by clicking on it and using the corner circles to rotate it or resize it.
Step 4: Once you are satisfied with your image, click on it to make an additional editing toolbar appear at the top of the canvas. Click on the Edit image button and you will see effect options appear to add to your photo.
Step 5: Within that menu, scroll down and click on a button at the top of the canvas that is labeled Blur. Click on this option to activate the editing tools and then specifically the blur option.
Step 6: When you do this, another menu will appear. Here you can adjust various aspects of the blur feature, including the brush size, intensity, and portion of the image that is impacted by this effect.
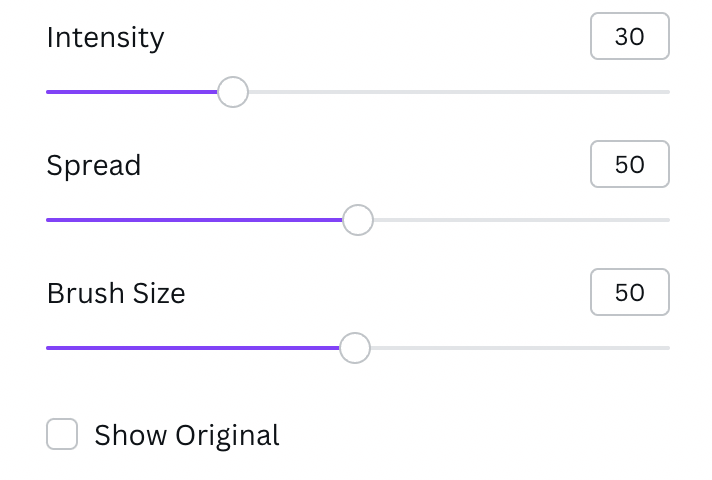
Step 7: Once you have fixed the brush settings to your liking, left-click on your mouse or trackpad and drag the cursor over the area you want to blur. You will then see the Canva highlight appear over your selected area where you can then release your mouse.
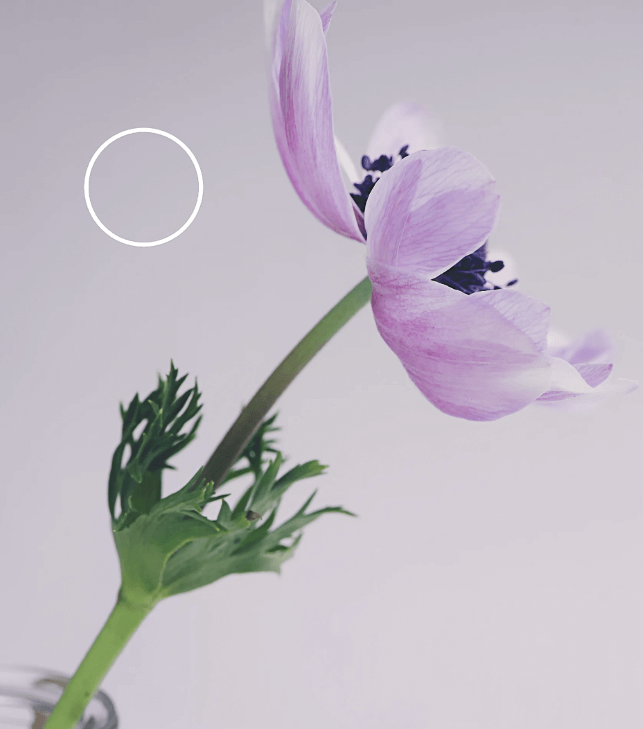
Step 8: You will then see the area that you selected become blurred. (It is similar to the erase tool that you can use if you have a Canva Pro subscription.)
If you made a mistake and accidentally covered a portion of the image that you didn’t intend to, you can click on the restore button that will be found under blur settings in the editing menu and highlight the pieces of your image that you want to restore.
Final Thoughts
I love how Canva offers users the ability to edit the images that they are using in their projects even further to either highlight or blur out aspects that they do not want to include. It amplifies customization and can add some really cool effects to the projects as the platform allows you to highlight or hide aspects that don’t fit your vision for whatever reason.
Have you ever tried creating using the blur feature on Canva? We are curious as to what types of projects you have used this technique on and if you have any tips or tricks that you would like to share about using it! If you would like to contribute to the conversation, please share your thoughts in the comment section down below!