
Are you struggling to add images to your Illustrator document? Look no further. Adding images in Adobe Illustrator is easy using Copy and Paste, and File > Place. All you need is a couple of minutes to spare
My name is Elianna. I have a Bachelor of Fine Arts in Illustration and have been using Adobe Illustrator for over six years. I use Adobe Illustrator to create posters, illustrators, business cards, and more.
In this post, I will show you how to add images in Adobe Illustrator using Paste and File > Place as well as how to place images in the Illustrator for iPad app. I will also explain what Linked Images are and when to use them over embedded images.
Let’s get into it!
Table of Contents
Key Takeaways
- Placing an image in Illustrator will create a Linked Image.
- The keyboard shortcut for Place is Shift + Ctrl/Command + P
- The keyboard shortcut for Paste is Ctrl/Command + V
- You can add images in Illustrator for iPad by clicking the Place icon
What Are Linked Images in Adobe Illustrator
Linked images are images in your Illustrator document that are saved elsewhere on your computer. When you open an Illustrator document with linked images on another device, they will not show and generate an error.
Using linked images is best for reference material and other graphics that you do not need in the future, or if you are only working on a project on your own device.
When collaborating with others, it is best practice to embed your images. To learn more methods to embed images, read this post. Furthermore here is a breakdown of the similarities and the pros and cons of linked versus embedded images.
| Pros | Cons | |
| Linked Images | Promotes smaller file sizes Linked images can be edited in Photoshop, with edits automatically applied to your Illustrator document | Cannot be opened on other devices without error or re-linking the images |
| Embedded Images | You never have to re-link images when opening your file. | Creates larger file sizes You have to re-import your images if you make any edits in Photoshop. |
2 Ways to Add Images in Adobe Illustrator
There are different ways to insert images in Adobe Illustrator. One of the easiest methods to add images in Adobe Illustrator is to use Copy and Paste.
Method 1: Copy and Paste
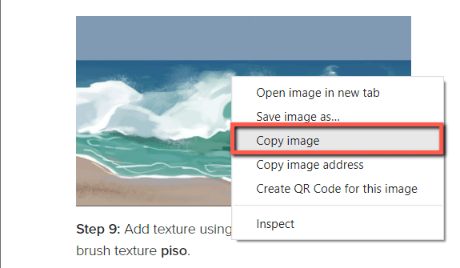
Step 1: Find an image you would like to add to illustrator, and Copy it. For this example, I am copying an image from a previous post.
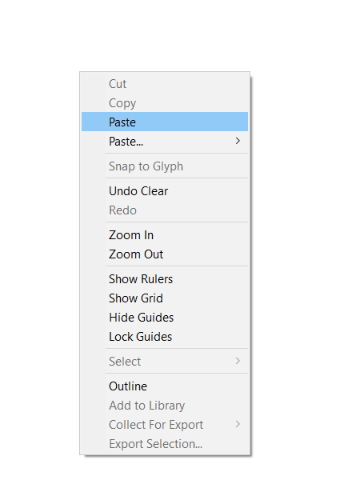
Step 2: Open Illustrator. Right-click anywhere on the artboard and select Paste, or use the keyboard shortcut Ctrl/Command + V.
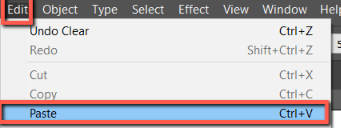
Alternatively, you can use Edit > Paste.
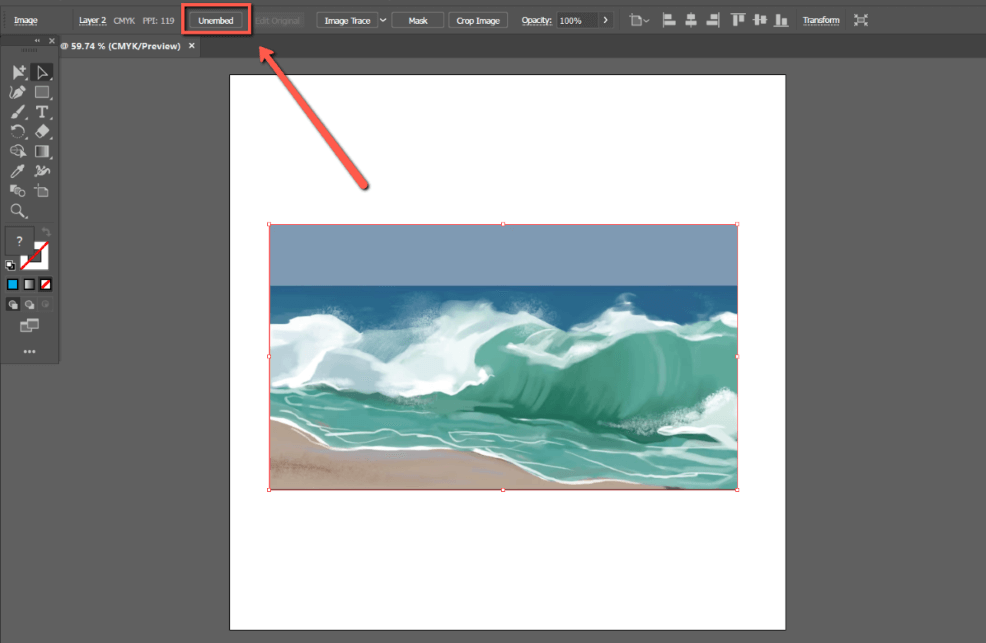
Your image will appear in your document as an embedded image. To unembed it, click Unembed.
Method 2: Object > Place
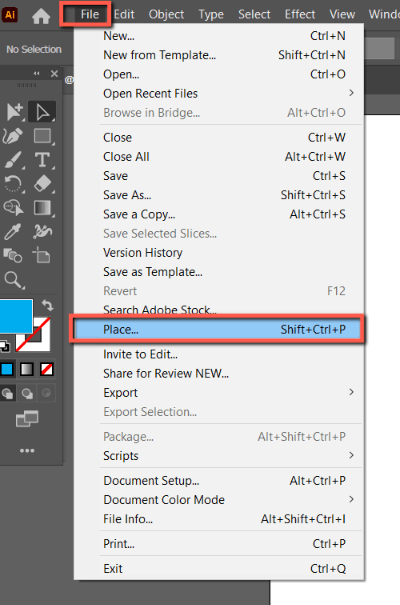
Step 1: Open your Illustrator document and use File > Place, or use the keyboard shortcut Shift + Command/Ctrl + P to select an image on your computer that you would like to add to your document.
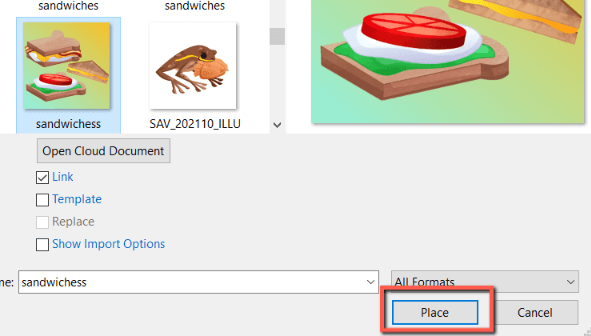
Step 2: Select a file from your device and click Place.
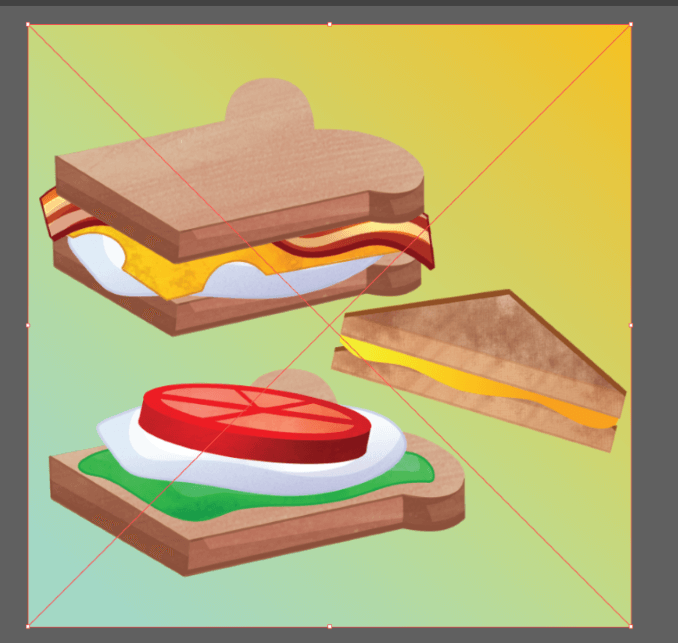
Step 3: Click anywhere in your document window to Place you image. Your image will paste as a linked image.
How to Add Images in Adobe Illustrator for iPad
You can also place images in Adobe Illustrator for iPad. Here’s how:
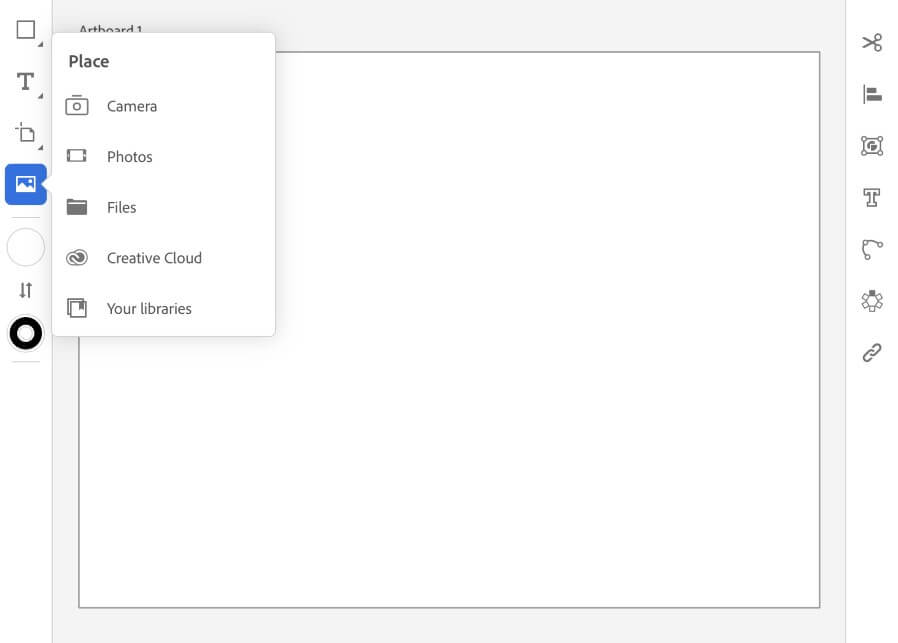
Open the Illustrator app. Click on the Place icon and select an option from your Camera, Photos, Files, Creative Cloud, or Your Libraries.
Final Thoughts
Knowing how to add images in Adobe Illustrator is an essential skill for creating dynamic and engaging designs. From reference photos to collage material, you can place images using Copy and Paste or File > Place.
Remember that when pasting or placing, your images will generate as linked images. If you would like to save your images in your Illustrator document, embed them instead.
How do you add images in Adobe Illustrator? Tell me in the comments below!