
To include audio or music within a video project on Canva, simply upload your desired clip or use a prerecorded one from the library and add it to your canvas. You can edit all audio by clicking on it and adjusting the effects throughout your project.
Calling all aspiring video editors! Hi there. My name is Kerry, and I am here to share with you all of the tips, tricks, and steps to creating the best projects using a website called Canva. While I personally love creating posters, infographics, and other still media, you can also use this platform for your video needs!
In this post, I’ll explain how you can add music or audio to your video projects on Canva. If you are looking to create for social media, marketing campaigns, or persona projects, this is a feature that will elevate and customize your work to match your style and needs.
Are you ready to learn more about editing your videos by adding customized audio to them?
Great! Let’s dive in!
Table of Contents
Key Takeaways
- If you want to include audio in a video project on Canva, you can either use clips that exist in the Canva library or upload your own prerecorded audio onto the platform.
- You can create a video project from scratch by searching for a video template and editing it on the website or upload a video by clicking on the Create a New Design button and importing your video file to work on.
- Once you have added the audio or music to your project, you can click on it underneath the canvas to adjust and edit the duration, transitions, and effects.
Why Use Canva to Edit and Add Audio to Videos
Did you know that one of the most used platforms for video creators who post their work on websites such as Youtube is Canva? This is probably because the platform is so easy to navigate and allows for some fabulous editing options, even for those just embarking on their journey!
With the variety of customizations that are available, users can choose sounds that match their style by either attaching their own audio clips or by scrolling through the music library that has pre-licensed clips.
Also, in using Canva to add these sounds to your videos, you are given the professional ability to edit it even further by adjusting the volume, applying transitions, and positioning it in just the right space!
How to Add Music or Audio to Your Canva Projects
The ability to add music and audio into video projects is a really cool feature on Canva. The steps to add this element to your projects are fairly simple and you can even include your own prerecorded music!
Follow these steps to learn how to add audio and music to your videos on Canva:
Step 1: First you will need to log into Canva using the credentials that you always use to sign into your account. On the home screen, navigate to the search bar at the top of the platform.
Step 2: Choose the video template that you want to use for your video creation by searching for the keyword in the search bar. Keep in mind the type of format that you want to keep your creation in, whether it be for YouTube, TikTok, Instagram, etc.)

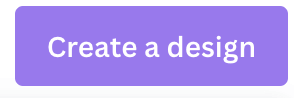
You also have the option to upload your own video by navigating to the Create a design button at the top right side of the website, clicking on it, and then importing a video that way to work on.
Step 3: Once you have either opened a new canvas or uploaded the video that you want to edit, it is time to add in your audio and music! (If you are using a video that has multiple clips, you must first arrange your clips in the timeline at the bottom of the screen to splice together your video.)
Step 4: Navigate to the left side of the screen to the main toolbox to search for the audio or music. You can either click on the Uploads button and upload the audio that you want to include or search in the Elements tab for ones in the Canva library. (Make sure that you click on the Audio option to get those audio clips!)
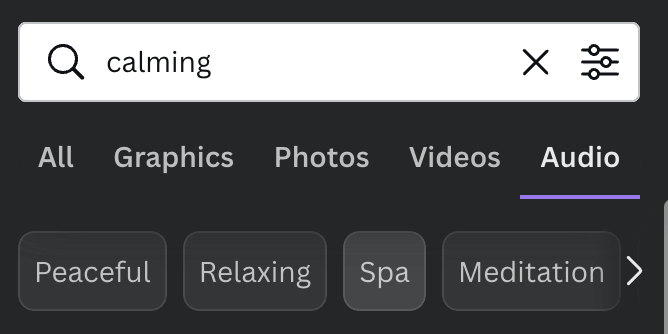
(Just keep in mind that any of the audio clips or elements that have a crown attached to the bottom of it is only available to use through a paid Canva Pro subscription account.)
Step 5: Click on the audio that you want to include in your project, and it will be added to your work. You will see underneath your canvas the length of the audio. You can add it to the entire video or apply it to specific parts by clicking at the end of the purple audio timeline and dragging it to fit your needs.
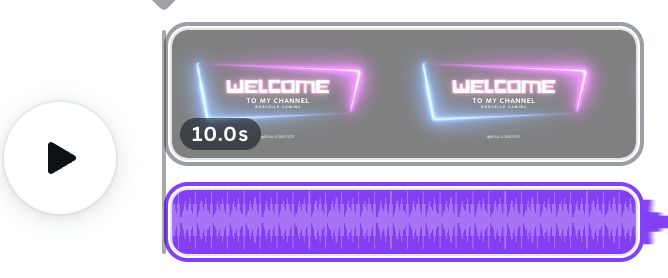
You will also be able to see the length of the clip as well as your slides (and total video) at the bottom of the canvas. This is helpful when you want to make sure that your audio is matching the duration of specific parts of your project!
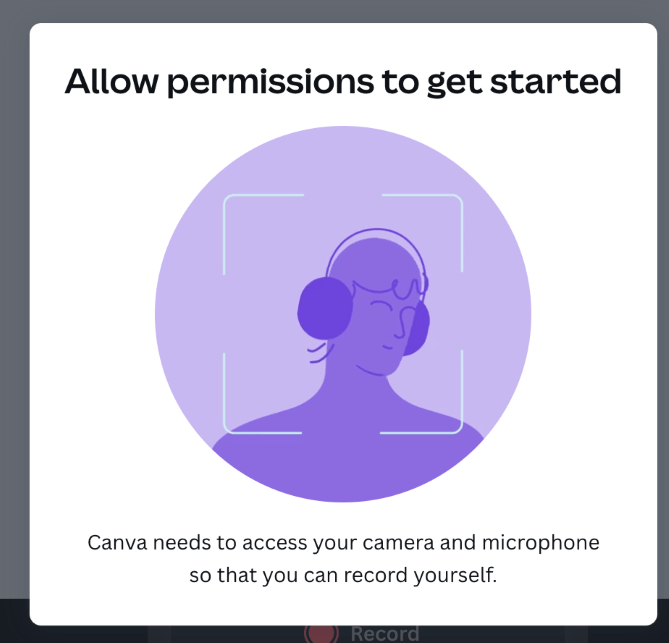
Step 6: If you want to record audio straight onto the Canva platform, go to the Uploads tab in the main toolbox and click on the button that is labeled Record yourself.

Once you click on this button, a popup will appear to give Canva permission to utilize the microphone on your device. Approve the use of your microphone and you will be able to record audio clips which will then be included in your library and canvas!
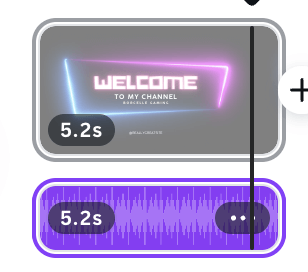
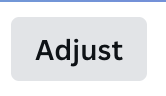
Step 7: If you want to change the part of the audio that is applied to the slide or project, click on the audio timeline and you will see a button at the top of the canvas labeled Adjust.
Click on that button and you will be able to drag the audio timeline within your project to apply a different part of the music or clip to your desired area.

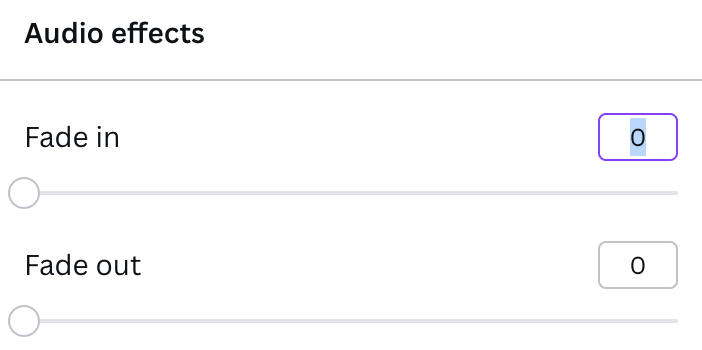
Step 8: When you click on the audio timeline, you will also see another button appear at the top of the canvas that is labeled Audio Effects. You can click on this if you want to adjust the timing of when your audio fades in or out, creating smooth transitions.
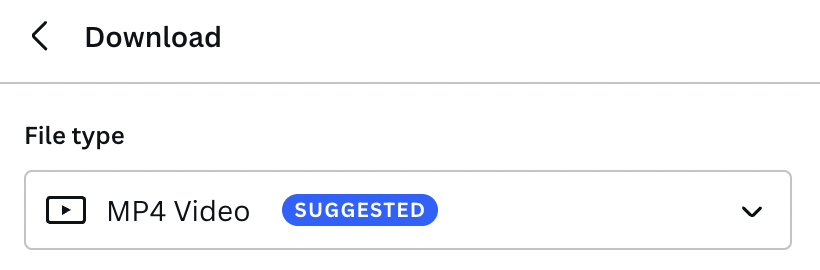
Step 9: Once you are ready to save your project, navigate to the Share button at the top right side of your screen and click on it. You will be able to choose the file type, slides, and other options for saving your video. We suggest saving it as an MP4 file type!
Final Thoughts
Being able to upload various types of audio into your Canva projects is such a cool tool, as adding sound to your work can really bring it to life! Whether you are utilizing the library that is found on the platform, want to upload found files, or even record your own voice, music, or sound effects- the sky is the limit with this feature!
Have you ever used Canva to create or edit videos, specifically by including audio or music clips? We would love to hear your thoughts and project examples! Also, if you have any tips or tricks for working with audio clips on the platform, please share them in the comment section down below!