
Removing the background of an image used to be an edited task that could only be managed by a dedicated image editor like Photoshop, but in recent years, many different image apps have added the ability.
Even the humble Preview app, which comes preinstalled on all Macs, can do a basic version of background removal – although it can be a bit tricky to pull off successfully.
Let’s take a look at how it works!
Table of Contents
Step 1: The Markup Toolbar
To get started, open the image you want to edit in the Preview app. The background removal process uses Preview’s selection tools, so the very first step is to open the Markup toolbar. If it’s already open, you can skip ahead to the next section.
If you’re not already familiar with it, the Markup toolbar contains most of the special tools that Preview has to offer, including five different selection tools.
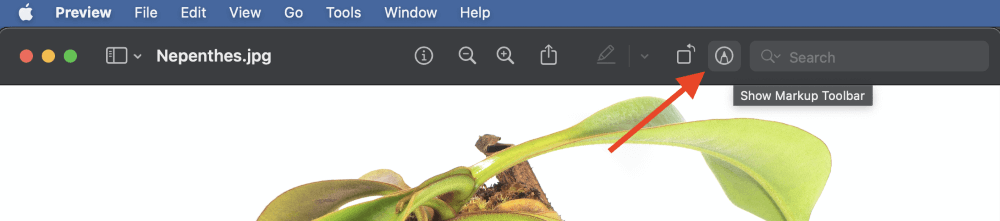
To open the Markup toolbar, click the Show Markup Toolbar icon in the upper right of the Preview window (as shown above). You can also use the keyboard shortcut Command + Shift + A, or you can open the View menu and click Show Markup Toolbar.
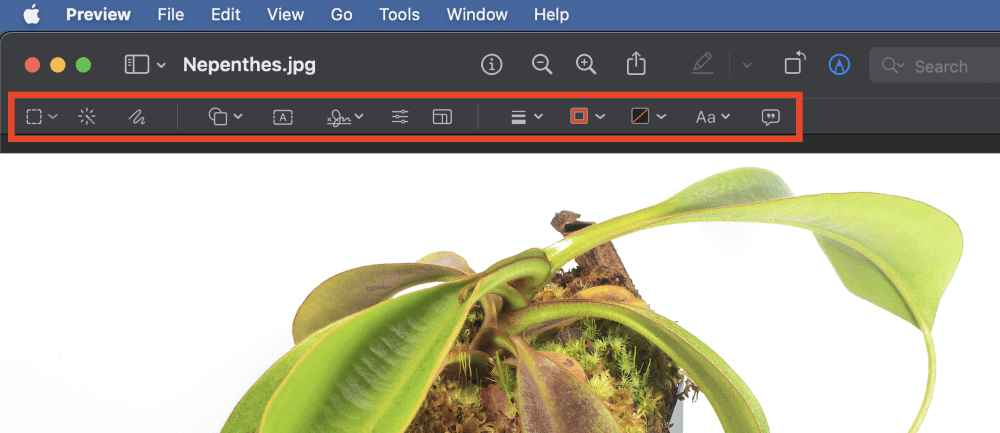
A new toolbar will appear below the main toolbar, displaying a row of icons that represent everything you can do with the Markup toolbar.
Step 2: Select the Background
Now that you can access everything the Markup toolbar has to offer, it’s time to use those tools to select the area of your image that you want to remove – in this case, your image background.
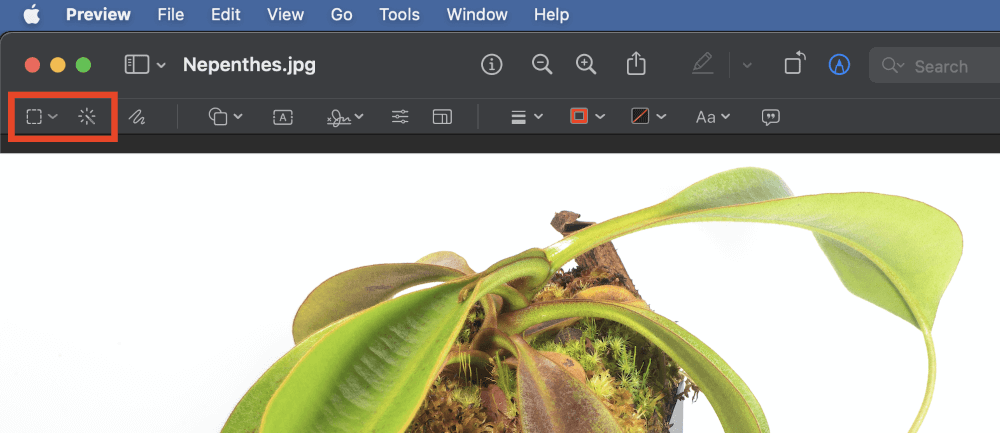
The selection tools are located at the very left edge of the Markup toolbar.
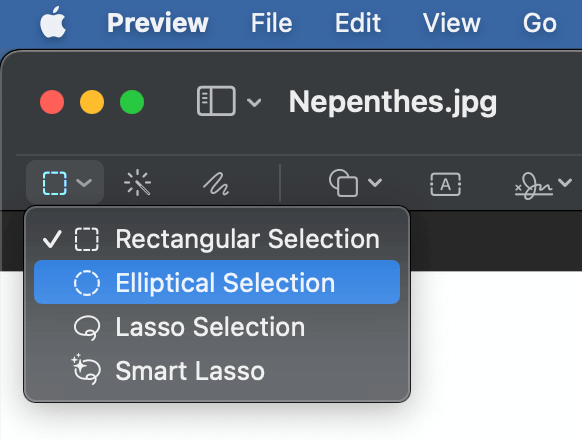
The four manual selection tools are nested together, and you can click the small arrow to expand a popup menu that allows you to choose which of the tools you want to use (as shown above).
You can use these tools to make a selection if you want, but they’re not always the best choice.
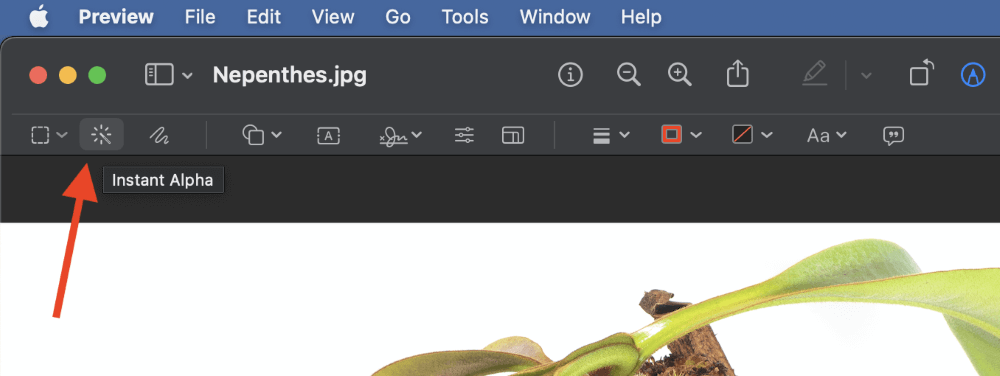
Next to the manual selection tools is the Instant Alpha tool. This is the closest that Preview has to a true automatic selection tool, but it’s a very simplified version when compared to the tools found in a dedicated image editor, so don’t expect it to do a perfect job every time!
Select Your Background with Instant Alpha
The Instant Alpha tool is perfect for quickly and automatically selecting a solid background around an object, such as a product photo against a white background. The tool creates its selections by matching similar groups of color, so the more complex the image background is, the more trouble it will have when creating a good selection.
To use the Instant Alpha tool, click on the tool icon to enable it. The icon will change color, indicating that the tool is active.
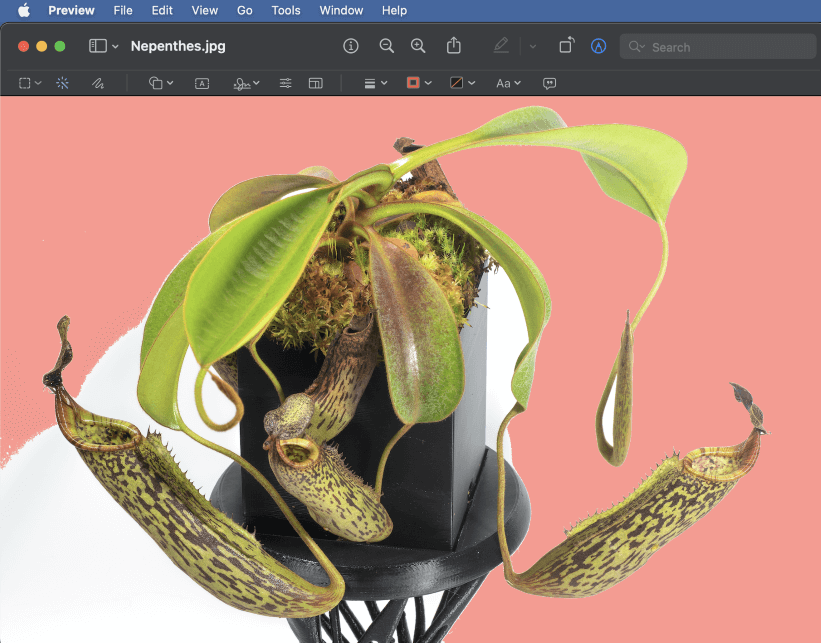
Click and hold anywhere on your image background, then drag your cursor slightly. A transparent red overlay will appear, indicating which areas of the image are going to be selected.
You can expand the parameters of the selection area by dragging your cursor further away from your initial click point.
If you go too far, move the cursor back closer to your original click location. It can be a bit difficult to keep track of this sometimes, and it would be nice if there was an indicator of the original click location, but perhaps Apple will add that in a future update.
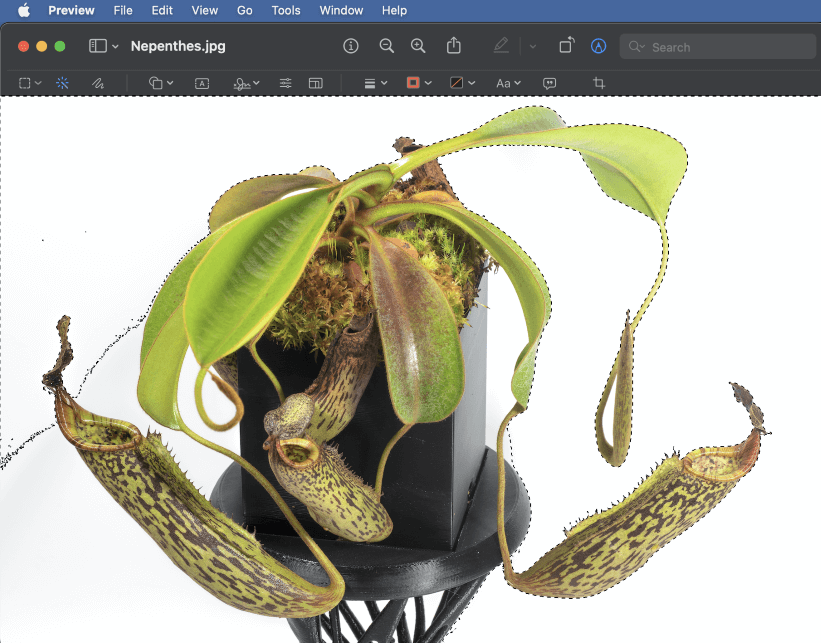
Once you’re happy with the selection, release the mouse button, and a selection marquee will appear around your selected pixels. The selection above isn’t quite right, but it’s the best I’m going to get for now.
If your selection turns out well, you can skip ahead to the final section, or you can read on to learn about how to make a selection with the manual selection tools.
Using Manual Selection Tools
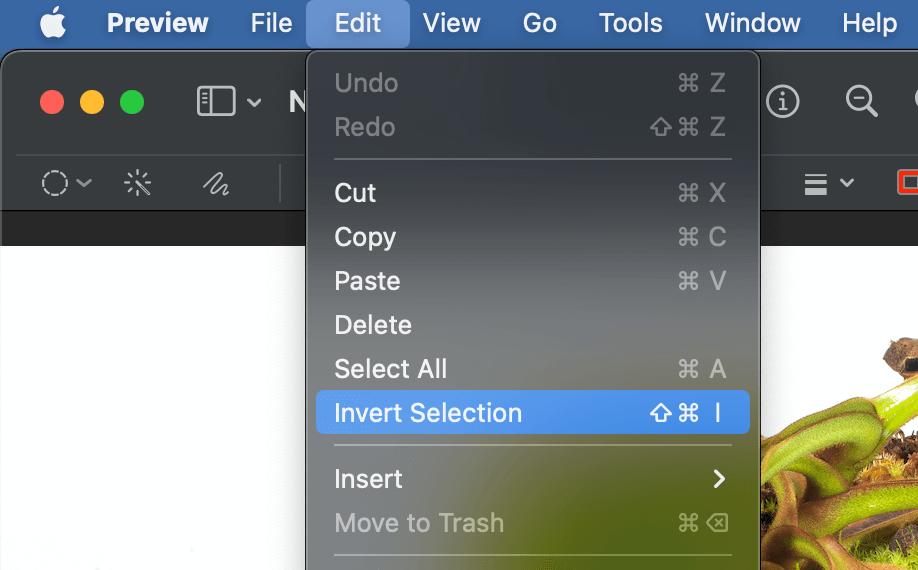
When using any of these tools, make a selection around the area of your image that you want to keep, and then open the Edit menu and click Invert Selection before deleting the selected pixels.
This will swap your selection area to include everything outside of your original selection, and then you can move on to the final step.
There are four manual selection tools in the Preview app that you can use to select your image background:
- Rectangular Selection
- Elliptical Selection
- Lasso Selection
- Smart Lasso
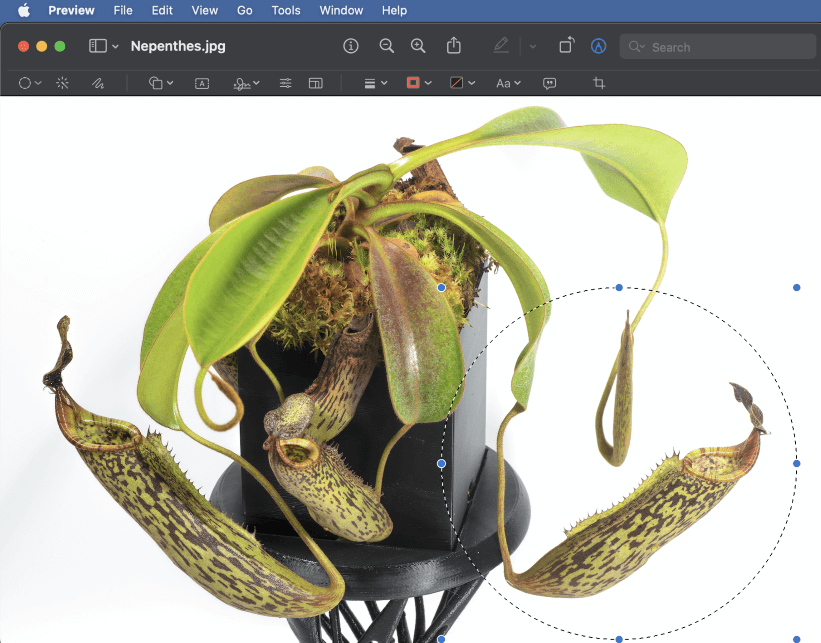
To use the Rectangular Selection and Elliptical Selection tools, select your chosen tool then click and drag anywhere on your image to create a selection. You can adjust the selection boundaries using the blue anchor handles.
The Lasso Selection tool allows you to carefully and painstakingly outline your subject using a freehand method, but if you want to spend a lot of time on this process, you should seriously consider using a dedicated image editor so that you don’t drive yourself to frustration.
If your subject is set against a relatively plain background such as a solid color, you can try using the Smart Lasso tool. I find this tool a bit too frustrating to use seriously, but perhaps that’s because I’m used to the tools found in Photoshop.
With Smart Lasso enabled, draw the cursor over the edges of your object to create a closed shape, and then release the mouse button. Preview will attempt to automatically calculate where the selection marquee should be placed, but sometimes it ignores important areas of the image.
Remember to invert your selection so that the background you want to delete is selected before moving on to Step 3!
Step 3: Remove the Background
Now that you’ve selected the area of your image that you want to remove, it’s time for the extremely simple magic to happen!
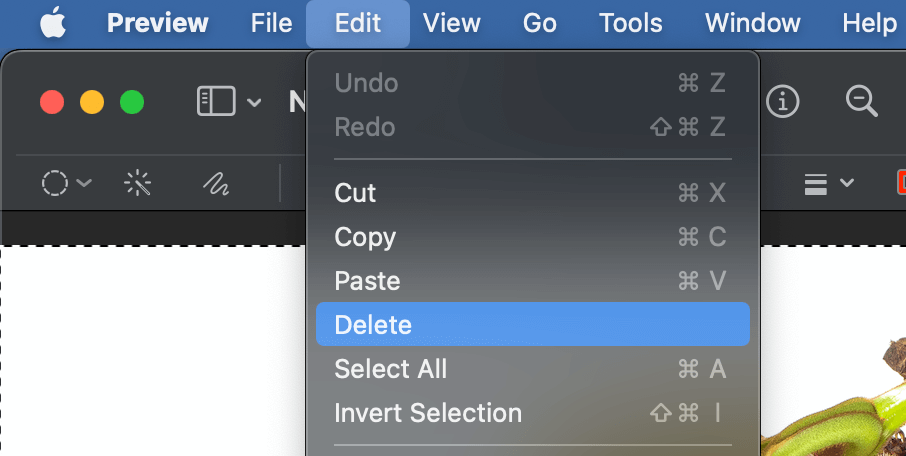
With your image background selected, press the Delete key. You can also open the Edit menu and click Delete.
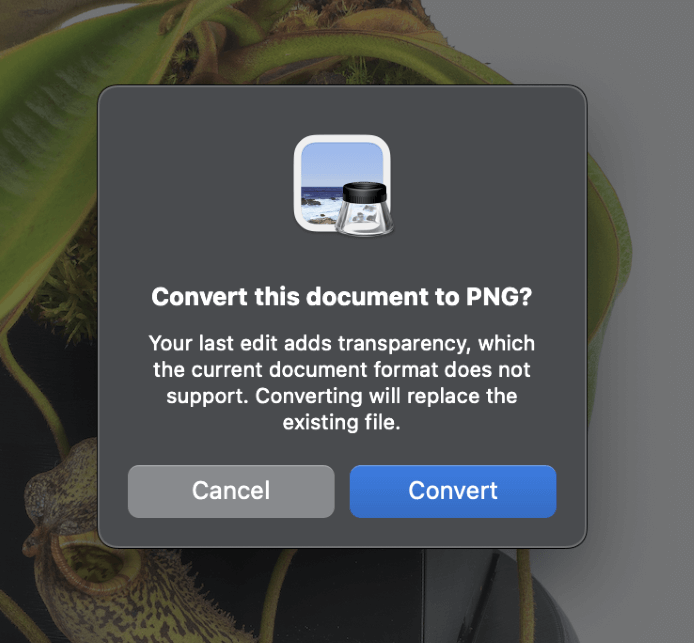
If you’re working on a JPG image or another image format that doesn’t support transparency, the Preview app will display a warning dialog and offer to convert your file into the PNG format, as shown below.
PNG or Portable Network Graphic is a lossless format that supports an alpha channel, which tells your computer which areas of an image should be rendered transparent. You don’t need to understand the technical details if you don’t want to, but you can learn more about PNG files if you’re curious.
If your image was already in PNG format, then you’ve already done it! You can export your file in any format that supports transparency, such as JPEG2000 or TIFF, or keep it in PNG format for maximum compatibility.
For most situations, it’s best to keep your file as a PNG unless you need a specific format.
A Final Word
Congratulations, you just removed the background of an image in Preview! Hopefully, the process wasn’t too frustrating and you were able to get the results you wanted, but don’t feel bad if it didn’t work out well.
The Preview app is multi-talented, but this kind of project really pushes the limits of what it’s capable of, and some images are just too complex to edit easily.
If you want to try a more serious image editor, check out Photoshop, Affinity Photo, or GIMP for more advanced image background removal tools.
Happy editing!