
InDesign is an impressive page layout program, allowing designers to create anything from a simple digital brochure all the way to extensive and intricate collaborative print projects.
But when it becomes time to finalize your project, you’ll find yourself with countless fonts, linked images, and graphics that must be carefully managed and collected to guarantee that your colleagues and support staff can view the working document properly.
That’s where packaging your InDesign file comes in!
Table of Contents
What Does It Mean to Package an InDesign File?
InDesign files are usually much more dynamic than other creative documents you might create in Photoshop or Illustrator, so they require special attention.
While designing a book layout, the images, graphics, and even main copy are also being worked on by other teams of colleagues who specialize in those areas.
To allow multiple teams to work simultaneously, it’s usually a good idea to create a link to an external file rather than embedding it directly within the InDesign document itself.
For example, when the graphics team is refining the edits to their illustrations, they can update the linked image files, and the updates will be displayed in the InDesign document without the page layout team having to re-insert the updated files every time there is a change.
Packaging an InDesign file copies all these externally linked images, graphics, and fonts into a single folder so your document can be easily shared without any display issues.
Preparing to Package Your InDesign File
If you’re a solo designer, starting with a consistent naming convention long before the packaging step is a good idea so that when your InDesign files are packaged together into a single folder, the files will be clearly organized.
It doesn’t really matter what the pattern is, as long as you’re consistent.
Of course, if you’re working in a more collaborative environment, it’s even more important to follow a consistent naming convention!
But if you want to really be sure that the packaging process will finish properly, you’ll need to ensure that all files and fonts are available.
Because of the complex nature of InDesign documents and the potential display issues caused by missing links, Adobe has created a system known as Preflight that checks for missing linked files, fonts, overset text, and other potential display issues.
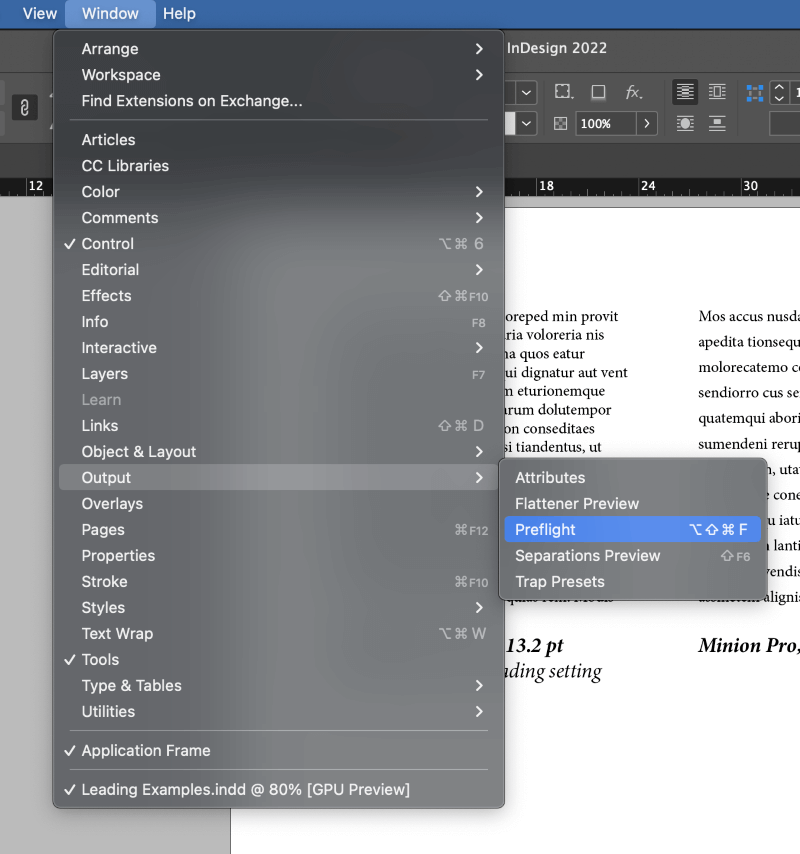
You can run a Preflight check by opening the Window menu, selecting the Output submenu, and clicking Preflight. You can also use the keyboard shortcut Command + Option + Shift + F (use Ctrl + Alt + Shift + F if you’re using InDesign on a PC).
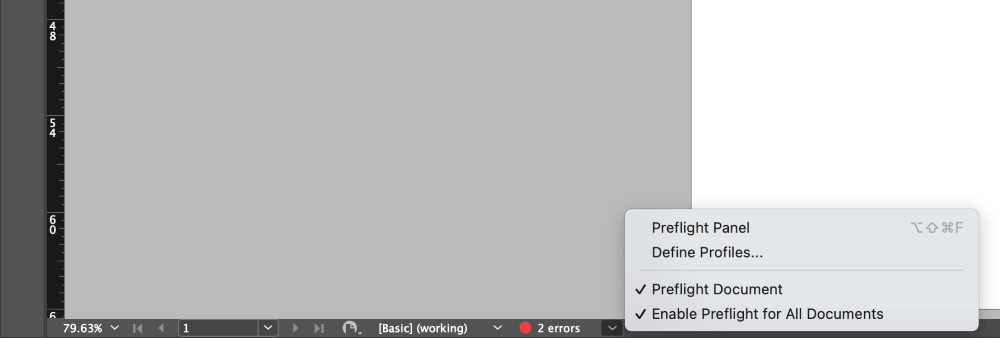
Depending on your current workspace, you may also be able to view the Preflight preview in the document info bar at the bottom of the main document window.
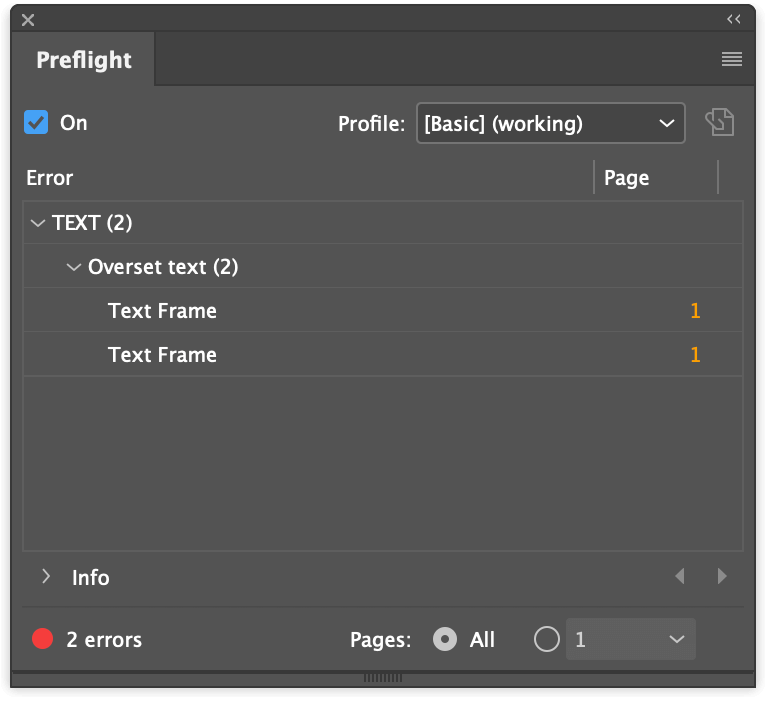
The Preflight window will tell you what potential errors it has detected and which pages are affected. Each entry in the Preflight list acts as a hyperlink to each error location, allowing you to correct any issues quickly.
How to Package an InDesign File
Once you’ve reviewed your Preflight warnings, it’s time to package your InDesign file!
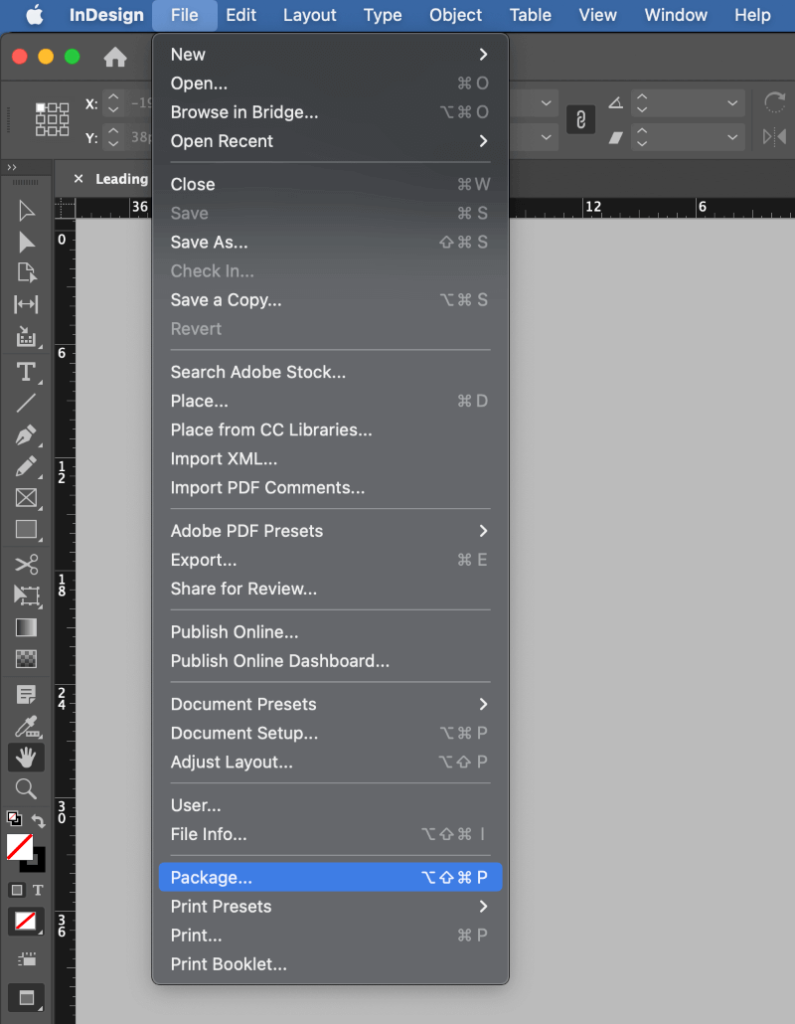
Step 1: Open the File menu and select Package down near the bottom of the menu. You can also use the keyboard shortcut Command + Option + Shift + P (use Ctrl + Alt + Shift + P if you’re on a PC).
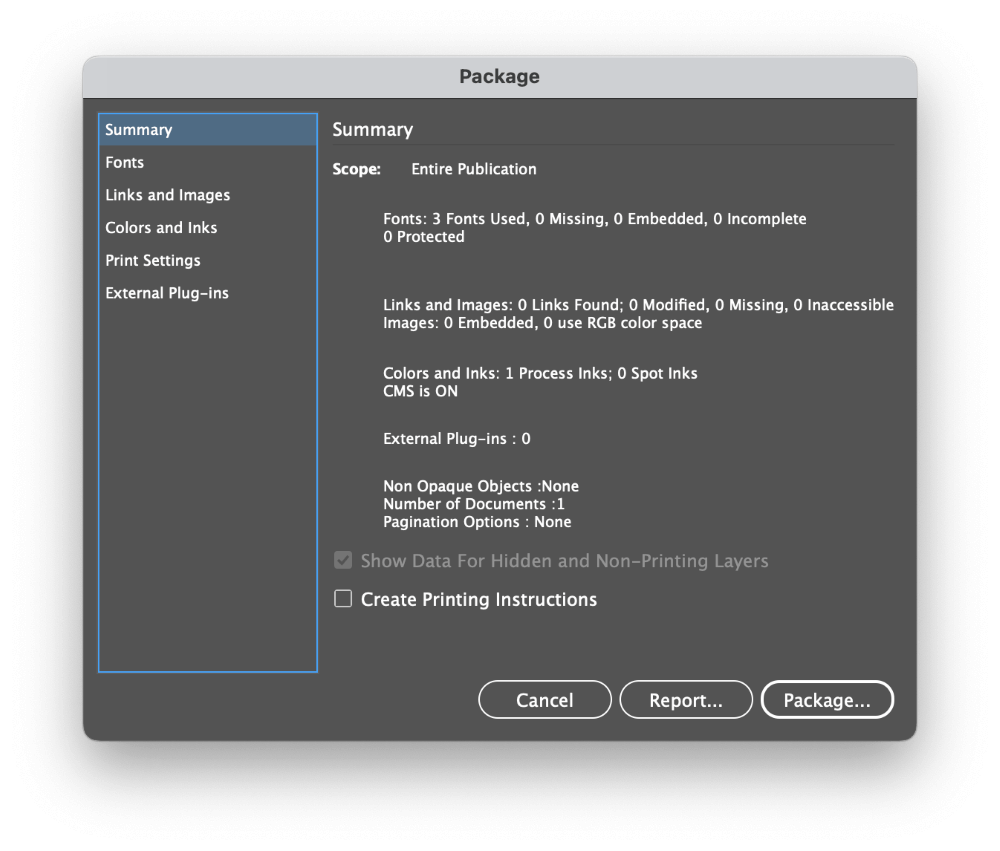
InDesign will open the Package dialog, which contains several information tabs about your file. The summary is displayed by default, and as long as you corrected all your errors using Preflight, there should be no surprises here.
If you’re packaging the InDesign file for print, you can check the Create Printing Instructions box, which allows you to provide printing details and contact information in a plain text file.
You can switch to any of the tabs to learn more about the related areas and, if necessary, find or replace missing fonts and update linked files to their latest versions.
I like to handle all these corrections before the Package dialog step in case I need to review one of the affected layouts in more detail, but every designer has their own preferred workflow.
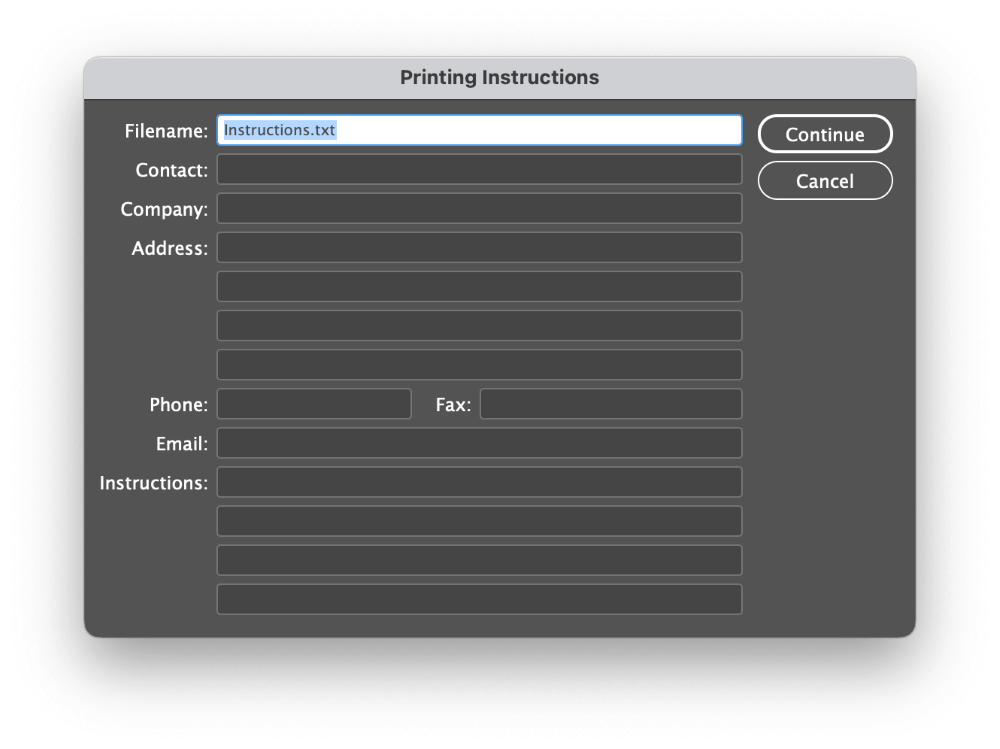
Step 2: Once you’re satisfied that everything is ready, click the Package button. If you checked the Create Printing Instructions box on the Summary page, you’ll now have the chance to enter your contact information and any printing instructions.
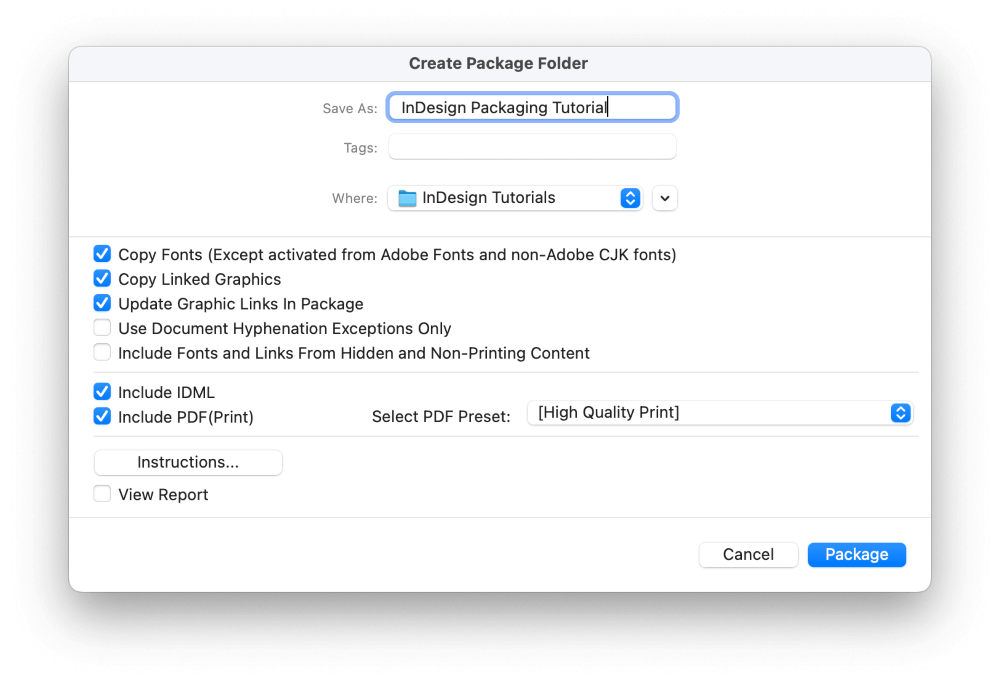
Next, InDesign will open the Package Publication window. For most projects, the default options are acceptable.
InDesign copies all fonts and linked images to the package folder updates the linked images within the main INDD document, generates an IDML (InDesign Markup Language) file, which is often used for cross-program compatibility, and finally creates a PDF file of your document using one of the available PDF export presets.
Note: the window looks slightly different on a Windows PC, but the options are the same.
Step 3: Click the Package button (it will be confusingly named Open on a PC), and InDesign will proceed to package your file. You may receive warnings about copying font files, reminding you to adhere to all local laws and license agreements (and so you should, obviously).
FAQs
For those of you with more specific questions about packaging files with InDesign, I’ve answered some of the most frequently asked questions below.
Have a question that I missed? Let me know in the comments section.
How Do I Package All Links in InDesign?
InDesign will package all visible links by default, but you can ensure that you package every single possible link within your file by making sure that both Copy Linked Graphics and Include Fonts and Links From Hidden and Non-Printing Content are selected during the packaging process.

Can You Package Multiple InDesign Files at Once?
Unfortunately, there is currently no official method for packaging multiple InDesign files at once. Some user-created scripts are available in the Adobe user forums, but they are not officially supported and may not work properly.
How to Email an InDesign Package?
Once you’ve packaged your InDesign file, you can convert the folder into a single compressed file that you can send via email. The instructions are slightly different on macOS and Windows, but the general idea is the same.
On Windows 10:
- Step 1: Locate the folder that you created using the Package command in InDesign
- Step 2: Right-click the folder icon, select the Send To submenu, and click Compressed (Zipped) Folder
- Step 3: Attach the new zipped file to your email and send it!
On macOS:
- Step 1: Locate the folder that you created using the Package command in InDesign
- Step 2: Right-click the folder icon and select Compress “Folder Name Here”
- Step 3: Attach your new zipped file to your email and send it!
A Final Word
That’s just about everything there is to know about how to package an InDesign file – as well as a few extra tips about the Preflight system, naming conventions, and creating zipped files. It might seem a bit overwhelming at first, but you’ll quickly begin to appreciate how useful it can be to package your InDesign files.
Happy packaging!