
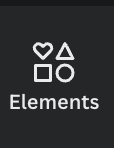
If you want to make images and photos in your project appear in a circle, simply add a circle frame to your project in Canva. You can do this by going into the Elements tab found in the main toolbox and searching for a circle frame. Drag your image into the frame to snap it together.
Hi there! My name is Kerry, and I am here to help you best utilize the design platform, Canva. On the platform, there are so many features that can help you elevate your designs, no matter what type of project you are trying to create. The tools that are available make designing super easy and fun!
In this post, I’ll explain how you can change the shape of inserted images and photos by utilizing premade frames that are available in the Canva library. If you have a specific vision for your design, this can be a great technique to learn so that you can further customize your projects.
Are you ready to learn more about how to use frames to shape your photos (specifically into a circle) within your project? Excellent – let us get into it!
Table of Contents
Key Takeaways
- Designers will utilize the frames feature that is found on the Canva platform to shape their photos into a circle.
- Circular frames can be found in the Elements tab in the main toolbox by searching for that keyword. They allow elements to snap directly to the shape that you choose.
- If you want to show a different portion of the image or video that has snapped to a frame, simply click on it and reposition the visual by dragging it within the frame.
Why Use Frames in Canva
One awesome feature that is available on Canva is the ability to incorporate some of the premade frames from their library of elements into your designs! One feature that people often use is the frame feature, which allows users to crop images to a specific shape on the canvas.
This is an awesome tool because it allows you to further edit the elements to fit your overall vision of a design. Also, within the frame itself, you will have to ability to drag your image to focus on certain areas of the photo, allowing for highlighted features and continuity.
One thing to note that people sometimes get confused over is the fact that frames are different from borders. Both are available in the main Canva library, but frames allow you to choose a specific shaped frame and have your photos and elements snap into them.
(Borders are solely used to outline your designs and cannot hold photos in them!)
How to Add a Circle Frame to your Project
If you are looking to add photos to your Canva projects and want them to seamlessly fit into your designs and take on specific shapes, this is for you! For the purpose of this tutorial, I am going to focus on changing a photo into a circular shape.
Follow these steps to learn how to change your images and photos into circular shapes by using the frame feature in Canva:
Step 1: The first step is pretty easy-you will need to log into Canva using your normal credentials and on the home screen, open up a new project or an existing one to work on.
Step 2: Similar to how you would add other design elements (such as text, graphics, and images) to your project, navigate to the left side of the screen to the main toolbox and click on the Elements tab.
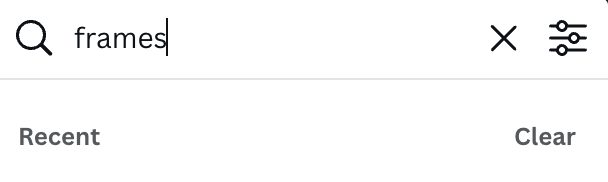
Step 3: While the Elements tab does offer a multitude of choices (including cartoons, photos, and other graphic designs), you can find frames that are available in the library by scrolling down in the folder until you find the label Frames.
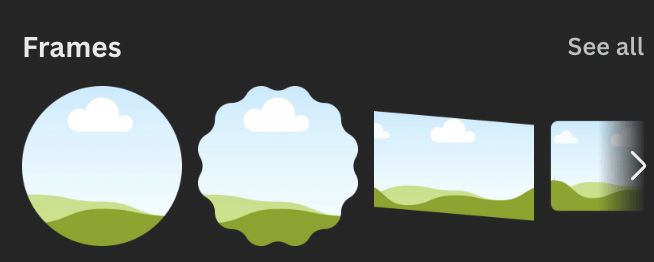
You can also search for them in the search bar by typing in that keyword to see all of the options. It’s up to you to decide which method you want to use to do this!
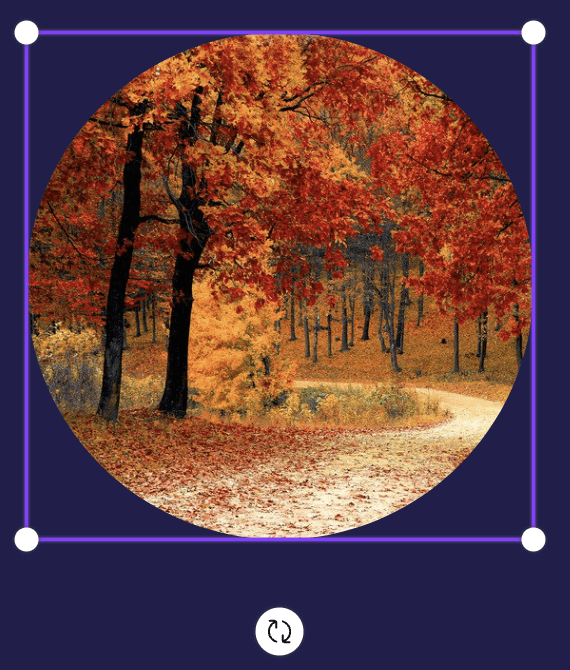
Step 4: Locate the frame shape that you want to incorporate into your project. (For the sake of this article, we will choose the circle frame.) Click on it or drag and drop it onto your canvas. You can then adjust the size, placement on the canvas, and orientation of the frame at any time by clicking on it and dragging the white dots to expand it.

Step 5: Now, to place your image into the frame to fill it, go back to the left side of the screen to that main toolbox again. Search for the graphic that you want to use either in the “Elements” tab or through the “Uploads” folder if you are using a file that you already uploaded onto Canva.
It is important to note that you can snap either a still image such as a graphic or photo or a video into the premade frames! Canva users also have the ability to add different filters and effects to your included image or video in your frame (including adjusting the transparency and settings of an image)!
Step 6: Click on the graphic that you chose and drag and drop it onto the frame on the canvas. You may have to hover over it for a second, but it will snap into the frame. If you click on the graphic again, you will be able to adjust what portion of the visual you want to be seen as it snaps right back into the frame.
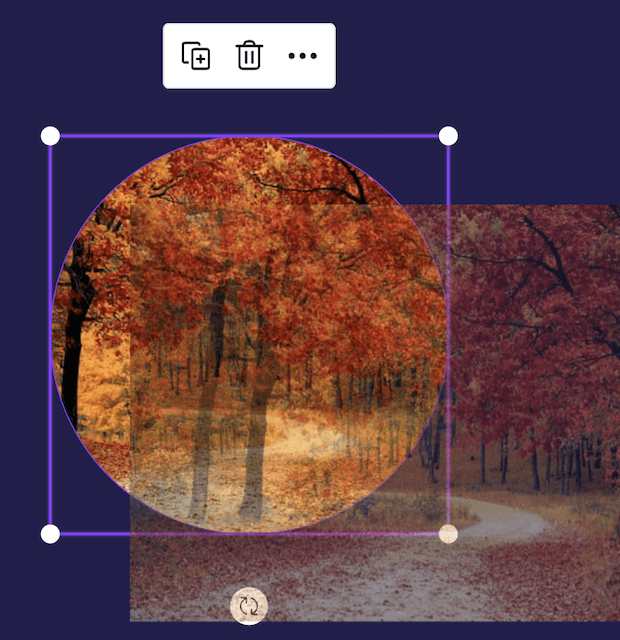
Sometimes, depending on the shape that you choose to use, your image will get cut off. If you want to have a different piece of the image displayed within the shape, simply double-click on it and reposition the image by dragging it within the frame.
If you click only once on the frame, it will highlight the frame and visuals in it so that you will be editing the group. Some frames will also allow you to change the color of the border. (You can identify these frames if you see the color picker option in the editor toolbar when you click on the frame.
Final Thoughts
Using frames in your designs is very useful when you want to use your images but want to alter them into specific shapes, like putting an image into a circle. The snapping feature that makes including graphics in such a neat way is one of the best features on the platform!
Do you have any projects you would like to tell us about where you have incorporated frames? We love to hear about your experiences on the platform, as well as any tips, tricks, or even questions that you have about this topic! Share all of your thoughts and ideas in the comment section down below!