
While Canva does not have a premade table template to use in your projects, you can edit other templates such as calendars or chore charts to serve as a table. Users can also create a table using shapes and lines, which takes more time.
My name is Kerry, and for several years I’ve been exploring various platforms online to see which are the best for graphic design, especially for beginners! I love sharing what I discover with others and am here to answer your questions about using my favorite graphic design platform, Canva!
In this post, I’ll explain how you can create and insert a table to use in your designs on Canva. Surprisingly, there is no template that you can use to automatically insert a table into your projects. However, if you follow the following strategies, you will be able to incorporate them without too much work.
Ready to learn how to do that? Let’s get to it!
Table of Contents
Key Takeaways
- Canva does not currently have a premade template for inserting tables into a project.
- Users can manually create a table by manipulating other design elements on the platform such as using lines and shapes.
- To save time, you can head on over to the template library and add one that has a chart or table in it and edit out the elements that you do not want in your design.
Why Create a Table in Canva
As I stated above, Canva does not currently have any sort of premade template for tables that can easily be incorporated into your projects. But don’t fear! I have a few methods to add tables to your work.
Within graphic design, being able to add tables is an often utilized action, as so many projects can benefit from this sort of graphic. If you are looking to include data, create printable worksheets, or design an infographic, having a table can be very helpful as it creates a clean-cut way of displaying information.
How to Manually Create a Table on Canva
This method will take a bit of time, but after the first time that you create it, you can save it in your project library to duplicate for projects in the future.
Here are the steps to manually create a table in your project:
Step 1: After you successfully log into your account, open up a new canvas to create your design.
Step 2: On the left side of the Canva platform, locate the Elements tab and click on it. In the search box, type in either square or rectangle and scroll through the options that appear.

Remember that any element with a crown attached to it can only be used if you purchase it or have a subscription account that allows you to have access to premium features.
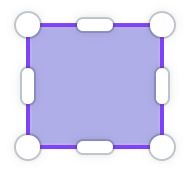
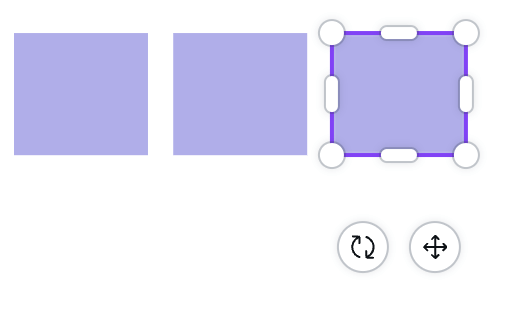
Step 3: Click on the shape that you want to use to begin building your table. (You can change the shape and size of the element by dragging the corners.) This will act as the first cell of your spreadsheet.
Step 4: Once you have the shape in the preferred size, copy and paste it to duplicate the cell. You can move the new cell over to start building a row or column.
Continue this process to build as many rows and columns as you need for your table!

If you want to save time, you can duplicate entire rows of your table by highlighting all of the boxes as a group and clicking copy. When you paste, the entire row will be duplicated! Do this as many times as you need to create your table in a shorter amount of time!
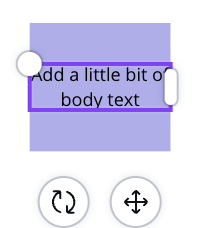
Step 3: To label your table, go to the left side of the platform to the main toolbar, but this time click on the Text option. You can choose a heading or font style to drag onto your canvas to be the title of the table.

Step 4: You will also have to add text boxes on top of each cell shape if you want to add text onto each cell within the table.
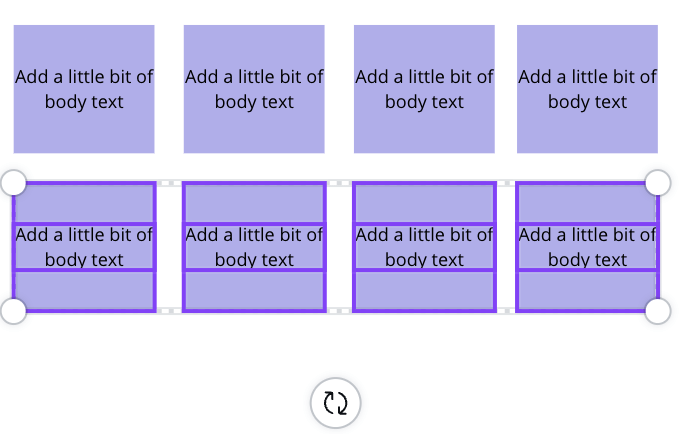
If you want to save time doing this, instead of adding twenty or so individual text boxes on top of the shapes, go to the text toolbox when you add in your first square or rectangle.
Place a text box and size it over the original cell. Highlight both the shape and text box by dragging your mouse over both elements and copying them together! When you paste, it will be the cell and text box so you won’t have to add numerous additional ones for each row and column!
How to Edit a Calendar Template to Create a Table
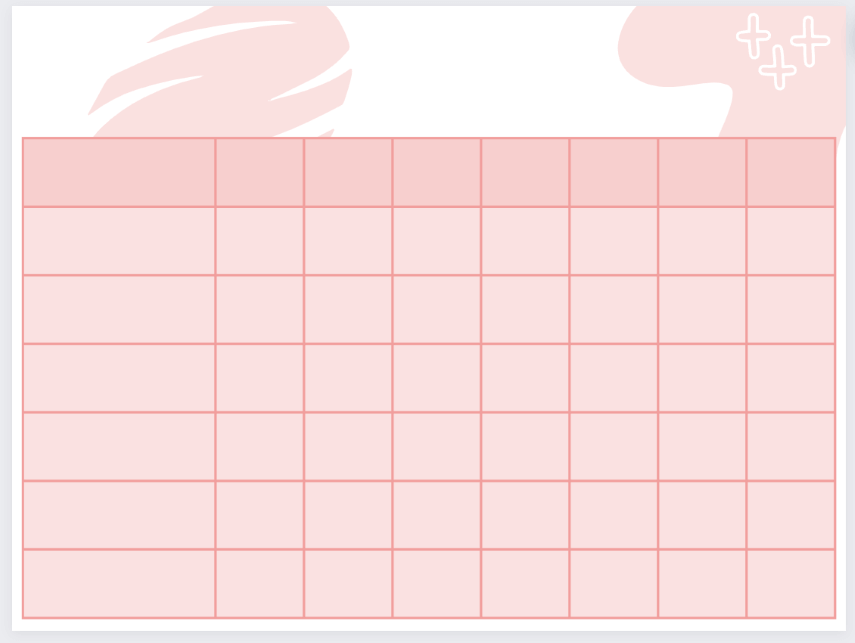
Here is a pro tip for you! Even though there are no premade table templates in the Canva library (yet!), you can use some of the other premade elements such as calendars or chore charts to get you started on creating a table. This method takes much less time than manually creating it.
Follow these steps to learn how to use a calendar template to create a table:
Step 1: Open up a blank canvas or one that you are currently working on.
Step 2: Go to the left side of the platform to the main toolbar and find the Templates tab. Click on it and you will have a search bar pop up. In the search bar, type in the word “calendar” and click enter.
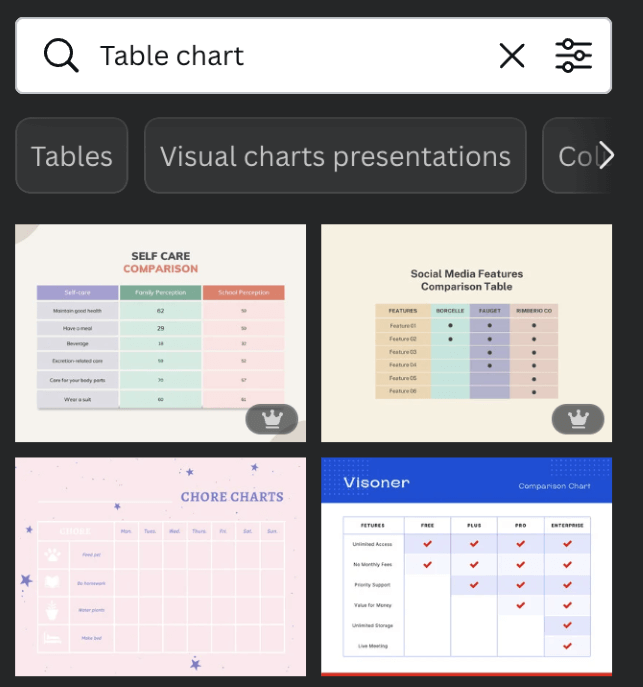
Step 3: Scroll through the library of options and click on the one that you want to add to your canvas. Remember to choose a template that has a table within it (even if there are words or designs that you do not necessarily want in the project).
Step 4: Once you incorporate the template onto the canvas, you can click on the different elements such as words, graphics, and other elements, and edit them as you need.
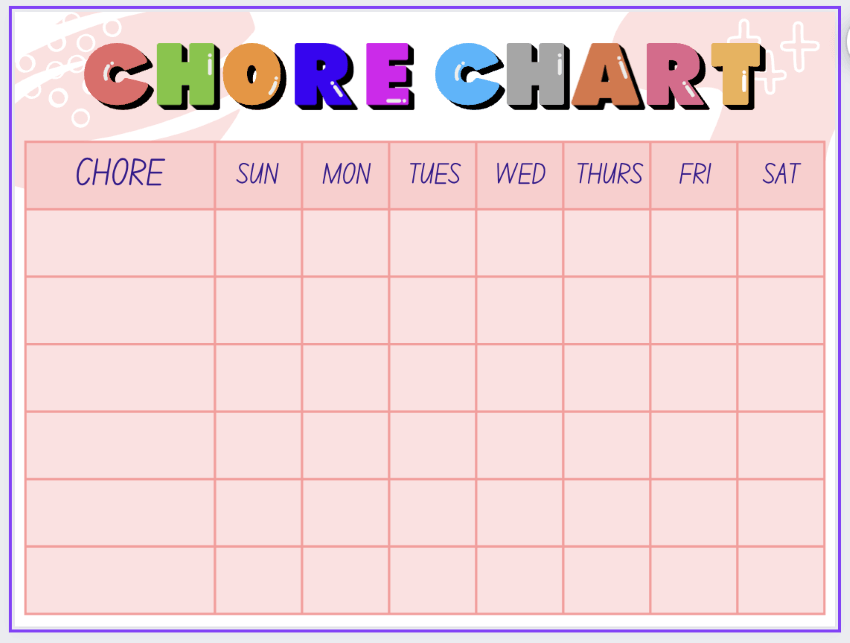
You can delete these elements and then add new text boxes to alter the table to fit your needs.
You can also search for other templates that may include table formats, such as chore charts, and table charts.
Final Thoughts
Even though Canva does not yet offer a button that will automatically generate a table for you to incorporate into your designs, it is good to know that there are alternative ways to get this style onto your canvas.
Have you ever added a table to your designs on Canva before? If so, what method did you use to include this type of graphic? We would love to hear about your experience so share your thoughts, tips, and tricks in the comment section down below!