
Page layout can be a complex process, and many designers have developed their own tips and tricks to help simplify things over the years, but few of those tools are more useful than a grid system.
When designers talk about a grid in layout design, they’re usually referring to a specific design system created by modernist typographers in the mid-1900s. This method can be a useful starting point for some design projects, but it’s not the only way to make a grid in InDesign!
Table of Contents
Why Use a Grid in InDesign
Grids were extremely popular in design during the late 20th century for a number of reasons, but primarily because they were a clear and simple way to structure information.
The same holds true in InDesign today, no matter which type of grid you use; they provide a consistent framework for positioning your design elements that help to unify the overall style of the document.
Keep in mind that while grids can be a useful design tool, they’re not the only way to structure a page. Freeform, organic layouts can also be quite effective, and mixing the two approaches by creating a grid and then occasionally “breaking” it can also work well. These structures are supposed to help you, not limit you!
4 Ways to Make a Grid in InDesign
When working in InDesign, there are several different ways to use a grid system to help with the layout process: baseline grids, document grids, column grids, and guide grids.
All of these grid types are known as non-printing grids, which means that they are only visible during the document creation process and are not included when you export your file to PDF or other formats.
(It is possible to make a printable grid in InDesign too, but more on that later!)
Method 1: Baseline Grids
In typography, the “baseline” is the conceptual line that runs along the bottom of a row of text characters. Most characters sit directly on the baseline, while the descenders on some letters like g, j, p, q, and y cross over the baseline.
With that fact in mind, you can probably guess that the baseline grid in InDesign allows you to align your text across different text frames and create a more consistent and polished overall look.
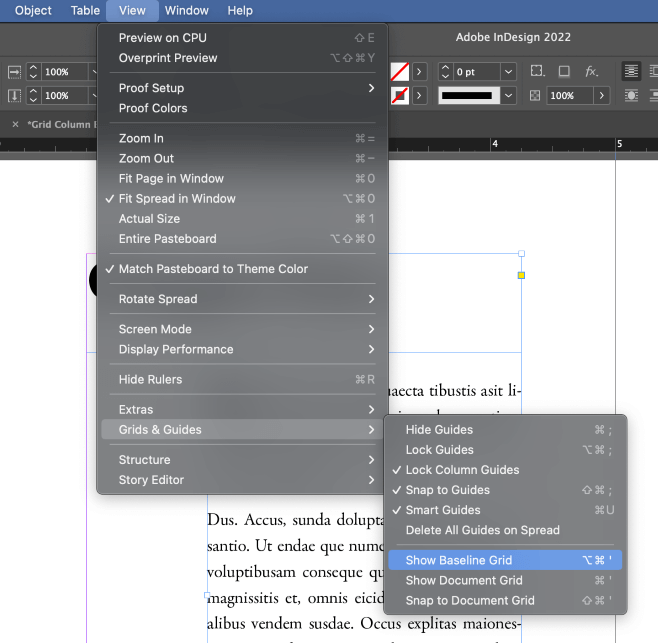
To enable the baseline grid, open the View menu, select the Grids & Guides submenu, and click Show Baseline Grid. (Note: grids are hidden in all screen modes except Normal mode).
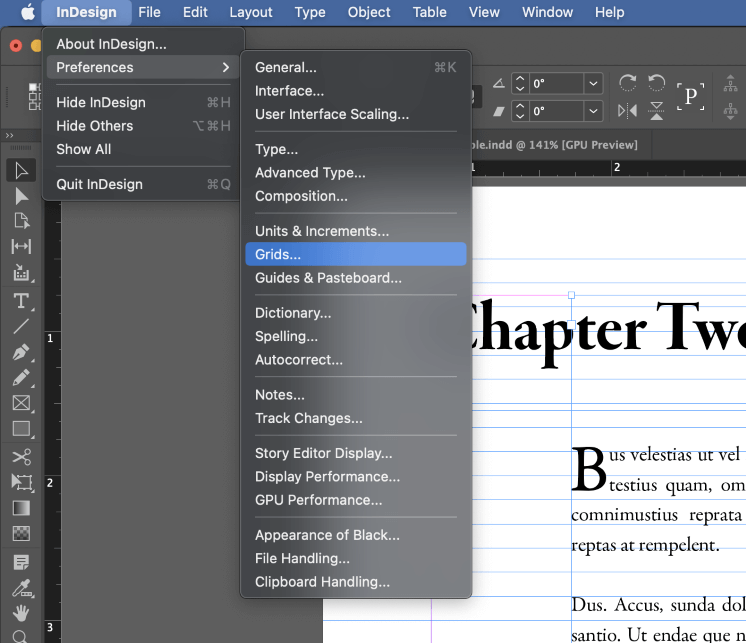
You’ll probably discover that it’s not configured properly for your current document, but you can adjust the baseline grid settings by opening the Preferences panel. In the Preferences window, select the Grids tab from the list on the left, and locate the section titled Baseline Grid.
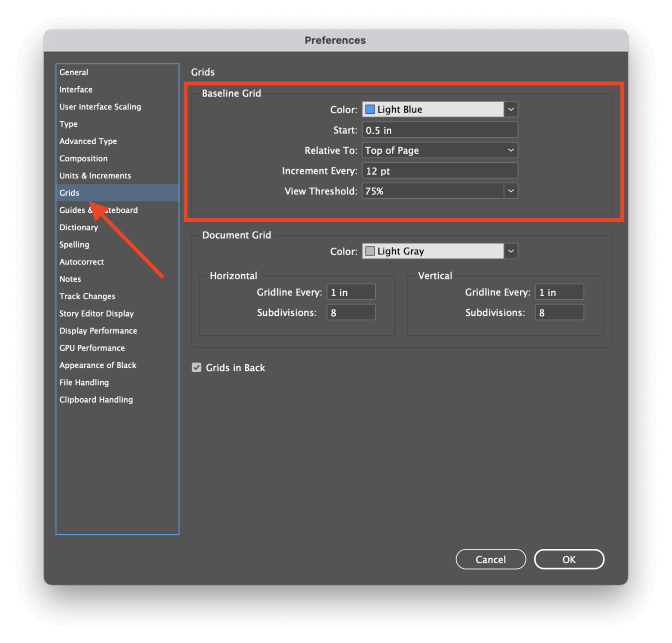
The Start setting allows you to offset the beginning of the baseline grid, while Relative To: allows you to choose whether the grid should cover the whole page or fit within your document margins.
Most importantly, the Increment Every: setting defines the distance between each baseline. This setting should match the leading setting that you will use for your body copy. If you want to get fancy, you can use half or a quarter of your leading to allow for more customized positioning, but matching your leading is a good place to start.
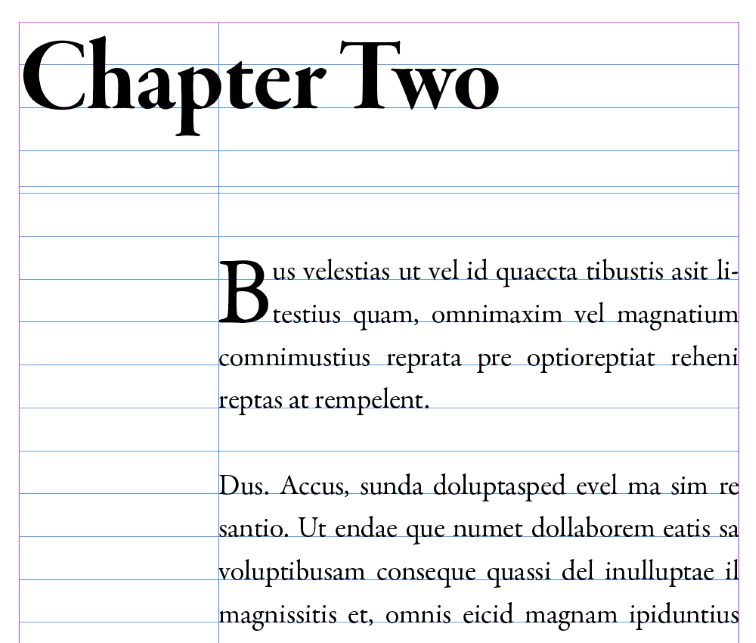
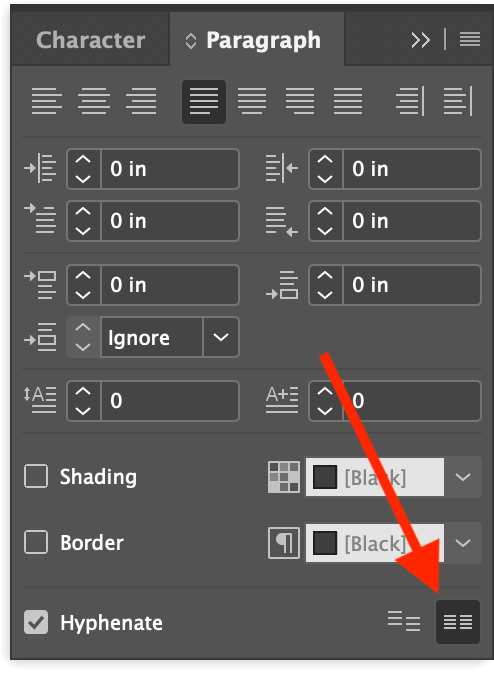
Once you’ve configured your baseline grid, select any text frame, and open the Paragraph panel. At the bottom of the Paragraph panel, click the Align to Baseline Grid button. If it’s a linked text frame, you’ll have to select the text itself using the Type tool before you can apply the alignment.
This is only scratching the surface of baseline grids, and they really deserve a tutorial dedicated to their usage. If there’s enough interest in the comments section, I’ll prepare one!
Method 2: Document Grids
Document grids in InDesign are similar to baseline grids, except that they are used for positioning non-text objects like images, flourishes, and so on.
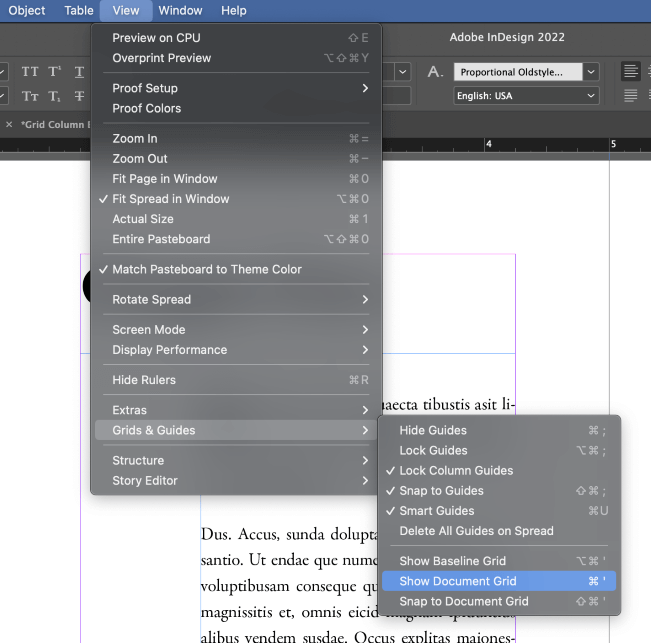
To view the document grid, open the View menu, select the Grids & Guides submenu, and click Show Document Grid.
As with the baseline grid, you’ll probably need to customize the grid settings in order to get the results that you want. Open the InDesign Preferences window, and select the Grids tab from the list on the left.
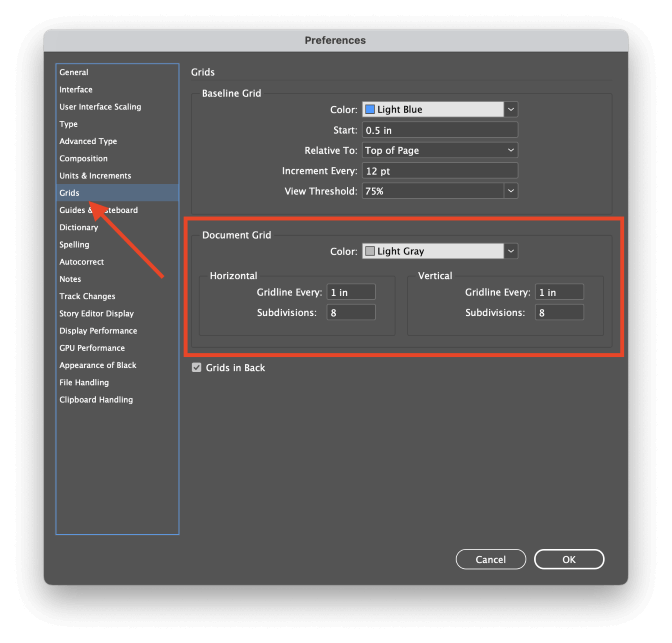
Within the Document Grid section, you can customize the grid pattern with independent values for the horizontal and vertical grid lines. It’s a good idea to choose a grid size that divides neatly into your page dimensions, so you’ll have to calculate the optimal grid size for your document.
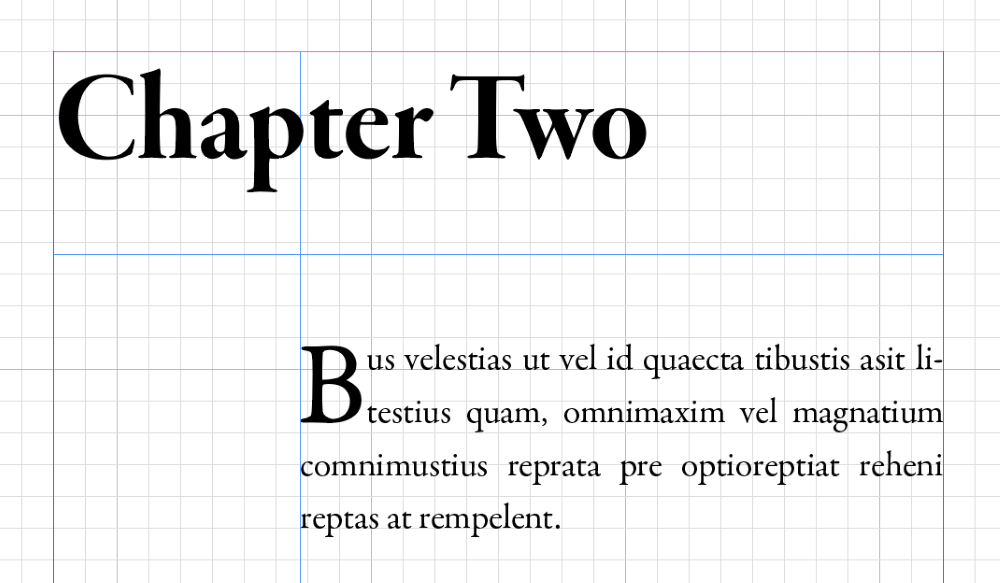
To simplify the process of aligning your various elements to the document grid, you can turn on snapping to speed up the process considerably. Open the View menu again, select the Grids & Guides submenu, and click Snap to Document Grid.
Method 3: Column Grids
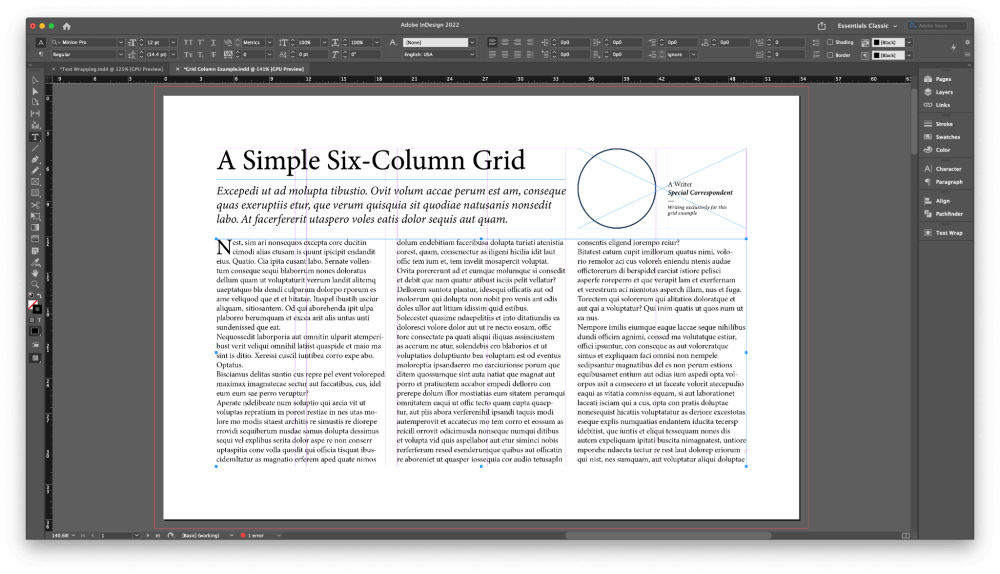
If you want to follow in the footsteps of modernist typography, column grids are a great way to go. They are visible on every page, and they don’t enforce snapping, so they’re often a good compromise between effectiveness and ease of use.
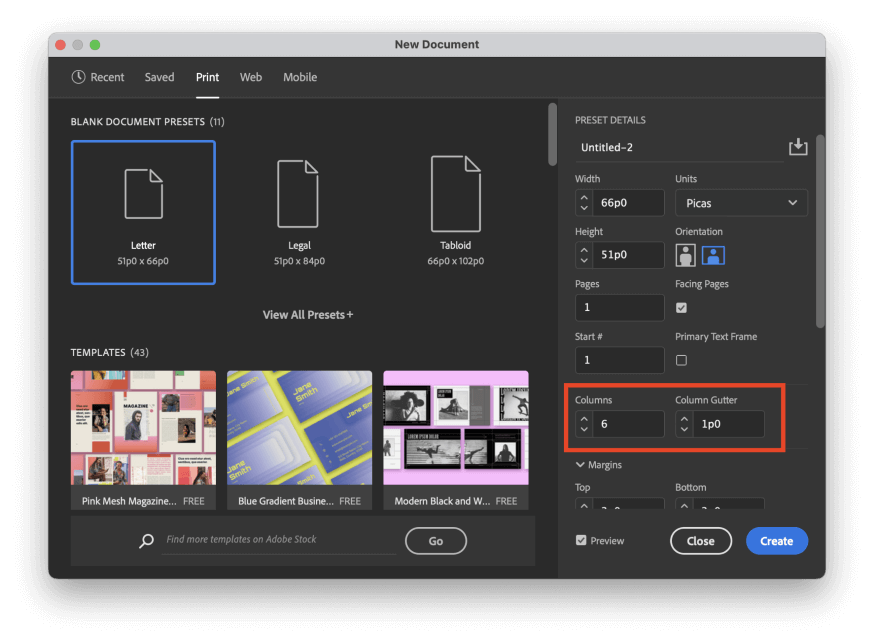
While creating a new document, simply adjust the Columns and Gutter settings. This will automatically create non-printing column guides on every page of your document.
If you decide you want to add column grids after you’ve already created a new document, open the Layout menu and click Margins and Columns. Adjust the Columns and Gutter settings as necessary.
Method 4: Custom Layout Grids with Guides
The main advantage of using guides to create your grid is the complete flexibility that you get. That being said, guides are also limited to a single page, so these custom grids are best used for small projects.
You can place guides by hand anywhere you want by clicking and dragging one of the document rulers out onto the current page, but this can be tedious and time-consuming, and there’s a better way!
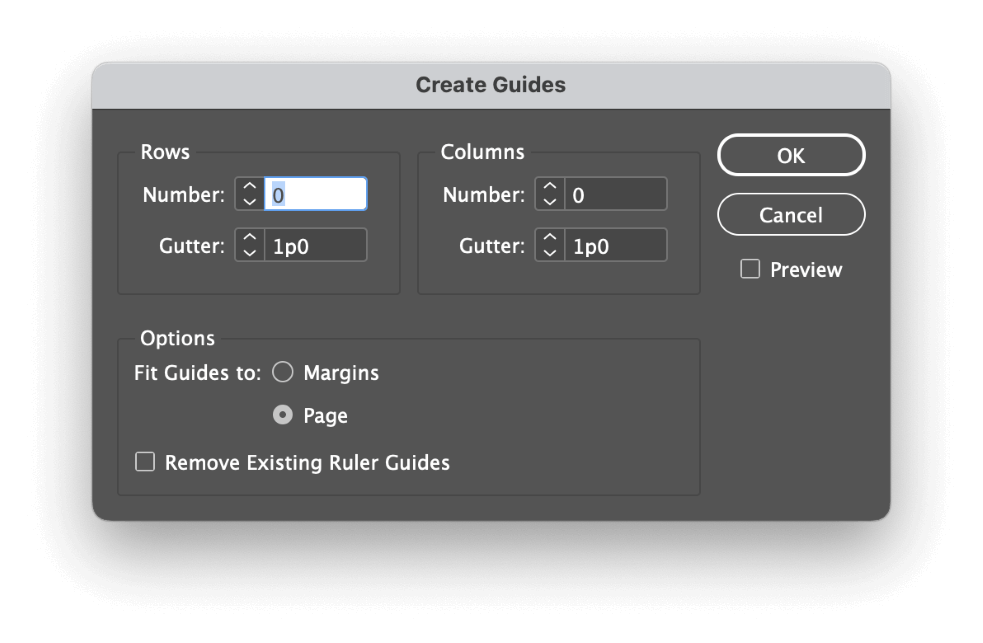
Open the Layout menu, and select Create Guides. In the Create Guides dialog window, make sure that the Preview option is enabled, then customize the Row, Column, and Gutter settings to make your grid.
One major advantage of this method is that you can add precise gutters between each of your guides, allowing you to standardize the spacing between your elements. It might not seem like much, but it can have a big impact on the visual consistency of your overall document.
Bonus: Create a Printable Grid in InDesign
If you want to make a printable grid in InDesign, you could take the time to do it by hand using the Line tool, but this can get tedious very quickly. Instead, use this shortcut!
Switch to the Line tool using the Tools panel or the keyboard shortcut \ (that’s a backslash!), and draw a single line that matches the size of the grid you want to create. Hold down the Shift key while drawing out your line to ensure that it’s perfectly horizontal.
Make sure the new line is still selected (use the Selection tool if necessary), and then open the Edit menu and select Step and Repeat.
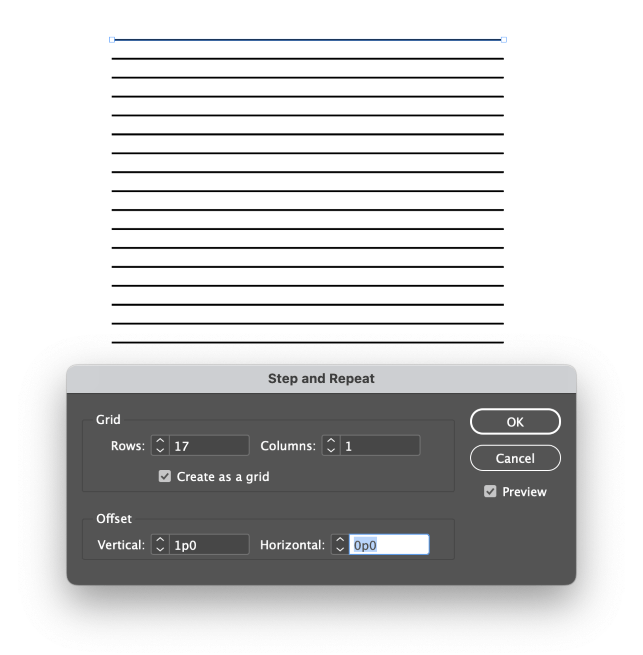
In the Step and Repeat dialog window, check the Create as a grid box, and then increase the Rows setting until you’ve created enough horizontal lines. In the Offset section, adjust the Vertical setting until your lines are spaced the way you want.
Optionally, you can check the Preview box to double-check the results visually. Click the OK button.
Using the Selection tool, select all the new lines that have been created, and group them using the keyboard shortcut Command + G (use Ctrl + G on PC). Press Command + Option + Shift + D (use Ctrl + Alt + Shift + D on PC) to duplicate the lines, and then rotate the newly-duplicated lines by 90 degrees.
Voila! You now have a printable grid that’s perfectly precise and even.
A Final Word
That’s just about everything there is to know about how to make a grid in InDesign, no matter what kind of grid you need!
While tools like the baseline grid and the document grid are pretty standard, there’s a lot more to learn about grid design systems and how they can be used in page layout. With a bit more research and practice, you’ll soon be using 12-column grids like a pro.
Happy gridding!