
For users who are looking to add a unique and colorful touch to their Canva creations, you can include a gradient color within your designs by inserting a gradient element from the library over portions of the project and adjusting the transparency of it.
Hi there! My name is Kerry, and I am an individual who loves to explore all of the design platforms that are available for users online. I really love searching for tools that are simple to use but also incorporate professional features that can elevate designs, especially for beginners!
One of my favorite websites to use for designing is called Canva because it is extremely user-friendly and allows for customization of your projects without feeling like you have to take special classes to learn how to use it.
In this post, I’ll explain how you can add a cool element to your designs to give them a gradient feature. This is a neat tool to use if you are looking to amplify your projects or want to get a little more creative when creating posts that will capture the eyes of your audience!
Let’s get to it and learn how to add this gradient feature to your projects on Canva.
Table of Contents
Key Takeaways
- If you are looking to add a color gradient to an image or piece of your project on Canva, it is easiest to add that element first and place the gradient on top of it so that you can easily alter the transparency of the colors.
- You can find a variety of color gradients in the Canva element library. Just remember that any element that has a crown attached to it is only available for purchase or through a Canva Pro subscription account.
- If you are feeling adventurous and want to add multiple color gradients to different portions of your project, you can do that by repeating the steps and adjusting the size and orientation of the gradient element as you need.
Why Add a Gradient to Your Canva Projects
If you have never heard of the term color gradient before, no worries! A gradient is a blend between two or more colors (or two tints of the same color) that gradually lean into each other to create a transition that is very appealing to the eye. Often, you will see gradients used with colors that are in the same family or are different hues.
Especially if you are looking to use color in your design or are sticking with colors in your Brand Kit (looking at you Canva Pro and business users!), adding a gradient to elements can give your design a more complete look.
How to Add a Gradient to Your Canvas
If you are looking to add the gradient effect to your project, the process to do so is fairly simple. As you become more comfortable and adventurous in creating your designs, you will be able to adjust the intensity or even layer different gradients throughout your project.
For now, I will just show you how to do the basic method and you can play with it from there. Here are the simple steps to add a gradient to your project on Canva:
Step 1: Log into Canva using your regular login credentials and open up a new project on the platform or a canvas that you have been already working on.
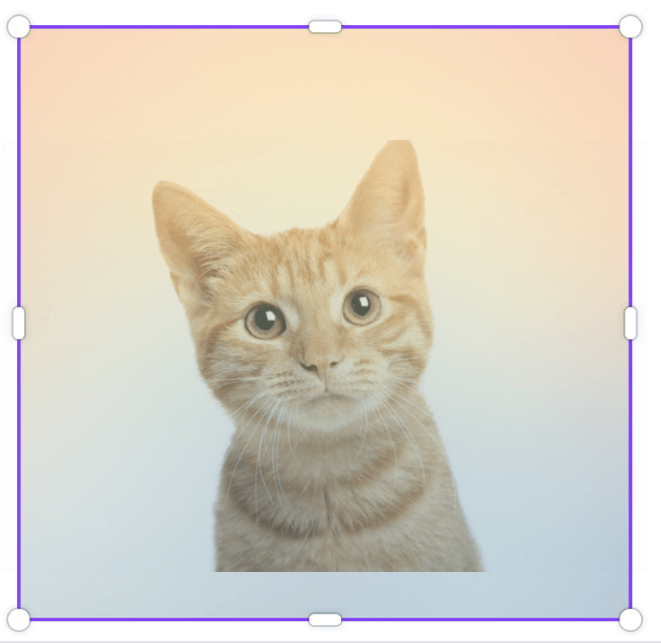
Step 2: Navigate to the left side of the screen to the main toolbox. Insert a photo from the Canva library onto your canvas by clicking on the appropriate icon and selecting the element that you want to use.
Note that if you see a small crown attached to any of the elements on the platform, you will only be able to use it in your design if you have a Canva Pro subscription account that gives you access to premium features.
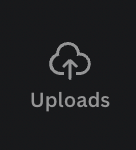
Step 3: You can also include any uploaded images from your device into the library to use while designing! To do this, you can click on the Uploads button and click on the upload files option. Once you choose your file to add to your Canva library, it will appear under this Uploads tab.
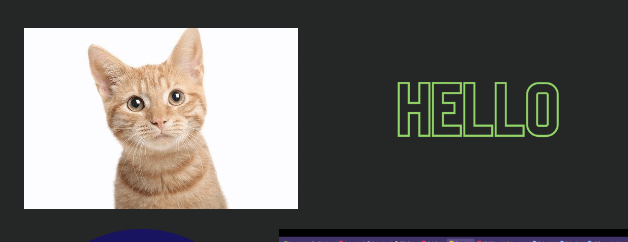
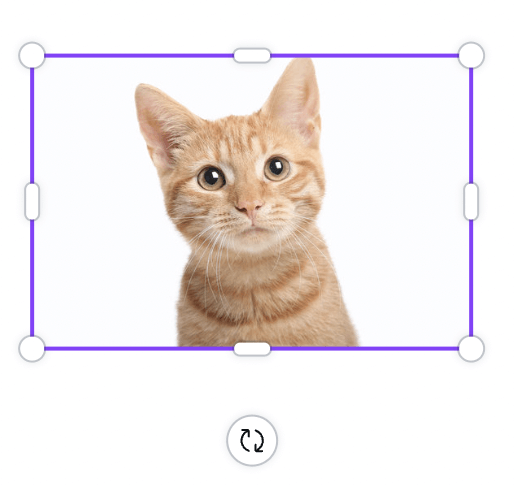
Step 4: Once you have your photo, you can click or drag it onto your canvas to incorporate it into your design. (This is also a time when you can resize the image and align it on the canvas to fit your needs.)
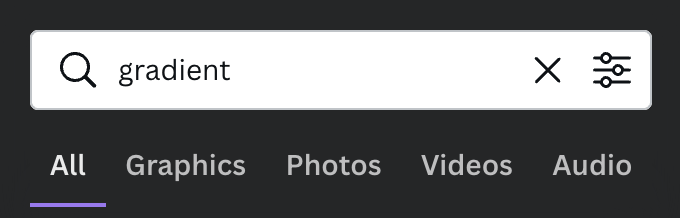
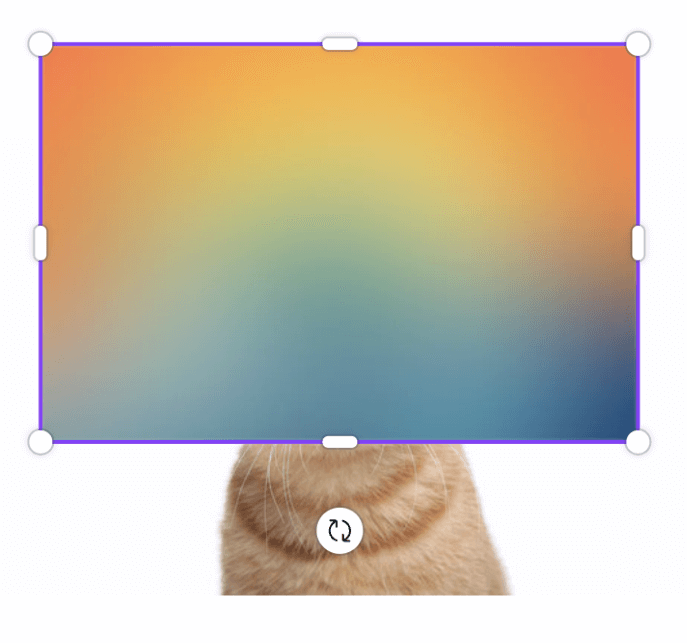
Step 5: Next, navigate back to the search bar in the main toolbox. In the Elements tab, search for “gradient”. Here you will see a variety of choices that you can scroll through. Click on the option that you want to use and drag it onto your canvas, resizing it over the previously added photo.
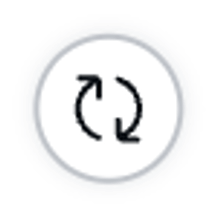
Just as you can do with editing other elements on the Canva platform, you can use the rotator tool that appears when you click on the element to rotate it to match the shape of your photo or design. (This will also allow you the option to rotate the gradient and place it in the direction you want the gradient to flow.)
Step 6: Once you have the gradient of your choice, you can click on it or drag it onto your canvas. Since you will be layering the gradient element on top of your image, use the corners to drag and resize it to cover the portion to that you want this feature applied.
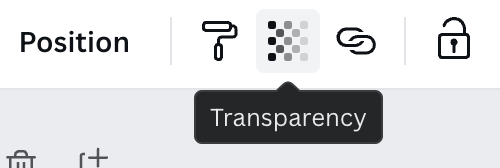
Step 7: Once you are satisfied with the alignment of the gradient, navigate to the toolbar to edit this element. This will appear at the top of your canvas when you click on the added gradient element.
Tap on the button that is labeled Transparency and you will have a slider tool to either increase or decrease the transparency of the gradient.
As you play around with this tool, you will see that the gradient becomes more or less stark in comparison to the now background image. Depending on your needs and vision, you can adjust this intensity as you need!
Final Thoughts
With Canva being such an incredible platform to either start or continue your journey in the graphic design space, it is worthwhile to explore new techniques and tools that can really elevate your project!
When you add a gradient filter to your images, it will surely capture the attention of those who are looking at your work!
Have you attempted to add a gradient filter to your projects before? Do you find that certain types of projects align better with this venture? If you have any extra tips, tricks, or even questions about this process, we would love to hear from you! Share your contributions in the comment section down below!