
Clip Studio Paint has a lot of brushes to choose from, but if you want more options, you can easily add custom brushes. You can add brushes directly from Clip Studio Assets, the software’s own store, or download brushes online designed for Clip Studio Paint or even Photoshop!
Hi, I’m Zoe, and I’m here to share my expertise with Clip Studio Paint. One of the first things that drew me to Clip Studio was the convenience of adding new tools and brushes to the software. I love having everything centralized on Clip Studio Assets, where I can quickly access a wide range of brushes without hopping from one website to another.
It’s always inspiring to use tools created by fellow artists and share my own custom brushes with the community. I’ve found that well-made brushes have not only saved me time but also elevated the quality of my artwork.
That’s why I’m thrilled to guide you through the process of installing and importing brushes into Clip Studio Paint.
In this guide, I’ll show you two methods to add brushes to your Clip Studio Paint toolkit: finding and installing brushes through Clip Studio Assets, and importing external brushes designed for Clip Studio Paint or even Photoshop.
Let’s dive in!
Table of Contents
Key Takeaways
- Downloaded brushes from Clip Studio Assets will go directly to your Downloads folder in Clip Studio Paint, making the process streamlined.
- Importing brushes is easy-just drag and drop both Clip Studio’s native files (.sut) and Photoshop brushes (.abr) directly into the program.
- As your brush library grows, stay organized by using Clip Studio’s collections or creating your own for easy access.
Read on to learn everything about adding custom brushes to Clip Studio Paint.
Note: All screenshots from this tutorial are taken from the CSP Mac version.
Finding and Installing Brushes through Clip Studio Assets
Clip Studio Assets is the native platform for Clip Studio Paint, offering over 40,000 brushes, both user-created and official. You can seamlessly integrate these brushes into Clip Studio Paint, giving you access to diverse options like pencils, inks, paints, textures, and special effects.

It’s a vibrant community where artists share their unique brush creations, allowing everyone to benefit from each other’s styles and ideas. Sharing materials also rewards creators with coins to purchase other assets, ensuring a continuous flow of interesting and fresh content for you to explore.
Note: Clip Studio is a Japanese software, so you may come across materials written in Japanese or titled with awkward English translations. While there’s enough English to navigate the platform comfortably, for very specific searches, I’ve found myself copying/pasting Japanese words from Google Translate a few times.
To install brushes directly from Clip Studio Assets, just follow these simple steps:
Step 1: Open Clip Studio and access the Clip Studio Assets platform from the main window.
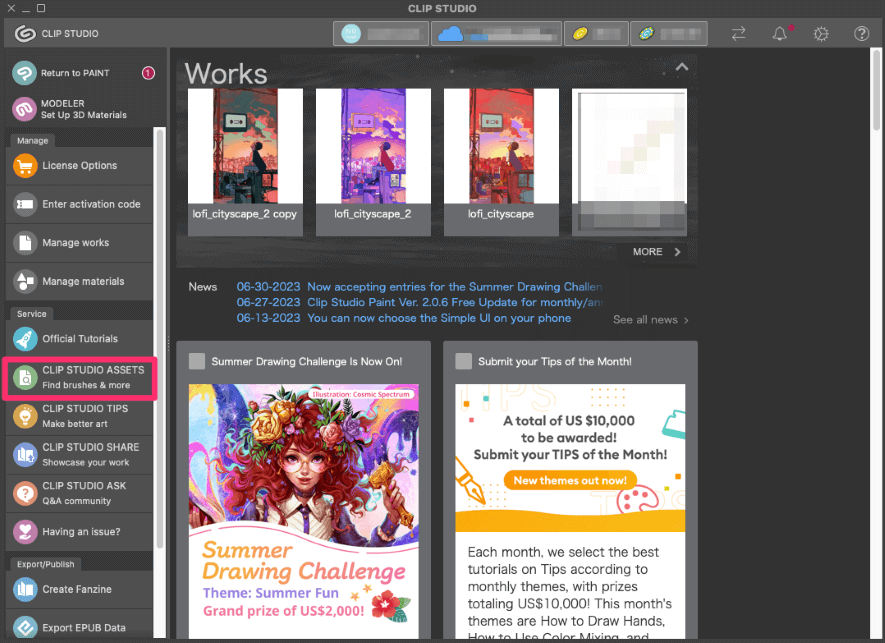
Ensure you are signed in to your Clip Studio account to download and install brushes.
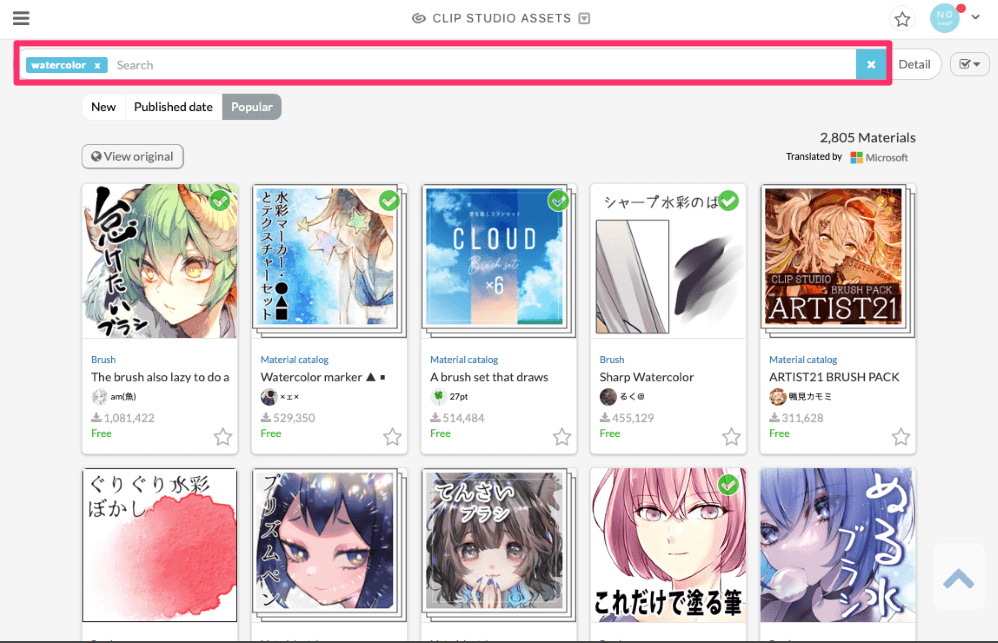
Step 2: In the Clip Studio Assets platform, use the search bar to find new brushes. You can search for specific brush types like “watercolor,” “ink,” or even “vegetation,” or explore popular brushes created by other artists.
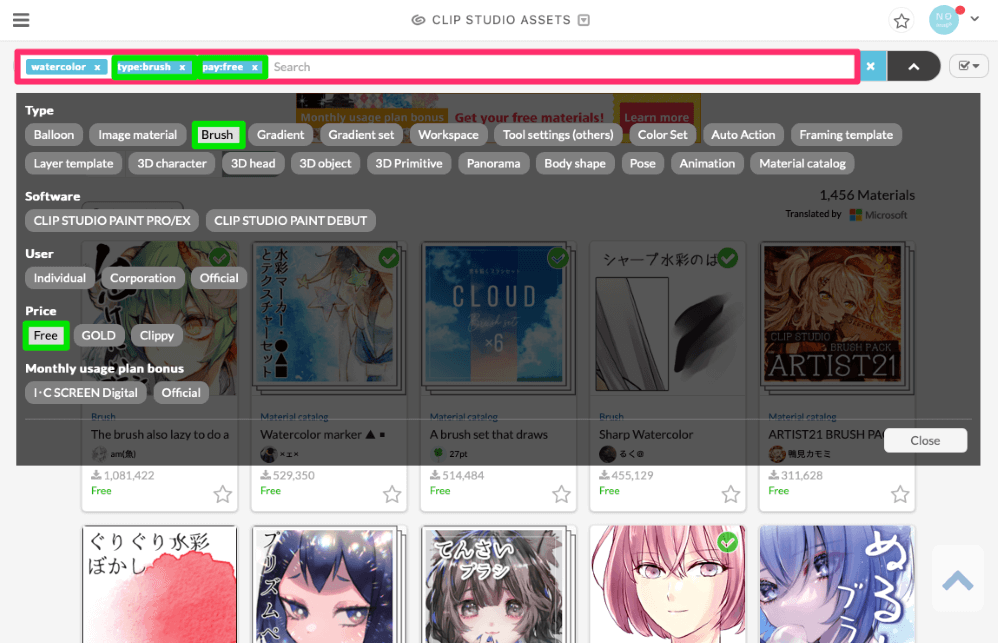
Click on the Detail button to filter your results. For example, you can select “Brush” to limit your search to those, or click on “Free” if you don’t want to see any paid materials.
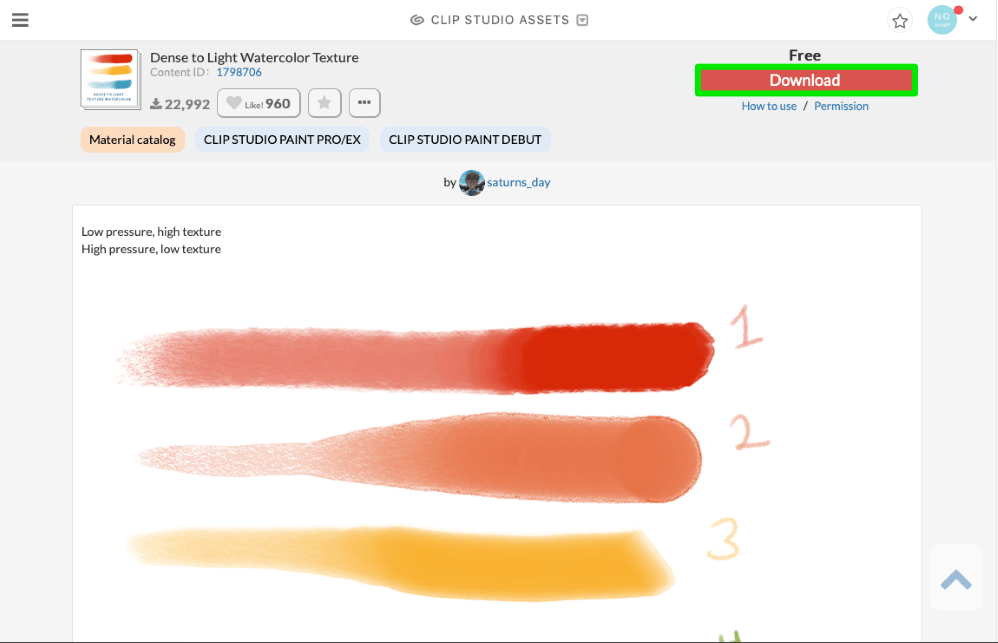
Step 3: Once you find a brush you’d like to add to your collection, click on its thumbnail to open the brush’s details page.
Step 4: On the details page, click the Download button to add the brush to your Clip Studio Paint software.
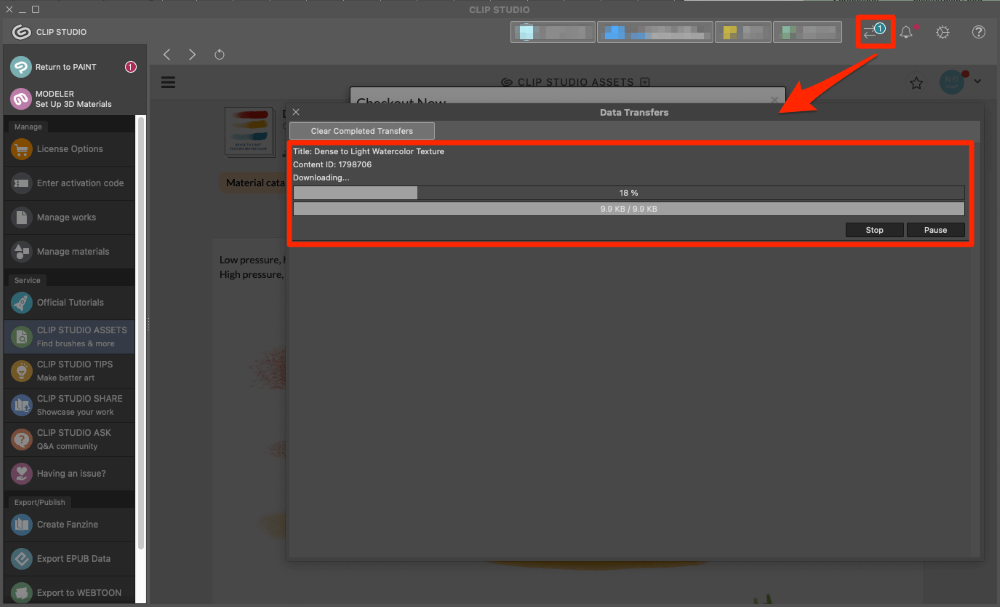
To check the progress of your download, simply click on the Data Transfers icon.
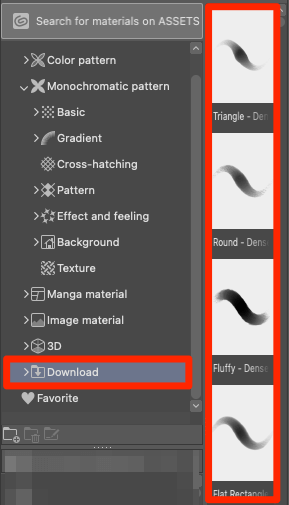
Step 5: Return to Clip Studio Paint, and open the Downloads palette. You should now see the downloaded brush listed among your available brushes.
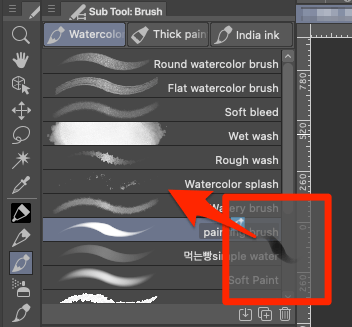
Step 6: To add it to your collection, simply drag and drop it from the Downloads palette to the Sub Tool palette of your choice.
Now you’re all set to start creating with your new brushes!
Importing External Brushes into Clip Studio Paint
While Clip Studio Assets is a fantastic resource for finding and downloading brushes, some creators and companies prefer to share their brushes on personal blogs or art resource sites. The good news is, you can still easily download these brushes and add them to your software.
What makes Clip Studio Paint even more versatile is its compatibility with both native .sut brushes and brushes designed for Photoshop in .abr format. Whether you’re already familiar with Photoshop or transitioning to Clip Studio Paint, you can seamlessly integrate your favorite .abr brushes.
And with access to countless .abr brushes available online, you can explore and experiment with a vast range of high-quality tools right within Clip Studio Paint. It’s the best of both worlds, giving you the freedom to use the brushes you love while benefiting from all the unique tools made specifically for Clip Studio Paint.
Let’s see how you can easily import these external brushes:
Step 1: Download the desired brushes to your computer. Ensure they are in either .sut or .abr format.
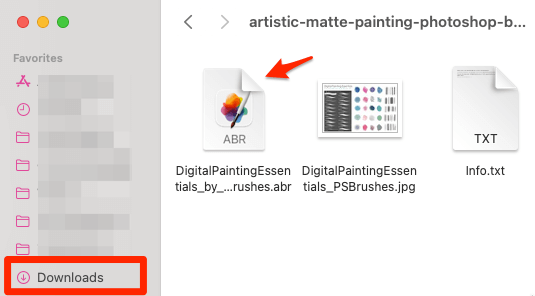
Step 2: Open your file manager (File Explorer on Windows, Finder on macOS) and navigate to the location where you downloaded the brushes.
Step 3: Select the .sut or .abr files you want to import into Clip Studio Paint.
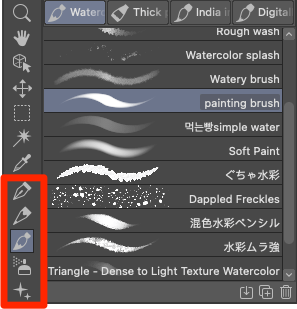
Step 4: Drag the selected files into one of the Brush Panels in Clip Studio Paint, such as Pen, Pencil, Brush, Airbrush, or Decoration, based on what fits best.
Step 5: Clip Studio Paint will automatically import the brushes, and you’ll now find them among your available brushes.

Congratulations! You can now enjoy using all sorts of brushes from the internet. However, if you find yourself hoarding lots of custom brushes, don’t worry – we’ve got a few helpful tips to keep you from getting overwhelmed!
Pro Tip: Managing and Organizing Your Brushes in Clip Studio Paint
As your collection of brushes grows, it’s essential to keep them organized for easy access. Here are some tips for managing your brushes effectively:
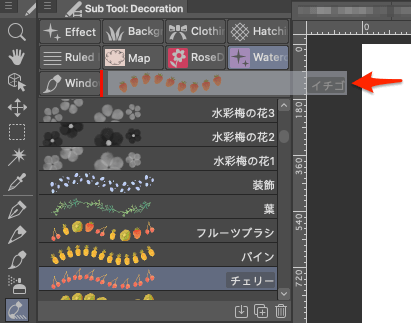
- Create folders in the Sub Tool palette to categorize your brushes based on their function or style. Drag any brush after the last tab to create a new brush family, and then drag and drop more brushes to keep them neatly organized.
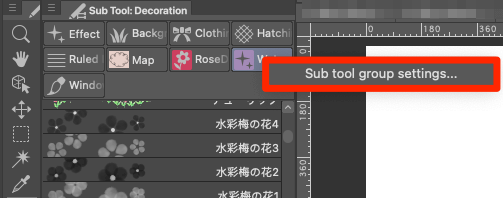
Name the new family by right-clicking on its tab, selecting Sub Tool Group Settings, and entering the name.
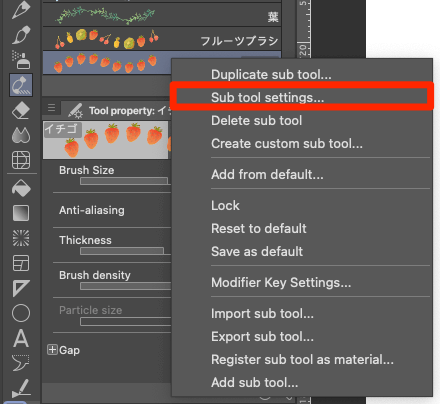
- Use unique names for custom brushes to easily distinguish them from the default brushes. Right-click on a brush in the Sub Tool palette, select Sub Tool Settings, and rename the brush as you prefer.
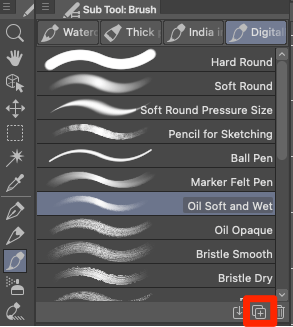
- Experiment with brush settings and save your custom brush presets for future use. After adjusting the brush settings, click the small + icon in the Sub Tool palette to save the brush as a new custom preset.
By following these simple steps, you can keep your brushes easily accessible and organized, making your digital art workflow more efficient and streamlined.
Final Thoughts
Adding new brushes to Clip Studio Paint can open up endless creative possibilities, allowing you to explore various styles and techniques in your artwork. Whether you find brushes through Clip Studio Assets or import external brushes in .sut or .abr format, customizing your toolkit can greatly enhance your artistic experience.
I hope this article has been helpful to you. If you have any questions or want to share your experiences with installing and importing brushes in Clip Studio Paint, feel free to drop a comment below.