
It can be incredibly frustrating when your files and folders disappear from your Mac desktop. But what causes this to happen? And how can you find and recover your files and folders on your desktop?
I have seen this problem across my desk many times as an Apple technician. We’ll start by checking the easy solutions first. Your files could be hiding in plain sight if you have too much clutter on your desktop, or they could have been accidentally deleted.
Let’s get into the 4 best fixes if your files and folders disappear from your desktop Mac.
Table of Contents
Key Takeaways
- Using the Spotlight function in Finder can greatly reduce the time of your search.
- You can check the trash bin if you accidentally deleted files from your Mac desktop.
- Use the Time Machine app on your Mac. You can use it to restore files if you accidentally deleted them from your desktop.
- If you can’t find your lost files anywhere, you can turn to a program like Disk Drill to recover them.
1. Search for Files on Your Mac Desktop
We’ve all been there, staring at a cluttered computer with documents and files everywhere. Trying to find the one you need can be a real pain, especially when you’ve got files for different clients, departments, and personal stuff all mixed.
The solution? Organize them by type and stick them in their folders.
Sure, it’s nice to have everything in one place for easy access, but sometimes we accidentally put things in the wrong spot. And with so many subfolders within other folders, it can be a real headache to track down what you need.
Don’t waste hours sifting through every folder and file name. Instead, use your computer’s built-in search feature like Spotlight or Finder to find what you need in a snap.
To use Spotlight Search:
Hit the Command and Space keys on your keyboard. A search bar will appear in the middle of your screen with the words “Spotlight Search.”
Type in the name of the file you are looking for. If you can’t remember the correct format of the name, type in a possible keyword used in the file’s title.
Several items will appear below the search bar. Some may be options to search for the keyword on the net, so skim through the list to find your file.
For Finder’s search feature, hit the Finder icon on your dock.

On the top right corner of Finder, find and click on the magnifying glass icon.
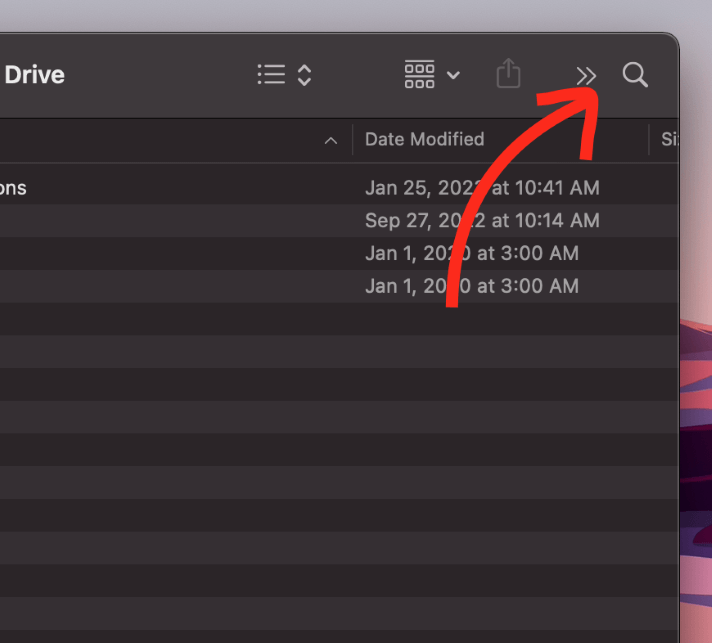
Type the name of the file you are looking for. If you can’t remember the correct format of the name, type in a possible keyword used in the file’s title.
Finder will automatically show you several files with titles with the word you typed.
To help narrow down your search, remembering other details of the file can give you more ideas for possible file names. Add the keyword to the search tab to filter the documents more.
2. Go to Your Mac’s Trash Bin
Have you ever found yourself with a cluttered desktop on your Mac after months of work? It’s easy to accumulate tons of files that you no longer need, whether it’s because you have an updated version, you’re no longer working with a particular client, or your project is finished.
To free up space and keep your computer running smoothly, it’s important to eliminate those unnecessary files. But sometimes, we accidentally delete important files too. Don’t worry, though, there’s an easy solution.
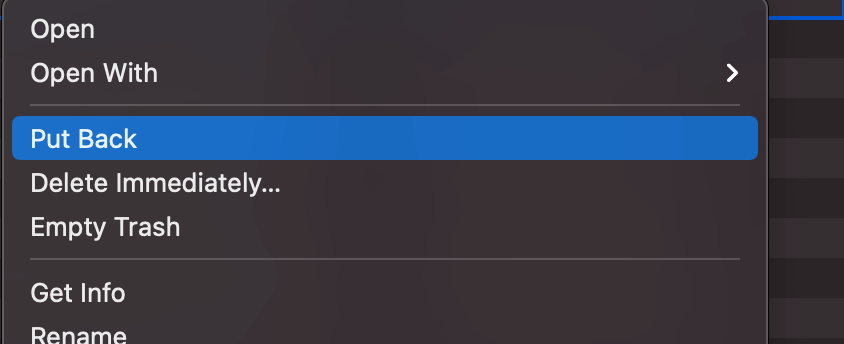
First, check your trash bin. The trash bin icon is located on your Mac’s dock, it looks like a trash can. Open it up, and you’ll see all the files and folders you’ve deleted.
If you find the file you accidentally deleted, just right-click on it and select “Put Back.” It’ll go back to the folder where it originally was.
But if you have many files and can’t find the one you need, don’t fret. Just click on the magnifying glass on the top right corner of the trash bin, type in the keyword of the file, then go to the left portion of Finder and click on “Trash” beside “This Mac.”
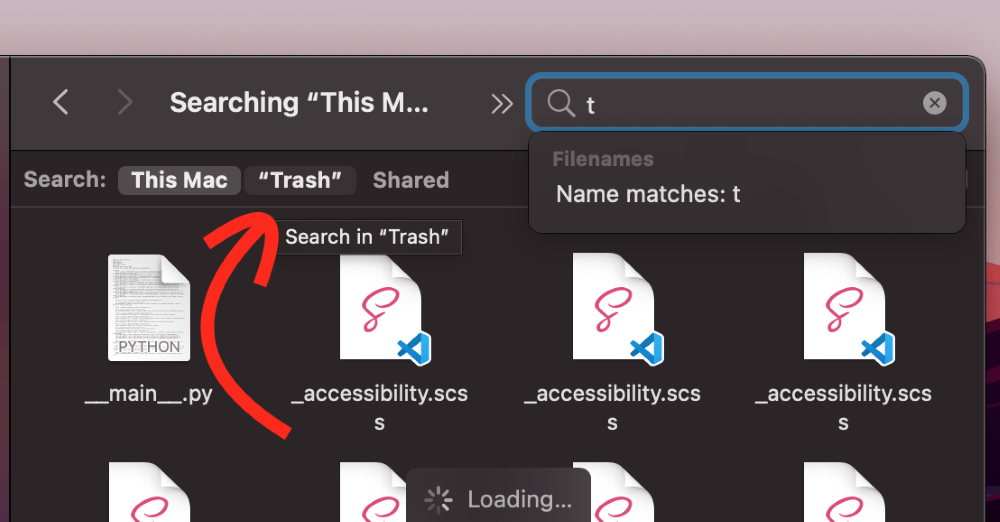
This will show you the deleted files with the keyword you entered, making it easy to find the one you need.
3. Use Time Machine Application on Your Mac Desktop
We’ve discussed how to hunt and recover your missing files or folders on your Mac desktop. Following those steps can surely save you from losing a document for good. However, those solutions are limited because you have not permanently deleted the items from your computer.
What if your computer malfunctions and deletes your files?
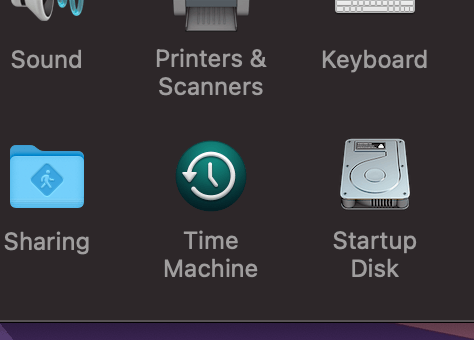
This is where the importance of backing up data comes in. To prevent future headaches caused by your PC’s hardware problems, use Time Machine. It is a built-in feature of MacOS that can help you back up folders, files, and images.
Find Time Machine in your Launchpad.
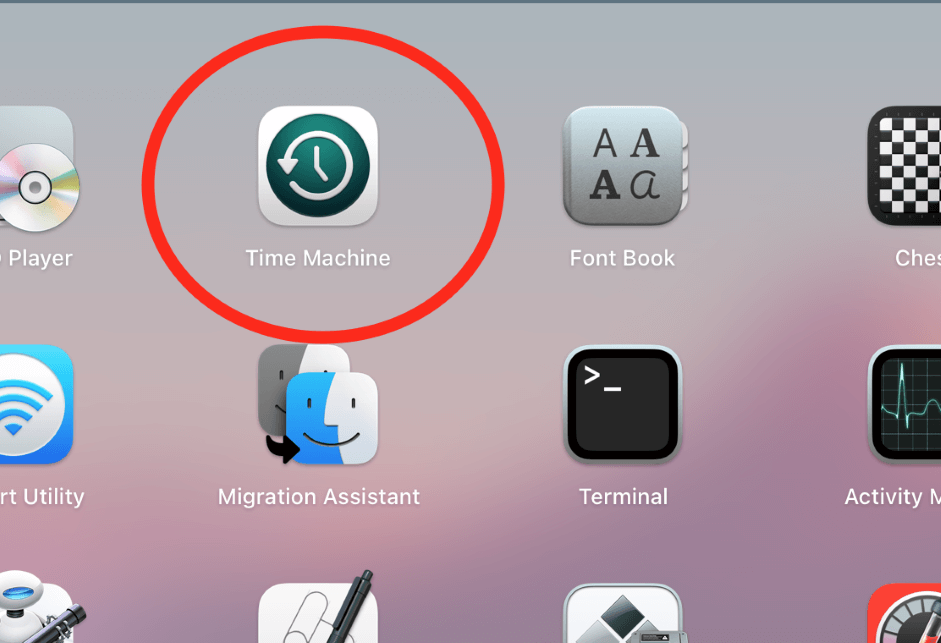
Alternatively, you may access Time Machine through System Preferences.
Now, you might be wondering, “How can I retrieve the files from the storage device?” Follow these steps to do so:
- Connect the external hard drive.
- Open the folder or application where the file was placed.
- Access the Time Machine feature in your Mac’s launchpad.
- A timeline of your previous backups will appear there, which you can scroll through using the arrows.
- Choose the folders and files you want to recover, then click “Restore.”
- The items will then be added to where it was originally stored and ready for you to use.
You may also opt to keep your external storage device connected to your Mac at all times. Time Machine can help you save and update your data on the hard drive every now and then, depending on your settings.
4. Use Disk Drill to Search for Deleted Files
If you suspect your files were deleted accidentally, it might seem like you are out of luck. Since macOS has no built-in way to recover files, you will have to use a third-party Mac data recovery application. One of the most reliable apps for recovering files and folders is Disk Drill.
Using Disk Drill, you can search for and recover lost files from your Mac but also your iPhone, Android, and other devices. Additionally, you can import your Time Machine backups so that you only need one backup program.
After downloading and installing Disk Drill, open the program and hit “Search for lost data” in the right sidebar.
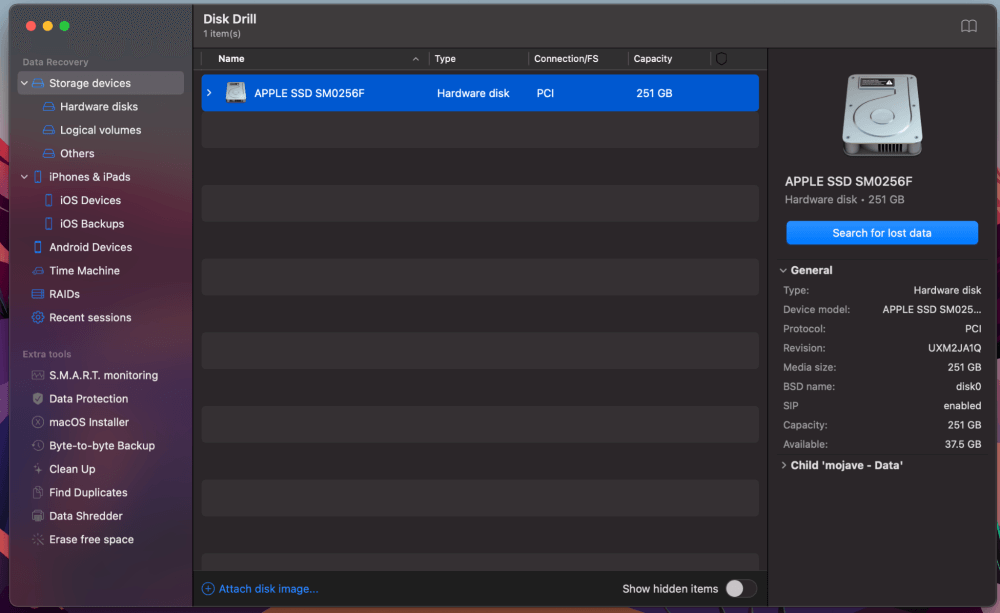
Disk Drill will scan your storage for deleted media and show you the results. In most cases, this app will let you recover files that would otherwise have been lost.
Final Thoughts
Looking for your missing files on your desktop Mac can give you a headache if you have too many files and folders to go through. Save yourself from the trouble of doing so by using the search tab available in Finder.
To ensure you don’t lose any files, back them up with Time Machine. It may not seem helpful now, but you will find it a blessing if all your documents suddenly go missing. In a worst-case scenario, you should be prepared with a comprehensive backup.
Finally, if you can’t find your files and folders anywhere, you can try a third-party application like Disk Drill. Apps like this can scan your storage and recover deleted files, letting you get back to work.