
There is one main method for erasing the either full or pieces of a photo that you are using in a Canva project which you can find by clicking the Edit Image button. Here you can remove the background or erase elements of the photo, but it is only available for Canva Pro users.
My name is Kerry, and I am an artist and graphic designer who loves finding accessible technology to use when creating different types of projects. One of the platforms that I really enjoy using to create designs is Canva, a website that is extremely accessible to navigate and simple to learn.
In this post, I’ll explain the steps for erasing either an entire or part of an image in Canva. This is helpful if you do not want to include the entire graphic in your design or want to customize your work even further.
Are you ready to learn how to erase parts of images in your projects? Great – let’s get started!
Table of Contents
Key Takeaways
- To remove or erase part of an image on Canva, you can add in your photo and click on it to utilize the photo toolbar. Click on Edit Photo and you can remove the background and then use the eraser and restore tools to get into those small crevices of your photo!
- You will be only able to access the background remover tool if you have access to a Canva Pro subscription account that will allow you to use premium features.
Erasing Aspects of Your Project in Canva
If you are looking to erase part of an image on your project in Canva, look no further! The method that is available on the platform that will allow you to get rid of parts of photos is easy to learn and once you have done it, will stick in your mind for a long time.
In this tutorial, I will go over how users can use the background remover, eraser, and restore tools found on the platform to get this job done. Each of these options has specific features that will help you erase or restore whatever you need in your project.
However, it is important to note that users will be only able to access these tools if they have a Canva Pro subscription account that allows access to premium features. I wish it was a feature that everyone has access to, but unfortunately at this time Canva only provides it for paying users.
How to Erase Using the Eraser Tool
It makes sense that there is an eraser tool that will- gasp!- help you erase elements of your project in Canva. However, you will not be able to find this tool in the regular toolbar because it is only able through the Background Remover option!
(This is a feature that you can pay for as Canva Pro subscription user or someone who has access to a Business account.)
Follow these steps to learn how to erase parts of your image using the Eraser tool:
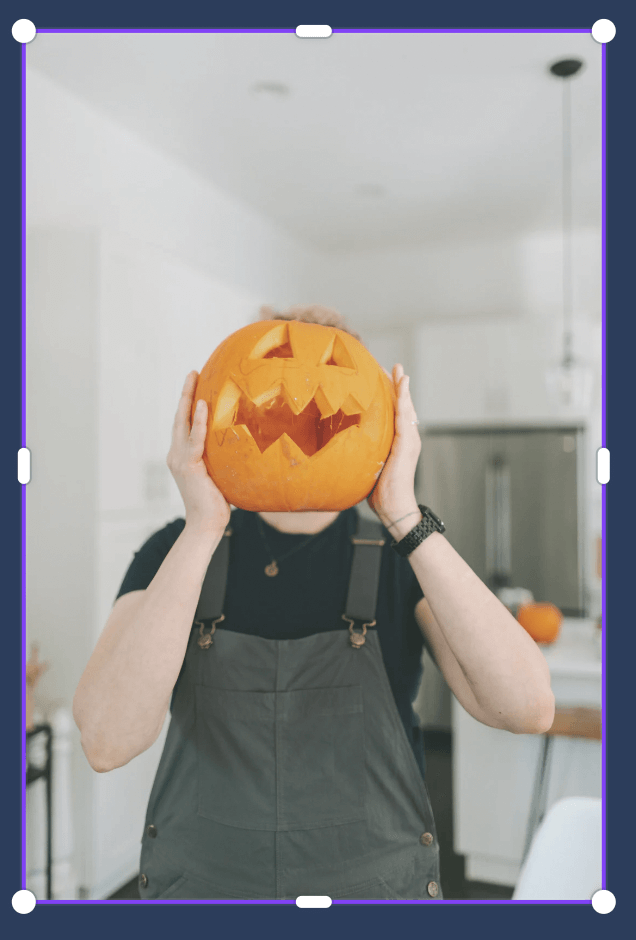
Step 1: Log in to Canva and open a new or existing project that you want to work on. Once your canvas has opened into a new window, add the photos that you want to use by navigating to the Elements tab on the left side of the canvas (found in the main toolbar) and searching for the photo keyword in the search box.
You can also go to the Upload option in that main toolbar and import a photo that you have on your device by adding it to your Uploads library. Click on it or drag it onto the canvas just as you would with any of the photos that you take from the Canva library.

Remember that any of the photos that you find in the Canva library that have a small crown attached to them are only available for Canva Pro users. (Though if you are reading through this tutorial, you probably have that subscription since this method for erasing is only available to you all!)
Step 2: Drag and drop the photo that you want to include onto the canvas. To edit, click on it and you will see an additional toolbar pop up at the top of your canvas. There will be a button that is labeled Effects that you will click on.
Step 3: To remove the background of a photo, select the Background Remover option. In a few seconds, Canva will process the removal of the background on your image.

Step 4: You will also see other options to edit your photo. This is where you will find the eraser and restore tools. If you are not satisfied with the background remover and want to make some finely detailed erasures, click on the eraser tool and drag it on the parts of the photo that you want to disappear.
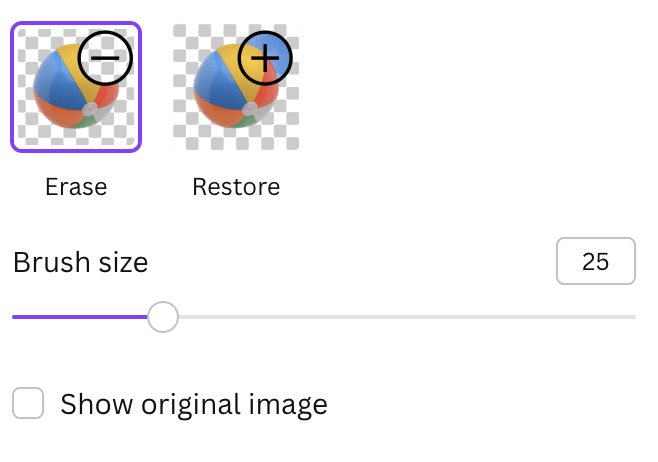
You will also be able to change the brush size that you are using for either the erase or restore tool brushes.
Step 5: If you make a mistake or even want to bring back aspects of the picture that Canva erased using the background remover tool, click on the restore button and follow the same process.
(You can even select the option to show the original photo and it will appear in a more transparent state so it is easier to navigate the portions that you want to erase or restore!)
Step 6: When you are satisfied with your editing, simply click somewhere else on the canvas to close the photo editing tool. You can always go back to edit the photo by clicking on it and following these steps again.
Final Thoughts
Being able to erase parts of a photo through the Canva platform is an extremely useful tool that allows you to further customize your designs and utilize photo elements that you may not have deemed worthy because there was an element that you did not want to incorporate.
Have you ever used the erase tool in Canva? What types of projects do you find are the best to utilize this method? For those of you that do not have a Canva Pro subscription, do you have other websites or technology tools that you use to erase aspects of a photo? Comment in the section down below with your tips, tricks, and any other ideas that you would like to share with us on this topic!