
I used to love Skype. The quality of video conferencing was unparalleled. Skype used to be the buzzword we used when we wanted to connect with friends or colleagues. Not anymore!
Since Microsoft acquired Skype in 2011, the communication platform has changed rapidly from the sleek, friendly software that we users once adored.
Skype was once a verb, joining companies like Google and Facebook whose services are so important to us. We Google questions; we WhatsApp friends… but we no longer Skype.
Sad? Perhaps. But as technology advances, we sometimes have to move forward because we always prefer to try better things, right? Don’t get me wrong though, I still use Skype occasionally.
One thing I found really annoying about the app is Skype opening on its own. Skype keeps starting automatically every time I open up my HP laptop (Windows 10, 64-bit).
Worse yet, sometimes it ran in the background in a “sneaky” way, over-consuming system resources (CPU, Memory, Disk, etc.) on my computer. Does this sound familiar to you?

Why does Skype randomly start? How do you disable it? How to uninstall Skype on Windows 10? Questions like these can easily get into our heads.
That’s why I’m writing this guide, sharing a number of different ways to help you get rid of Skype on your PC — so Windows 10 can start up faster and you get more work done.
Using a Mac? Also read: How to Uninstall and Reinstall Skype on Mac
Table of Contents
How to Stop Skype from Starting Automatically Windows 10
Like I said, Skype uses a lot more resources on a PC than it should. If you want to keep Skype installed on your PC but just want to prevent it from opening on startup, you can disable it easily via Task Manager.
Here’s how to do it:
Step 1: Open up Task Manager app on Windows 10. You can either do a quick search to launch it or right-click the menu bar located at the bottom of your desktop and select “Task Manager”.

Step 2: You’ll see a Task Manager window like the one below. The default tab is “Process”, but to turn off Skype so it won’t autorun, we need to go to the Startup tab.

Step 3: Click on the “Startup” tab, then scroll down until you see the Skype icon. Click once to select that row, then right click on the program and hit Disable.

That’s it. Skype won’t open up on its own when you start your computer next time.
Tip: Pay attention to those apps shown as “Enabled” under the Status column. They may be pre-installed programs just like Skype. If you don’t need them to run automatically, disable them. The fewer programs or services that are on that startup list, the faster your PC will be.
Now you’ve stopped Skype (or other apps) from running automatically on Windows 10. What if you actually want to completely remove Skype on your computer? We are going to show you a few different ways to get the job done.
4 Ways to Completely Uninstall Skype on Windows 10
Important: You need to quit Skype first and make sure its services aren’t running in the background before you start any of the methods below.
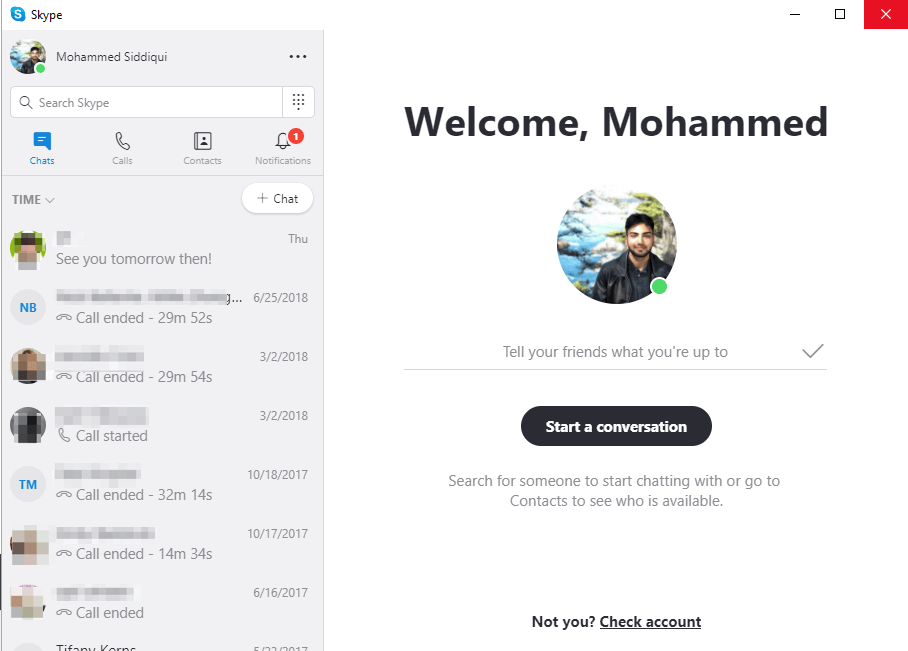
First, close Skype if you have it open. Just click on “X” in the top-right corner, which should be highlighted in red when you scroll over it.
You should then look down and find the Skype icon in the Windows navigation bar. Right-click on the icon and click “Quit Skype”.

Great! Now you can proceed to the uninstallation process using one of the following methods.
Note:
- Method 1-3 is recommended if you don’t want to install any third-party uninstaller programs.
- Method 4 is recommended for other situations, such as when Skype can’t be uninstalled using the traditional ways (aka methods 1-3).
Method 1: Uninstall via Control Panel
Using the Control Panel is the easiest way to uninstall Skype or any other apps. This way, you won’t accidentally delete shortcuts or other programs such as Skype for Business.
Additionally, it must be noted that there is both a Desktop application and a Windows application for Skype. You can download the Desktop version from the Skype website and install the app from the Windows Store. We’ll cover how to uninstall both of them.
Once Skype is closed completely, go to the left-hand side of the Windows navigation bar and find the Control Panel by typing it into Cortana’s search bar.

Once the Control Panel is open, click on “Uninstall a Program” on the bottom-left.

Scroll through the list of programs on your PC to locate Skype. Right-click on it and select “Uninstall”.

Windows will then uninstall Skype. You will receive a prompt once it is done.
Method 2: Uninstall Skype Directly
Alternatively, if you know where the Skype file is stored on your PC, you can uninstall it directly from there.
For most users, it’s stored in the Programs folder. The file most of us see on our Desktop is usually a Shortcut, not the actual file you want to uninstall.

Simply type “Skype” in Cortana’s search bar on the bottom-left corner. Once the application pops up, right-click, then hit “Uninstall”.
This method applies to the Skype app whether you downloaded the installer file from Skype.com or from the Microsoft Store.
Method 3: Uninstall through Settings
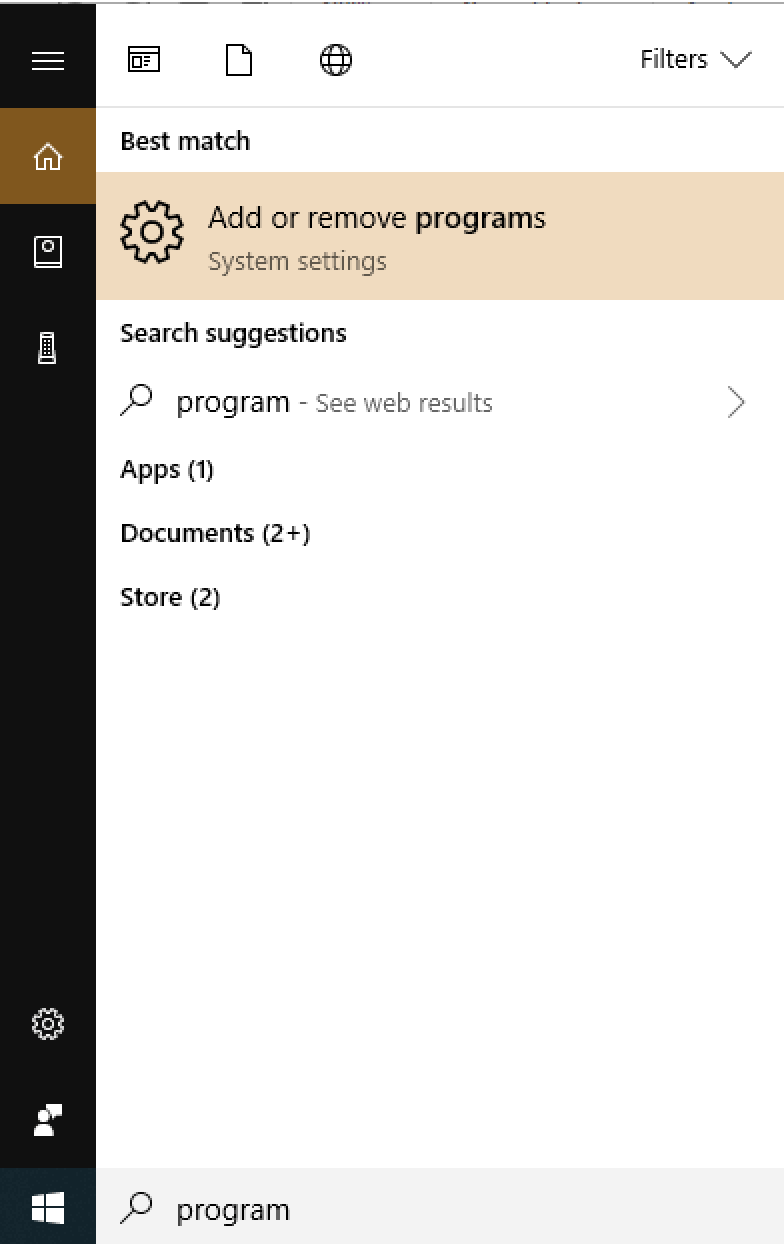
Type ‘programs’ in Cortana’s search box and click on the “Add or remove programs” option.
Once you open it up, click on Apps & Features and scroll down to the Skype application. As you see from the screenshot below, both versions appear on my computer. Click on one of them and hit the Uninstall button. Then do the same with the other once the first is done.

Removing Residual Files Associated with Skype
Although you’ve uninstalled the Skype app, it’s very likely that some residual files related to Skype are still stored on your PC taking up unnecessary space.
To find and delete them, press the “Windows + R” keys and type in “%appdata%” in the dialog box that appears. Note: the Windows button is between ALT and FN on most PCs.

Once you click “OK” or hit the Enter key, the following window should appear in Windows Explorer:

Scroll down to find Skype, then right-click and select Delete. Note that this will delete your chat history as well. If you want to save your history, open the folder and find the file with your Skype username inside. Copy and paste that file somewhere else.

The last step is to clean out entries in your registry. Press the “Windows + R” combination keys again. Type “regedit” and hit enter.

The following file should pop up:

Select Edit and then Find.

Type in Skype. You’ll see up to 50 entries appear. Right-click and delete each one individually.
NOTE: You should be extremely cautious when modifying your registry as serious problems could arise. It is always a good idea to back up the registry before changing the registry.
Method 4: Use a Third-party Uninstaller
Once you’ve exhausted the other options and find Skype is still not uninstalling, you may want to turn to a third-party uninstaller. We recommend CleanMyPC for this purpose. While it is not free, it offers a free trial that can help uninstall most programs including Skype.

Once you get the program installed, navigate to the “Multi Uninstaller” feature through the left panel. Soon, you should be to see a list of all the programs you’ve installed on your computer. Scroll down to find Skype, then check the little box on the left side. Click the green “Uninstall” button when it pops up.
Some Extra Thoughts
Skype isn’t used that much anymore. Although many corporate clients such as GE and Accenture still sign up for Skype for Business and stand by the new software, ordinary users have found replacements.
For example, Apple fans go to FaceTime, gamers use Discord or Twitch, and over 1.5 billion people worldwide (including myself) use WhatsApp. Other services such as WeChat and Telegram are “stealing” users from the once-iconic Skype.
Many consumers dislike Skype because of its relatively bad connectivity, outdated UI, and pushing a message-based platform instead of focusing on what made it a big name: video calls. For these purposes, Whatsapp and Facebook Messenger are two applications that perform very well for an ordinary user.
WhatsApp was made famous as a messaging and voice calling application that could use Wi-Fi. It has expanded to include video calling and remains free for users. It has a very simple design and is easy to navigate for first-time users. Group chats are seamless and can include a maximum of 256 members.
It’s also great for international travel and will automatically change to your new phone number under certain plans with a new SIM. Some data plans in countries such as Singapore include unlimited WhatsApp usage. Additionally, there is also a web version that allows users to text from their laptops.
Messenger by Facebook offers similar services but is integrated with Facebook and is more focused on the messaging experience, although it offers voice and video calling features.
We can directly message our Facebook friends. The primary concerns with Messenger are its heavy data usage and battery drain. However, Facebook has released a Lite version of Messenger to address these concerns.
Final Words
Although I have fond memories of calling friends or chatting with fellow MMORPG players over Skype as a child, I’ve found Messenger and WhatsApp much more convenient for calling these days.
Skype’s advantage over the others is the Microsoft ecosystem. It so often comes pre-installed, if not easily accessible or highly recommended, on Windows PCs.
The point is, most of us still have Skype on our PCs but usage and engagement probably won’t be that high. And if you are actually reading this, chances are you are like me: you’re annoyed by Skype’s auto-running and wanted to disable or uninstall it.
I hope your uninstallation of Skype went successfully and you are able to find an alternative if you decide to permanently leave Skype. Please drop a comment below with further questions or concerns and let us know how it went for you.
I had an audio problem with Skype Windows 10 which got worse after installing Windows 11. I uninstalled Skype and started using web Skype via Chrome in Nov 2021, that works perfectly.
Have disabled Skype processes in startup, but the process still appears in the task manager.
Your information doesn’t work.
Your advise for disabling Skype though Task Manager and Startup tab does not work. I’ve done this and the process still appears from time to time in the task manager process.
Finally uninstalled skype. No one else helped. Thank you – very detailed and amazing with pictures.
You whiners need to be glad this is Windows. You have full control over it, IF you decide to take it. Sites like this help you take that control. Be thankful instead of bitchy.
Make a Facebook page called Stop auto installing Apps on my Win 10. Windows is an Operating System not a point-of-sale APP.
how can one disable and enable skype in a computer??
It just worked for me and today is 13 May 2020. Thanks much for your work. Skype, which I never used as it was replaced by a much better app, had hijacked my email.
Thank you. I never asked for Skype. It just showed up on my tool bar and been causing difficulty in this old computer ever since. Finally, gone now I think.
All this is seriously outdated at this point…obviously intentional on Microsofts part.
Im not exactly computer illiterate. I can likely find what I need to delete, but its VERY clear that MS is literally TRYING to keep Skype from being deleted for some reason….otherwise it’d be on the damned application list in the first place for EASY removal.
This was perhaps the most easy-to-understand article ever. Thank you 🙂
Hey MOHAMMED SIDDIQUI
How i can install skype on windows 10, i want this because of preinstalled skype have a problem.
I use Skype mainly to call fixed line phones or mobiles. There is a fee, byt it is very reasonable. I am not aware of any other system offering this service.
Sorry, this was just all too much for me to absorb, though I wish to uninstall stupid, useless Skype. Still sitting there mocking me….
Thanks for this article. We as users must start to demand control over resources we have to pay for like internet bandwidth and storage space and most importantly, our privacy.
It was an absolute nightmare to get Skype removed, as I’ve done so many times but it mysteriously seemed to reappear, fully installed as the lecherous app that it is. Muchly appreciated with the additional help to finally send it to /dev/null where it belongs. As an aside, you mentioned Facebook and WhatsApp are good alternatives – so is Discord, in it’s own right based on the ability to do voice/video chat and share files all in one.
Currently 5/24/2019 none of the above steps work with the current Windows 10 Pro. Skype and Skype for Business are in the Windows Menu but there is nothing in services or programs to disable or remove.
This article appears to be well out of date. I was unable to use any of the tips because (a) Skype does not appear in the Task Manager startups list and (b) there are no options on any of the Skype dropdowns to uninstall it. Skype is not listed as an installed program, so I cannot uninstall it by conventional methods either. I’ve tried stopping and disabling the Skype service, but it’s still there next time I boot the PC (which is running like a slug).
This was unhelpful, Skype is still re-installing itself.
In my SysTray, Skype is listed but there’s no option to Quit as you suggest.
In Task Manager Startup tab, Skype is not listed.
In Add or Remove Programs in Control Panel, there’s no listing for Skype to let me uninstall it.
It seems impossible to get rid of it!
This article is no longer relevant.
Thanks for the great instructions to get rid of Skype. It is responsible for a large percentage of my disk usage. Hopefully, after I do the uninstall procedure, I’ll get back to normal. Thanks for the help. I never knew about all the little files tucked away in different places.
my circumstances were very much like yours, with skype being very intrusive, running in the background, using a lot of resources. thank you very much for the detailed explanation you gave, I had to go to the number 3 option because for some reason skype did not show up in the control panel list. once again, thank you very much for your help
Thank you.
Well written and useful post.
Anytime an App with access to my audio and video opens on its own I take issue.
Skype is running right now on my PC, but it is not in the task manager starup group. Win 10. Any other ideas?
I just don’t want it running unless I give it permission, and “Microsoft first kisses my butt”! It is “MY” computer. And, I had to pay Microsoft good money for use of their operating system. So I am not only the “boss” on my computer, but I’m also a customer. And, “the customer is always right”.
Dude i know EXACTLY what you mean, also i have the same issue, it sometimes (without being being installed) makes some processes spike up my CPU for literally no reason at all.
And i want it to stop, like you said, it is “MY” pc.
I decide if a task has permission to run, if i don’t want it to, i don’t accept the fact that windows does not permit me to delete it, it needs to go, that’s what made PC’s superior to other systems like consoles and mobile phones.
Super! Really helpful. Your comments are spot on, and the How-To guide the same.
One suggestion: since modifying the Registry is so potentially dodgy, could I suggest that the ‘Note’ about backing it up first is placed BEFORE the How-To section rather than after! If someone just follows your instructions as they go along, it’s a bit late to read the caution afterwards!
Again – thanks v. much. In my case I will probably re-install it, but only if it doesn’t then demand all sorts of ‘security questions’ (i.e. snoops) before letting me proceed. It curently demands to send a code for something to an email address which was closed down permanently a year ago — with no option to change that address! Utterly irritating.
Best wishes – and thanks again.
Thanks for the post Mohammed, more helpful that the instructions I followed from the Skype helpdesk and it still don’t uninstall with their methods but using your methods to first disable Skype then went for the whole thing and used the IOBit Uninstaller and like you said, removed all residual files too, thanks again.
Hi. My Skype problem is a bit more insistent. It is not in my start-up programs, installed programs, or in Iobit’s uninstall list. Yet, it still starts everytime I restart my Win-10. And there is more. ı use an English copy of everything, yet this rogue Skype is somehow installed in the local language of my geographical location which I do now use anywhere in my PC. At this point, viruses are easier to get rid of. Thanks if you can offer another step in the guide for the likes of me.
Thanks for detailed education for me.
Thanks! Your explanation and instructions are so clear! I avoid Skype like a plague! My latest Microsoft for Business Office 365 subscription came with Skype for Business pre-installed. I could not figure out how to get rid of it. About two years, malware was introduced into my computer through Skype. I wanted it gone when I got a new computer. I could not find where Skype was installed on my computer until I found your instructions! I was finally able to kick Skype to the curb by uninstalling though Apps & features. I am now a follower of yours! Thanks again for such excellent tutorials.
The methods posted here have been obsoleted
by later updates of Windows which have made
the Control Panel entries disappear. Microsoft
seems hell bent on making it impossible to uninstall
Skype.
Thanks, thanks for the article which helped me in deleting Skype from Windows10.
Thank you so much. I have tried for so long to permanently delete Skype and nothing seemed to work. Your easy to follow steps are a blessing.
I want to disable skype for the same reasons you mention because I have no control over my contacts. I can’t delete any of them that I don’t want. And some of them are “scams” from foreign countries I never intended to talk to ever.
Hello there,
My name is Aly and I would like to know if you would have any interest to have your website here at softwarehow.com promoted as a resource on our blog alychidesign.com ?
We are in the midst of updating our broken link resources to include current and up to date resources for our readers. Our resource links are manually approved allowing us to mark a link as a do-follow link as well
.
If you may be interested please in being included as a resource on our blog, please let me know.
Thanks,
Aly
In MS Edge, can you tell me how to stop ‘Skype for Business’ turning numbers – phone numbers, bank account numbers and more – into hyperlinks to Skype!?!