
If you want to alter the shape or flow of text in your design, you can curve text by using the curve text feature in Canva. This feature is only available to users with access to premium tools.
My name is Kerry, and I’ve been involved in digital art and graphic design for many years. I have been using Canva for designing and am extremely familiar with the program, best practices for using it, and tips to make creating with it even easier!
In this post, I’ll explain how to curve text in Canva so that you can fit it into specific shapes and designs. I’ll also explain how to manually rotate individual letters if you do hold a Canva Pro account and do not have access to any of the premium features.
Are you ready to learn how?
Table of Contents
Key Takeaways
- The curve text feature is only available through certain types of accounts (Canva Pro, Canva for Teams, Canva for Nonprofits, or Canva for Education).
- You can manually rotate individual letters and text using the rotate button if you don’t have Canva Pro.
Why Curve Text in Canva?
If you are looking to personalize your design and transform text from a traditional linear line to more specific shapes, you have the option of curving text in Canva. It’s a great feature because it saves you tons of time as there is no need to manually adjust the angles of each individual letter.
Using this feature can transform a project’s total appearance and give you more control over customizing the layout of your work.
It has many applications, including the creation of logos, stickers, and social media graphics. Businesses now use it to incorporate brand names or messages into round images or logos. Creators also can create more accurate designs that amplify the overall look of a project.
How to Curve Text in Canva
Choose an image size or design template for whatever you’re working on and let’s get started!
Step 1: Add text to your project by clicking on the text button on the toolbar. (You can choose styles and sizes here that can also be adjusted later.)
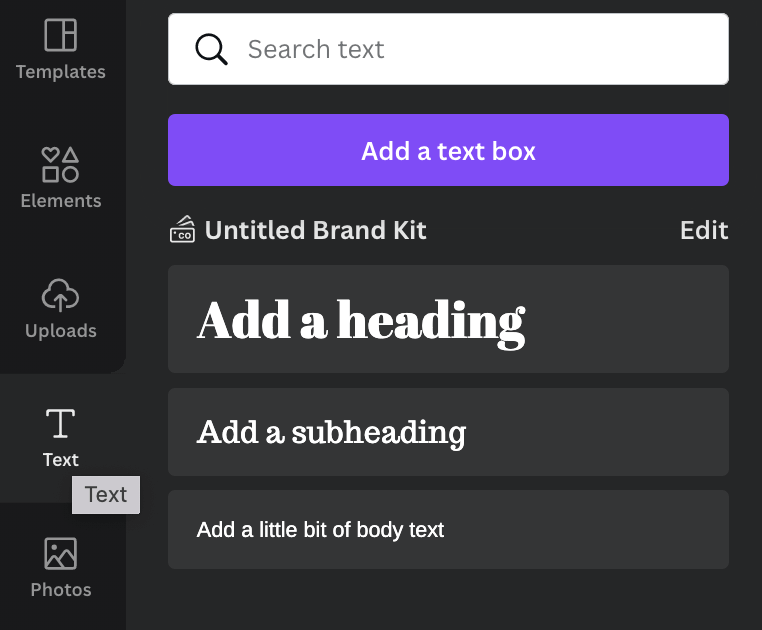
Step 2: Click on the style that you want to use, and it will appear on your canvas.
Step 3: Type or paste the text that you want in your project in the text box.
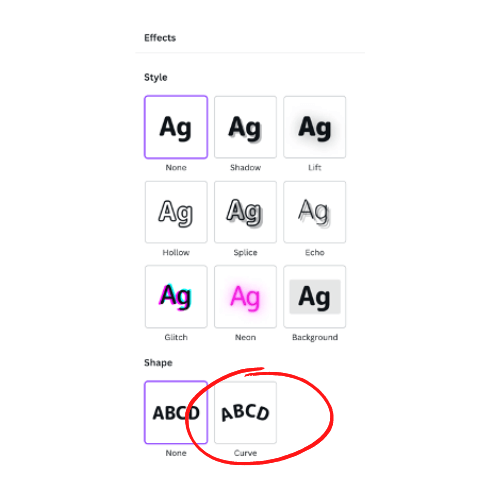
Step 4: Make sure that the text box is highlighted (to do this just click on it) and then click on the Effects button towards the top menu.
Towards the bottom of the actions list, find the Curve Text option and click on it.
Step 5: After clicking on the curve text button, an adjustment tool will appear that will allow you to alter the curve of the highlighted text. Click and move the slider on this adjustment tool to change the curve of your text on the canvas.

The higher the curve value will make the text curve more acute with it shaping closer to a full circle.

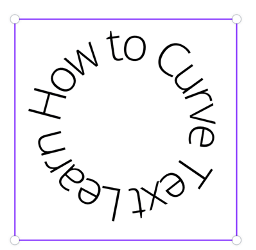
If you bring the value down to the negative side of the slider, it will invert the shape of the text.


How to Manually Change the Curve of a Text in Canva
If you don’t have a Canva subscription that allows you to use the Curve Text feature, don’t fret! There is another way to change the alignment of text in your project, it just takes more time and isn’t as clean-cut of a result as compared to using the Pro feature.
Follow these steps to manually rotate text on a project without the curve feature:
Step 1: Click on the text that you want to manipulate. You’ll know that it is available to edit because it will have a box form around it.
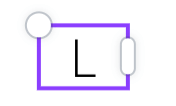
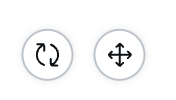
Step 2: Underneath your text, you should see a button with two arrows in a circular formation. Click on that button and hold it down to drag and rotate your text. You can do this with individual letters or full pieces of text.
While you are holding down and using the rotate button to change the formatting of your text, you will see a numerical value pop up. This is the degree of rotation, and it will change based on your adjustments.
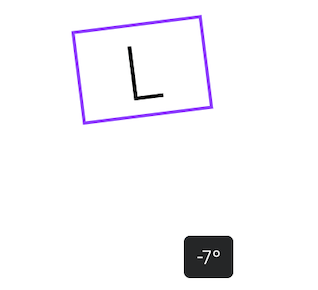
If you want to get as close to the curved text feature that is found in Premium accounts, you will have to manually rotate individual letters to get a curve. Don’t forget to also select each letter and drag them to different heights in order to create a true curved effect.
Final Thoughts
Being able to curve text in Canva is such a great feature and saves you a lot of time as compared to manually rotating individual letters in your project. It allows you to create a wider variety of designs that look professional and ready to be printed or used for logos!
Do you have any ideas that you would like to share on how you incorporate curved text into your Canva projects? Share your thoughts and advice in the comment section below.