
Unlike your coffee table, a table in InDesign refers to a series of cells arranged into rows and columns, similar to the layout of a spreadsheet. Tables are an essential part of many documents, and InDesign has an entire menu dedicated to them.
Creating a basic table is pretty straightforward, but there are some additional ways to create a table in InDesign that can save you a lot of time on complex projects, so let’s get started!
Table of Contents
3 Ways to Create a Table in InDesign
There are three main ways to create a table in InDesign: using the Create Table command, converting some existing text into a table, and creating a table based on an external file.
Method 1: Create a Basic Table
To create a table in InDesign, open the Table menu and click Create Table.
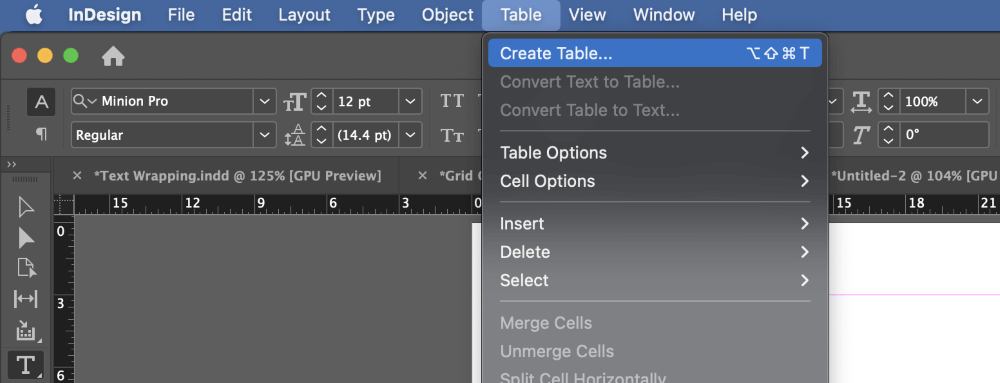
If your cursor is currently placed in an active text frame, the correct menu entry will be listed as Insert Table instead of Create Table. You can also use the finger-bending shortcut Command + Option + Shift + T (use Ctrl + Alt + Shift + T if you’re using InDesign on a PC) for both versions of the command.
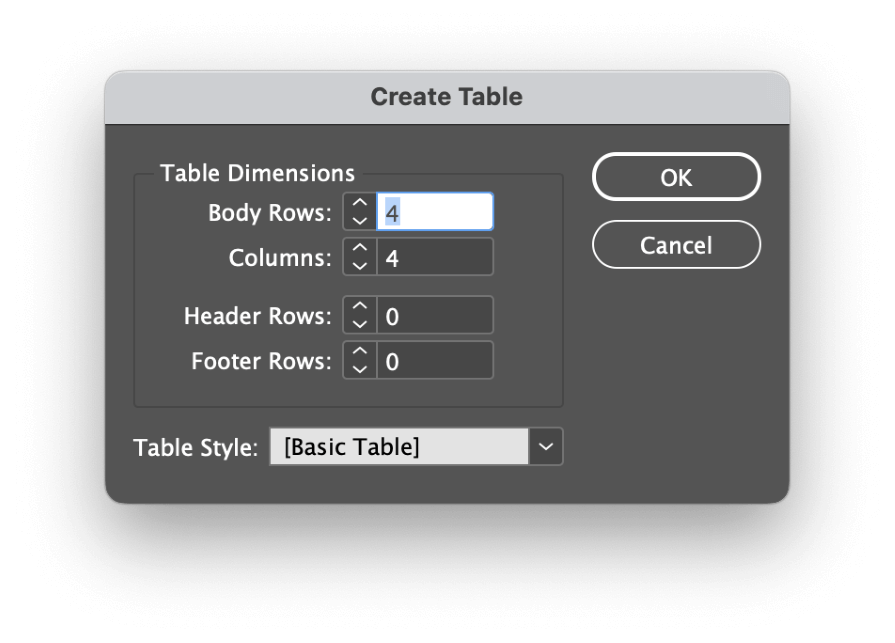
In the Create Table dialog window, the options are self-explanatory. You can use the Body Rows and Columns settings to specify the size of the table, and you can also add Header Rows and Footer Rows that will span the entire width of the table.
If you’ve already established a Table Style, you can also apply it here (more on this later in the Using Table and Cell Styles section).
Click the OK button, and InDesign will load your table into the cursor, ready to be deployed. To create your table, click and drag the loaded cursor anywhere on your page to set the overall table dimensions.
If you want to fill the page with your table, you can just click once anywhere on the page, and InDesign will use all the available space between the page margins.
Method 2: Convert Text into a Table
It’s also possible to create a table using existing text from your document. This is most useful when working with large amounts of body copy that were prepared in another program, and the table data has already been entered in another format, such as Comma-separated Values (CSV) or another standardized spreadsheet format.
For this to work, you need to have the data for each cell separated consistently into rows and columns. Typically, this is done using a comma, tab space, or paragraph break between each cell’s data, but InDesign allows you to specify any character that you might need to use as a separator.
Column separators and row separators MUST be different characters, or InDesign won’t know how to structure the table properly.
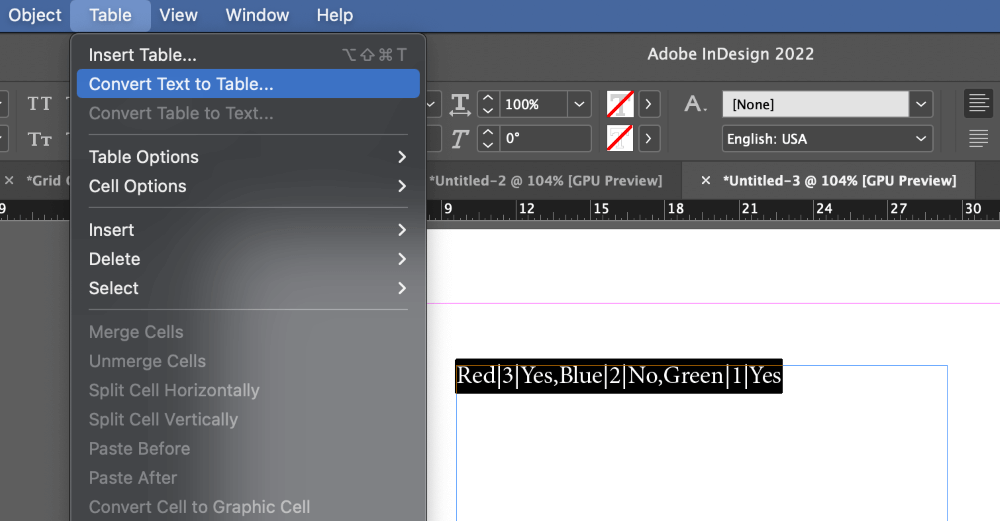
Using the Type tool, select the text you want to convert into a table (including all separator characters), then open the Table menu and click Convert Text to Table.

Select the appropriate separator character for Rows and Columns from the dropdown menu, or just type in the correct character if your data uses a custom separator. You can also apply a Table Style here, but I’ll discuss the details later.
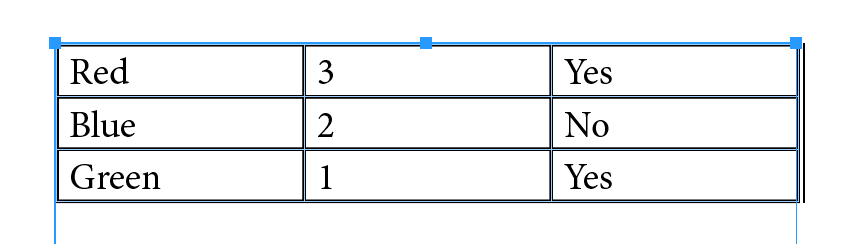
Once you’re happy with your settings, click the OK button, and InDesign will generate a table using the specified options.
Method 3: Create a Table Using an Excel File
Last but not least, you can use data from an Excel file to create a table in InDesign. This method has the advantage of preventing any transcription mistakes that can occur during repetitive tasks, and it’s also much faster and easier.
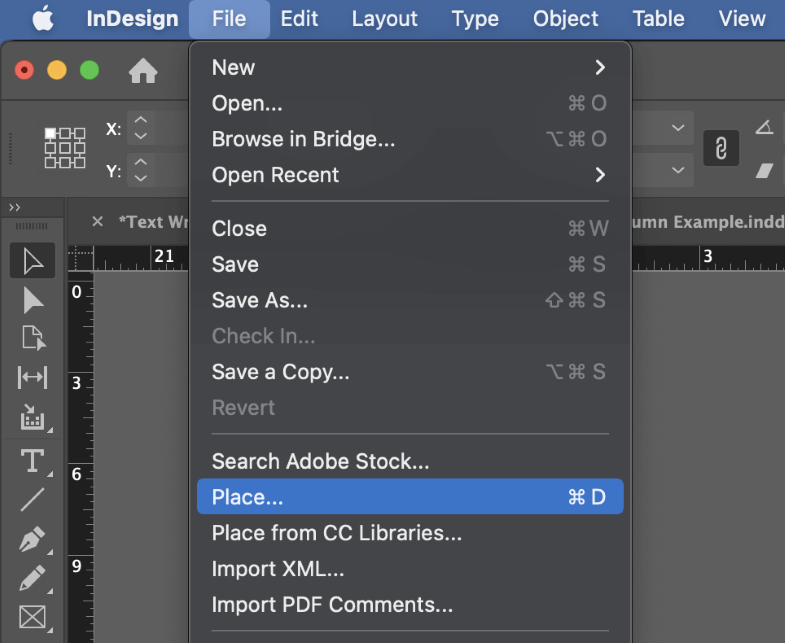
Open the File menu and click Place. You can also use the keyboard shortcut Command + D (use Ctrl + D on a PC).
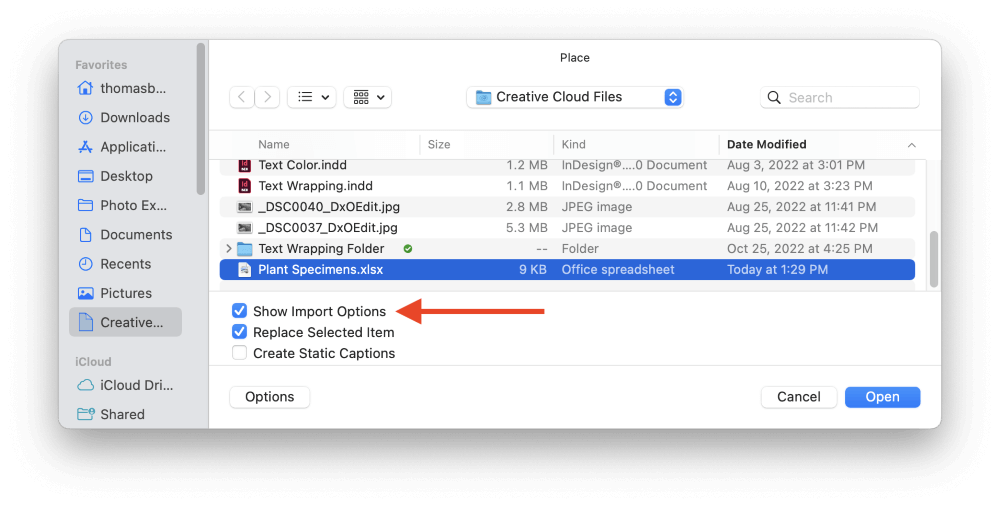
Browse to select your Excel file, then make sure the Show Import Options setting is enabled, and click Open. InDesign will open the Microsoft Excel Import Options dialog.
Note: InDesign sometimes gives the error message Cannot place this file. No filter found for the requested operation. if the Excel file was generated by a third-party program such as Google Sheets. If this happens, open the file in Excel and save it again without making any changes, and InDesign should read the file normally.
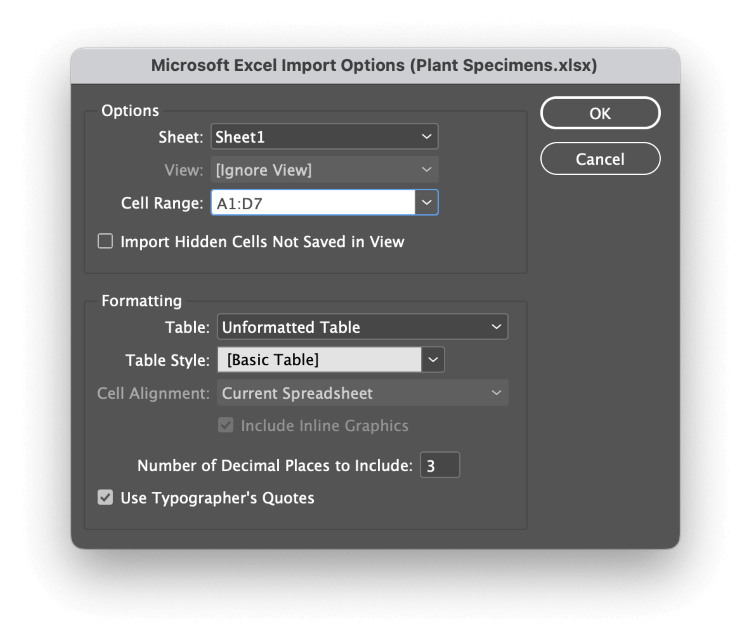
In the Options section, select the appropriate Sheet and specify the Cell Range. For simple spreadsheets, InDesign should be able to correctly detect the sheet and cell ranges that contain data. Only one cell range from a single sheet can be imported at a time.
In the Formatting section, your choices will depend on whether or not your Excel spreadsheet has specific formatting.
In most situations, your best bet is to use the Unformatted Table setting, which allows you to apply a custom Table Style using InDesign (again, more on that later – no, really, I promise!).
However, if your Excel file uses custom cell colors, fonts, and so on, select the Formatted Table option, and your Excel formatting choices will be carried over into InDesign.
You can specify the number of decimal places that will be imported if you want to create a more streamlined version of your table for your InDesign document, and also choose whether or not you want standard computer quote marks to be converted into proper typographer’s quote marks.

Once you’re satisfied with your settings, click the OK button, and InDesign will ‘load’ your spreadsheet into the cursor.
Click once anywhere on the page to create your table at that location, or you can click and drag to create a new text frame, and your table will be automatically inserted.
You can also configure InDesign to link to the Excel file rather than embedding the data so that when changes are made to the spreadsheet within Excel, you can update the matching table in InDesign with a single click!
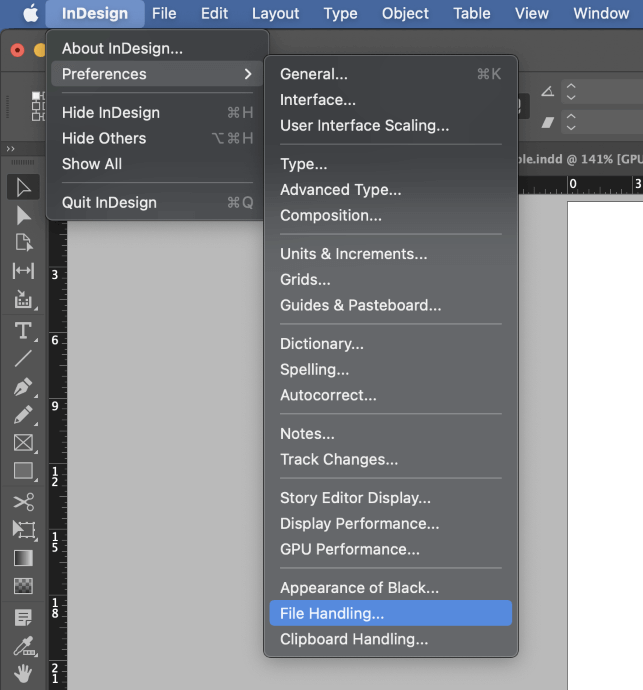
On a Mac, open the InDesign application menu, select the Preferences submenu, and click File Handling.
On a PC, open the Edit menu, then select the Preferences submenu, and click File Handling.
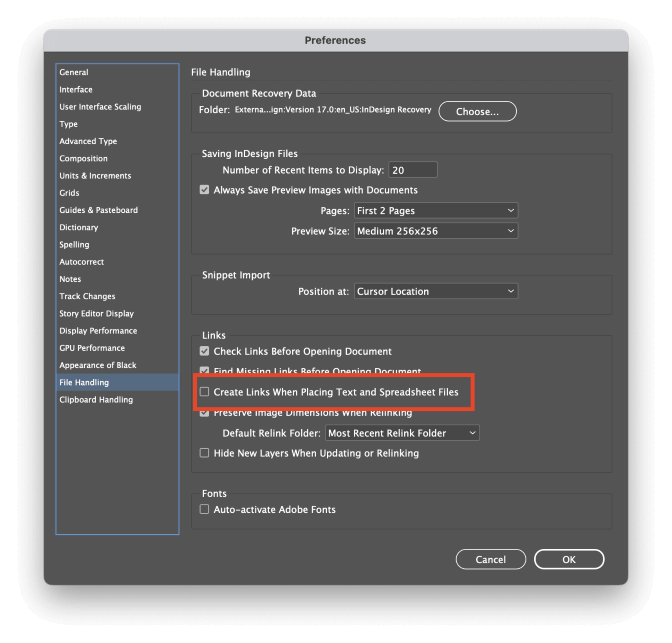
Check the box labeled Create links when placing text and spreadsheet files and click OK. The next time you place an Excel spreadsheet, the data in the table will be linked to the external file.
When the Excel file is updated, InDesign will detect the changes in the source file and prompt you to refresh the table data.
How to Edit and Customize Tables in InDesign
Editing your table data is extremely simple! You can double-click on a cell using the Selection tool or just use the Type tool to edit the cell contents the way you would with any other text frame.
You can also easily adjust the size of entire rows and columns by positioning your cursor over the line between each row/column. The cursor will change to a double-headed arrow, and you can click and drag to visually resize the affected area.
If you need to adjust the structure of your table by adding or removing rows, there are two options: you can use the Table Options window, or you can open the Tables panel.
The Table Options method is more comprehensive and also allows you to style your table, while the Tables panel is better for quick adjustments. Curiously, though, the Tables panel also has a few options that are unavailable in the Table Options window.
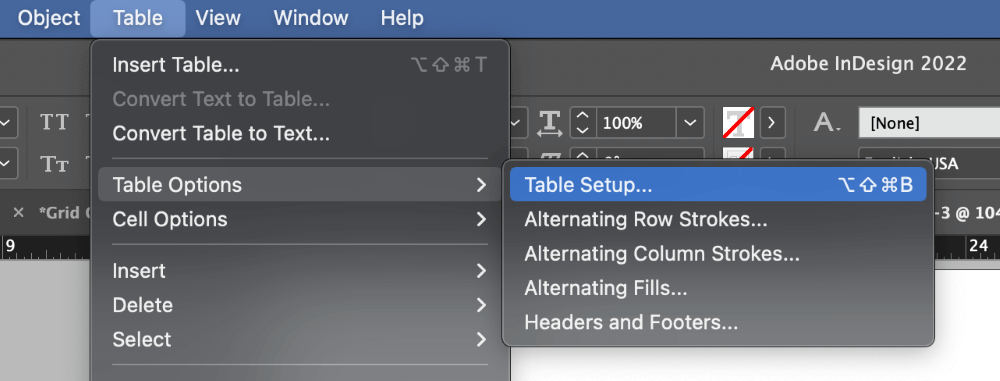
To open the Table Options window, use the Type tool and place the text cursor in any table cell. Open the Table menu, select the Table Options submenu, and click Table Options. You can also use the keyboard shortcut Command + Option + Shift + B (use Ctrl + Alt + Shift + B on a PC).
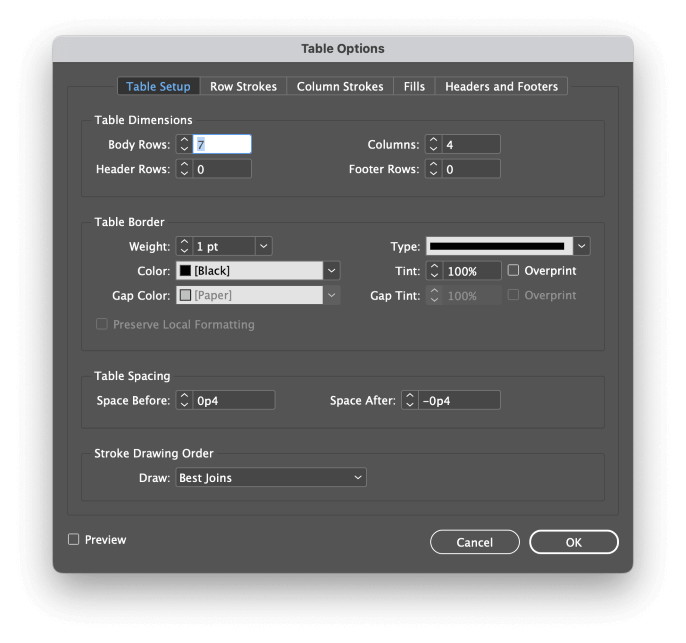
The various options are quite self-explanatory, and they allow you to apply almost any formatting that you can imagine to your table.
However, when configuring strokes and fills for your table, it’s usually a better idea to use styles to control formatting, especially if you have multiple tables in your document.
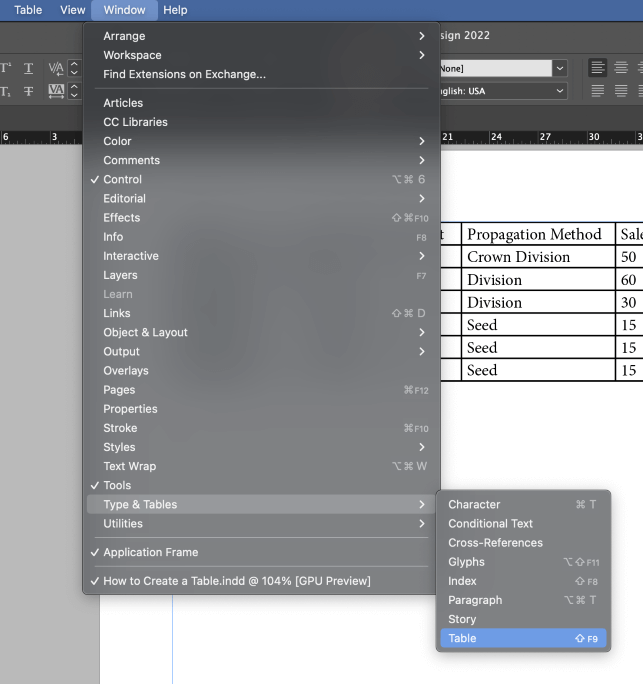
If you want to make quick adjustments to the structure of your table or to adjust the positioning of the text within your table, then the Table panel is a handy method. To display the Table panel, open the Window menu, select the Type & Tables submenu, and click Table.
Using Table and Cell Styles
If you want to have ultimate control over the look of your tables, then you’ll need to use table styles and cell styles. This is mostly useful for longer documents that contain multiple tables, but it’s a good habit to cultivate.
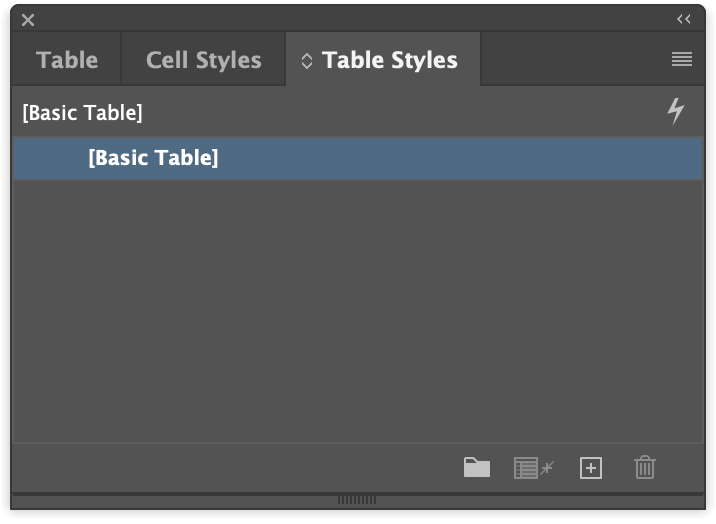
If you’ve already got the Table panel visible, you’ll see that the Cell Styles and Table Styles panels are also nested in the same window. If not, you can bring them all to the front by opening the Window menu, selecting the Styles submenu, and clicking Table Styles.
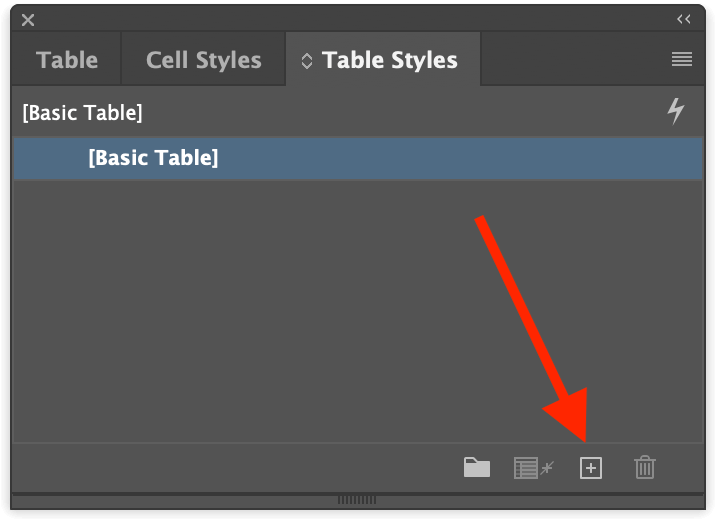
From either the Table Styles panel or the Cell Styles panel, click the Create new style button at the bottom of the window. Double-click the new entry in the style list, and you’ll be presented with most of the same formatting options that you see in the Table Style Options window.
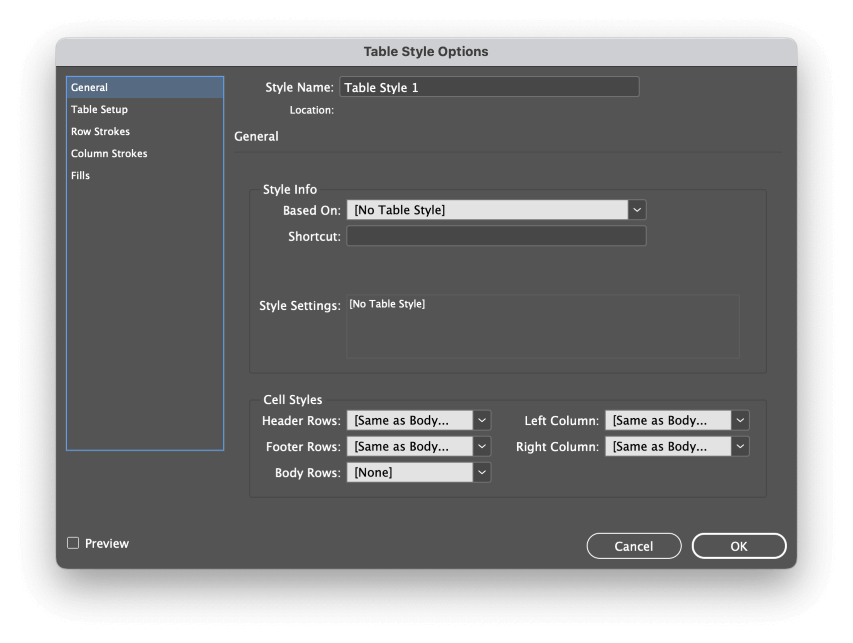
Configuring table styles in advance allows you to apply your styles during the import process, dramatically speeding up your workflow. Best of all, if you need to adjust the look of all the tables in your document, you can just edit the style template instead of editing every single table by hand.
A Final Word
That covers the basics of how to create a table in InDesign! The basics should be enough for most projects, although if you’re hungry for additional table knowledge, more complex tables can be created using data merges and interactive elements.
Those advanced topics deserve their own special tutorials, but now that you’ve mastered creating tables with linked files and formatting them with styles, you’re already well on your way to using tables like a pro.
Happy tabling!