
While there isn’t a specific page number tool that can be clicked to automatically add numbers to your pages in Canva, there are a few easy methods to complete this task!
My name is Kerry, and I’ve been working in the graphic design and digital art industry for years. One of the main platforms that I’ve utilized in my work (specifically when creating professional-looking templates) is Canva. I love to share tips, tricks, and advice on how to create projects!
In this post, I’ll explain how you can add page numbers to your project in Canva using a few different methods. This can be helpful if you are creating a document, presentation, or template that benefits from having page numbers displayed.
Table of Contents
Key Takeaways
- There is no “page number” tool that can automatically add numbers to the pages of your project.
- You can use either the text box option to manually type in your page numbers or the Elements toolbox to search for premade graphic number designs.
- Ensure that your work is symmetrical by enabling the ruler tool in your project. This will help your added page numbers to be aligned.
2 Ways to Add Page Numbers to Your Work in Canva
If you’re interested in creating templates, eBooks, or designs in Canva that require page numbers, unfortunately, there is not a button specified for that action.
However, you can add numbers to your pages by either manually typing them into text boxes or by inserting premade number designs found in the Elements tab on the platform.
You can also adjust the alignment of these numbers using the ruler tool, which I’ll also review later in this post.
Method 1: How to Add Page Numbers Using Text Boxes
One of the simplest ways to page numbers to your design is by using the textbox feature. You can type into the text boxes just as you would when adding text to your projects!
Here is a quick review:
Step 1: Open a new project (or an existing one that you’re working on).
Step 2: Navigate to the left side of the screen to the toolbox. Click on the Text button and choose the size and style of text that you want to add to your project by clicking on the selection.

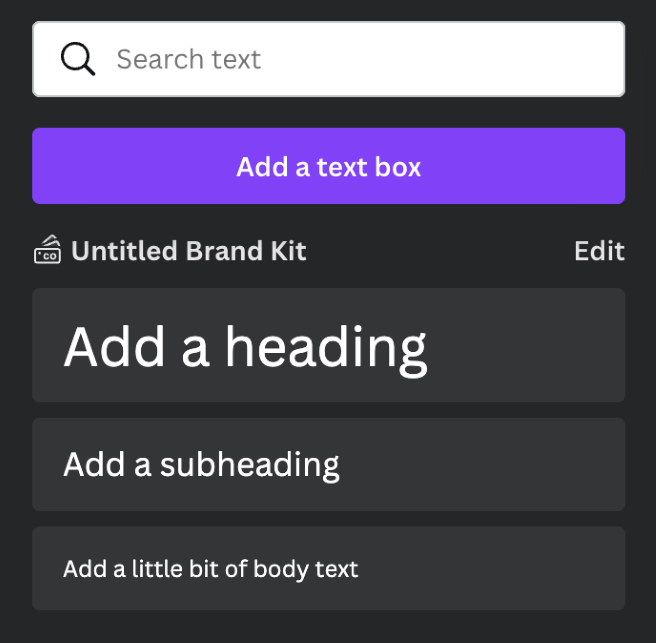
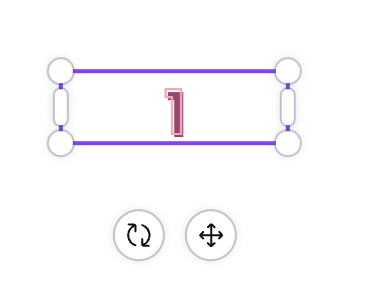
Step 3: Type in the number of the page into the text box. You can move it around by clicking on the box and dragging it to the position that you desire.
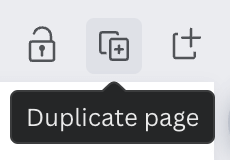
Step 4: At the top of the canvas, you will see a button that has two smaller rectangles overlapping. This is the Duplicate button. When you click on it, you will duplicate the page that you are working on. This will ensure that the page numbers are in the same spot!
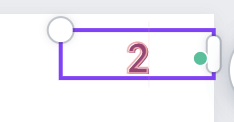
Step 5: Type the next number into the text box on the duplicated page by double-clicking on the text box. Continue to follow this process until you have the number of pages that you want in your project! Don’t forget to change each number on the pages!
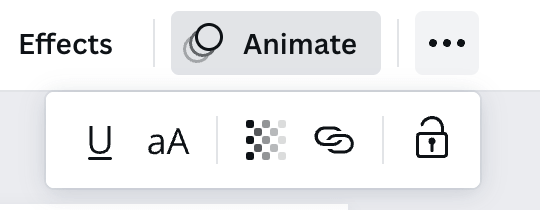
You can change the font and style of the numbers in the text boxes by highlighting the box and going to the top of the canvas where you will see options to edit the size, color, and font. You will also have options to make the text bold and italicized.

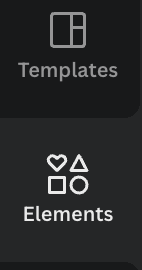
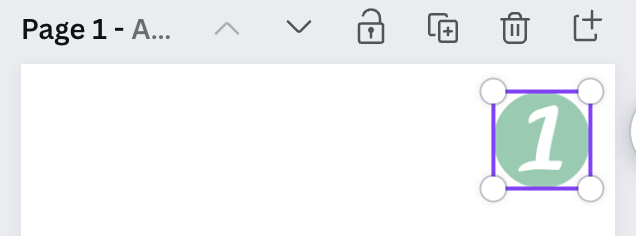
Method 2: How to Create Page Numbers Using the Elements Tab
If you want to find premade numbers that have a bit more graphic design style to them, you can search through the Elements tab to customize your page numbers.
Follow these steps to add page numbers using graphics found in the elements tab:
Step 1: Go to the Elements tab on the left side of the screen. Click on the button and in the search bar, type in “numbers” and click search.
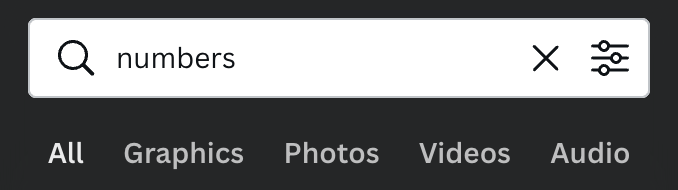
Step 2: Scroll through the options that come up. You will see various styles of numbers that you can add to the canvas. (Remember that any element that has a crown attached to it is only available for purchase or through a Premium account.)
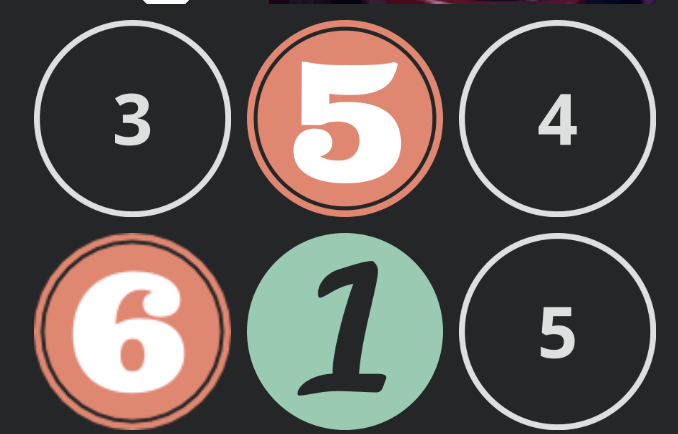
Step 3: Click on the number that you would like to incorporate into your project. Drag that element onto the canvas and position it in the place where you want your page numbers. You can resize the number element by clicking on it and dragging the corners.
It is important to note that some of the choices for numbers in the Element gallery do not have a wide range. Make sure to check that the style that you choose goes up to the number that you need for your pages!
Step 4: Repeat as needed on duplicated pages of your project.
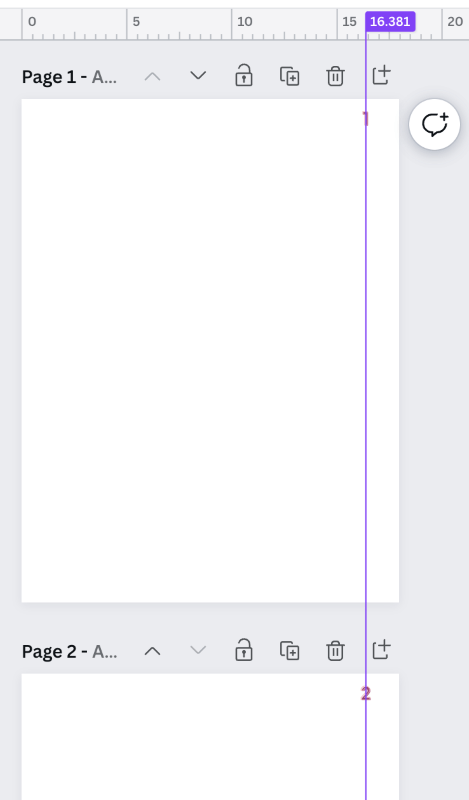
How to Use the Ruler Feature to Align Your Numbers
In order to make sure that your page numbers are aligned and symmetrical on each page of your project, it can be helpful to activate the rulers in Canva.
You can turn this feature on and off and adjust the placement of each ruler (horizontal and vertical) so that the alignment is set on all pages of the project.
Step 1: At the top of the Canva platform, find the File button and click it to reveal a drop-down menu.
Step 2: Select the Show rulers and guides option and two rulers will appear above and next to your canvas.

Step 3: You can set the alignment by dragging either (or both) the horizontal and vertical rulers toward the part of your project where the page numbers are displayed. This will ensure that your page numbers are lined up!
If you want to hide the rulers on the sides of your project, go back to the File menu and click on the Show rulers and guides button. This will make the rulers disappear.
Final Thoughts
Being able to add page numbers to your canvas is a great option when you’re designing and organizing projects! For those of you who are looking to use Canva to create journals or books to be sold, it allows for a professional touch!
Do you have any feedback about adding page numbers to a project in Canva? Feel free to share your thoughts and ideas in the comment section down below!