
There are a few different methods that you can use to add borders to your designs in Canva including the use of premade shapes, border templates, and line structures.
My name is Kerry, and I’ve been dabbling in the world of graphic design and digital art for years. Canva has been one of the main platforms that I’ve used to do this, and I am excited to share tips, tricks, and advice on how to add a border to your artwork in Canva.
In this post, I’ll explain the difference between a border and a frame on Canva and review different methods that you can use to add borders to your designs!
Sound good? Great — let’s get into it!
Table of Contents
Key Takeaways
- There are multiple methods to add borders to your canvas including searching for borders in the Elements tab, manually creating borders by connecting lines, and through the use of premade shapes.
- Borders are used to outline elements in your projects which is different than the use of frames which allow elements to snap directly to the shape.
- This ability to add a border to your project is not limited to Canva Pro accounts – everyone has access to use this feature!
3 Ways to Add a Border to Your Work in Canva
First off, it is important to note that borders are different from the frame elements that are available in your toolbox. Borders cannot hold photos in them like frames and grids. They are used to outline your design and elements, rather than snap to them!
There are a few different methods that you can use to add borders to your designs. You can use premade shapes to create borders around images and text, manually create them using stylized lines that are available on the platform, or find borders within the Elements tab in your toolbox.
Plus, there’s always the option of searching through premade templates for ones that include borders and working off that! Regardless of which method you decide to use, adding borders can make your work look more polished and elevate your style.
Method 1: Find Borders Using the Elements Tab
One of the simplest ways to add borders to your design is by searching for borders in the elements tab of the Canva toolkit.
Step 1: Navigate to the Elements tab on the left side of the screen and click on the button. At the top, there will be a search bar that will allow you to search for specific elements that will be found in the Canva library.
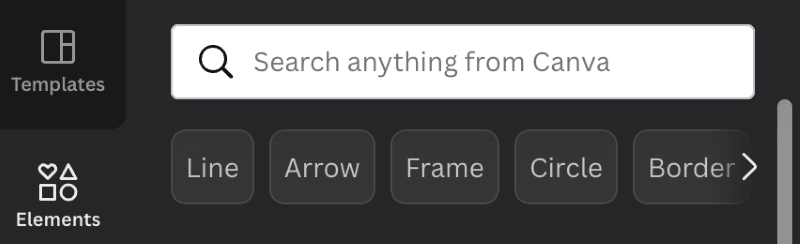
Step 2: Type “borders” into the search bar and hit the Enter key (or Return key on Mac). This will allow you to see all of the different border options that are available to use, and there are many!
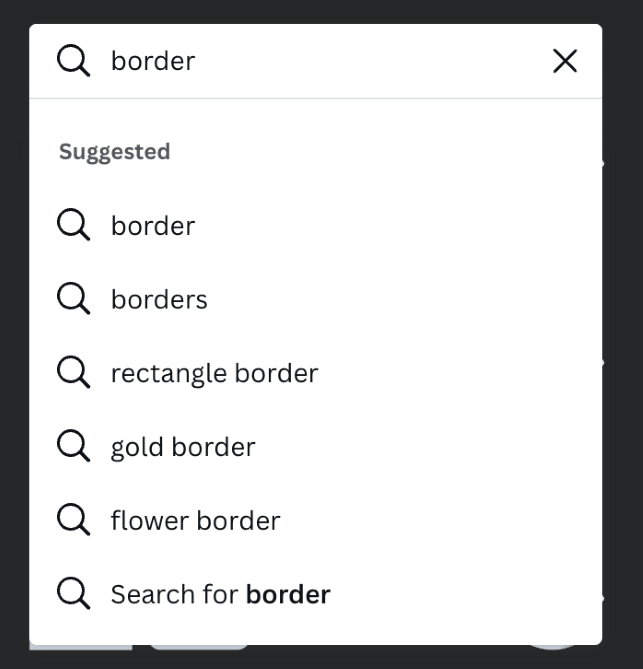
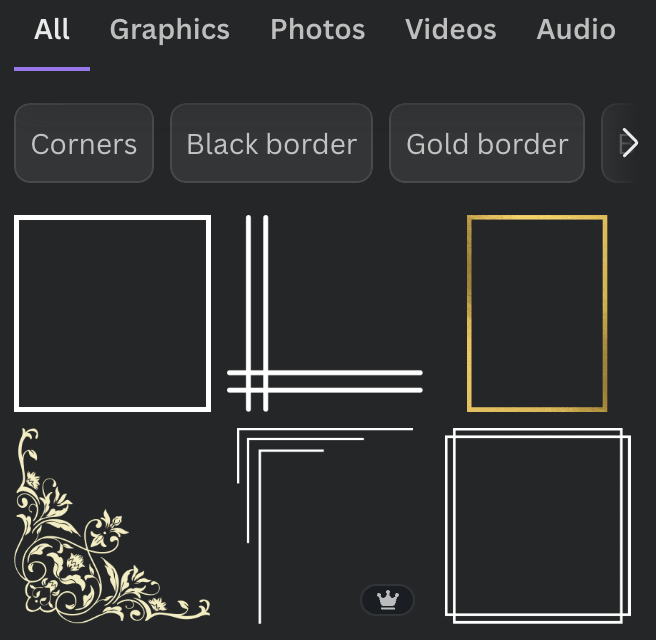
Step 3: Scroll through the variety of borders to choose one that you would like to use for your project. If you see a small crown attached to the element, you will only be able to use it in your design if you have an account that gives you access to premium features.
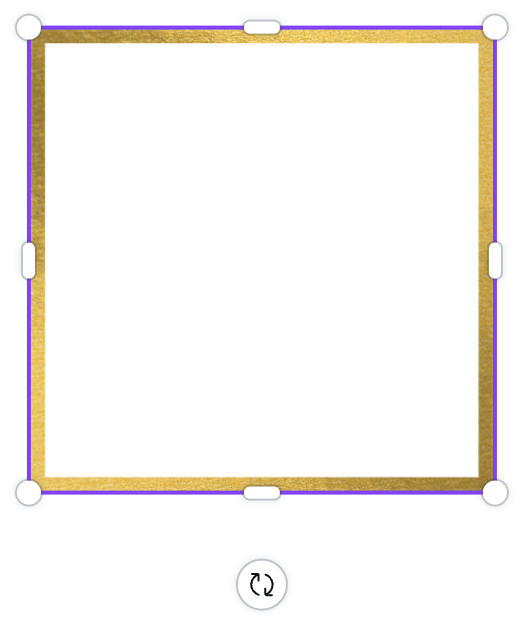
Step 4: Click on the border that you want to incorporate into your design and drag it onto the canvas.
Step 5: You can adjust the border’s size by clicking on the corners of the element and dragging it to be smaller or larger. You can also rotate the border by clicking on the semicircle arrows and simultaneously spin the border.
Method 2: Create a Border Using Lines From the Elements Tab
If you want to manually create a border by using line elements found in the Canva library, you can easily do that! While it takes a bit more time to add in each side, this method allows for more customization!
Follow these steps to manually add a border using lines found in the elements tab:
Step 1: Go to the Elements tab on the left side of the screen. Click on the button and in the search bar, type in “lines” and click search.
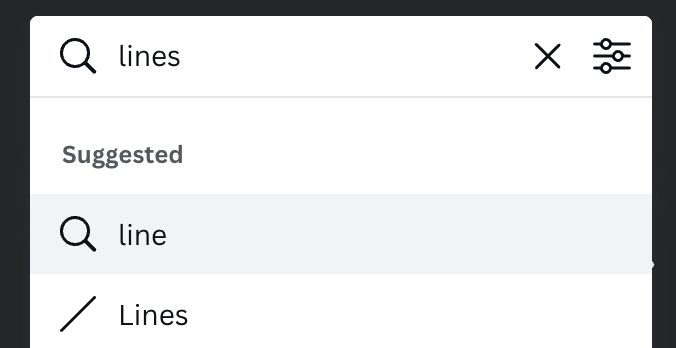
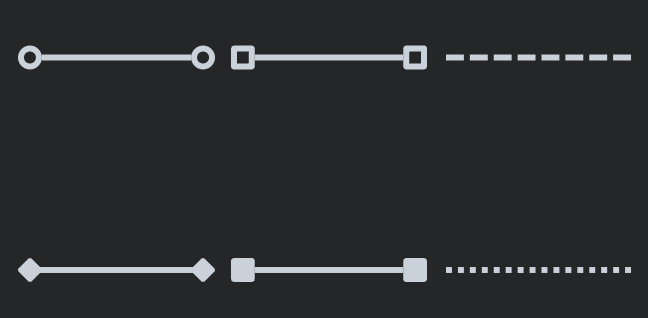
Step 2: Scroll through the options that come up. You will see various styles of lines that you can add to the canvas.
Step 3: Click on the line that you would like to incorporate into your project. Drag that element onto the canvas to start building your border.
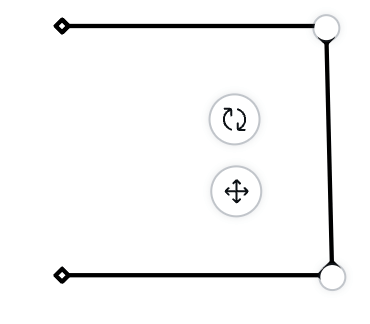
When you click on the line that you want to use, remember that it will only be a single line and you will have to duplicate these elements to build the sides of the border.
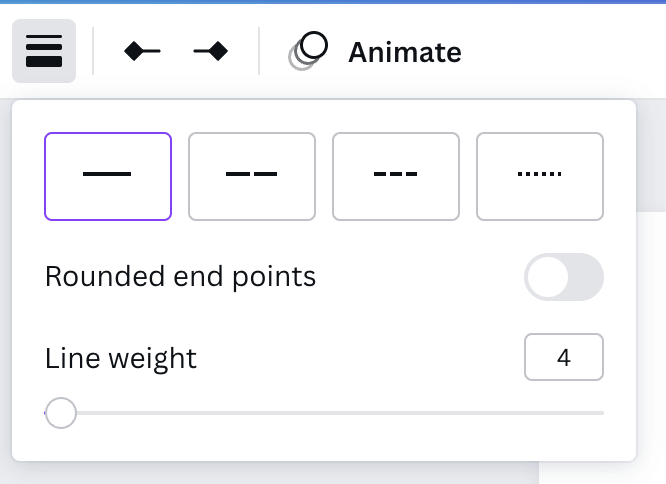
Step 4: You can change the thickness, color, and style of the line to match your vision. Click on the line and at the top of the screen, you will see a toolbar pop up.

While the line is highlighted on the canvas, click on the thickness button and you can edit the line.
You can add more lines to your border by duplicating this process to build the full border!
Method 3: Create a Border Using Premade Shapes
Another simple method that you can use to add a border to your project is by using premade shapes that are also found in the Canva library.
Follow these steps to manually add a border using shapes found in the elements tab:
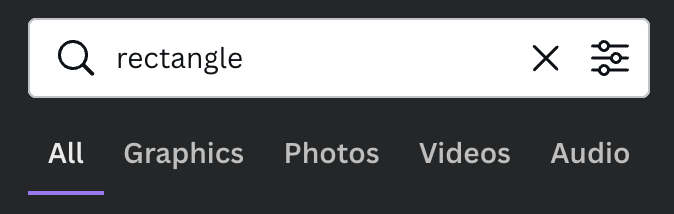
Step 1: Once again go to the left side of your screen and find the Elements tab. Click on it and search for shapes such as a square or rectangle.
Step 2: Click on the shape that you want to use as a border in your project. Drag it onto your project and readjust the size and orientation of it using the same technique when editing elements. (Click on the corners of the element and drag to resize or rotate).

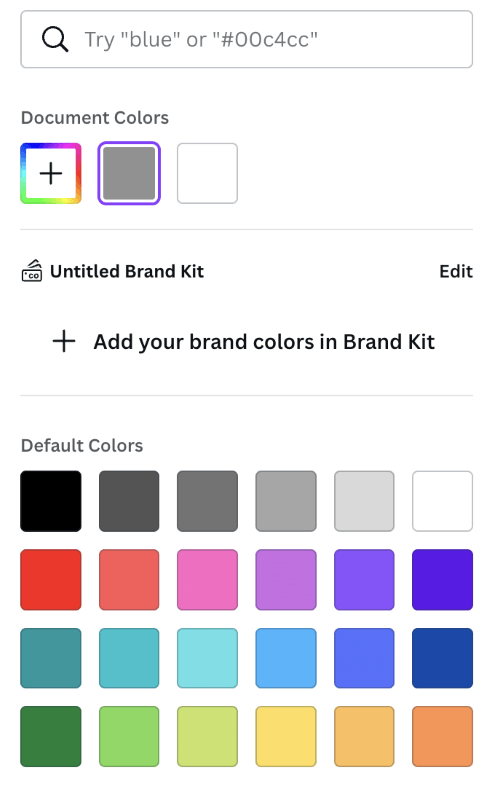
Step 3: When you have the shape highlighted (this happens when you click on it), you’ll see a toolbar pop up at the top of your screen.

Here you will have the option to change the color of your border shape. Explore the color palette and click on the shade that you want!
Final Thoughts
Being able to put a border around text or shapes is a cool feature, and the fact you can resize the border or change the border color of premade shapes is even better. It allows you to personalize your designs even more.
Which method of adding borders to your project do you find the most useful? Share your thoughts and ideas in the comment section down below!