
If your Mac is running slow or freezing, a troublesome process could be to blame. Shutting down these processes can speed up your Mac and resolve potential problems. But how can you view and kill processes on Mac?
My name is Tyler, and I am a Mac technician with over 10 years of experience. I’ve seen and fixed countless problems on Macs. The greatest satisfaction of this job is helping Mac users fix their problems and get the most out of their computers.
In this post, I’ll show you how to view and kill processes on Mac. There are a few ways you can do this, each with its own pros and cons. By the end of this article, you should be able to get your Mac back up to speed by cutting out troublesome processes.
Let’s get started!
Table of Contents
Key Takeaways
- If your Mac is running slow or crashing, malfunctioning apps and processes could be to blame.
- Killing troublesome processes can help get your Mac back up to speed.
- You can use the Activity Monitor to view and kill processes on Mac
- For advanced users, the Terminal lets you view and kill processes too.
- Third-party apps like CleanMyMac X can help you view and close applications.
What Are Processes on Mac?
If your Mac is running slowly or freezes, a rogue application could be to blame. Malfunctioning applications can run processes in the background without you even knowing it. Being able to find and shut down these processes can get your Mac running again.
Macs organize processes based on a few factors. Different processes are sorted based on their function and meaning to the system. Let’s review a few types of processes.
- System Processes – These are processes owned by macOS. These rarely cause issues, but they can be controlled much like other processes.
- My Processes – These are processes managed by the user account. This could be a web browser, music player, office program, or any application that you run.
- Active Processes – These are currently active processes.
- Inactive Processes – These are processes that are typically running, but may be in sleep or hibernation for the time.
- GPU Processes – These are processes owned by the GPU.
- Windowed Processes – These are processes that are responsible for creating a Windowed application. Most applications are also Windowed Processes.
Macs can run many processes simultaneously, so it is not uncommon to see a system running dozens of processes. However, if your system is running slow or freezing, specific processes could be causing slowdowns and problems.
How can you effectively view and kill processes so you can get your Mac back to normal?
Method 1: View and Kill Processes Using Activity Monitor
The easiest way to check out what processes are running on your Mac is by using the Activity Monitor. This built-in application allows you to view, sort, and end any running processes.
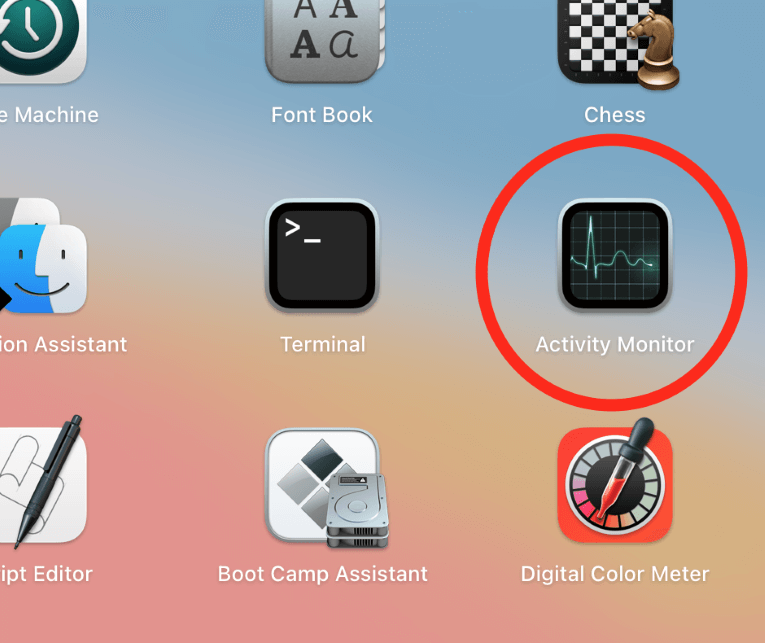
To start, open your Applications folder and look for the Activity Monitor. You can also find it by searching “activity monitor” in the Spotlight.
Once opened, you can see all running applications and processes on your Mac. These are sorted by CPU, Memory, Energy, Disk, and Network, depending on which resource they are using most.
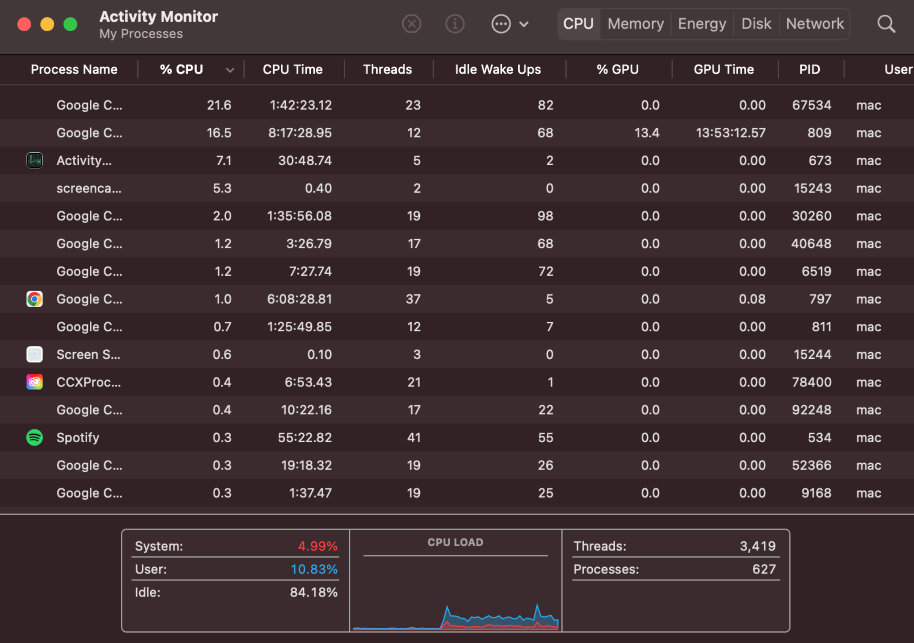
To locate processes that may be causing issues, you can sort by CPU usage. Typically, problematic processes will consume a lot of CPU resources, so this is a good place to start.
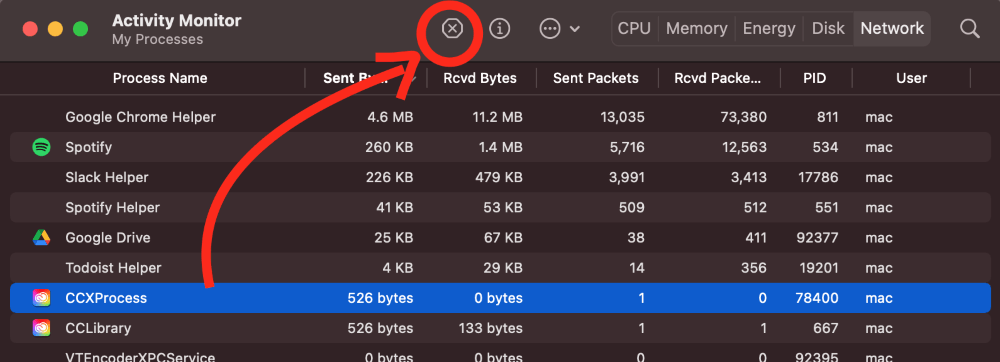
Once you find a process you want to kill, click on it to highlight it, then click the “x” near the top of the window.
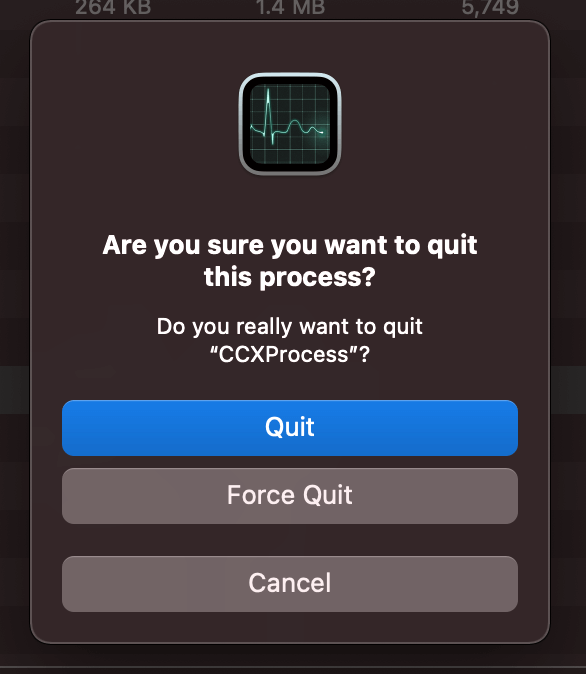
Once you click this, a prompt will appear, asking if you would like to Quit, Force Quit, or Cancel. If the application is not responding, you can select Force Quit to immediately close it.
Method 2: View and Kill Processes Using Terminal
For more advanced users, you can use the Terminal to view and kill processes. While the Terminal can be intimidating for beginners, it is actually one of the quickest ways to review your Mac’s processes.
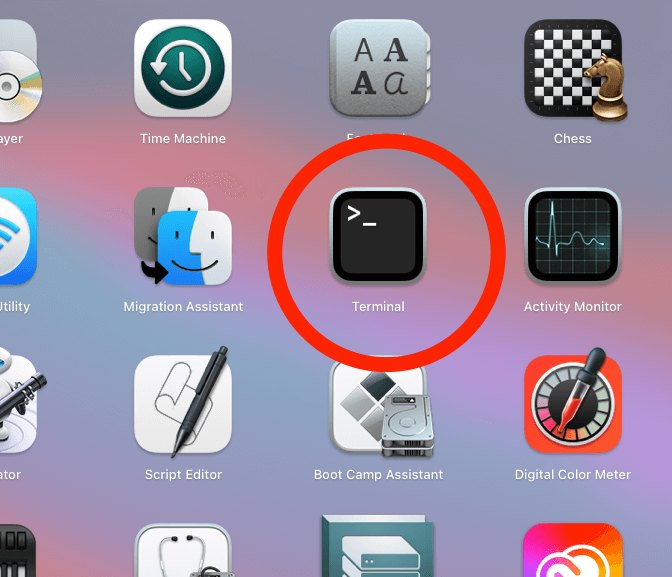
To get started, launch Terminal from the Applications folder or by searching for it in Spotlight.
Once Terminal is open, type “top” and hit Enter. The Terminal window will populate with all of your running services and processes. Pay special attention to the PID of each process. You will use this number to identify which process to kill.
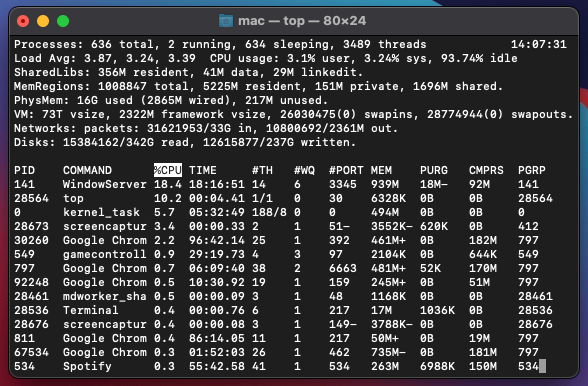
A problematic process will frequently use more than its fair share of CPU resources. Once you have identified the troublesome process you would like to end, type “kill -9” along with the PID of the process and hit Enter.
Method 3: View and Kill Processes Using Third-Party Apps
If the above two methods don’t work, you can always try a third-party application such as CleanMyMac X. An application like this streamlines the process and makes it much more beginner-friendly.
CleanMyMac X can show you which apps are using too many CPU resources and provide you with appropriate options. To manage processes and close applications that are using a lot of resources, open CleanMyMac X and click CPU.
Locate the section labeled Top Consumers and you will be presented with the applications that are currently running.
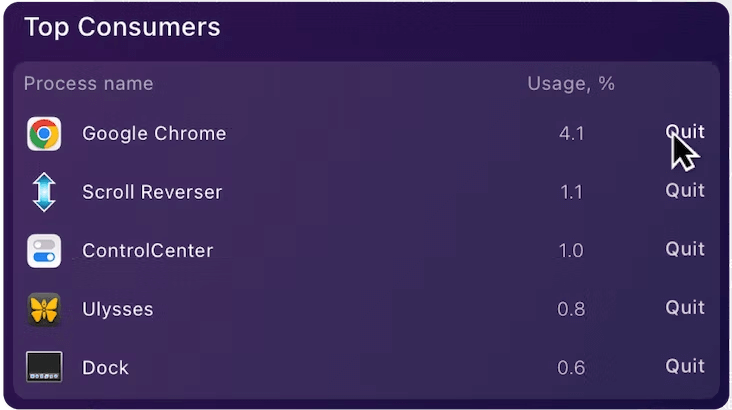
Simply hover over an app and select Quit to close it immediately. Voila! You have successfully closed the application!
You can download CleanMyMac now or read our detailed review here.
Conclusion
By now, you should have all the information you need to effectively manage processes on your Mac. If you run into slow performance or freezing, you can quickly view and kill processes on Mac using one of these methods.
You can view and kill processes using the Activity Monitor, or you can opt to use the Terminal if you are a more advanced user. Additionally, you can turn to third-party apps that monitor your resources and give you options for managing processes.