
To use line smoothing in Krita, you need to ensure that the anti-alias setting on your chosen brush is active and then you need to activate the brush stabilizer under your Tool Options. This will give your lines smoother edges and more control strokes.
I’m Carolyn and I’ve been using digital design apps like Krita to run my digital illustration business for over three years. I spend a lot of my time hand-drawing artwork on the app so I use every tool I can to improve my brush strokes and create more professional-looking digital artwork.
Being able to rely on Krita to create a smoother line really improves the quality of your work and gives you more peace of mind when you’re drawing so you can continue with your strokes without having to go back and fix rough edges or uneven lines.
In this article, I’m going to show you how to achieve smooth lines in Krita using the stabilizer and the anti-alias setting.
Table of Contents
Key Takeaways
- The anti-alias setting is available on most brushes and can reduce the jagged edges on your brush strokes.
- The Brush Smoothing tool comes with four different settings; None, Basic, Weighted, and Stabilizer.
- Using brush smoothing tools can improve the quality of your work in Krita.
How to Activate Anti-Alias Setting in Krita
Activating the anti-alias setting of the brush you’re using can help smooth the jagged edges of your lines. It is not available on every brush, so if you can’t see it in the brush menu, you can choose a different brush that does. Here’s how to do it:
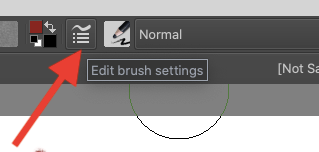
Step 1: Once you have selected the brush you’re going to use, you need to open the Edit brush settings menu. You can do this by clicking on the icon with the brush stroke on top of three stacked lines in the top toolbar of your workspace.
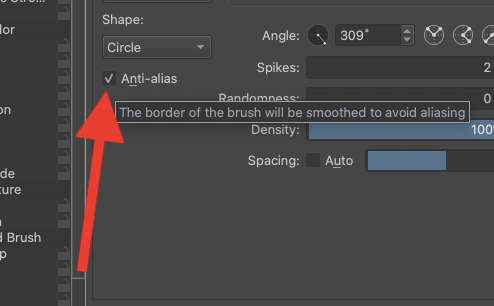
Step 2: Once the Edit Brush window is open, click on the Auto menu.

Step 3: Find the box that says Anti-alias and tick it. Once the box is ticked, this setting is active.
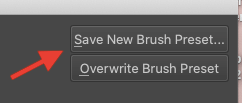
When you have made these changes, select the Save New Brush Preset button and close out of your Edit Brush menu.
Pro Tip: Ensure your Anti-Alias is enabled in your app by checking it in Preferences under the Display menu.
How to Smooth Lines in Krita
Now that you know that your Anti-Alias setting is active, you now need to activate your Brush Smoothing tool. These two settings combined will help to create smoother lines and brush strokes in your drawing. Here’s how:
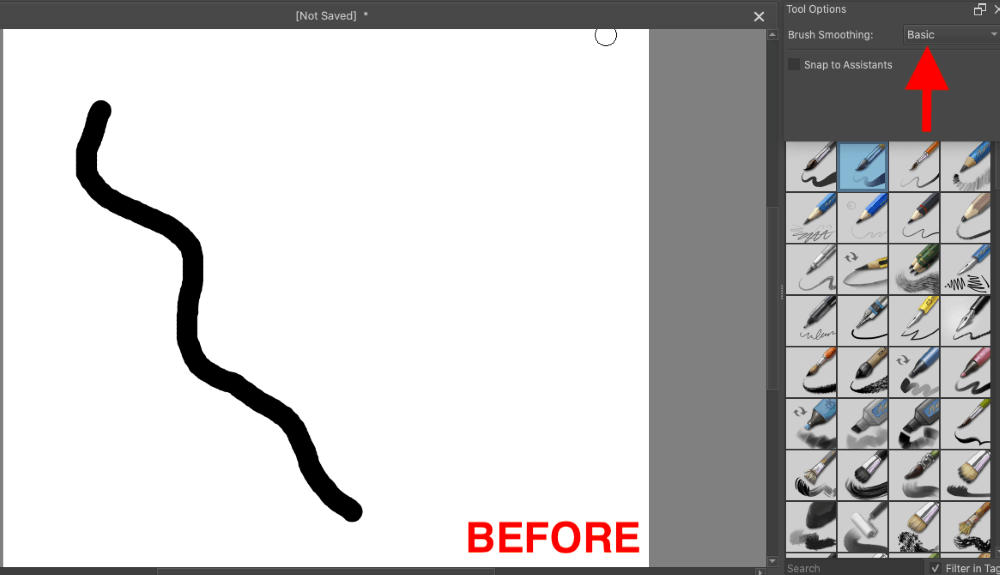
In the Tool Options menu in the top right-hand corner of your workspace, the Brush Smoothing setting will automatically be set to Default. This means when you draw on the canvas it will create a line exactly how you draw it without controlling the outcome at all.
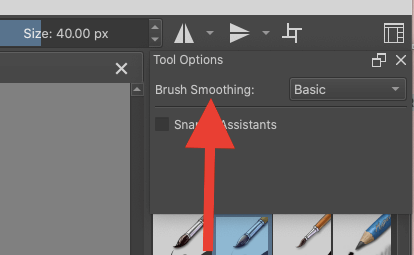
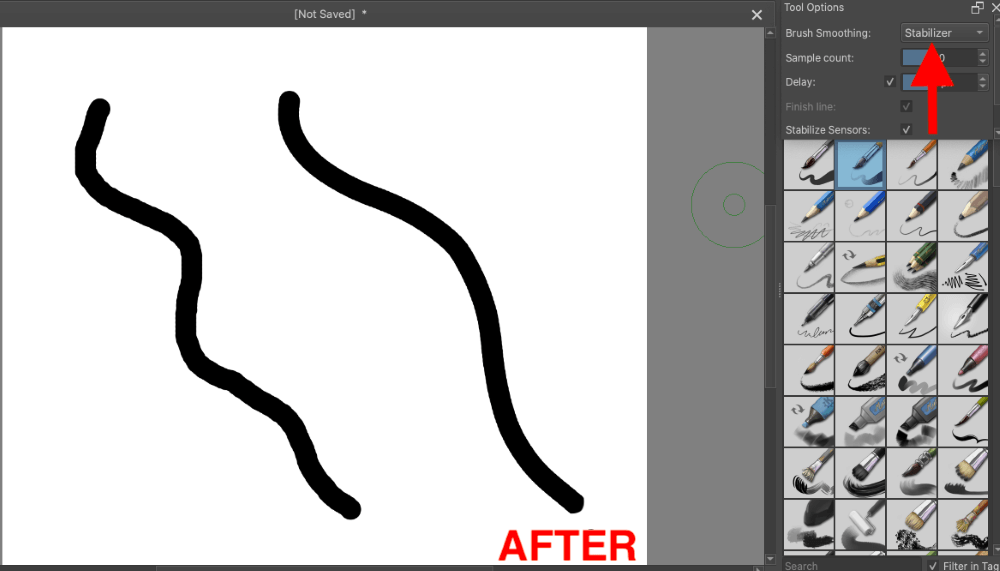
Click on where it says Basic. In the drop-down menu, you will have four options: None, Basic, Weight, and Stabilizer. Click to select the Stabilizer option.

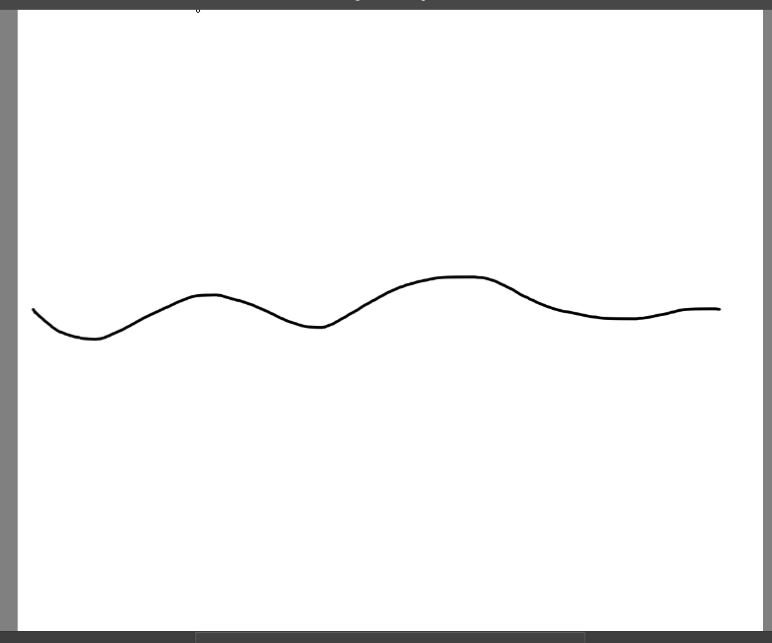
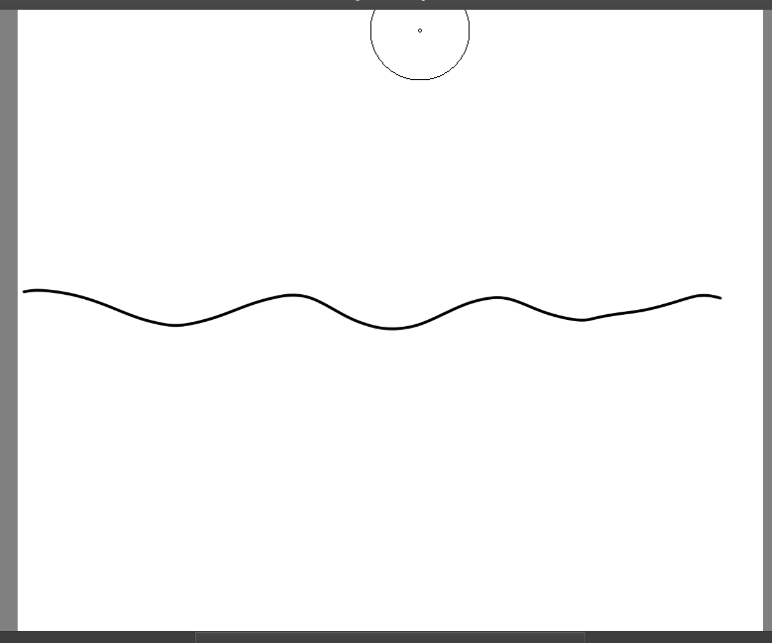
You can now begin drawing and your brush strokes will now be stabilized and smoother because you combined the anti-alias setting in your brush and the stabilizer. Below is an example of a line before and after activating the Stabilizer.
Pro Tip: Once you have activated the necessary settings, you should practice with different pressures while drawing with your tablet or mousepad to see how your lines react to their new settings.
Brush Smoothing Options
There are four different options in the Brush Smoothing menu and they each offer something different. Here is a breakdown of each setting and how it affects your brush stroke:
None
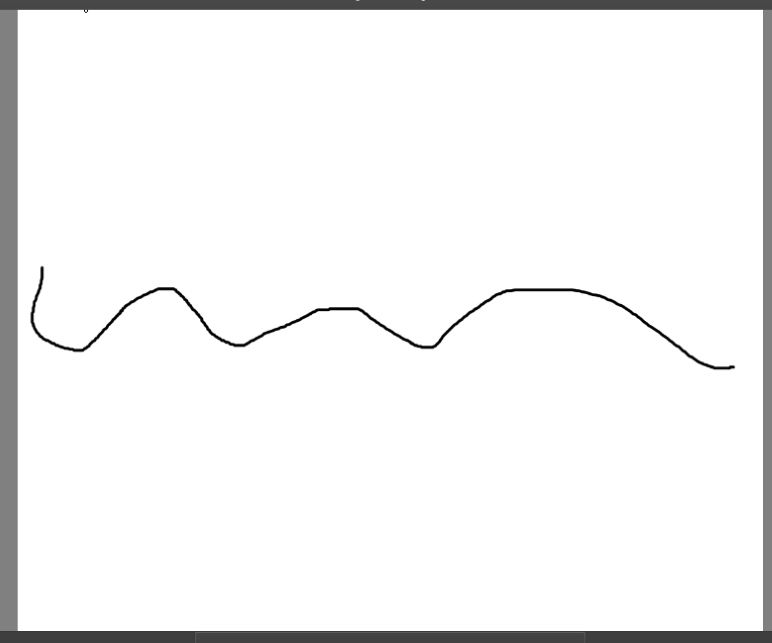
This will not smooth your brushstroke at all. Your brush stroke will resemble exactly how you draw your line including any shakiness from your hand or uneven movement during the drawing process.
Basic
This will ever so slightly give you a smoother and more consistent line. This option is best to use if you are drawing on the mouse pad rather than using a stylus but still want to achieve a hand-drawn effect.
Weighted
When the Weighted setting is active, this will keep your lines smoother the faster you draw and put pressure on the stylus if you are using one. This is a great option if you want subtle support in creating smoother and more consistent lines.
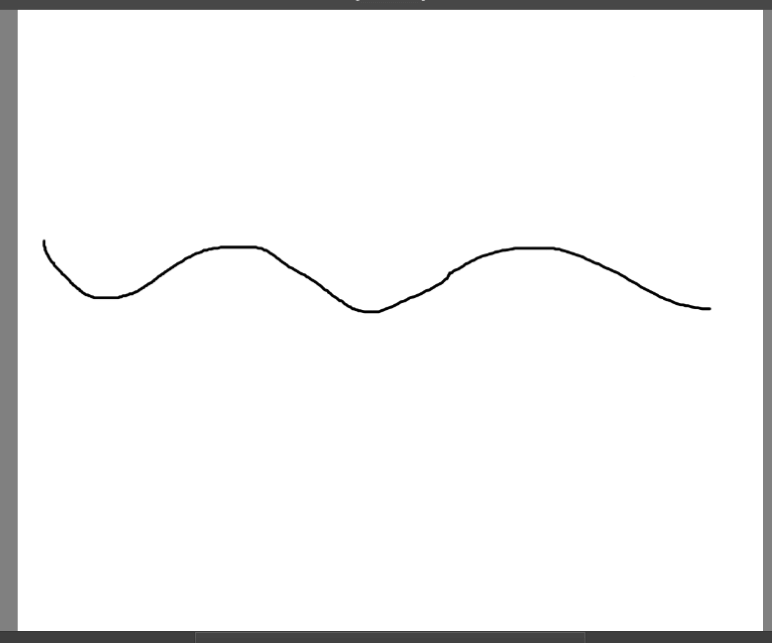
Stabilizer
The Stabilizer completely stabilizes and supports your brush stroke. It will keep your line smooth and steady even if you stop midway through a line, which the other three settings will not do.
Pro Tip: You can also adjust the percentages of the sample count and delay in each Brush Smoothing setting if you want to increase the effects it has on your lines.
Conclusion
Knowing how to create a smooth line while drawing in Krita is an essential skill that every artist should develop. This can be the key difference between amateur artwork and professional graphic design so it’s always best to use all of the tools available to you.
I recommend experimenting with different brushes as not all of them offer the anti-alias setting. This way you can decide which brushes to rely on when you need the smoothest lines in your artwork. And of course, a steady hand will always increase clean lines in your drawing.
Do you use the line smoothing tools in Krita? Leave your feedback in the comments section below.