
In an ideal world, every picture we take would be crystal clear when it is first taken. The majority of photographers aim to capture sharp, high-quality photographs. But even photographers fail from time to time.
The worst thing is coming home and discovering that your favorite photo from your most recent photo shoot was blurry. Fortunately, Adobe Photoshop may still be used to restore fuzzy photos.
My name is Aly, I am Adobe Photoshop certified, and today I will be showing you how to fix high-quality images that came out blurry in Adobe Photoshop.
Table of Contents
Key Takeaways
- Don’t get too caught up in zooming in on your image, as every image will look pixelated as you zoom in.
- Try not to use very low-image-quality photos.
How to Unblur an Image in Photoshop
Although the final product won’t be as sharp as the original photograph, it will still be a vast improvement. Three techniques for sharpening a photo in Photoshop will be covered in this article.
Follow the steps below to unblur your image.
Step 1: Open your image in Photoshop. Go ahead and do this by going to File > Open and selecting your image.
Step 2: Once your image is ready to go in Photoshop, go to the Layers panel on your screen’s right side. By selecting Window > Layers, you can access the panel if you can’t see it.
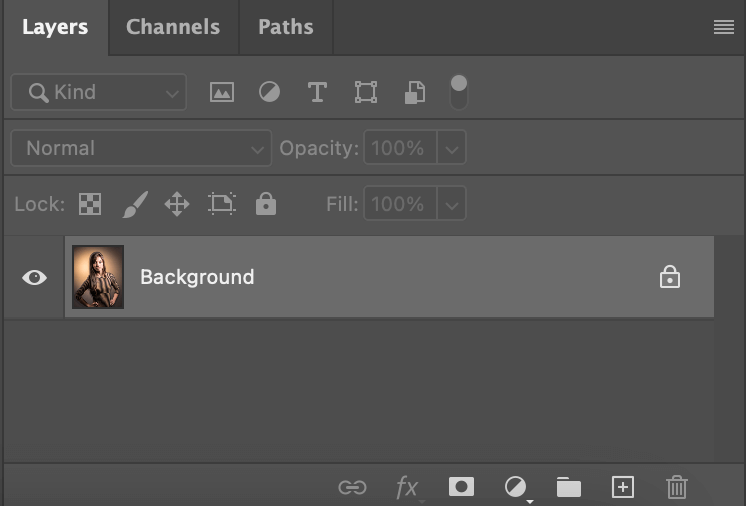
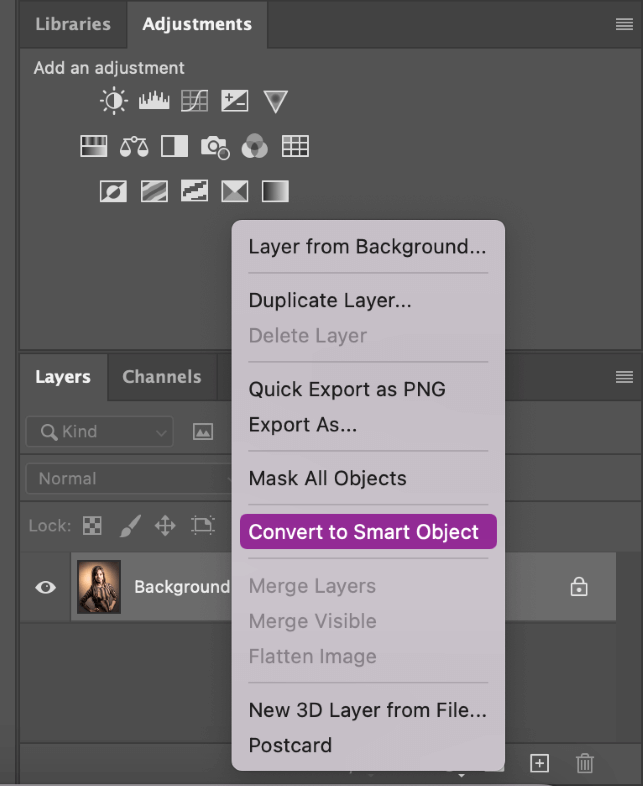
Step 3: Now, right-click on your Background layer and you will see a tab that says Convert to Smart Object, click that.
Converting to a smart object makes sure that nothing is permanent and that Photoshop will allow you to go back to the image’s original form if need be.
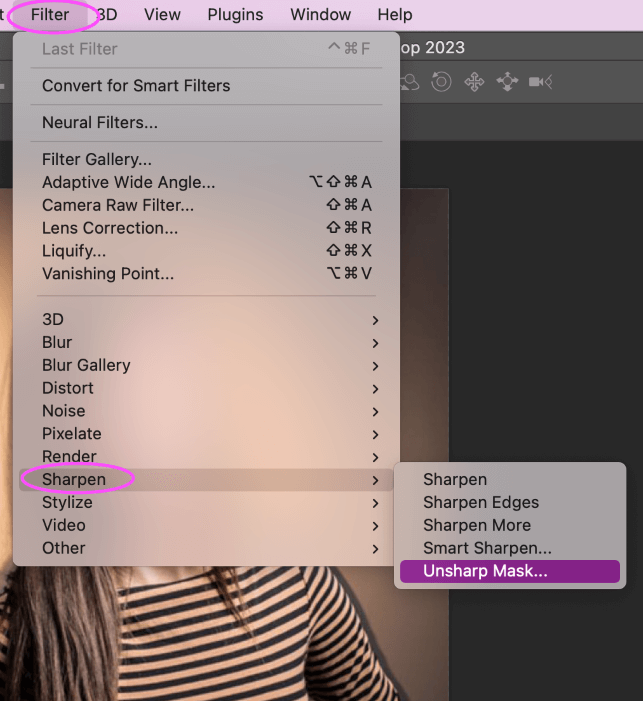
Step 4: Next, go up to the top menu and find Filter > Sharpen > Unsharpen Mask.
Step 5: You can modify three options in the new window that appears:
- You may control the sharpening effect’s strength using the amount slider.
- You may customize the sharpening effect’s width using the radius slider.
- You can adjust the photo’s overall sharpness with the threshold slider.
Make sure the checkbox next to Preview is ticked if you want to see the changes you’re making immediately. Simply click OK once you are satisfied with the findings.
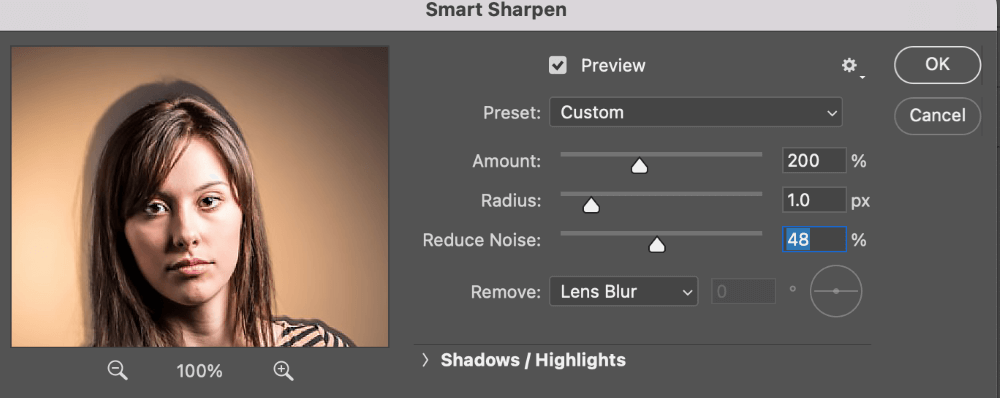
Step 6: If you are still noticing some blur in your image, go back up to Filter > Sharpen > Smart Sharpen, a menu box will appear and you can alter the settings. I would suggest playing around with the Reduce Noise option as that will be your best bet at removing additional blur.
Additionally, you will notice a box that says Remove at the bottom of the menu box, this allows you to tell Photoshop the type of blur that you are removing.
With options Lens Blur, Gaussian Blur, and Motion Blur, depending on the type of blur that is occurring in your image select the one that’s appropriate for you.
After choosing the settings in smart sharpen, go ahead and press OK. Your image should look improved from before and you should be able to save your image by going to File > Save.
Pro Tip: If your image is still not quite right, try using Smart Sharpen before Unsharp Mask as this may help reduce the blur of your image better.
Final Thoughts
These are just a few ways to unblur an image, and unfortunately, there is only so much you can do if your image is too blurry. The edges of the objects in your photo are taken and given contrast by the unsharp mask.
This tool won’t be much use if your image is so blurry that you can’t even tell where the edges are. When you accidentally miss the focal point and want to restore your photo to a high enough quality to still be usable, the unsharp mask is ideal.
Any questions about unblurring an image in Photoshop? Leave a comment and let me know.