
Warp Stabilizer is a tool in Premiere Pro that you can use to stabilize a clip. To use Warp Stabilizer, select the clip you want to stabilize in the timeline and then go to the Effects panel. Select the Warp Stabilizer effect and apply it to the clip.
In this article, I will show you the steps to use a warp stabilizer, some things to note while using a warp stabilizer, and explain why you need a warp stabilizer effect in your project. Adjust your chair and read on with me.
Table of Contents
How to Use Warp Stabilizer in Adobe Premiere Pro
Warp Stabilizer is an excellent tool for stabilizing clips that are shaky or have been shot handheld. You can use it to stabilize clips you shot with a moving camera, such as shots from a car or train.
To get the best results from Warp Stabilizer, choosing the correct settings is essential. The method and frame size options will vary depending on the type of footage you’re stabilizing. If your video footage is shaky, there’s an easy way to fix it using Premiere Pro.
With the Warp Stabilizer effect, you can quickly stabilize your clips. This effect analyzes your footage and then uses complex algorithms to stabilize it. The result is a much smoother clip that’s easier to watch.
A warp stabilizer is an excellent tool for Premiere Pro users who want to stabilize their footage. This tool can be found in the effects panel and is very easy to use. Simply apply the effect to your clip and let it do. The warp stabilizer will analyze your footage and try to stabilize it.
This can be a great help if you have shaky footage or want to ensure your footage is steady for a particular reason.
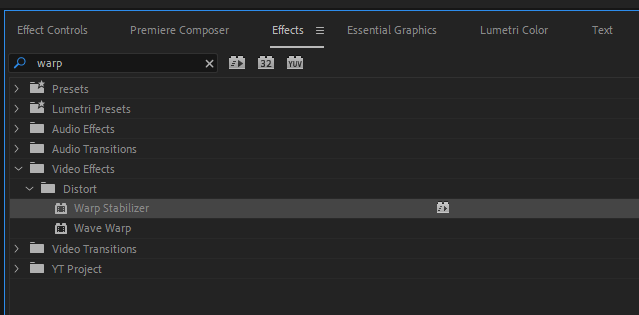
Import a shaky video clip into your sequence timeline, then select that shaky video, then proceed to the Effect Panel, and search for Warp Stabilizer. This warp stabilizer is under the video effect. You can drag it on your shaky clip or double-click the warp stabilizer effect to apply it to the shaky video.
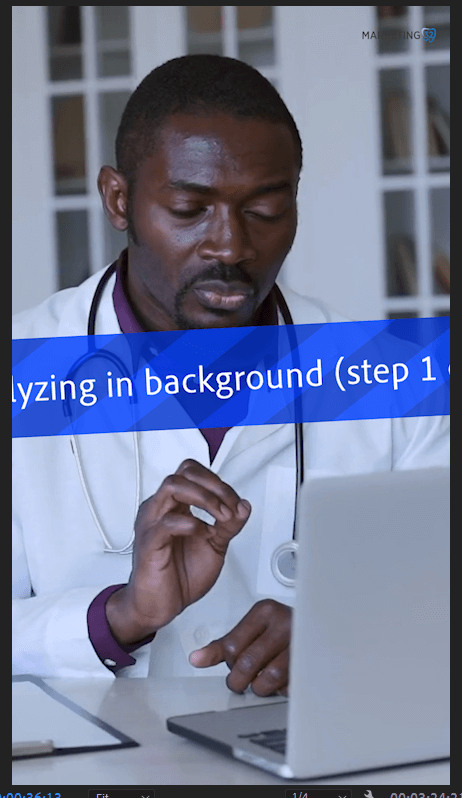
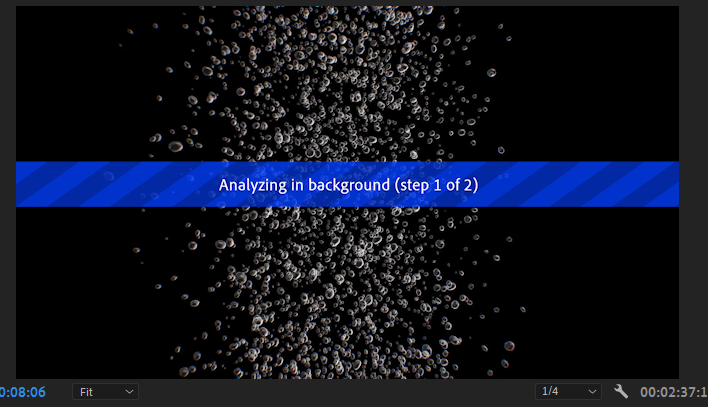
Automatically, Premiere Pro will start to process the effect on the clip, which will likely take some time, depending on your computer processor.

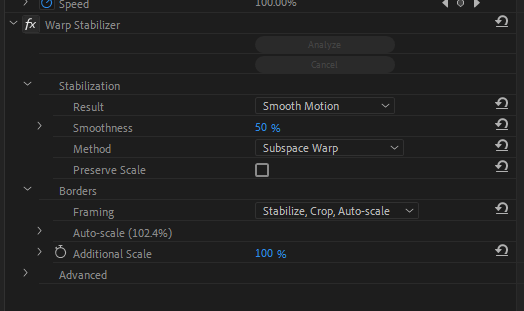
Now, on the effect panel on the left top side, select the smoothing parameters and tweak it to your desired taste or best setting for your clip. Thus, this will completely adjust your shaky footage to be smooth, depending on your amount of smoothness.
What to Be Aware of While Using Warp Stabilizer
To enjoy warp stabilizer, you must first apply it before other effects. This is very important because if you have applied a color effect on the clip or another effect, then the source analysis will change, and you will need to analyze.
So be careful to apply the warp stabilizer at the beginning of your editing. Also, you cannot use warp stabilizer and speed effect simultaneously. If you want to use it, you must nest your clip.
Why You Need Warp Stabilizer for Handheld Footage
Watching a shaky video clip can leave a bad feeling about the editor. It will look very unprofessional, and you can even be motion sick if all the shaky clip is too bad.
Before recording, remember that once you have a handheld camera record, you will have a high level of shakes.
Using a Warp Stabilizer tool, you can isolate and remove that shaky movement to produce a smooth one.
However, it is essential to remember that Warp Stabilization is not perfect. So, in as much as you have this at the back of your mind, better footage will definitely produce better results.
Finally, using a warp stabilizer will reduce or eliminate shaking and blurring caused by camera movement. It will give you more creative control over your final product. It will save time by not having to reshoot the footage. It makes it possible to use footage that would otherwise be unusable.
Conclusion
Now you have all the necessary tools for a stable and great-looking clip. With your sequence ready to go with perfect effects, you are just left to share it with the world. Locate Warp Stabilizer in your Effect and Apply it to your clip. Let it do its magic.
If you are still troubled, feel free to drop a comment for me, and I promise I will reply as fast as possible.