
If you do any type of work on a computer, you know the importance of capturing information from your screen. Tech writers, software developers, software testers, tech support, and numerous other professionals take screen copies multiple times a day.
Thankfully, there are tons of apps available for capturing images on our computer screens. Snagit and Snipping Tool are two popular programs used for this task.
Snipping Tool is a basic screen capture application packaged with Microsoft Windows. It’s simple, easy to use, and allows you to get quick screenshots when you need them. Early versions of it were light on features. The latest one, available with Windows 10, has added a few more, but it’s still very rudimentary.
Snagit is another common screen capture utility. While it does cost money, it comes with several advanced features. With those features comes a bit of a learning curve, though, which is something to consider if you’re looking at an advanced screen cap tool. Read our full Snagit review for more.
So, which is better—Snipping Tool or Snagit? Let’s find out.
Table of Contents
Snagit vs. Snipping Tool: Head-to-Head Comparison
1. Supported Platforms
Snipping Tool is bundled with Windows. It first appeared in Windows Vista and has been part of the Windows package ever since.
If you are a Windows-only user, then this isn’t a problem. If you’re a Mac user, this app won’t be available to you (though MacOS has its own solution). Snagit, on the other hand, has been developed to work on both Windows and Mac operating systems.
Winner: Snagit. Since Snipping Tool is only available on Windows, Snagit is the clear winner here because it supports Windows and Mac.
2. Ease of Use
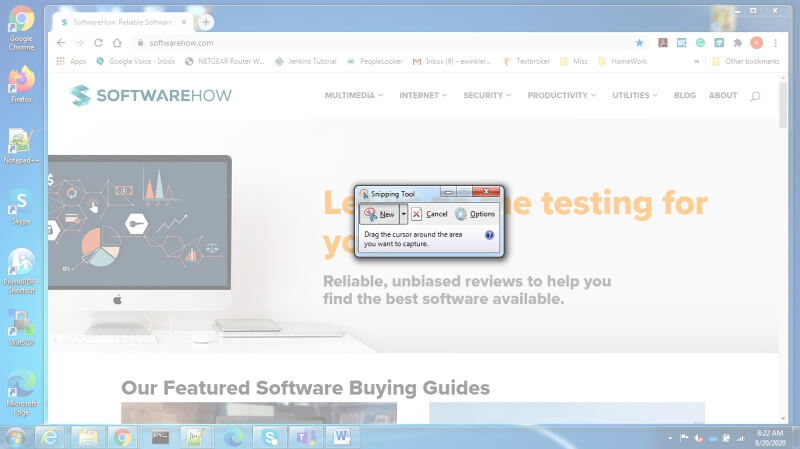
Snipping Tool is one of the simplest screen-grabbing programs available. Once your screen is ready to be captured, just start Snipping Tool. You can now select any area of your screen. Once selected, the image drops into the editing screen.
While Snagit isn’t complicated, it does take some learning. Most of this is due to the numerous features, settings, and ways you can capture your screen images. Once you learn it, and you’ve got it configured, screen capture is a breeze.
Snagit’s advanced features are terrific, but they can slow the application down if you’re not using a newer computer. When testing, I noticed a significant slowdown while taking screenshots. This is not something I’ve ever seen when using Snipping Tool.
Winner: Snipping Tool. Its simplicity and lightweight footprint make it the easiest and fastest for taking screenshots.
3. Screen Capture features
The original Snipping Tool (back from the Windows Vista days) was pretty limited. More recent versions have continued to add features, though they’re still simple.
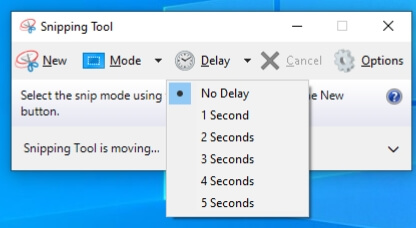
Snipping Tool has 4 modes: Free-form Snip, Rectangular Snip, Window Snip, and Full-Screen Snip.
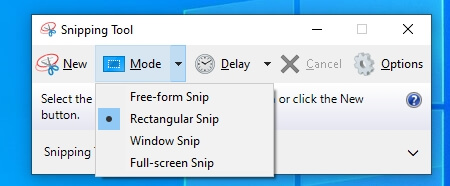
It also has preset delays from 1 to 5 seconds, which can be used to allow processes to complete before the screenshot is taken.
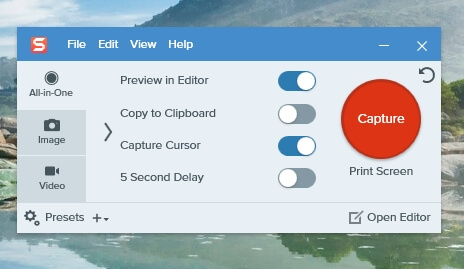
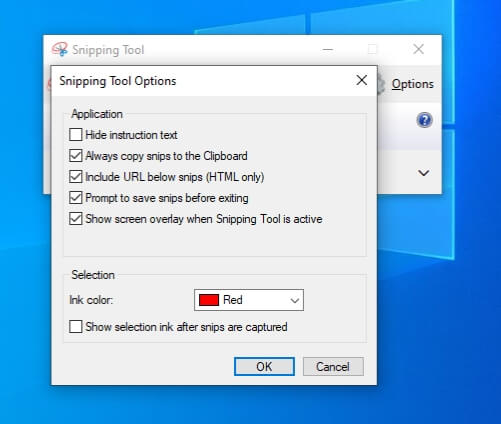
Snipping Tool has a limited set of configurable options, including copying straight to the clipboard, just like Snagit.
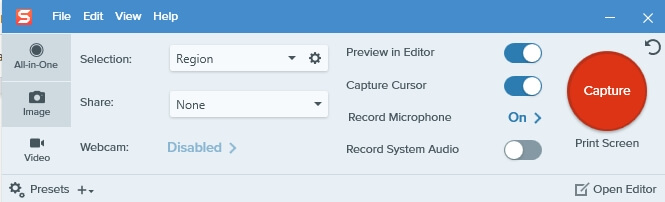
Snagit is loaded with features and settings; we’d need to do a specific review of it to cover them. The screen copy methods include rectangular region, window, and full-screen modes.
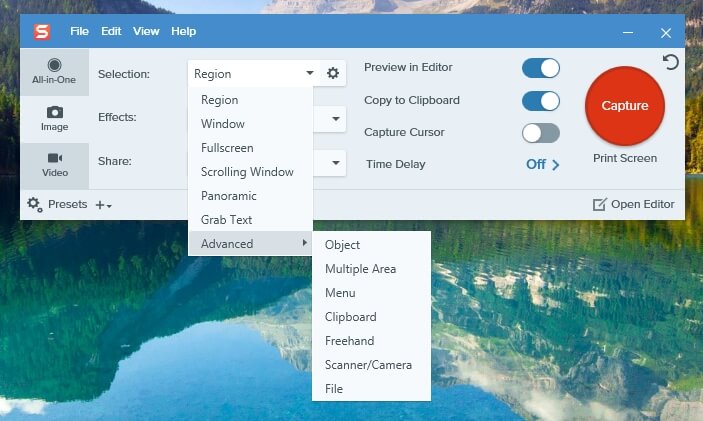
Snagit also includes a scrolling window capture, panoramic capture, text capture, and other advanced captures. Scrolling window capture lets you grab an entire web page even if it doesn’t fit on your screen.
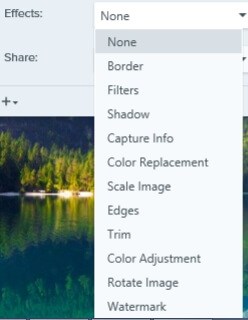
This utility has multiple effects that can be added during the capture process and a selection of ways to share the image with other applications.
With Snagit, the features don’t end there. It can capture video from your screen or webcam. If you want to create a video that demonstrates how to do something on your computer, this app makes it easy. You can even add video from a webcam and audio narration—live.
Winner: Snagit is the champion here. Its multitude of settings and features is far more extensive than that of Snipping Tool.
4. Editing capabilities
When we do screen captures for documents or instructions, we often need to edit the image by adding arrows, text, or other effects.
Editing is an essential part of the screen capture process. While we can always paste images into Photoshop, what’s the point of using complex software for simple tasks? We usually just want to make quick edits, then paste the final image into our document.
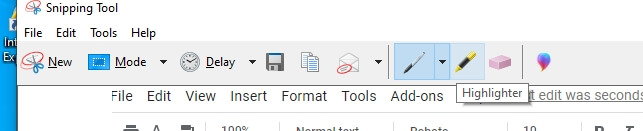
Both Snipping Tool and Snagit include editing capabilities. The Snipping Tool has some basic but limited tools, which are easy to use. They really do no more than let you draw lines and highlight areas of the screen.
It does allow you to save or attach the image to an email. However, it’s easier for me to copy the edited image to my clipboard and paste it into an email or document.
The latest version of this software allows you to open an image in the Windows-provided Paint 3D program. This image editor provides many more features and effects. Still, they’re not geared towards creating the type of instructional images commonly associated with these tasks. You can add text, stickers, and perform lightweight image editing, but it is often cumbersome.
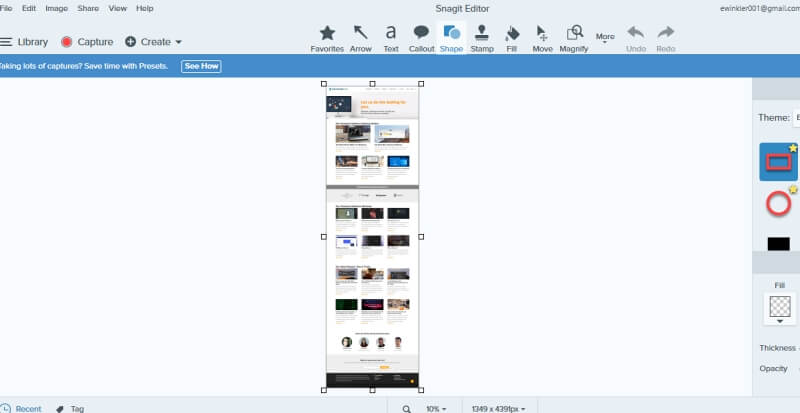
Images captured by Snagit are automatically sent to the Snagit editor. This editor has an abundance of gadgets meant for creating instructional documents.
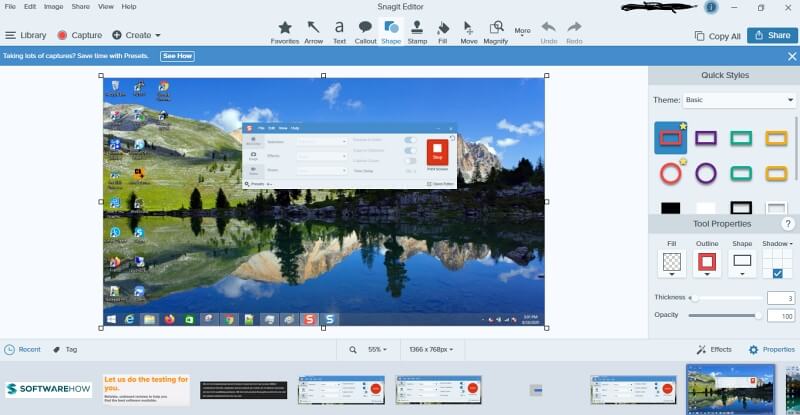
With Snagit’s editor, you can add shapes, arrows, text bubbles, and more. These features are easy to learn; creating images for documents is almost painless. The editor even saves them automatically, keeping a link to each at the bottom of the screen. This way, you can rapidly go back to them.
Winner: Snagit. Snipping Tool’s editing features are not always adequate for technical documents. Snagit’s editor is made specifically for this; editing is quick and easy.
5. Image Quality
For most instructional documents or emailing someone an error message from your screen, the image quality doesn’t have to be top-notch. If you are taking shots for a book, though, there may be a minimum image-quality requirement.


Both applications capture images at a default of 92 dpi. As seen above, you cannot tell much of a difference between the two. This is what we have used for the pictures in this document, and the quality is adequate.
If you require higher quality for something like a book, which may require 300 dpi, you would need to go with Snagit. Snipping Tool doesn’t have a setting to adjust the image quality, but Snagit does.
Winner: Snagit. By default, both obtain images at the same quality, but Snagit’s editor lets you adjust it if needed.
6. Text Capturing
Another terrific capture mode that Snagit has available is text capture. You can grab an area that contains the text. Even if it is an image, Snagit will convert it to plain text, which you can copy and paste into another document.

This is an outstanding feature that can save an enormous amount of time. Instead of retyping entire text blocks, Snagit will capture it from the image and convert it into real text. Unfortunately, Snipping Tool is not capable of doing that.
Winner: Snagit. Snipping Tool cannot grab text from an image.
7. Video
Snipping Tool grabs only images, not video. Snagit, on the other hand, can create a video of all your actions on the screen. It’ll even include video and audio from your webcam. This is perfect for authoring tutorials on your computer.
Winner: Snagit. This is another easy one since Snipping Tool does not have this capability. Snagit lets you create some sharp-looking videos.
8. Product Support
Snipping Tool is packaged with and part of Windows. If you need support, you can probably find information from Microsoft. If you have to, you can contact Microsoft support—which is notoriously slow and obtuse.
Snagit, which is developed by TechSmith, has extensive customer support staff dedicated to this specific application. They also provide a library of information and video tutorials available for using Snagit.
Winner: Snagit. It’s not a knock on Microsoft’s support; it’s just that Snagit’s support is concentrated, while Microsoft supports a whole operating system.
9. Cost
Snipping Tool comes packaged with Windows, so it’s free if you bought a Windows PC.
Snagit has a one-time fee of $49.95, which lets you use it on up to two computers.
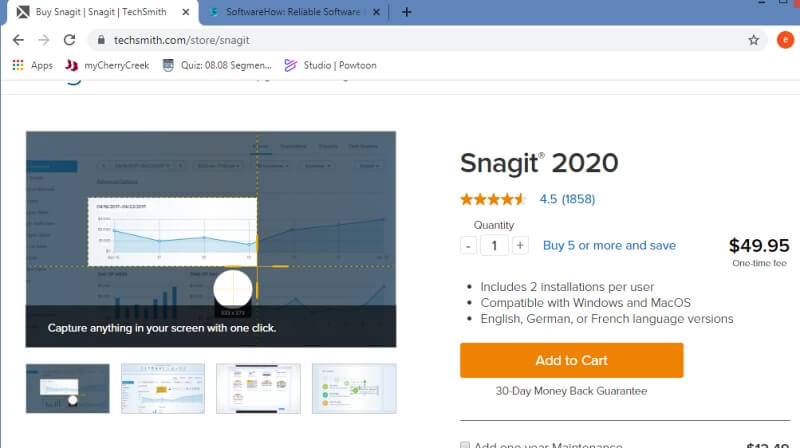
Some may feel that this is a bit expensive, though many who use it regularly will tell you that it’s well worth the price.
Winner: Snipping Tool. It’s hard to beat free.
Final Verdict
For some of us, screen capture software is a critical part of our work. For others, it’s a powerful application we use to explain what’s happening on our computer screen. Choosing between Snagit and Snipping Tool can be difficult, especially for those who use Windows.
Snipping Tool is free. Its simplicity and speed make it a reliable app for taking pictures of your screen. The default image quality is just as good as Snagit’s, but it lacks many of Snagit’s useful features.
Feature-wise, Snagit is tough to beat. The scrolling, panoramic, and text capture make it well worth the $49.95 price. Its editing features, geared towards creating instructional documents, make it a perfect tool for those who need to document or demonstrate how to do anything on a computer. The video capture is a powerful plus.
If you’re still having trouble deciding between Snagit and Snipping Tool, you can always take advantage of Snagit’s 15-day free trial.