
Creating a slow-motion video (slo-mo) helps to add more details or suspense to your video clip.
If you want to create a slow-motion video in Adobe Premiere Pro, import your video clip into your sequence timeline, then click CTRL+ R. From the pop speed/duration box, set your speed to 50%, and click “OK”.
In this article, you will learn how to create a slow-mo, understand speed ramping, and the rate stretch tool to slow-mo, and I will suggest a series of frame rates that are perfect for slow-motion video.
Table of Contents
How to Create a Slow Motion Video in Adobe Premiere Pro
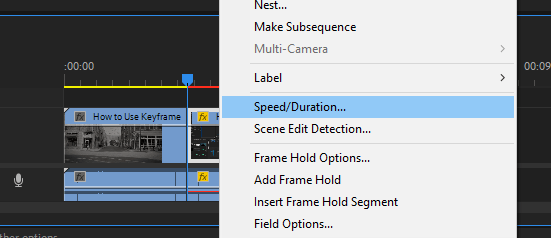
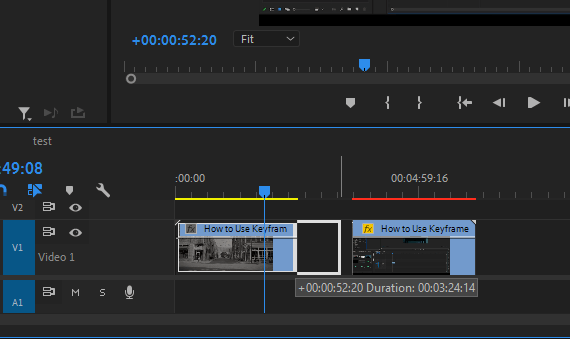
First, import your footage into your sequence timeline. After dragging the video onto the timeline, right-click on the video, and a list of options will appear. Among these options, select Speed/Duration.
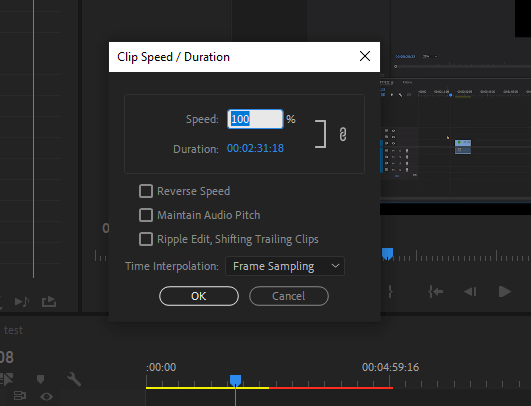
Here you will see that the default is 100% which is the normal speed. You can change the speed from 100% to 50% or 75% to make a slow-motion effect. I prefer using 50% so that the effect can make perfect sense.
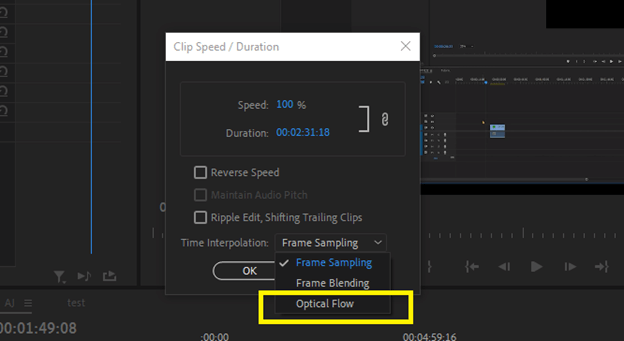
To help make more sense, use a smooth transition between the frames by changing time interpolation to optical flow.
Rate Stretch Tool Explained
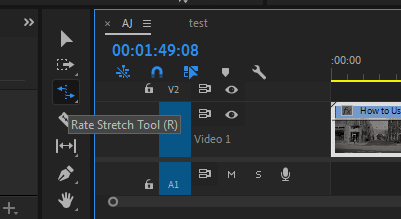
The Rate Stretch tool is an excellent tool for adjusting the speed of your video clip, but it is also super handy for quick fixes.
For instance, if you have three video clips loaded into your Premiere timeline and there’s a gap between the first clip and the second one, you can extend the first clip to fill the entire space using the rate stretch tool.
Just select the clip and press R or select the rate stretch tool from the tools bar beside your sequence timeline, then go to the end of the clip and push it forward as if you are dragging a rope.
To smooth it, right-click on the video clip and select time interpolation > optical flow. This will automatically create or generate extra frames to smooth the slow motion.
What is Speed Ramping in Premiere Pro
Speed ramping is a technique used to slow down a video’s speed over a scene gradually. You can use it to create a sense of suspense in conjunction with other motion effects, such as speed or reverse footage.
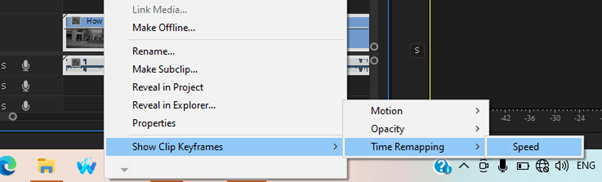
Drag your video clip into your project or sequence timeline to do this. Right-click on the footage you want to speed ramp. Select Show Clip Keyframe > Time Ramping > Speed from the drop-down menu.
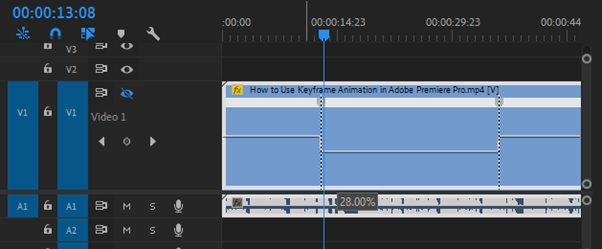
Enlarge the video track so as to see what you are doing. On the video clip layer, you will notice a speed line.
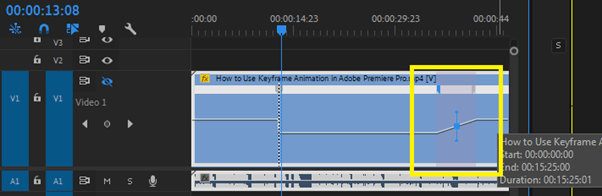
Press and hold CTRL KEY plus a click on the speed line to create a keyframe, and do it once more to make it two. In between the two keyframes, drag the speed line downward to make a smooth slow motion.
Drag this keyframe forward to make the two work as the transition.
What are the Framerates Used to Create Slow Motion
One thing about slow motion is that you must have enough frame rates to avoid lags in your slow-motion video.
Not all footage is worth slowing down because a good-looking slow-motion video depends on the amount of frame rate used while recording.
Thus, you should have planned this in the Production stage. Set your frame rate to at least 60fps or higher to have a good output while editing and after editing.
Although, you can use multiple frame rates to create a slow-motion video. Like 30 fps, 60 fps, 120 fps, 240 fps, 480 fps, and 960 fps.
All these frame rates can create slow-motion video perfectly, but their outcome will vary in look and feel. Some cameras only have 30fps, 60fps and 120fps. Experiment with them all and get it right.
Why Do I Need to Use Slow Motion?
Slowing down a video creates a more immersive experience for the viewer. This effect can evoke emotions and memories in the viewer, creating a more engaging experience.
Additionally, slowing down a video can help improve communication clarity and accuracy. It can also help to study movement and timing, investigate why something happens, or show how something works.
Conclusion
Creating a Slow motion in Premiere Pro is as simple as following the above explanation. Recapping, just import your video clip into your sequence timeline, and click CTRL+ R. From the pop speed/duration box, set your speed to 50%, and click OK.
If you need help understanding anything from the article, send a question in the comment box.