
Think of a sequence as a basket where you have all your items assembled. A sequence in Adobe Premiere Pro is where you have all your clips, layers, and objects. This is where you stitch them together to make a complete project.
Call me Dave. I’m an expert in Adobe Premiere Pro and I’ve been using it for the past 10 years while working with a lot of known media companies for their video projects.
Are you ready to get the whole concept of a sequence? That’s what I’m going to explain in this article. I’ll also show you how to create a sequence, explain what a nested sequence is and answer some other related questions you might have.
Table of Contents
Key Takeaways
- Without a sequence, you cannot create or do anything in your timeline/project.
- Your sequence settings will affect your export settings, you have to get it right from the beginning.
- Try to stay organized when creating your sequence and name them accordingly.
What is a Sequence in Video Editing?
Without a sequence, there is no way you can start your project!
A sequence is the base element of your project. It is where you assemble all your clips e.g. raw footage, pictures, GIFs, or anything media. Layers like adjustment layers, solid colors, transitions, etc.
A sequence is what is opened in your Adobe Premiere Pro Timeline. You can create and open as many sequences as you want in your timeline. Then switch to the one you want to work on. It’s as simple as that.
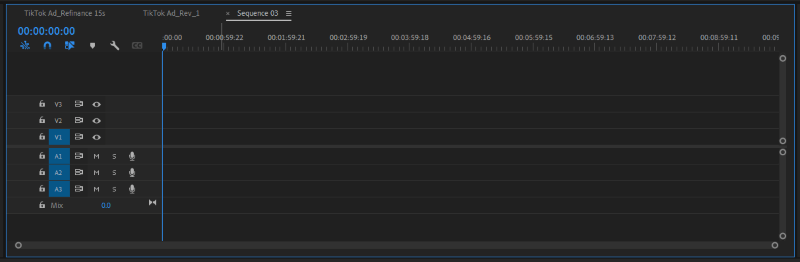
In the above image, I have three sequences opened in my timeline and I am currently on “Sequence 03”. As you can see, it’s an empty sequence.
A sequence is what you will export at the end of the day when you’re done with your project to make a playable file – MP4, MOV, AVI.
How to Create a Sequence in Adobe Premiere Pro
It’s simple and straightforward to create a sequence. Once you have your project opened in Premiere Pro, navigate to your Project folder also called Bin folder. There are three ways to create a sequence.
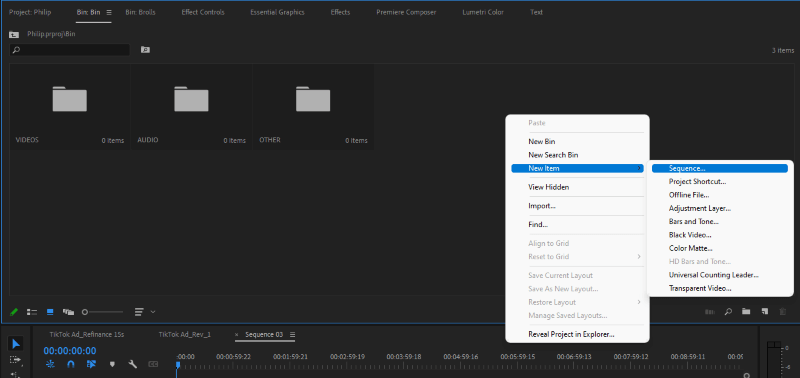
Method 1: Click on an empty space in your project folder, right click then navigate to New Item and finally Sequence.
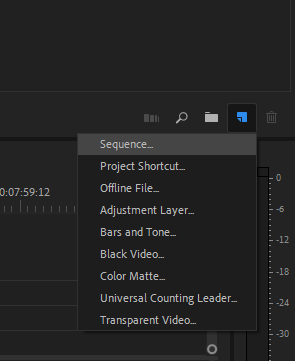
Method 2: Go to the bottom of your project folder and find the new icon, click on it and have your sequence created.
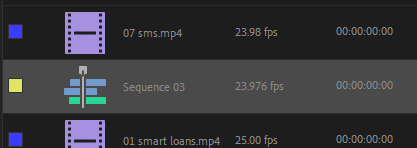
Method 3: You can also create a sequence with your footage. This will match your sequence settings with your footage properties. Your sequence will be in the frame size, frame rate, color space, etc. of the footage.
You can do this by clicking on the footage. Click, hold and drag to the New Icon at the bottom of your project panel, and boom, you have your sequence created.

Note: This method will not create an empty sequence, it will automatically import that footage into the sequence. It will also name the sequence as your footage name. You can choose to rename it later though.
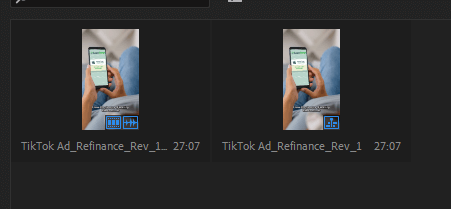
In the above image, we have the footage and the sequence sitting next to each other.
Tips to Create a Sequence in Premiere Pro
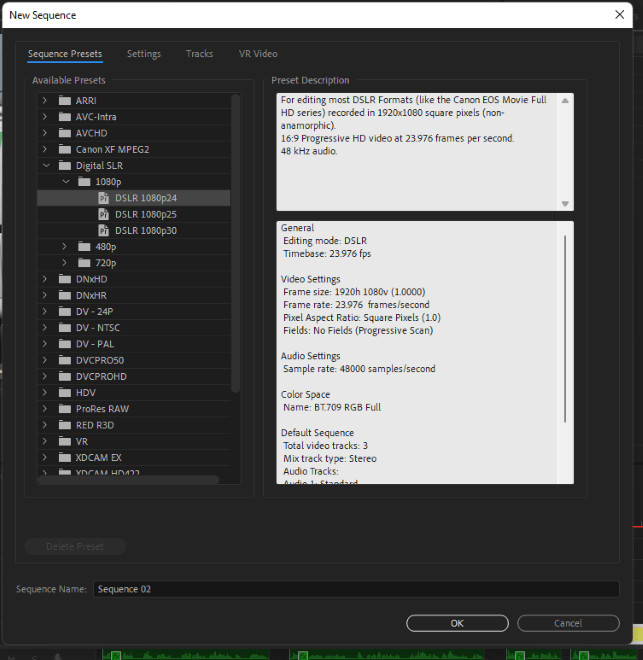
1. You can choose from the available sequence presets depending on the setting you want; Your Frame Size, Frame Rate and Aspect Ratio, basically. Also, you might tend to adjust the Working Color Space.
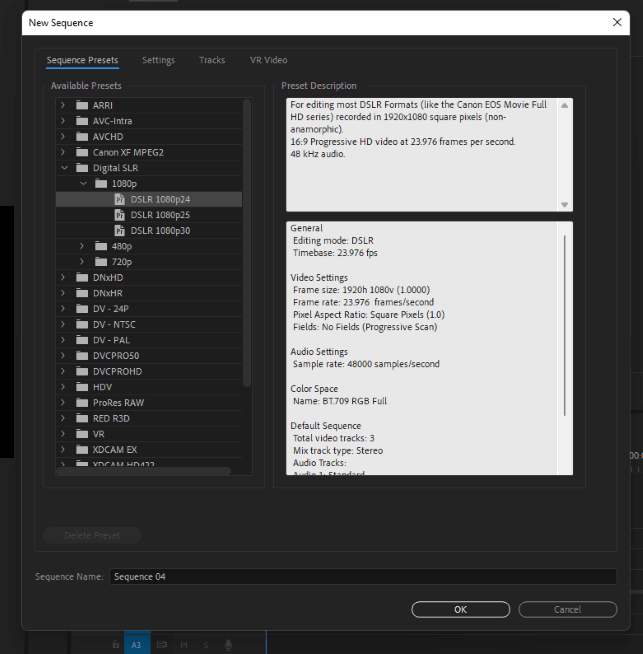
2. To change your frame size, frame rate, working color space, etc., navigate to the Settings tab and change it accordingly.

3. You can also Save Preset if you want to reuse and save yourself the stress of making the settings all over and over again. For instance, if you want to create a sequence in IG Reel Dimension which is 1080 x 1920, you will have to make the settings manually. You can save the preset to reuse in the future.
4. Don’t forget to stay organized. Do not forget to name your sequence accordingly. If you want to rename your sequence, you can right click on the sequence and click “rename”. There you go!
Uses of a Sequence in Adobe Premiere Pro
Here are a few common uses for Premiere Pro sequences.
Create Video
A sequence is the head and body of your project. It’s used to create your final video. Without it, you can not do anything in your timeline.
Break Down a Large Project
You can have a sequence inside a sequence. Yes, you read that right. It’s used to break production into smaller entities. Think of a film setting, where you have a long story with so much footage. You can’t have your movie from start to finish created in just one sequence, you are going to blow off your head.
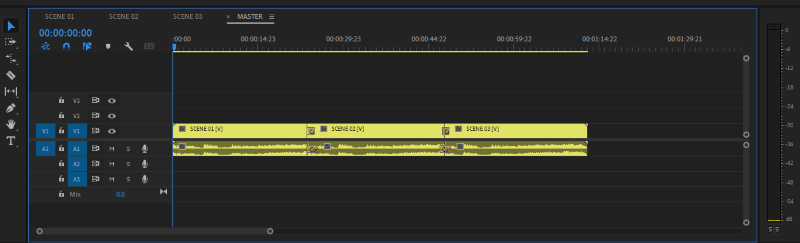
A sequence in this sense is used to break down the film, you can have them created as “Scene 01, Scene 02, Scene 03…Scene 101” Then have each scene footage in its respective scene sequence. At the end of the day, once you’re done editing each scene, you can then create a Master Scene to import all your subordinate scenes to group them together.
This method makes you have a great workflow. Plus good data management. Remember, stay organized.
Revise a Project
Sequences can be helpful when keeping a good workflow. Assuming you want to revise your project, let’s say you want to try a new color grading, change some texts, and remove some transitions while keeping the former file as it is. Sequences can help you with that.
You only need to duplicate your original sequence. You can duplicate by right clicking on the sequence and duplicate right away, then you can rename it as wanted, maybe “Dave_Rev_1”. Open it up by double clicking on it, make your changes, and there you go!
The new changes made to the duplicated sequence will definitely not show up in the original sequence.
What is a Nested Sequence in Premiere Pro?
To further stay organized, you can make use of a nested sequence. Assuming you have a bunch of clips together in your sequence and it’s getting tough for you to figure them out, you can nest them into a sequence. This will replace all the clips with a new sequence.
How do you do this? You highlight all the clips you want to nest, then right click on it and click on Nest Sequence. Then name your nested sequence as you want. It’s as simple as that.
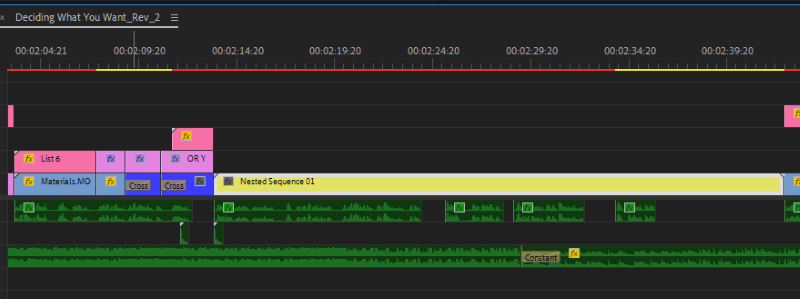
For example, this screenshot shows you the highlighted clips I wanted to nest.

And this screenshot is the aftermath of nesting, isn’t that beautiful?
Also, you can apply any effect on your nest sequence, even the sequence itself. Play with it and you will enjoy it as much as I do.
FAQs
Here are some other related questions you might have about sequences in Premiere Pro, I’ll answer each of them briefly below.
How to Save a Sequence in Premiere Pro?
You can not save a sequence, once you save your project, you are good to go.
What Sequence Settings to Set for Premiere Pro?
Well, this depends on what you want to create. Do you want to create for Tiktok? 4K or 1080p Youtube Video? Instagram? They all have different settings, what differentiates them is the frame size basically. But generally, you can use Digital SLR, 1080 24fps then tweak the frame size as wanted. This preset is the standard for most players.
What is a Sub Sequence?
It’s more or less like a nested sequence but this will leave your highlighted clips in your main sequence untouched, that is, it won’t replace them with a new sequence. It will only create a sub sequence in your project folder with the highlighted clips in it.
A basic usage is if you want to select a particular part of your sequence and have it as a new sequence without you doing all the effects, cutting, etc. on the clips again. You can just select and highlight them from your current sequence, make a sub sequence and work out your magic.
How do you create a sub sequence? It’s more or less like creating a nested sequence. You highlight the clips and right click on them, then make a sub sequence.
Conclusion
I believe you’ve gained one or two things from this article. The sequence is like a basket where you have all your pieces of stuff. Without a sequence, you can not have a timeline, you cannot have any media exported.
Do you have any questions about sequences in Adobe Premiere Pro? Kindly let me know in the comment section below. I will be ready to help!