
You can’t see where you’re going until you look at where you’ve been, right? It seems like that is some wise adage I’ve heard somewhere.
Hi, I’m Cara! While this is a great life quote, it is also applicable to editing photos. I can’t tell you how many times I’ve gotten off track with colors or something while editing. A quick look back at the original photo shows me the error or boosts my confidence with how awesome it looks!
For such an important feature, it seems that learning how to see the before and after in Lightroom should be pretty easy. Whelp, it is. Let me show you.
Note: the screenshots below are taken from the Windows version of Lightroom Classic. If you are using the Mac version, they will look slightly different.
Table of Contents
Before and After Keyboard Shortcut in Lightroom
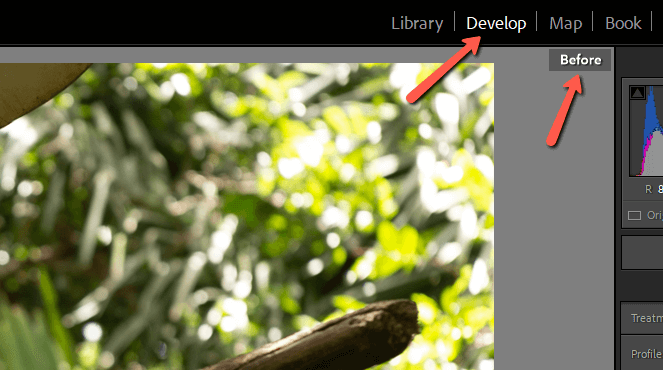
The quickest way to see the before is to hit the Backslash \ key on the keyboard. You must be in the Develop module for this to work. Your edits will instantly disappear and a “Before” flag will appear in the top right corner of your workspace.
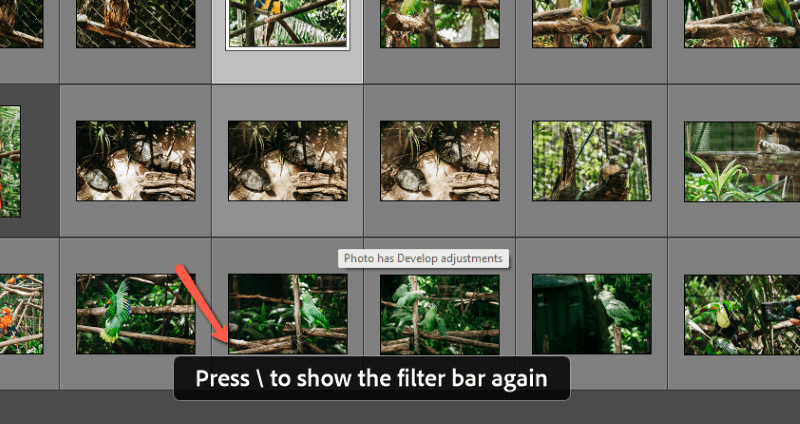
If you hit the backslash key while viewing a single photo in the Library module, the program will jump to grid view. If you hit it again, it will toggle on and off the filter bar at the top of the screen.
In each of the other modules, it performs a similar function. In short, this shortcut is only for the Develop module.
Customizing Before and After View in Lightroom
The backslash key toggles the before and after view of the image individually. But what if you want to see both views at the same time?
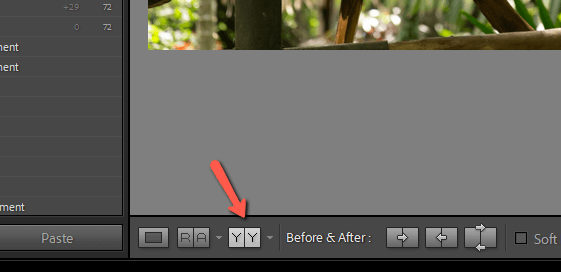
You can do this by pressing Y on the keyboard while in the Develop module. Alternatively, press the button that looks like two Ys next to each other at the bottom of the workspace.
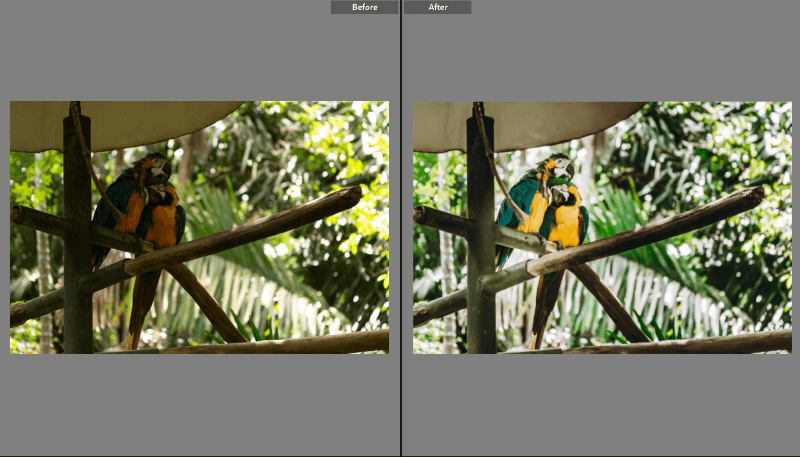
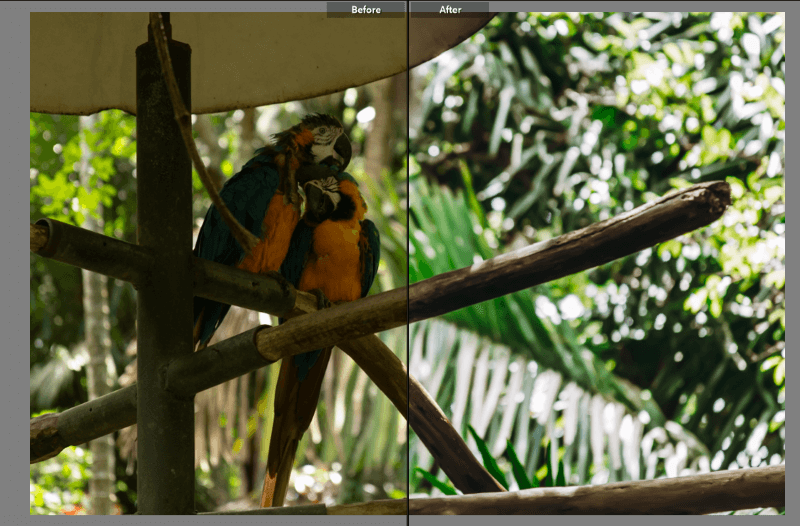
The screen will divide into the default before and after comparison view with the before image on the left and the after on the right.
However, this is not the only view that you can use. Keep pressing that double Y button to cycle through the available views, which are as follows:
Before/after vertically on the same image.
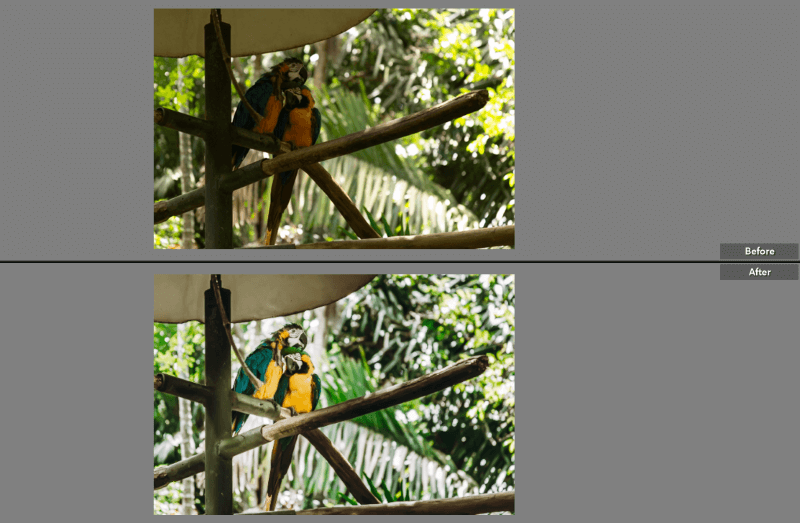
Before/after top and bottom.
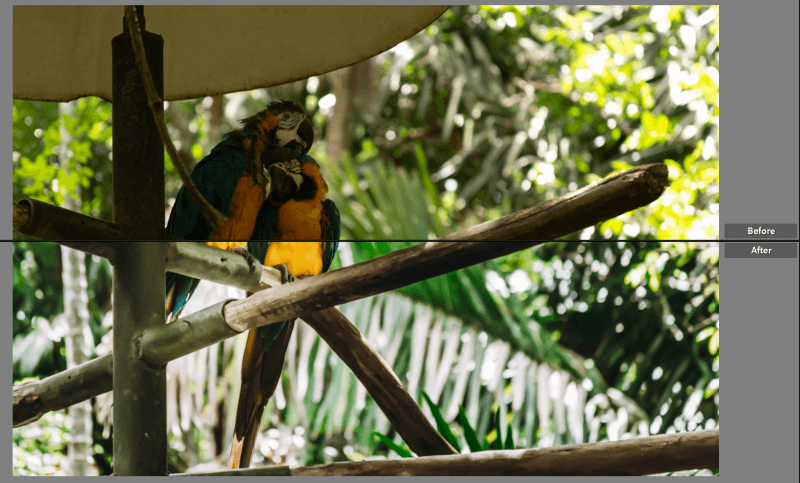
Before/after horizontally on the same image.
To jump straight to the orientation you want, press the little arrow to the right of the double Y button. Choose the orientation you want from the menu. You can also use the keyboard shortcut Alt + Y or Option + Y to jump to the top/bottom version.

Compare to an Earlier Edited Version
What if you would like to compare your final image with an image somewhere along the journey? That is, you don’t want to jump back to the beginning but want to compare with an image that already has some edits.
You can compare two images side by side in Lightroom.
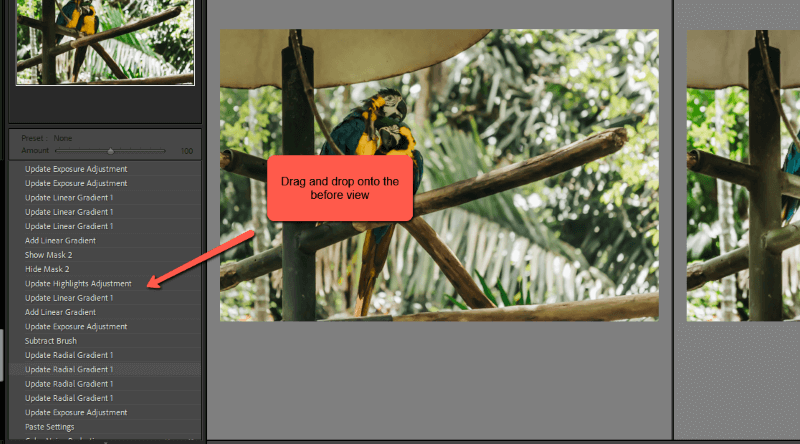
With your before and after view open, look at the history panel on the left. Click and drag any edit in the list onto the “before” image. This will apply all the edits up to the selected edit to the before.
How to Save Before and After in Lightroom
You can also save the before and after versions of your image. This is handy when you want to show your work.
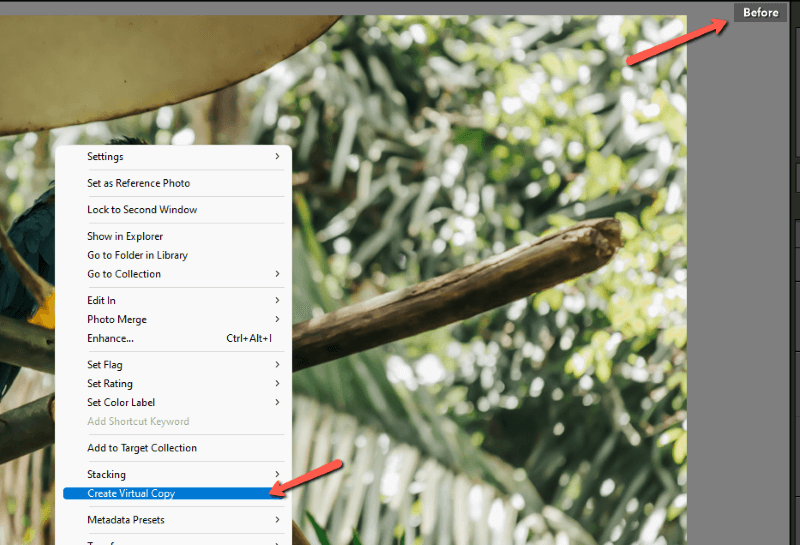
All you need is the edited photo and a virtual copy of the unedited one. To make the virtual copy, press the Backslash key to activate the before version. Then, right-click on the image to open this menu and choose Create Virtual Copy.
A copy of your unedited image will appear in the filmstrip at the bottom. Now you can export both the edited and unedited versions as usual.
Note: if you rated your image with colors, flags, or stars, the virtual copy will not automatically receive this same rating. If you’ve restricted your view to rated photos, the copy won’t appear until you remove the filter.
Easy as pie! Lightroom seriously makes it easy to create great images. Once you know how to use the program, the awesomeness never stops!
Wondering how to use the amazing new masking tools to make your edits even more awesome? Check out our tutorial here.