
Once you’ve crafted a masterful layout in InDesign, the next stage is to share your work with the world. Whether you want to share a digital copy online or send your document to a professional print house, you’ll need to prepare a PDF version of your InDesign file to ensure that it displays properly every time.
Fortunately, it’s a fairly simple process, and the steps are the same no matter if you’re using InDesign on a Mac or on a Windows PC! Here’s how it works.
Table of Contents
Preparing Your InDesign File for PDF Export
InDesign can be used to create anything from a two-page brochure to a book with thousands of pages, and it’s all too easy to miss crucial layout issues until it’s too late. To help make sure that your projects look as good as they’re supposed to, Adobe has included an error-checking system called Preflight. This system will alert you to any potential layout issues such as missing fonts, images, and overset text.
It’s visible by default in the lower left corner in the InDesign interface, but you can view it in a more useful size by opening the Window menu, selecting the Output submenu, and clicking Preflight.
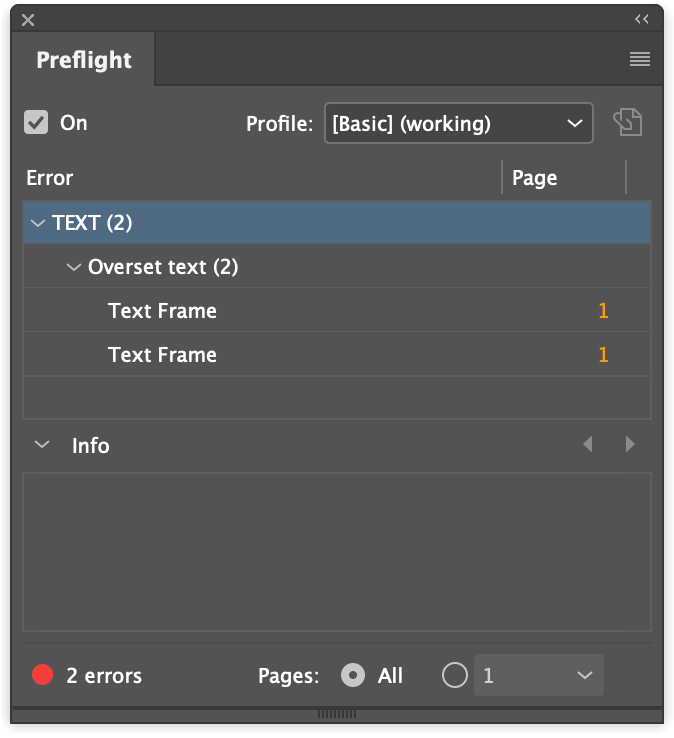
This will display each potential error in your layout, as well as the corresponding page number where it can be found. It’s not necessary to resolve each error before saving your InDesign file as a PDF, but it’s a useful review process.
Once you’re completely happy with the design layout and you’ve checked your Preflight for any potential errors, it’s time to save your InDesign file as a PDF.
Saving InDesign Files as Print-Ready PDFs
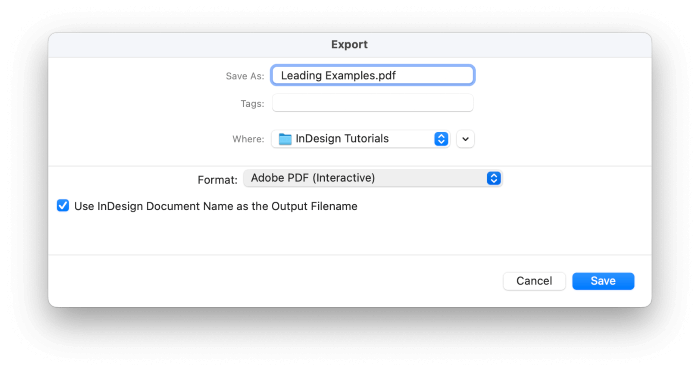
To start the process of saving your InDesign file as a PDF that can be printed by commercial print shops, open the File menu and click Export. InDesign will open an initial Export dialog window allowing you to name your file and select the export format.
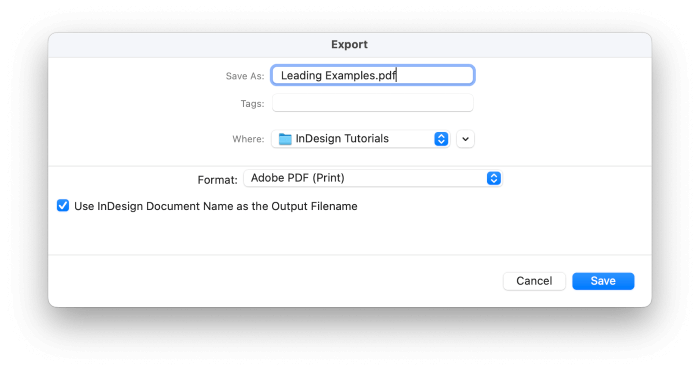
In the Format dropdown menu, select Adobe PDF (Print). Name your file and click Save.
Next, InDesign will open the Adobe PDF Export dialog window, where you can customize all your PDF settings and display options. It can seem extremely cluttered at first, but don’t be overwhelmed!
Quick Tip: Using InDesign’s PDF Export Presets
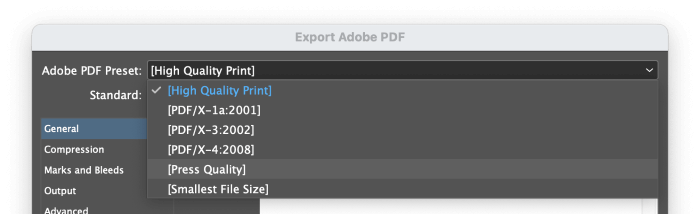
To ease you through the process of configuring a PDF file, Adobe includes some helpful PDF Presets, and this is usually the best place to start.
The two most popular InDesign PDF export presets are High Quality Print and Press Quality. The two are generally quite similar, although the Press Quality preset produces the highest-quality result and includes color conversion options.
That being said, many professional printers have specific requirements for PDF exports, so be sure to check with them before exporting your file.
If you’re preparing a PDF file that will be printed on a home or business printer such as a laser or inkjet, use the High Quality print preset.
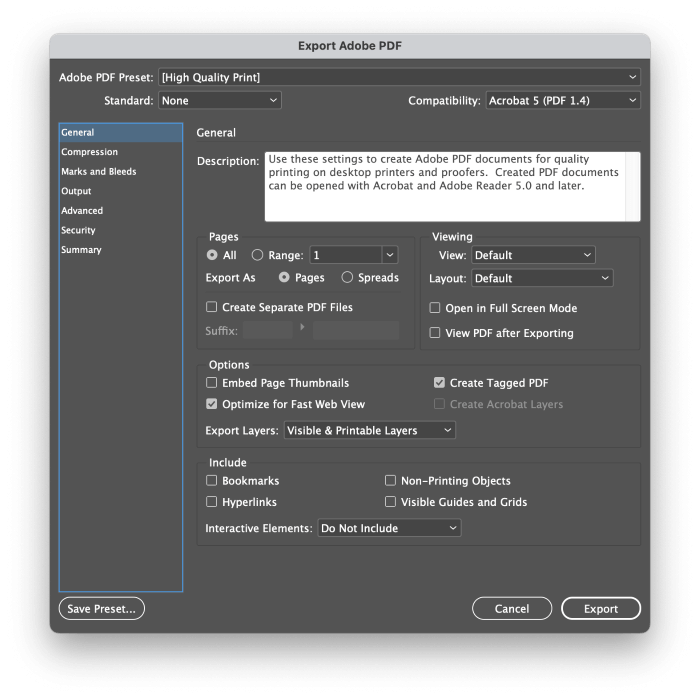
The General section is displayed by default, and contains some of the most basic options for display and setup. You can select page ranges, specify whether you want your PDF to feature layout spreads or individual pages, and control how the PDF will display itself when opened.
Since you are creating a PDF document for printing, leave the other settings on this page at their defaults.
Next, switch to the Marks and Bleeds section. If you’re printing at home, you may want to add crop marks or other printer’s marks to your documents, but most professional print houses prefer to handle these aspects for themselves.
Most of the time, these will be the only settings that you need to customize when saving an InDesign file as a PDF (assuming you’ve got your color management configured correctly, which is a complex process that is outside the scope of this article).
Click the Export button, and you’re all done!
Saving InDesign Files as Interactive PDFs for Screens
To start saving an interactive PDF that can display all sorts of interactive forms and media content, open the File menu and click Export. In the Export dialog box, select Adobe PDF (Interactive) from the Format dropdown menu. Name your file and click the Save button.
InDesign will open the Export to Interactive PDF dialog, where you can customize all the display and image quality settings for your PDF.
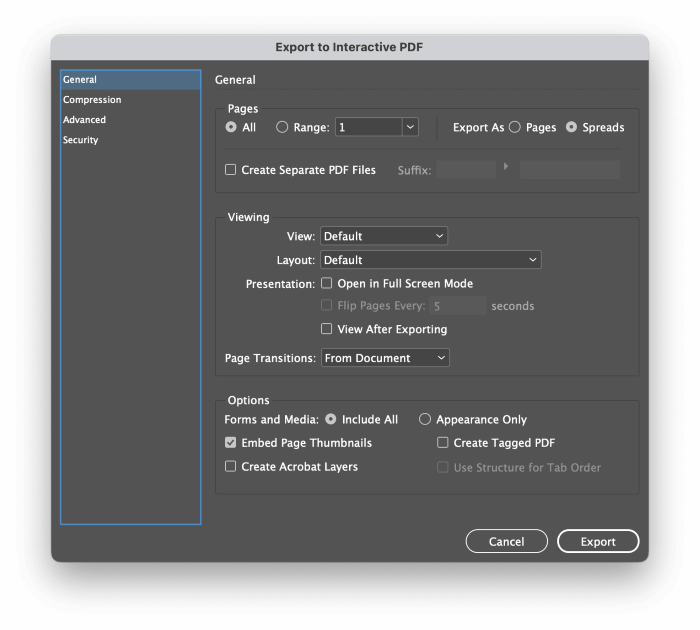
Most of the options here are fairly self-explanatory, although I recommend that you think carefully about the Viewing options. Controlling how your PDF displays automatically when opened for the first time can have a big impact on your viewers, either for full-screen display like a presentation slide deck or full-width for maximum readability. The ideal setting will depend on your design!
If you want to make sure that your PDF looks it’s very best in all situations, switch to the Compression section. The default compression settings are tuned to prioritize small file sizes instead of image quality, but this feels like a bit of a leftover from the days of slow internet connections.
(If you want to keep your file size as small as possible, you can skip this step.)
Change the Compression setting to JPEG 2000 (Lossless) and set the Resolution to 300 PPI, which is the maximum resolution that InDesign will allow. InDesign won’t upscale any of your images, but it will preserve as much image quality as possible.
Password Protecting Your InDesign PDFs
It’s almost impossible to control where a digital file will end up once it’s been shared online, but there is one key step you can take to control who can actually view your PDF. During the Export Adobe PDF process, switch to the Security section in the left pane of the window. You can add a password to view the document, but you can also add a separate password for controlling additional actions such as printing and editing.
Simply check the box labeled Require a password to open the document, and enter a password. Make sure that you remember it, though, because nobody will be able to open your PDF without it!
Frequently Asked Questions
For those of you who want to learn even more about exporting PDFs from InDesign, here are a few of the most commonly-asked questions by our visitors.
Do you have a question about InDesign PDF exports that I didn’t answer? Ask in the comments!
Can I Export My PDF without Bleed?
If you’ve set up your document with the bleed areas required for a professional printing press, you don’t want to create a digital copy for sharing online with all the print-specific elements visible. Instead of redesigning your document, you can simply disable the bleed settings during the PDF export process and InDesign will automatically crop those areas out.
While customizing your PDF settings in the Export Adobe PDF dialog, select the Marks and Bleeds section in the left pane of the window.
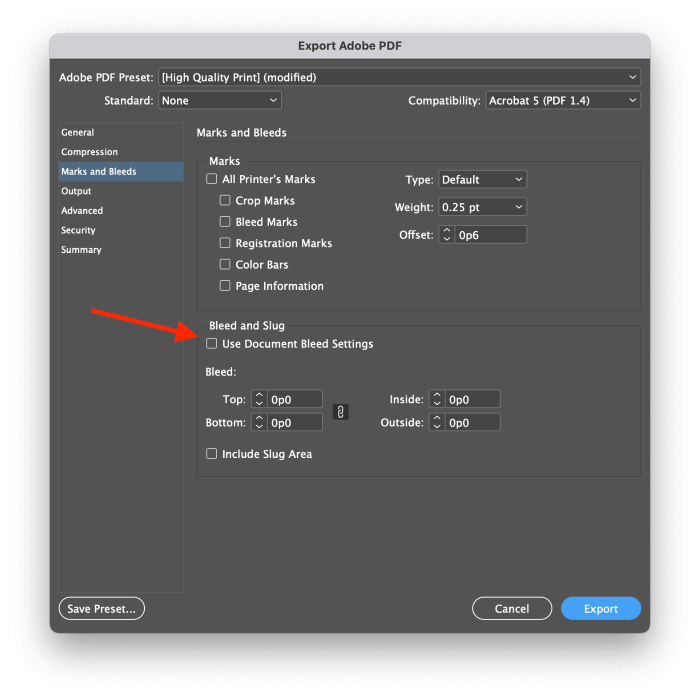
Uncheck the box labeled Use Document Bleed Settings, and enter 0 into the Top: setting. The Bottom, Inside, and Outside values should update to match. This will remove your bleed area completely in the saved PDF file, but preserve it in the source InDesign document.
How Do I Save An InDesign PDF With Facing Pages?
To save your InDesign PDF with facing pages visible, navigate to the General section of the Export Adobe PDF window.
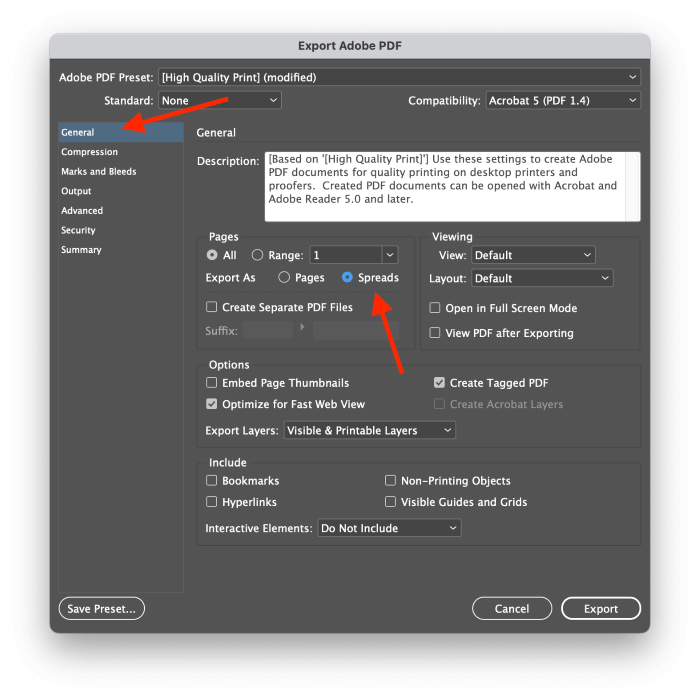
Locate the section labeled Pages, and toggle the Export As setting to use the Spreads option instead of Pages. That’s all there is to it!
Why Is My PDF Blurry When I Export From InDesign?
If your PDF looks blurry after you’ve exported it from InDesign, it’s typically caused by using the incorrect export settings. Make sure that your Compression settings are correct!
When exporting a PDF for print, the Compression section of the Export dialog determines how InDesign will save any raster-based image data in your design, such as photos and other placed images.

The High Quality Print setting won’t reduce any image below 300 PPI, and monochrome images are even less restricted. This should produce images that appear crisp on even the highest-density Retina screens.
By comparison, the Smallest File Size preset reduces the image resolution down to 100 PPI, which can often appear blurry on high-PPI screens and would look even blurrier when printed.
The same applies when exporting an interactive PDF for screens, although the Compression options are much simpler. To ensure the highest image quality, set your Compression option to JPEG 2000 (Lossless) and set the Resolution to the maximum of 300 PPI.
If none of those are to blame, make sure that the Zoom setting in your PDF viewer isn’t set to 33% or 66%. Since pixels are square in shape, odd zoom levels can create blurring effects as the PDF viewer resamples the output to match your settings. Take a look at your PDF using the 100% zoom level and you should see the images with proper sharpness.
A Final Word
Congratulations, you now know several different ways to save an InDesign file as a PDF! PDF is one of the most useful formats for sharing your beautiful design work with the rest of the world, so get back to InDesign and put your knowledge to the test.
Happy exporting!