
If you have ever stumbled across a YouTube video that you want to keep, or even just reuse a portion of for your own purposes, you might be wondering: how to record a YouTube video on Mac?
Working in a computer repair store, many customers have posed this question to me over the years. So, to answer the question once and for all, I figured I would write a comprehensive guide to show you the various options available to you.
Let’s get to it.
Table of Contents
Key Takeaways
- There are several built-in and third-party options available for screen recording on Mac to record YouTube videos, but before you start, make sure that you are not using the recording for commercial purposes, as it is typically against copyright.
- QuickTime Player is the default media player on Mac that allows screen recording. You can access it via Finder.
- Another way to screen record on Mac is by using “Hot Keys” – Command-Shift-5, which will pop up the screen record settings.
- VLC Media Player, an open-source and free application, also offers screen recording options. The VLC Record Button needs to be turned on, and then the screen record settings can be adjusted via the media menu.
- If you want a more powerful screen-recording option, Capto is a great choice. It is designed to record the full screen, areas of the screen, and browser tabs, and even has editing capabilities. It also allows for the instant sharing of your edited videos to various platforms.
4 Best Ways to Record a YouTube Video on Mac
Before starting this article, I need to add a legal disclaimer. If you are recording videos off YouTube for commercial use or entire videos, please consult the terms and conditions of YouTube before doing this. It may be illegal to record and use videos from YouTube.
To record a YouTube video, you simply need to record your screen while the video is playing.
Apple comes with two built-in options to record your screen and audio. There are also a few other popular methods that can be used to screen-record as well. These screen recording functions are what we will use to record YouTube videos.
Option #1: QuickTime Player
QuickTime is the default media player that is installed on the Mac when you get it. The important part is that QuickTime allows screen recording.
If you are looking to screen record YouTube, open YouTube on your web browser.
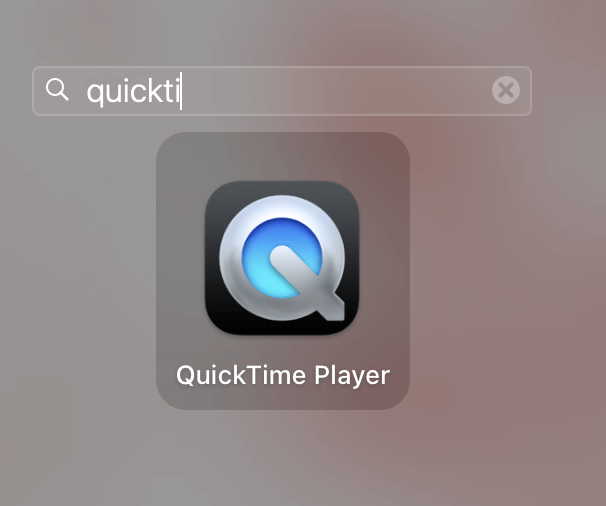
Open QuickTime via Finder or a Spotlight search.
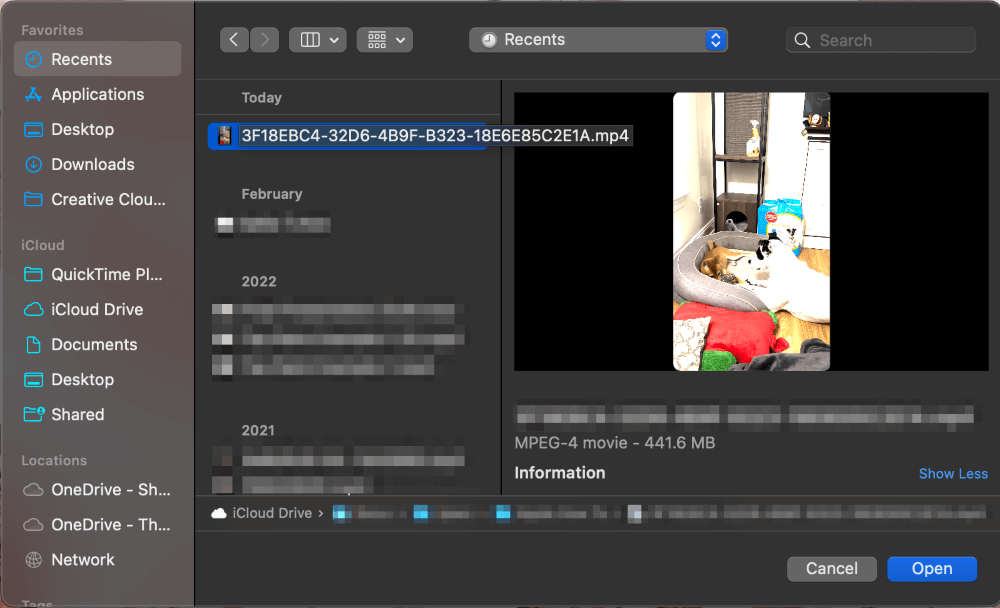
Open a Video (this is only to open QuickTime, you can get out of this after if needed).
Click File > New Screen Recording.
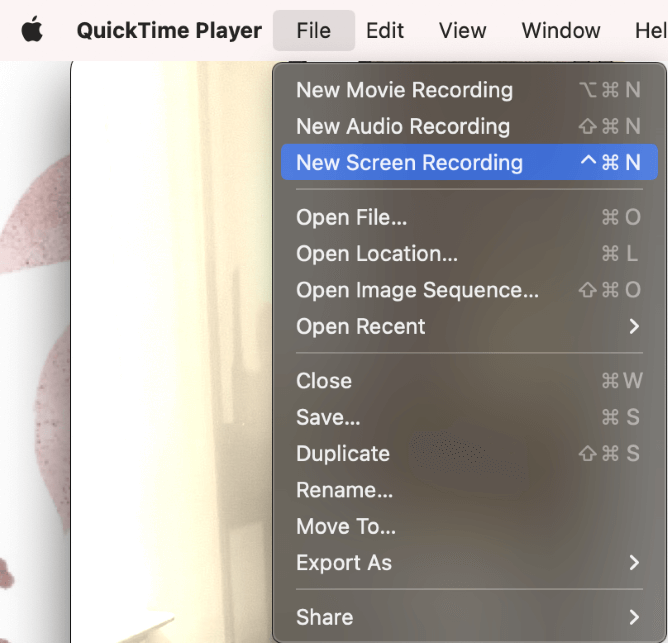
There will be several options, such as the area of the screen to record, where to save, timer, which microphone to capture audio from, and others. Make sure to set these all to the desired settings and click Record.
Option #2: Command-Shift-5
Another way to screen record on your Mac is by using what Apple calls “Hot Keys”. Hot Keys are designed to make everyday tasks quicker and easier to use. More commonly called shortcut keys with Windows, Hot Keys are things like “Command-C” to copy and “Command-V” to paste.
The Hot Keys for screen recording are Command-Shift-5. Press these three keys at the same time, and the screen record function will pop up automatically.
Similar to the QuickTime Player option, there will be several settings that you will need to set before recording. Things such as screen area to record, where to save, timer, which microphone (if any) to capture audio from, etc.
Note: The default audio capture is None, which means that there will be no audio recorded with your video if you do not change this.
Option #3: Using VLC Media Player
The popular open-source and free application VLC also offers screen recording options. VLC, since it is open-sourced, is able to view and update the software if you need it. It is unlikely that you will need this feature, but the option is there.
Once you launch the app, turn on the VLC Record Button. After the VLC Record Button is turned on, you will be able to go to the media menu, with convert/save, and capture device. From there, you will be able to set up your screen record settings.
Once you start the recording, just switch over to YouTube and begin playing your video.
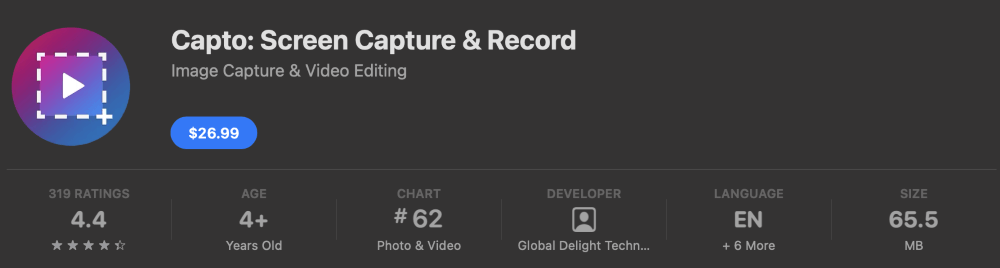
Option #4: Using Capto
If you want a little more powerful, feature-filled app for recording your videos, Setapp also offers a screen recording app. Capto is designed to record the full screen, areas of the screen, web recording, and editing.
Capto is very useful for someone who needs more features than a simple screen record. It also allows for instant sharing of your edited video to many sharing platforms.
Similar to all of their apps, Setapp offers a very valuable subscription on their website, which gives you access to Capto and many, many other useful applications. It is also available on the App Store as a standalone paid app.
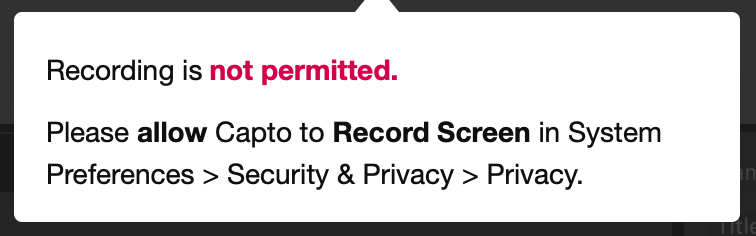
To get started, download and install the app. When you open it for the first time, you will have to enable permissions before you can record:
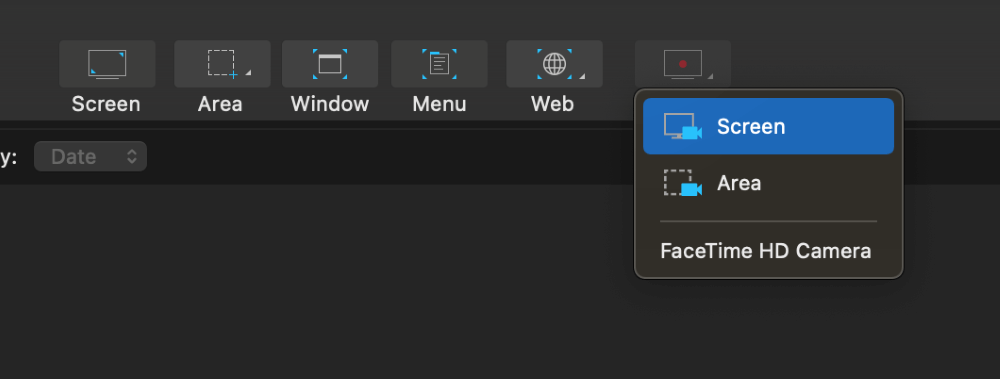
After you do this, you can start recording your screen. Locate the icons along the top of the window, and hit Screen. Then, open the YouTube video you would like to record.
Final Thoughts
Recording a YouTube video on Mac is as simple as recording your screen and audio. To record a YouTube video, you will need to be able to screen-record the web browser that you use to run YouTube.
There are several different options available to screen record on a Mac, and this article walks you through four very viable and useful options.
Please be aware before recording YouTube videos with any software that how you use the recorded video could be an illegal use or copyright infringement. Consult YouTube’s terms and conditions before using any screen-recorded video publicly or for commercial use.