
Ready to make some composite images? While Microsoft Paint definitely can’t handle anything as complicated as Photoshop, you can create basic composites in the program by putting one picture on top of another.
Hey there! I’m Cara and I get it. Sometimes you just need an easy, quick way to create a simple composite. And Photoshop is just way too complicated for all that.
So, let me show you how to put one picture on top of another in Microsoft Paint.
Step 1: Open Both Images
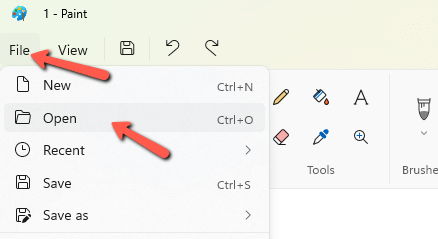
Open Microsoft Paint, click File in the menu bar, and choose Open. Navigate to the background image you want and click Open.
Now, if we try to open the second image, Microsoft Paint will just replace the first image. Thus, we need to open a second instance of Paint. Then you can open your second image following the same method.
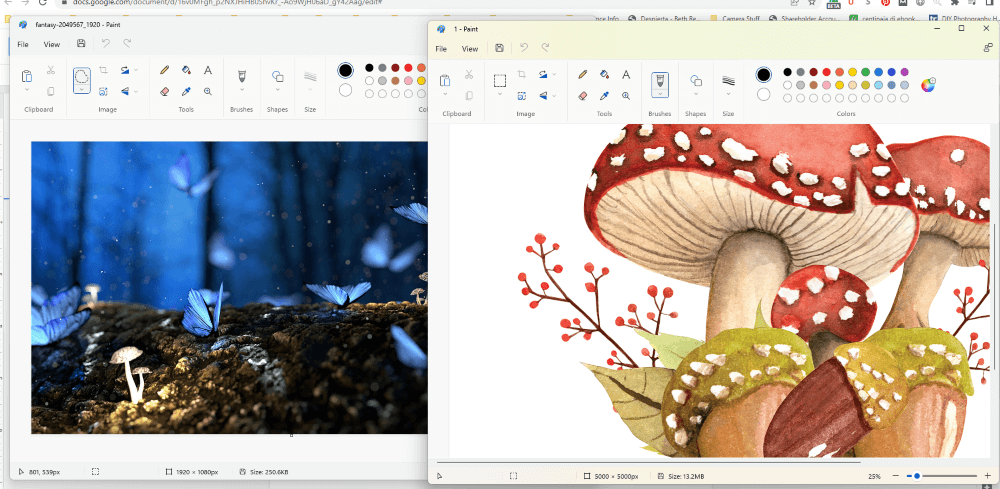
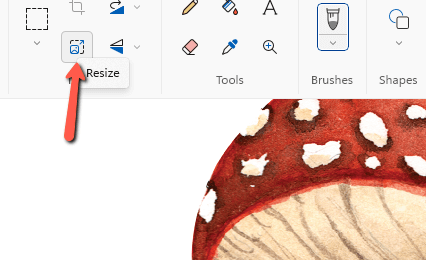
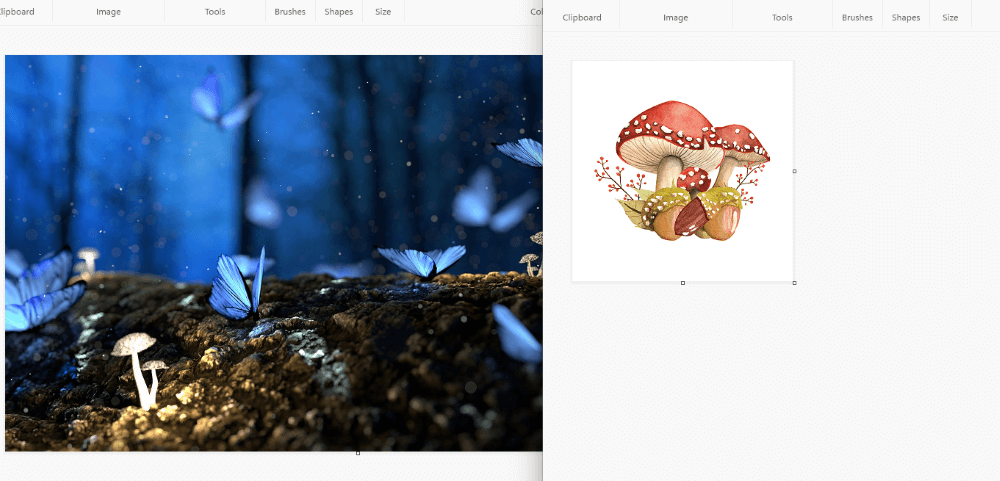
The mushroom image is quite a bit larger than the background image. So we’ll need to fix that first. Go to Resize in the format bar and choose the appropriate size for your project.
Step 2: Copy the Picture Over
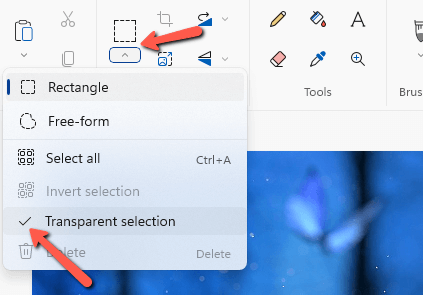
Before you can copy the picture over, you have to make sure that both images have the transparent selection feature active.
Go to the Select tool in the Image toolbar and click the little arrow underneath to open the dropdown window. Click Transparent selection and make sure the checkmark appears next to it. Do this for both images.
Once this is set, go to your second image and make a selection. To do this, you can draw a rectangle around the image, hit Ctrl + A to select the whole image or choose the freeform selection tool to select a specific part of the image.
In this case, I’ll select all. Then right-click on the image and click Copy. Or you can press Ctrl + C on the keyboard.

Switch over to the background image. Right-click on this image and click Paste. Or press Ctrl + V.
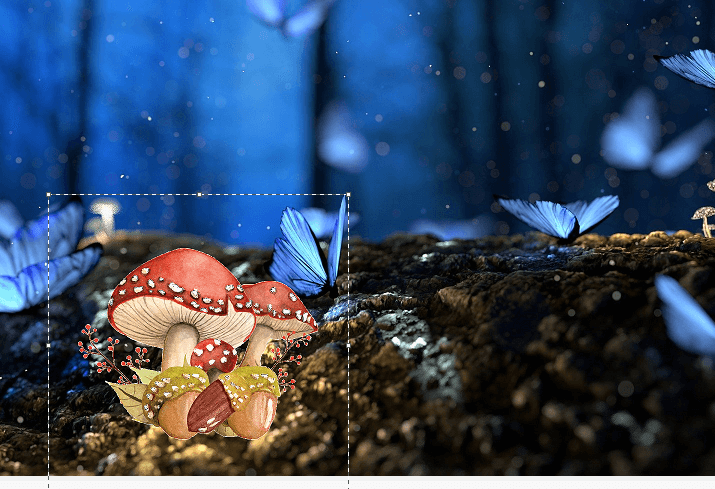
Be careful not to let the selection disappear until you’ve positioned the second image where you want it. If you try reselecting it again, you’ll end up grabbing a piece of the background along with the top image.
Click and drag the top image into place. If you need to further refine the sizing, click and drag the corners of the box around the image to resize. Once you’re happy with the positioning, click off the image somewhere to remove the selection and commit to the location.
And here is our finished product!
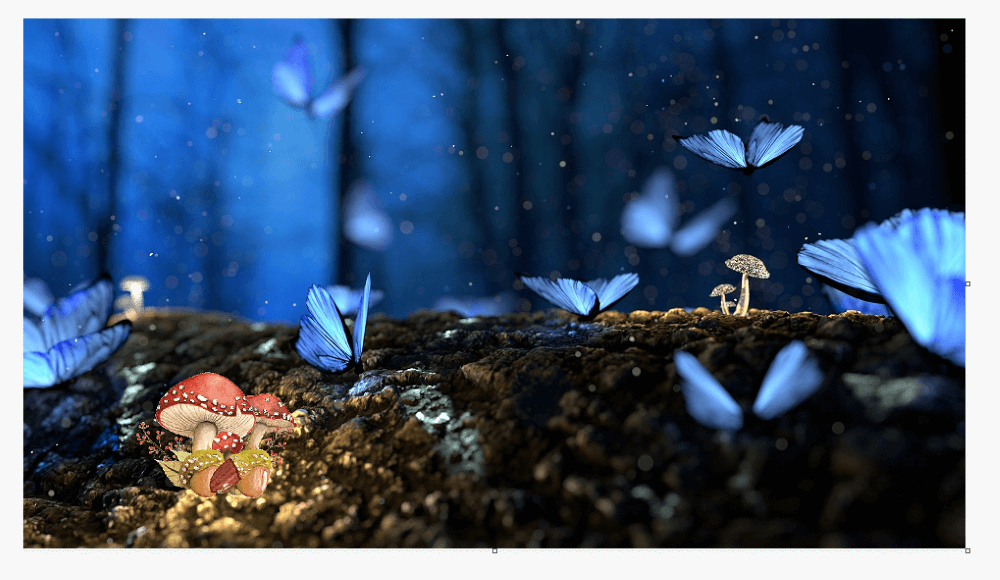
Again, obviously, this is not to the same level of ultra-realistic composites you can make in Photoshop. However, it’s a lot quicker to learn and use when you just want a basic composite like this and realism isn’t the goal.
Curious about what else Paint can be used for? Check out how to turn pictures to black and white here.